
In a bustling kitchen filled with laughter and chatter, I once overheard a friend say, “Nothing brings comfort like homemade banana pudding.” How true that is! This Classic Homemade Banana Pudding is a cherished family recipe that captures the very essence of Southern hospitality. Made from scratch without any boxed mixes, it’s an easy-to-follow delight that shines at gatherings, and the best part? You can prepare it ahead of time! The combination of creamy, velvety pudding, layered between crunchy vanilla wafers and ripe bananas creates a nostalgic experience that warms the heart. Perfect as an indulgent dessert or a sweet treat to share, this recipe is your ticket to delighting friends and family alike. Are you ready to dive into this delicious tradition?
Why is Homemade Banana Pudding a Family Favorite?
Nostalgic Comfort: This recipe invites you to savor the fond memories of Southern family gatherings, where banana pudding brings everyone together.
Simple Preparation: With just a few straightforward steps, you’ll create a dessert that appears gourmet and tastes heavenly!
Make-Ahead Magic: Ideal for busy days, this pudding can be prepared ahead, letting the flavors meld beautifully overnight.
Customizable Variations: Feel free to experiment with alternatives, like using graham crackers instead of vanilla wafers or non-dairy milk for a lighter option. Whether you’re serving a crowd or treating yourself, this Cinnamon Swirl Banana delight is versatile enough to please everyone!
Crowd-Pleasing Delight: Whipped cream and crushed wafers on top elevate this classic, ensuring it’s not just dessert—it’s a showstopper!
Homemade Banana Pudding Ingredients
-
For the Pudding
• Sugar – Sweetness that balances the creaminess; can substitute with brown sugar or honey for a unique flavor.
• Flour – Thickening agent essential for a smooth texture; all-purpose flour works best here.
• Salt – Enhances overall flavor without adding saltiness; don’t skip this step!
• Milk – Provides creaminess; any variety works, including non-dairy options for a lighter twist.
• Eggs – Adds richness and is crucial for thickening; whole eggs are best for this recipe.
• Vanilla Extract – Flavor enhancer; opt for pure vanilla for an elevated taste that complements the pudding perfectly. -
For the Layers
• Vanilla Wafers – Creates structure and crunch; approximately 8 oz is ideal, but can swap with graham crackers or Biscoff cookies if desired.
• Bananas – Essential for flavor and texture; use 4 fresh, ripe bananas for the best results. No substitutes if you want that authentic taste of homemade banana pudding!
Step‑by‑Step Instructions for Classic Homemade Banana Pudding
Step 1: Combine Dry Ingredients
In a medium saucepan, whisk together 1 cup of sugar, ⅓ cup of all-purpose flour, and a pinch of salt until well blended. This combination is the foundation for your homemade banana pudding, ensuring a smooth texture. Set the saucepan over medium heat and have a whisk ready for the next step.
Step 2: Add Milk Gradually
Slowly pour in 4 cups of milk while continuously whisking to prevent lumps from forming. Keep stirring the mixture over medium heat for about 10 minutes until it thickens and begins to bubble gently. You’ll know it’s ready when it starts to look like a creamy custard.
Step 3: Cook and Stir
Once bubbling, lower the heat and allow the pudding to continue cooking gently for another 2 minutes while stirring constantly. This steady motion ensures uniform cooking, enhancing the flavor and consistency of your classic homemade banana pudding. When thickened to a rich, creamy texture, remove it from the heat.
Step 4: Temper the Eggs
In a small bowl, whisk 3 large eggs until smooth. Gradually mix in about 1 cup of the hot pudding to temper the eggs, which prevents them from scrambling. After fully combined, return this egg mixture to the saucepan with the remaining pudding and stir gently.
Step 5: Final Cooking
Return the saucepan to low heat and continue stirring the pudding until it reaches a gentle boil again. Cook for an additional 2 minutes; the pudding should thicken up nicely. This step is crucial for ensuring your classic homemade banana pudding has that perfect velvety texture.
Step 6: Flavor It Up
Once boiled, remove the mixture from heat and stir in 1 teaspoon of pure vanilla extract. The aroma of the vanilla will elevate your homemade banana pudding to new heights. Let the pudding cool at room temperature for about 15 minutes, stirring occasionally to prevent a skin from forming.
Step 7: Layer the Pudding
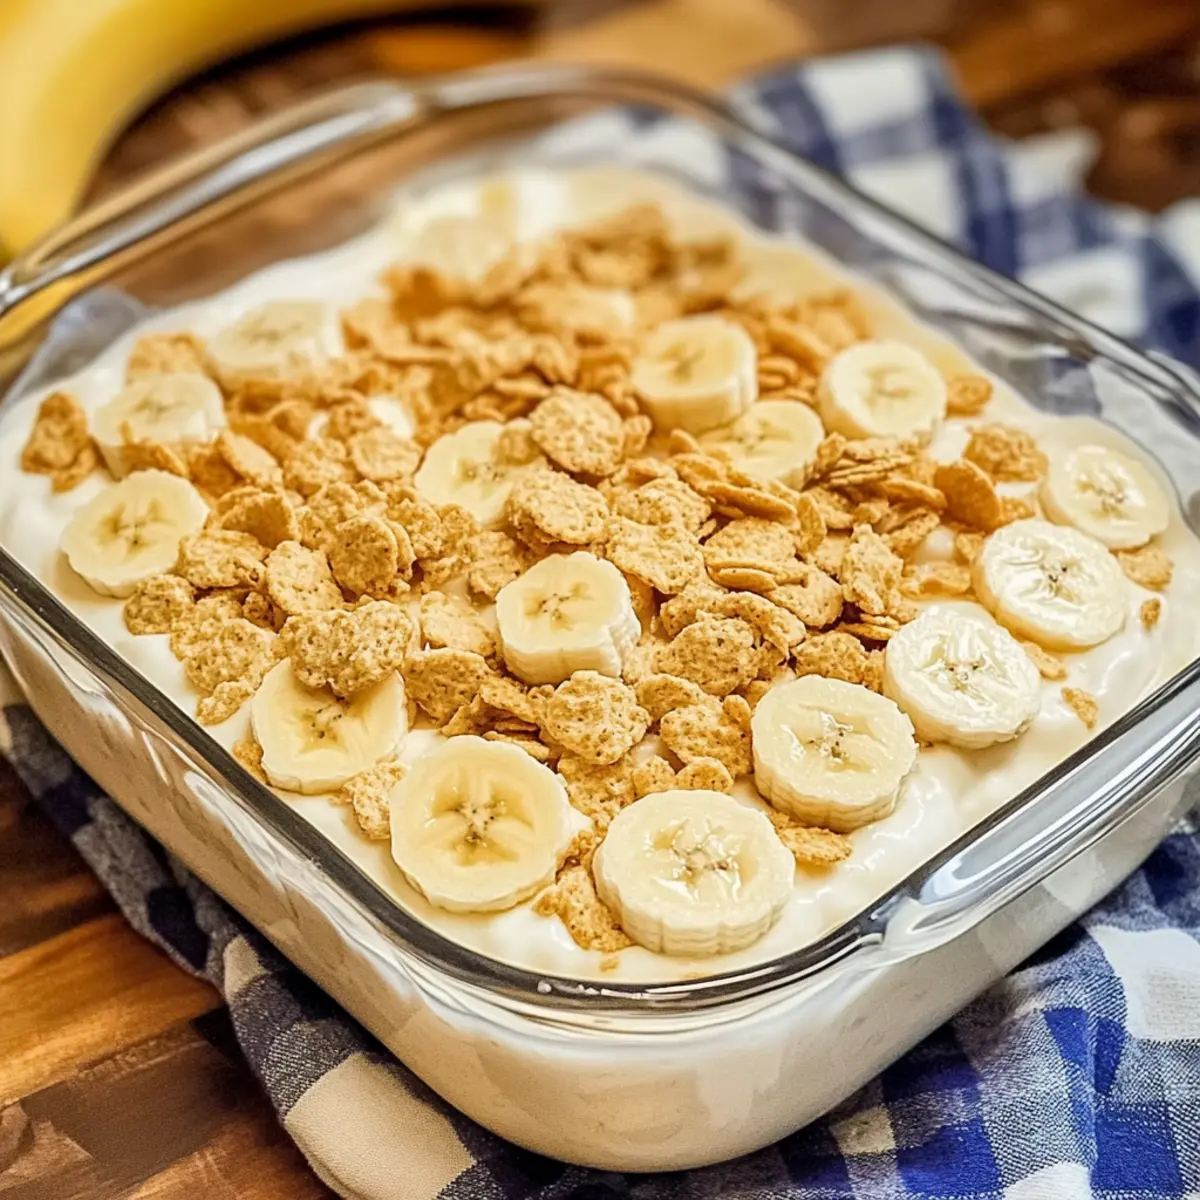
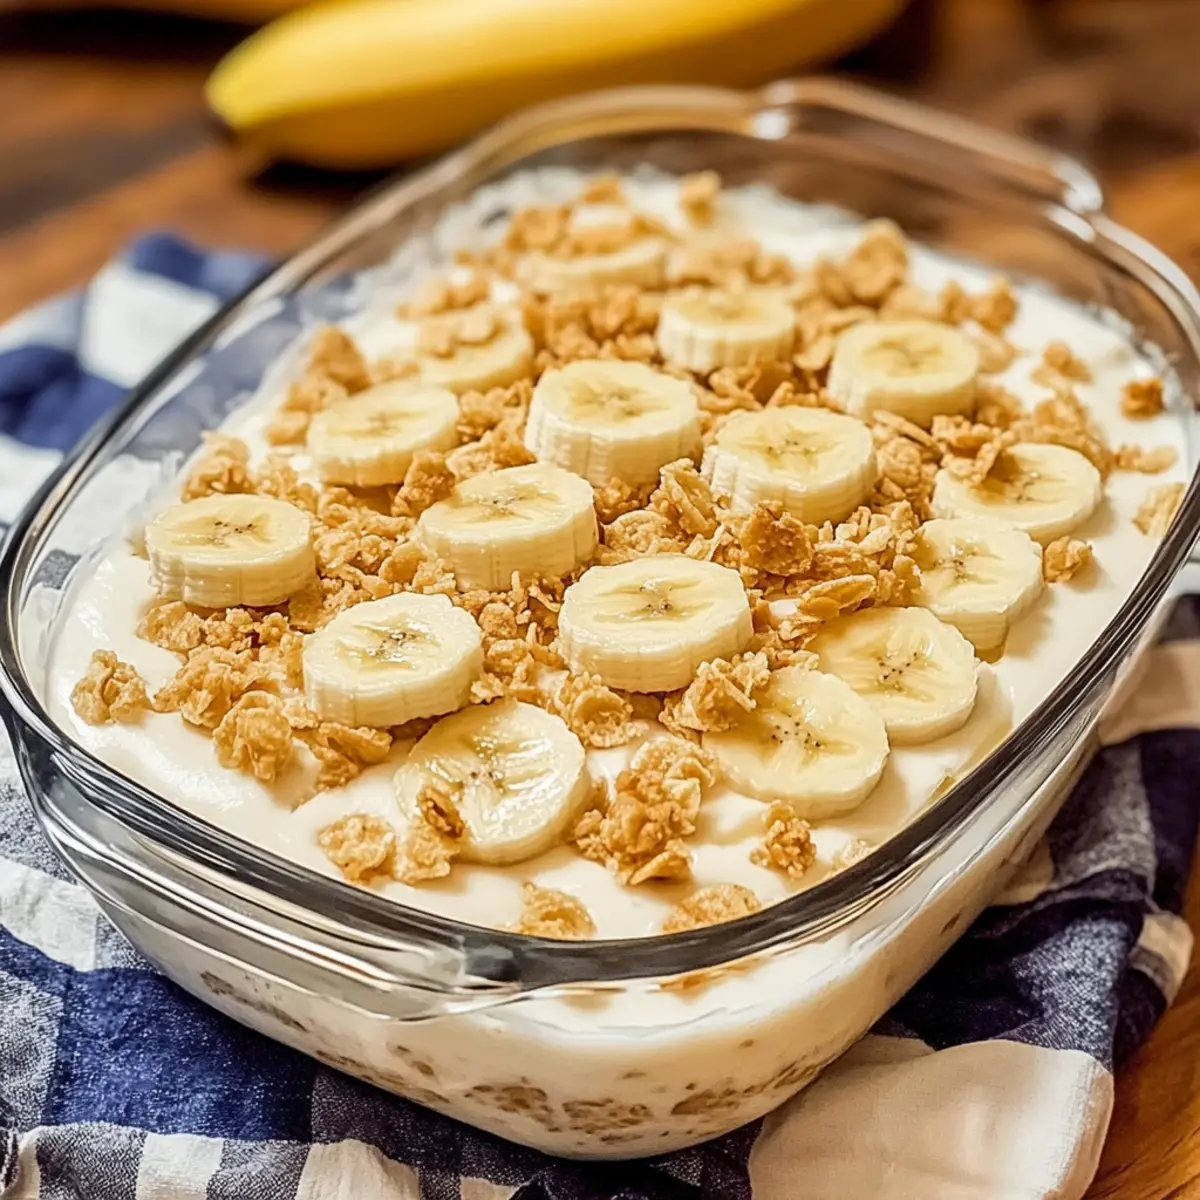
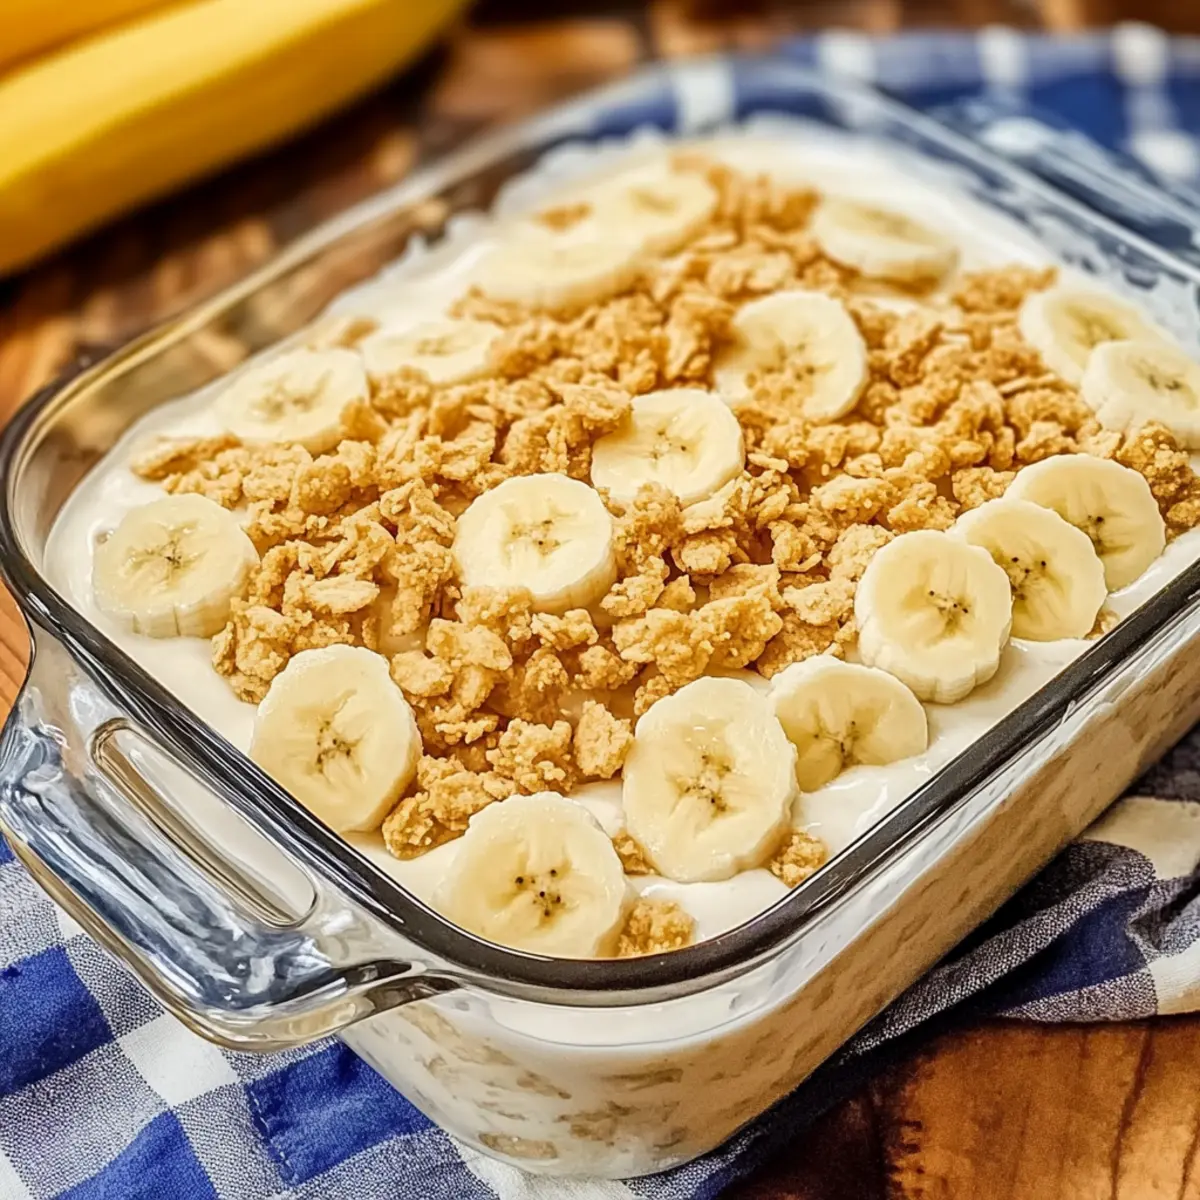
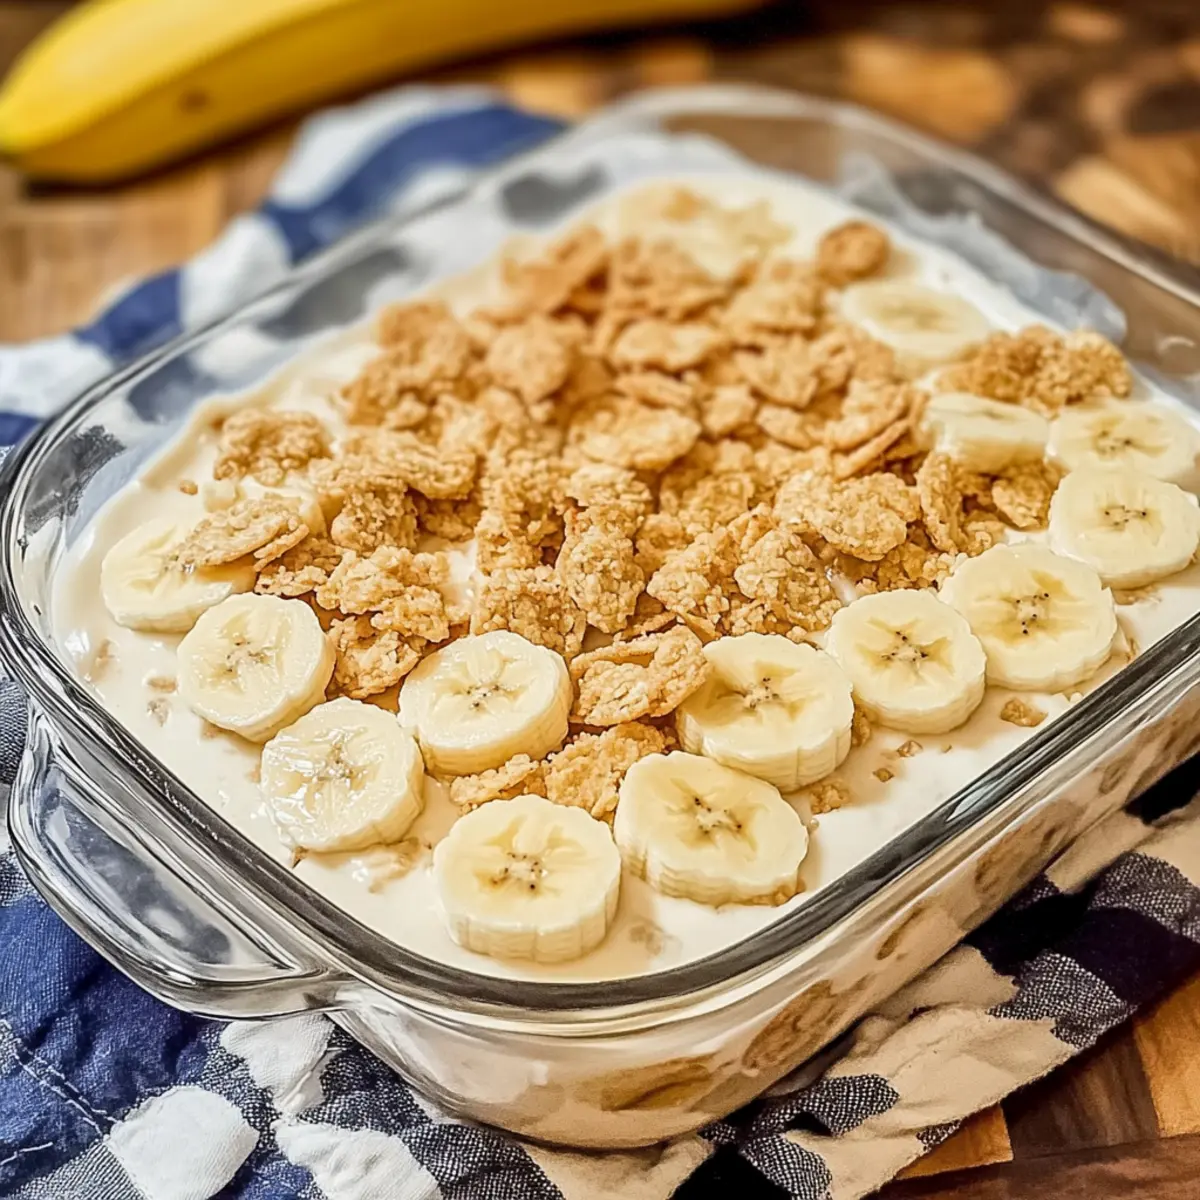
In an ungreased 8-inch square pan, start layering half of the 8 oz of vanilla wafers followed by half of the sliced bananas. Spoon half of the warm pudding over these layers. Repeat the process with the remaining wafers, banana slices, and pudding for a delightful multi-layered effect.
Step 8: Chill for Perfection
Cover the pan tightly with plastic wrap, ensuring it touches the surface to avoid a skin forming. Refrigerate the assembled classic homemade banana pudding for at least 4 hours, though overnight is ideal for the flavors to meld beautifully.
Step 9: Garnish and Serve
Just before serving, crush any remaining vanilla wafers and sprinkle them generously over the top for added crunch. This adds an extra layer of texture to your classic homemade banana pudding. Serve chilled and enjoy the delicious layers of flavor in every bite!
What to Serve with Classic Homemade Banana Pudding
Indulge in a delightful meal experience that complements the creamy magic of your banana pudding.
- Southern Fried Chicken: The savory richness of crispy fried chicken pairs beautifully with the sweet, creamy layers of pudding, creating a memorable meal.
- Fresh Fruit Salad: A medley of bright, seasonal fruits adds freshness and balance to the rich dessert, enhancing the overall palate.
- Warm Biscuits: Flaky, buttery biscuits provide a comforting contrast, perfect for sopping up any leftover pudding on your plate.
- Vanilla Ice Cream: A scoop of vanilla ice cream melts luxuriously over banana pudding, creating an indulgent dessert experience that’s hard to resist.
- Berry Compote: Tart berries drizzled over the pudding introduce a vibrant flavor pop, cutting through the sweetness while adding a lovely burst of color.
- Sweet Tea: Classic Southern sweet tea is an ideal beverage to wash down this dessert, offering a refreshing contrast to the creamy pudding.
- Chocolate Chip Cookies: The crunch and sweetness of chocolate chip cookies create a delightful textural contrast to the smooth pudding, making each bite a treat.
- Lemon Meringue Pie: This zesty dessert provides a tart finish, cleansing the palate after the rich banana pudding, while keeping things Southern themed.
- Mint Julep: A refreshing mint julep brings a touch of elegance and flavor complexity to your gathering, perfectly complementing the dessert’s richness.
Homemade Banana Pudding Variations & Substitutions
Feel free to get creative and personalize your pudding to elevate your dessert experience!
-
Dairy-Free: Use almond, coconut, or oat milk instead of regular milk for a creamy, non-dairy version. This slight twist makes it accessible for lactose-intolerant friends and family.
-
Alternative Sweeteners: Swap white sugar with brown sugar or honey for a deeper, caramel-like flavor. This subtle change can transform the sweet profile of your pudding—perfect for those who crave something unique.
-
Gluten-Free: Replace all-purpose flour with cornstarch or a gluten-free flour blend to keep this dessert gluten-free without sacrificing its charm. Just make sure to follow the same cooking process for the best results.
-
Flavor Boost: Add a teaspoon of almond or coconut extract along with the vanilla for an extra layer of flavor. The aromatic profiles of these extracts can take your pudding from good to sublime!
-
Layering Twist: Instead of vanilla wafers, try using graham crackers or Biscoff cookies for a deliciously different crunch. Each option brings its unique taste, so feel free to experiment based on what you have on hand.
-
Fruit Variations: Incorporate fresh strawberries or blueberries along with bananas for a delightful fruity twist. This adds color and a burst of freshness to your classic banana pudding, making it even more appealing!
-
Spice It Up: Add a pinch of cinnamon or nutmeg to the pudding mixture for warmth and depth. These spices not only complement the bananas beautifully but also evoke cozy feelings of home.
-
Chocolate Lovers: Mix in chocolate chips or cocoa powder to transform your pudding into a delicious chocolate banana version. For an extra treat, check out my recipe for Chocolate Chip Banana pudding to satisfy your sweet tooth!
With these variations, your homemade banana pudding will be a hit at any gathering, ensuring that you cater to every taste preference. Enjoy the delightful journey of flavors!
Expert Tips for Homemade Banana Pudding
-
Cool Before Layering: Allow the pudding to cool before layering it with wafers and bananas to maintain the wafers’ delightful crunch.
-
Banana Freshness: Add banana slices just before serving to keep them from browning and ensure a fresh taste in your homemade banana pudding.
-
Thicken If Necessary: If your pudding mixture seems too thin, reheat gently and whisk in a bit more flour mixed with cold milk to achieve the perfect consistency.
-
Choose Ripe Bananas: Use fresh, ripe bananas for optimal flavor and texture—overripe bananas can make the pudding overly mushy.
-
Serve with Style: For an impressive presentation, garnish with whipped cream and crushed vanilla wafers on top right before serving!
How to Store and Freeze Homemade Banana Pudding
-
Refrigerator: Store your homemade banana pudding tightly covered in the refrigerator for up to 4 days. This keeps it fresh and delicious.
-
Freezer: Avoid freezing banana pudding, as it can significantly alter the texture and flavor, leading to a less enjoyable dessert.
-
Layering Tip: If you’re making it ahead, consider preparing the pudding mixture in advance, allowing the flavors to meld beautifully overnight in the fridge.
-
Serving Fresh: For the best experience, add banana slices just before serving to ensure your pudding remains fresh and vibrant!
Make Ahead Options
These Classic Homemade Banana Pudding layers are perfect for meal prep enthusiasts! You can prepare the pudding mixture up to 24 hours in advance by cooking it up to the cooling step. Allow it to cool completely and cover it tightly with plastic wrap (pressing it directly on the surface of the pudding to prevent skin). The banana slices should be added just before serving to keep them fresh and vibrant. When you’re ready to dig in, simply layer the wafers and banana slices as instructed and refrigerate for at least 4 hours, or overnight for the best flavor melding. With this make-ahead strategy, you’ll have a delicious dessert ready with minimal last-minute effort!
Classic Homemade Banana Pudding Recipe FAQs
What kind of bananas should I use for the best flavor?
Absolutely! For the best results in your homemade banana pudding, select fresh, ripe bananas. They should be slightly yellow with a few small brown spots. Avoid overripe bananas, as they can make the pudding mushy and overly sweet.
How should I store leftover banana pudding?
Store your homemade banana pudding tightly covered in the refrigerator for up to 4 days. This keeps it fresh and allows the flavors to continue melding. Make sure to avoid sealing it too tightly right after making it to prevent condensation from affecting the texture.
Can I freeze homemade banana pudding?
Very! However, I recommend avoiding freezing it, as it can significantly alter the creamy texture and cause the bananas to become mushy, which most definitely won’t provide the delightful experience you expect from a classic dessert. If you must freeze it, omit the banana slices and wafers beforehand, then layer them fresh upon serving.
What should I do if my pudding is too thin?
Don’t worry! If your pudding is too thin, gently reheat it over low heat, whisking constantly. In a separate bowl, mix 1–2 tablespoons of cold milk with an equal amount of flour until smooth, then incorporate this mixture into your warm pudding. Continue to stir until it thickens to your desired consistency!
How can I prevent the bananas from browning?
To keep your banana slices looking fresh and vibrant in your homemade banana pudding, add them just before serving. If you’re preparing for a gathering, you might also consider lightly brushing the banana slices with lemon juice. This natural acid helps slow down the browning process without impacting the flavor too much.
Deliciously Creamy Homemade Banana Pudding Everyone Will Love
Ingredients
Equipment
Method
- Combine sugar, flour, and salt in a saucepan and set over medium heat.
- Gradually add milk while whisking to prevent lumps; cook until thickened.
- Lower heat and cook for an additional 2 minutes while stirring constantly.
- Whisk eggs in a bowl; gradually mix in hot pudding to temper.
- Return egg mixture to saucepan; stir until gently boiled again.
- Remove from heat and stir in vanilla extract; let cool for 15 minutes.
- Layer half of wafers, half of banana slices, and half of pudding in pan.
- Repeat with remaining wafers, banana slices, and pudding.
- Cover tightly with plastic wrap and refrigerate for at least 4 hours.
- Before serving, sprinkle crushed wafers on top for added crunch.
Leave a Reply