
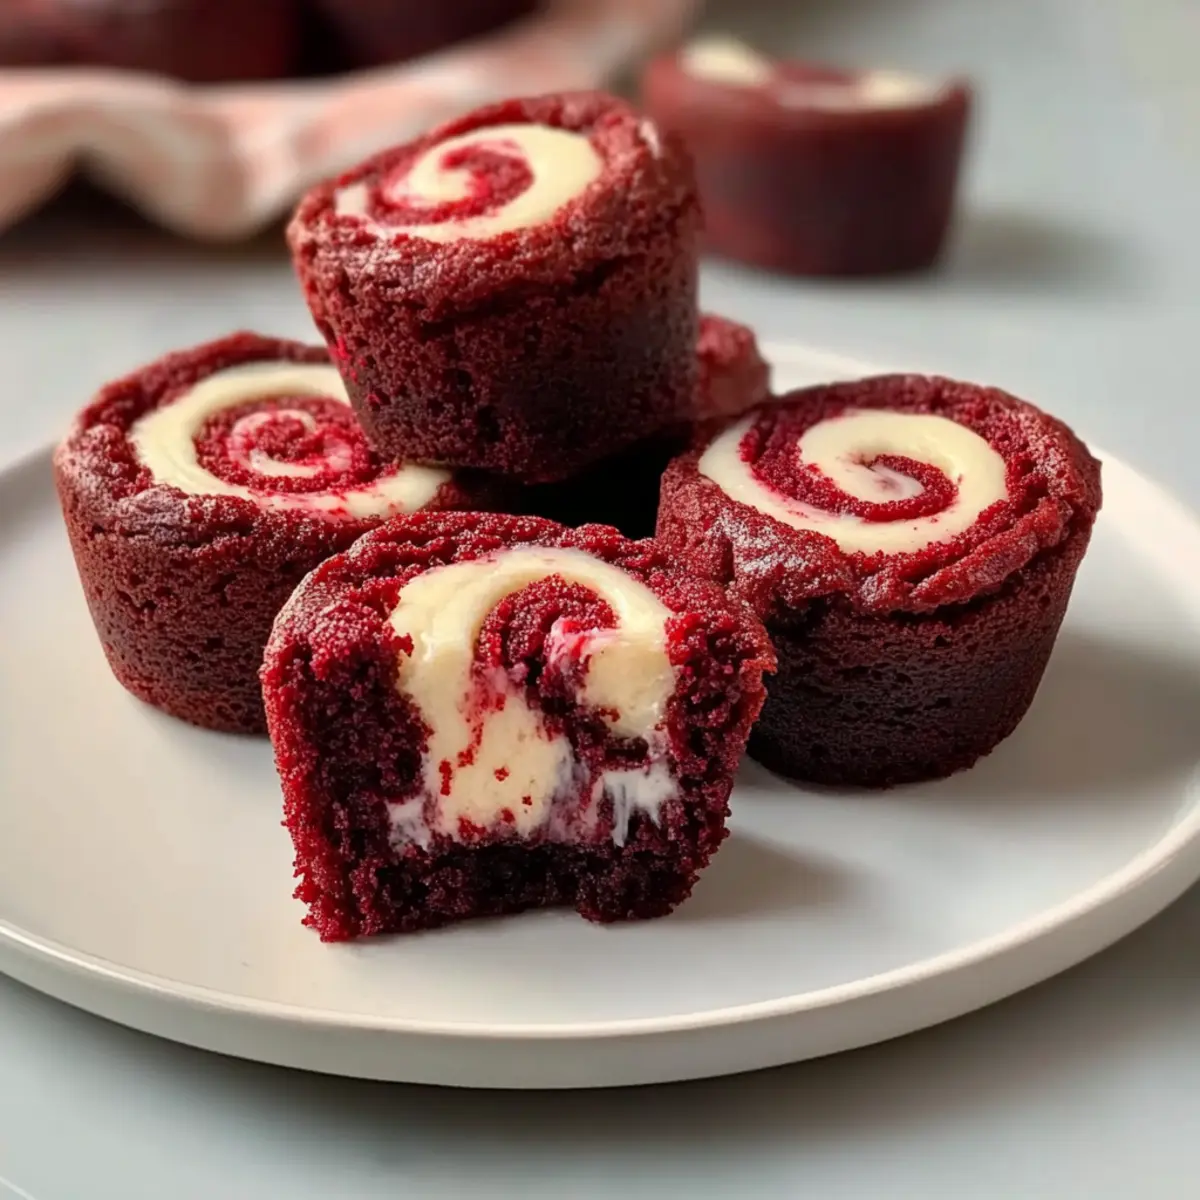
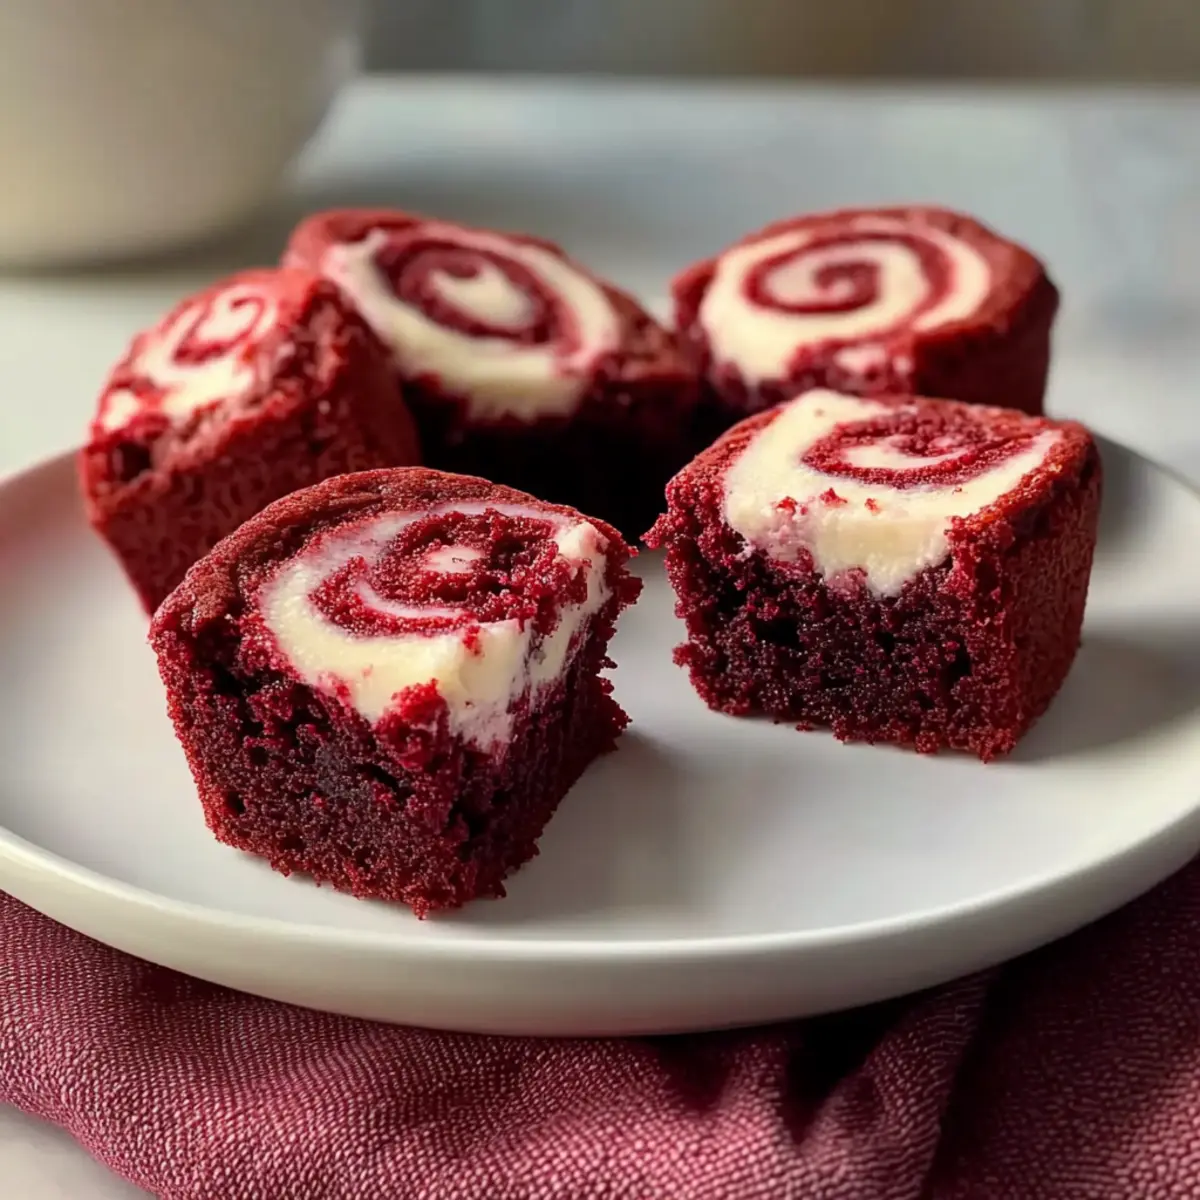
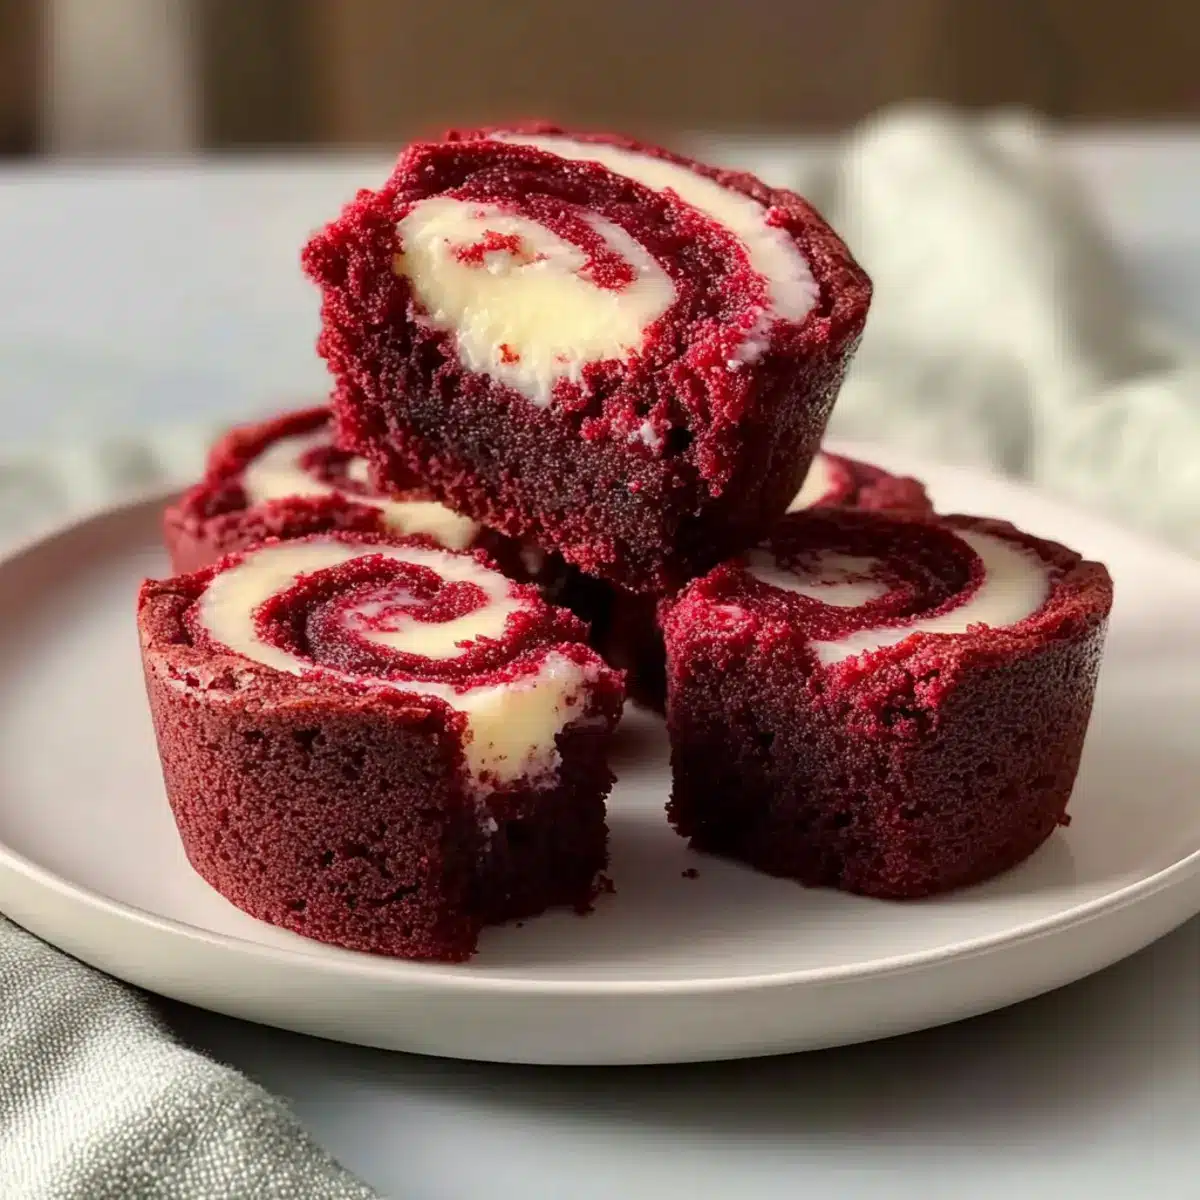
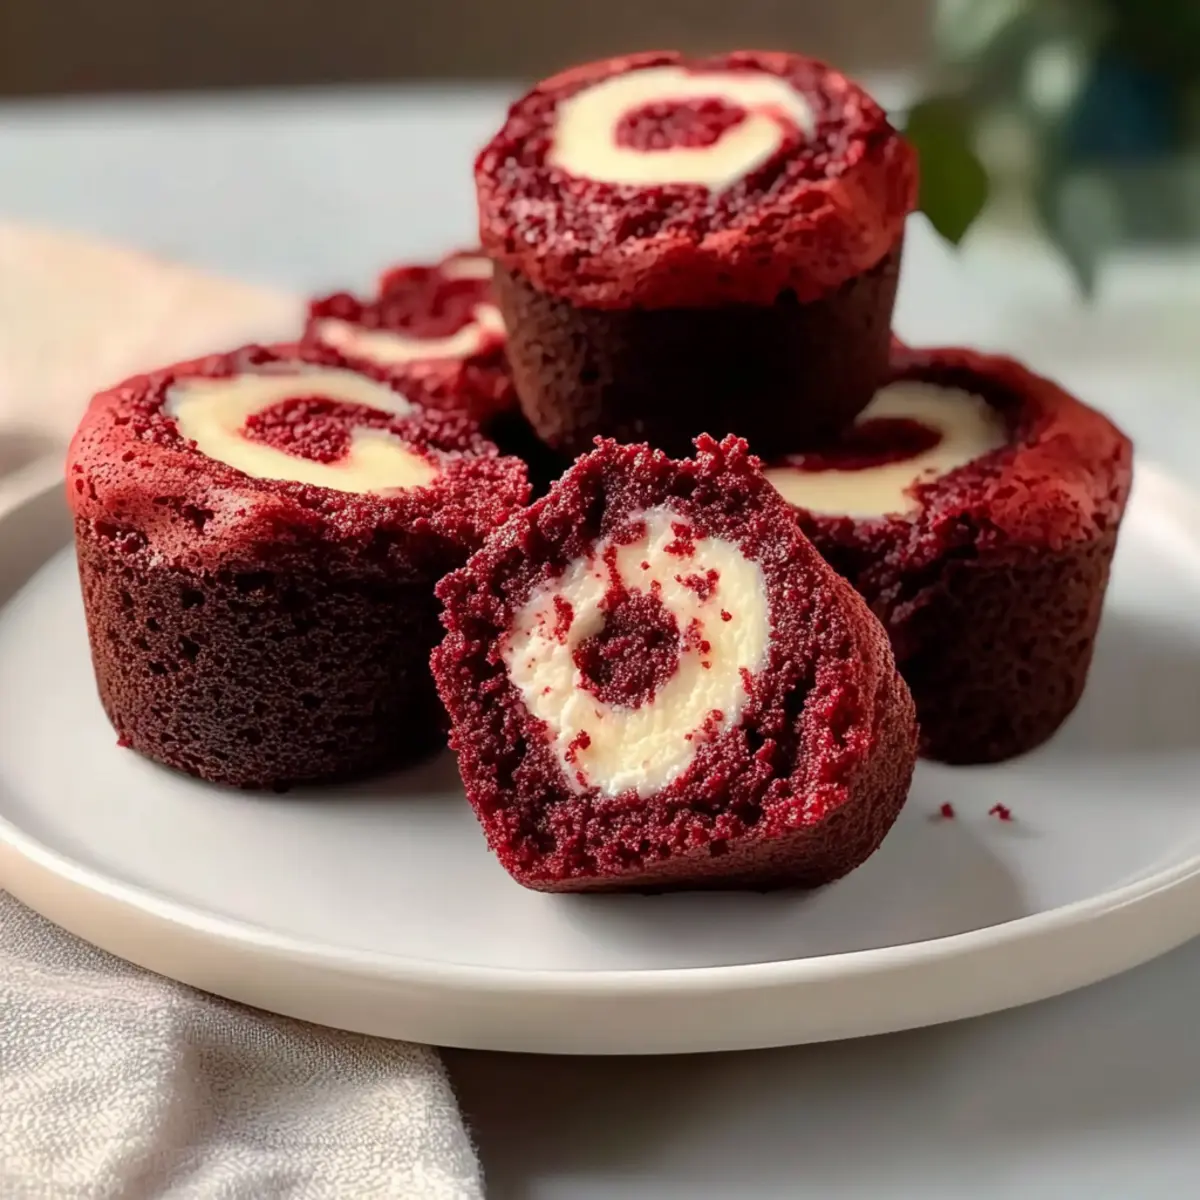
As I pulled the mini muffin pan from the oven, a bouquet of rich chocolate and sweet cream cheese filled my kitchen, instantly transporting me to dessert heaven. These delightful Red Velvet Brownie Bites are not just visually stunning with their vibrant color, but they also pack a fudgy, melt-in-your-mouth texture that makes each bite a pure indulgence. In just 15 minutes, you can whip up a batch of these easy-to-make treats that are perfect for family gatherings or a cozy night in. Plus, they’re a fantastic way to impress your guests without spending hours in the kitchen. Are you ready to add a pop of color and a burst of flavor to your dessert table? Follow along, and let’s dive into this irresistible recipe!
Why Are These Brownie Bites Irresistible?
Indulgent Flavor: Each bite offers a luxurious combination of rich chocolate and creamy cheesecake that elevates your dessert game.
Quick and Easy: With just 15 minutes in the oven, these treats come together faster than you can say “fast food.”
Visual Appeal: Bright red color makes them a showstopper for any gathering or celebration.
Fudgy Perfection: Enjoy a dense, fudgy texture that melts in your mouth, unlike any brownies you’ve had before.
Crowd-Pleasing: These brownie bites are a sure hit with friends and family—compelling enough to keep them coming back for more!
Pair these bites with a glass of cold milk or even a scoop of vanilla ice cream for a delightful experience. For another delicious treat, check out my recipe for Garlic Butter Beef Bites. Happy baking!
Red Velvet Brownie Bites Ingredients
For the Brownie Batter
• Butter – Provides richness and moisture; use unsalted for better control of salt levels.
• Granulated Sugar – Sweetness and structure; this is the traditional choice for brownie texture.
• Cocoa Powder – Gives the brownies their deep chocolate flavor; natural cocoa is preferred for red velvet color.
• Vanilla Extract – A must-have to enhance the overall flavor of the brownies.
• Red Food Coloring – Essential for that striking red hue; gel food coloring works best for vivid results.
• Salt – Balances sweetness and enhances the overall flavor profile.
• Espresso Powder – Deepens the chocolate flavor without imparting any coffee taste.
• Vinegar – Adds acidity to enrich both the color and flavor, making the brownies more vibrant.
• Eggs – Offer structure and moisture; use room temperature eggs for best incorporation.
• All-Purpose Flour – The main structural component; avoid overmixing to retain the fudgy texture.
For the Cream Cheese Swirl
• Cream Cheese – Essential for that delightful cheesecake swirl; ensure it’s at room temperature for easy mixing.
• Additional Sugar – Sweetens the cream cheese filling, adding a perfect touch of sweetness.
• Egg Yolk – Adds extra richness to the cream cheese mixture, enhancing the overall flavor.
Using these ingredients, your Red Velvet Brownie Bites will become a luxurious treat loved by all!
Step‑by‑Step Instructions for Fudgy Red Velvet Brownie Bites
Step 1: Preheat the Oven
Begin by preheating your oven to 350°F (175°C). While it heats up, take a moment to thoroughly grease a mini muffin pan using non-stick spray or butter, ensuring each cup is well-coated. This step is crucial for a smooth release of your delightful red velvet brownie bites once they’re baked.
Step 2: Prepare the Cocoa
In a mixing bowl, sift the cocoa powder to eliminate any lumps, creating a fine texture. This crucial step ensures your brownie batter is smooth and evenly mixed. Doing this ahead of time will contribute to that luxurious fudginess in the final product.
Step 3: Combine the Wet Ingredients
In a medium bowl, melt the butter on low heat, then combine it with sugar, the sifted cocoa powder, vanilla extract, red food coloring, salt, espresso powder, and vinegar. Mix these ingredients thoroughly until they form a homogenous mixture, with the rich chocolate color coming through beautifully, showcasing the essence of your red velvet brownie bites.
Step 4: Add the Eggs
Next, whisk in the eggs, adding one at a time, and ensure that each egg is fully incorporated before adding the next. This method gives your brownie bites the structure and moisture they need while helping to create that delightful fudgy texture.
Step 5: Incorporate the Flour
Gently fold in the all-purpose flour using a spatula until just combined, being careful not to overmix. Overmixing can lead to a dense texture instead of the desired fudginess in your red velvet brownie bites. Keep an eye on the batter; it should remain thick and slightly glossy.
Step 6: Prepare the Cream Cheese Swirl
In a separate bowl, beat the room-temperature cream cheese with a little sugar and vanilla extract until smooth and creamy. Then, gently fold in the egg yolk for extra richness. This cream cheese mixture will create a deliciously sweet contrast to the chocolatey brownie batter.
Step 7: Layer the Batter
Spoon 1 tablespoon of the brownie batter into each greased muffin cup, followed by about 1 teaspoon of the cream cheese filling. Finish off with another teaspoon of brownie batter on top, ensuring an even distribution across all cups to showcase the beautiful layers of your red velvet brownie bites.
Step 8: Swirl the Layers
Using a toothpick, gently swirl the layers in a figure-eight motion, being careful not to blend them too much. This creates a stunning marbled effect that will make your red velvet brownie bites visually appealing while ensuring each bite includes both brownie and cream cheese swirl.
Step 9: Bake to Perfection
Place the muffin pan in the preheated oven and bake for about 12 minutes. The tops should be set and spring back slightly when touched. To avoid overbaking, start checking at the 10-minute mark, as the brownie bites will continue to firm up slightly after removal.
Step 10: Cool and Enjoy
Once baked, let the brownie bites cool in the pan for 5 minutes before carefully transferring them to a wire rack to cool completely. This step ensures they hold their shape and stay fudgy inside. Now, savor the beautiful creation of your red velvet brownie bites when they’re ready to serve!
Make Ahead Options
These Fudgy Red Velvet Brownie Bites are perfect for meal prep enthusiasts looking to save time! You can prepare the brownie batter and cream cheese filling up to 24 hours in advance. Just store each component in separate airtight containers in the refrigerator to maintain their freshness. When you’re ready to bake, simply combine them as instructed and swirl the layers before baking. This method ensures the flavors meld beautifully while saving you precious time on busy days. For even longer storage, you can freeze the baked brownie bites wrapped individually for up to 3 months. Just thaw them at room temperature for an indulgent treat that’s just as delicious as fresh-baked!
Expert Tips for Red Velvet Brownie Bites
-
Avoid Overbaking: Always check your brownie bites at the 12-minute mark; they may look slightly underdone, but they will firm up while cooling.
-
Grease Well: Ensure your mini muffin pan is thoroughly greased to prevent the red velvet brownie bites from sticking, enabling easier removal.
-
Swirl Gently: When swirling the cream cheese mixture, use a light touch to maintain distinct layers. Too much mixing can blend the flavors instead of showcasing the beautiful contrast.
-
Room Temperature Ingredients: Use room temperature eggs and cream cheese. This helps achieve a smoother batter and a luxurious texture for your red velvet brownie bites.
-
Avoid Overmixing: When folding in the flour, mix just until combined. Overmixing can lead to a cakey texture instead of the desired fudginess in your delicious brownie bites.
-
Chill Before Serving: For the best flavor and texture, allow the brownie bites to cool completely before serving. The fudginess will be even more pronounced!
Red Velvet Brownie Bites Variations
Feel free to add your personal touch and make these delightful brownie bites just the way you like them!
-
Colorful Swaps: Substitute red food coloring with blue or green for fun-themed desserts.
-
Nutty Flavor: Add chopped walnuts or pecans to the brownie batter for a crunchy texture that contrasts beautifully with the fudginess.
-
Flavor Boost: Incorporate mint extract for a refreshing touch or orange zest for a citrusy kick in the brownie batter.
-
Swirl It Up: Try using a chocolate ganache swirl instead of cream cheese for a richer, chocolatey variation.
-
Add a Crunch: Mix in coconut flakes for added texture and a hint of tropical flavor that pairs nicely with chocolate.
-
Mini Chocolate Chips: Fold in mini chocolate chips to the brownie batter for extra sweetness and a delightful melt-in-your-mouth experience.
-
Vegan Option: Replace the eggs with flax eggs (1 tablespoon of ground flaxseed mixed with 2.5 tablespoons of water) and use applesauce instead of cream cheese for a vegan-friendly twist.
-
Heated Up: Add a pinch of cayenne pepper or chili powder to the batter for a surprising warmth that’ll give these brownie bites a delightful kick.
As you explore these variations, don’t hesitate to pair them with a glass of cold milk or serve them alongside a warm scoop of ice cream. If you’re looking for another indulgent treat, check out my recipe for Garlic Butter Beef Bites. Enjoy experimenting!
How to Store and Freeze Red Velvet Brownie Bites
Fridge: Store in an airtight container for up to 5 days to keep them fresh and fudgy. This allows the flavors to meld beautifully while maintaining that indulgent texture.
Freezer: Wrap each brownie bite individually in plastic wrap to prevent freezer burn, then place them in a resealable bag. They can stay frozen for up to 3 months.
Thawing: To enjoy your frozen red velvet brownie bites, simply thaw them in the fridge or at room temperature for about 30 minutes before serving.
Reheating: If you prefer them warm, pop them in the microwave for about 10-15 seconds to restore their fudgy goodness.
What to Serve with Fudgy Red Velvet Brownie Bites
Treat your taste buds to delightful pairings that complement these vibrant, fudgy delights perfectly.
-
Cold Milk: The classic pairing, milk balances the rich chocolate and tangy cream cheese, enhancing each fudgy bite with a refreshing creaminess.
-
Vanilla Ice Cream: Serve a scoop of creamy vanilla ice cream alongside to create a luscious contrast; the cold creaminess against the warm brownie is pure bliss.
-
Fresh Berries: Tart strawberries or raspberries provide a bright, fruity note that cuts through the sweetness, bringing a refreshing twist to your dessert experience.
-
Espresso: A shot of rich, bold espresso elevates the chocolate flavor, making every bite even more indulgent; it’s a grown-up pairing to savor after dinner.
-
Chocolate Sauce: Drizzle warm chocolate sauce over the brownie bites for an extra decadent touch. The ooey-gooey sauce provides a luxurious finish that chocolate lovers will adore.
-
Whipped Cream: Lighten up this rich dessert with a dollop of freshly whipped cream, adding a fluffy texture that contrasts with the fudgy bites beautifully.
-
Red Wine: For an unexpected pairing, try a glass of sweet red wine. The wine’s fruity notes harmonize well with the brownie’s rich flavors, making for a sophisticated treat.
-
Caramel Sauce: Drizzle with warm caramel for a sweet, buttery contrast that enhances the brownie flavor while adding a lovely sticky texture.
Red Velvet Brownie Bites Recipe FAQs
What kind of cocoa powder should I use for the brownie bites?
I recommend using natural cocoa powder for that classic red velvet color and flavor. Dutch-process cocoa can deepen the chocolate taste but may slightly alter the vibrant color of your brownie bites. If you’re aiming for the perfect red hue, natural cocoa is your best bet!
How should I store leftovers?
Store your red velvet brownie bites in an airtight container in the refrigerator for up to 5 days. This keeps them fresh and fudgy, allowing the flavors to meld beautifully. If they start to lose their texture, a quick trip to the microwave for about 10 seconds can warm them up nicely!
Can I freeze these brownie bites?
Absolutely! For longer storage, wrap each brownie bite individually in plastic wrap and then place them in a resealable freezer bag. They can be frozen for up to 3 months. To thaw, simply leave them in the fridge overnight or let them sit at room temperature for about 30 minutes before serving.
Why did my brownies turn out cakey instead of fudgy?
If your red velvet brownie bites turned out cakey, it might be due to overmixing the batter, particularly after adding the flour. Mix just until combined to maintain that delicious fudgy texture. Also, be sure not to overbake; they should be slightly underdone when you take them out, as they will continue to cook from residual heat.
Are there any allergy considerations with this recipe?
Yes! This recipe contains eggs, dairy (butter and cream cheese), and gluten (from all-purpose flour), which are common allergens. If you’re preparing these for someone with dietary restrictions, consider substituting with allergen-friendly options, like using almond milk cheese for the cream cheese swirl or gluten-free flour alternatives.
Can I make these brownie bites ahead of time?
Definitely! You can prepare the brownie batter and cream cheese filling a day in advance. Store them separately in airtight containers in the refrigerator. When you’re ready to bake, bring them to room temperature before layering them in the muffin pan. This makes it super easy to have a freshly baked dessert ready to serve without much hassle.
Fudgy Red Velvet Brownie Bites for Every Sweet Tooth
Ingredients
Equipment
Method
- Preheat your oven to 350°F (175°C) and grease a mini muffin pan.
- Sift the cocoa powder in a mixing bowl to eliminate lumps.
- Melt the butter, then combine it with sugar, cocoa powder, vanilla extract, food coloring, salt, espresso powder, and vinegar.
- Whisk in the eggs one at a time, ensuring each is fully incorporated.
- Gently fold in all-purpose flour using a spatula until just combined.
- Beat cream cheese with additional sugar and vanilla extract until smooth, then fold in the egg yolk.
- Spoon 1 tablespoon of brownie batter into each cup, add 1 teaspoon of cream cheese filling, then top with another teaspoon of brownie batter.
- Swirl layers with a toothpick to create a marbled effect.
- Bake for about 12 minutes and check at the 10-minute mark to avoid overbaking.
- Cool in the pan for 5 minutes before transferring to a wire rack.
Leave a Reply