
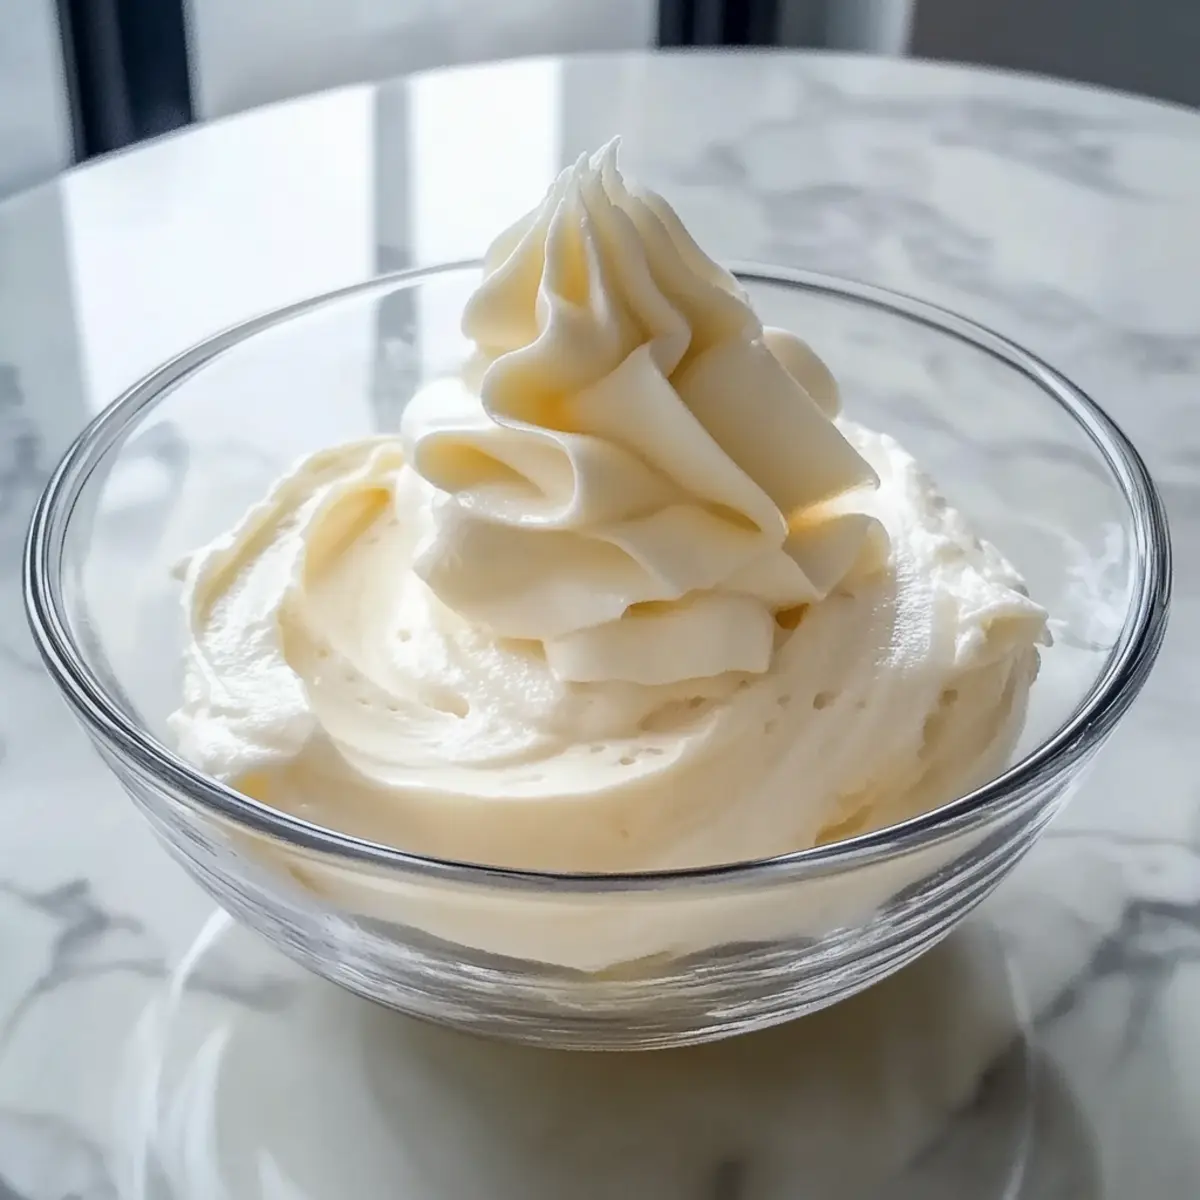
As I stood in my kitchen, surrounded by the sweet aroma of vanilla filling the air, I couldn’t help but feel a wave of excitement wash over me. There’s something magical about creating a Silky Vanilla Mousse Cake Filling that transforms your average cake into a celebration. This recipe not only achieves an airy texture that beautifully contrasts with denser cake layers, but it’s also incredibly versatile, accommodating various dietary preferences—gluten-free and vegan options included. Whether it’s a birthday party, holiday gathering, or just a cozy weekend treat, this mousse elevates any dessert with its light yet indulgent profile. Ready to dive into a world of delicious possibilities? Let’s explore how to whip up this delightful filling!
Why is This Mousse Recipe a Must-Try?
Versatile Delight: This Silky Vanilla Mousse Cake Filling can cater to everyone—vegan, gluten-free, or keto—making it the perfect addition to any dessert table.
Rich Flavor: The combination of vanilla extract and optional vanilla bean paste brings a deep, luxurious flavor that enhances every bite.
Light and Airy Texture: Its whipped consistency provides a fantastic mouthfeel, creating a delightful contrast with heavier cake layers.
Easy to Make: The straightforward steps ensure that even novice bakers can create this elegant filling without fuss.
Perfect for Any Occasion: Whether you’re serving it at a birthday party or a cozy dinner, this mousse adds a touch of sophistication to any celebration.
Pairing Options: Try serving it in conjunction with berry-filled layers or alongside a slice of Cinnamon Apple Cake for an unforgettable treat!
Silky Vanilla Mousse Cake Filling Ingredients
For the Mousse Base
- Heavy Cream – provides an airy body and lightness to the mousse, ensuring a delightful texture.
- Granulated Sugar – adds the necessary sweetness while helping the mousse maintain its dessert quality.
- Vanilla Extract & Vanilla Bean Paste – impart a deep vanilla flavor that enhances the overall taste of this silky vanilla mousse cake filling.
- Gelatin – offers structure and stability, allowing the mousse to retain its shape when layered.
- Cream Cheese (optional) – adds a creamy texture; you can skip this if you prefer a lighter filling.
For Whipping
- Powdered Sugar – sweetens the whipped cream for a balanced flavor without graininess.
Optional Flavor Enhancements
- Almond Extract or Citrus Zest – for a twist in flavor while layering with your favorite cakes!
This delightful recipe ensures you have everything you need for a delicious and elegant Silky Vanilla Mousse Cake Filling. Enjoy crafting your masterpiece!
Step‑by‑Step Instructions for Silky Vanilla Mousse Cake Filling
Step 1: Bloom the Gelatin
Begin by sprinkling gelatin over 2 tablespoons of cold water in a small bowl. Let it sit for about 5-10 minutes until it thickens and becomes spongy. This blooming process is crucial for achieving the perfect texture in your Silky Vanilla Mousse Cake Filling.
Step 2: Mix Base
In a mixing bowl, beat softened cream cheese until it’s smooth and creamy. Gradually add granulated sugar, mixing well until fully combined and fluffy. This base will provide a rich and creamy texture, enhancing the overall flavor of your mousse.
Step 3: Incorporate Flavor
Blend in the vanilla extract and a pinch of optional salt into the cream cheese mixture. The vanilla extract along with the optional vanilla bean paste brings an intense and vibrant flavor to your Silky Vanilla Mousse Cake Filling, making it truly irresistible.
Step 4: Melt Gelatin
Gently heat the bloomed gelatin in the microwave for about 10-15 seconds until it becomes liquid again. Carefully mix it into the cream cheese base gradually to ensure it incorporates smoothly without clumping. This step is essential for the stability of your mousse.
Step 5: Whip Cream
In a separate bowl, whip cold heavy cream with powdered sugar using an electric mixer on medium-high speed until soft peaks form. This airy whipped cream will create the light texture that characterizes your Silky Vanilla Mousse Cake Filling, making it fluffy and delightful.
Step 6: Fold Mixture
Gently fold the whipped cream into the cream cheese mixture in batches, using a spatula to combine until you achieve a uniform texture. Be careful not to deflate the whipped cream, as maintaining airiness is key to the lightness of your mousse.
Step 7: Chill
Transfer the mixture into a suitable container and refrigerate for about 20-30 minutes. This chilling time allows the Silky Vanilla Mousse Cake Filling to set slightly, making it easy to spread and layer between your favorite cakes or desserts.
Silky Vanilla Mousse Cake Filling Variations
Feel free to tailor this delicious mousse filling to your liking with these delightful ideas!
- Dairy-Free: Substitute heavy cream with coconut cream for a rich, tropical flavor without dairy.
- Vegan Magic: Replace gelatin with agar-agar for a plant-based thickener perfect for vegan diets. It sets beautifully!
- Chocolate Bliss: Mix in melted dark chocolate for a dreamy chocolate mousse filling, perfect for all the chocolate lovers.
- Fruit Infusion: Fold in pureed fruit like strawberries or mango for a fresh burst of flavor, creating a fruity twist.
- Almond Dream: Add a splash of almond extract instead of vanilla for a sweet, nutty aroma that elevates the mousse.
- Keto-Friendly: Use a sugar substitute like erythritol to keep it low-carb without sacrificing sweetness—perfect for keto diets.
- Nut-Free: Ensure all chocolate or flavor additions are certified nut-free to accommodate those with allergies.
- Zesty Citrus: Incorporate citrus zest, like lemon or orange, for an invigorating flavor contrast that brightens the mousse.
Whether you want to create a festive dessert for a special occasion or simply invigorate your everyday treats, consider pairing this mousse with a delightful cake or even a slice of Pumpkin Coffee Cake for a comforting indulgence. Enjoy mixing and matching flavors to create your perfect Silky Vanilla Mousse Cake Filling!
How to Store and Freeze Silky Vanilla Mousse Cake Filling
Fridge: Store leftover Silky Vanilla Mousse Cake Filling in an airtight container in the refrigerator for up to 3 days. This maintains its light texture and flavor.
Freezer: For longer storage, freeze the mousse in a sealed container or freezer bag for up to 2 months. Allow it to thaw overnight in the fridge before use for the best consistency.
Reheating: If defrosted mousse appears slightly separated, gently re-whip it with a hand mixer on low speed to restore its airy quality before serving.
Preparation Ahead: You can prepare the mousse a day in advance; however, it’s ideal to consume it within a few days for the best taste and texture.
Make Ahead Options
These Silky Vanilla Mousse Cake Filling preparations are perfect for meal prep enthusiasts looking to save time during busy weeks! You can prepare the mousse base up to 3 days in advance. Simply follow the recipe until the chilling step, then transfer the filling to an airtight container and refrigerate. This keeps it fresh and maintains that delightful texture. For best results, avoid folding in the whipped cream until just before serving to ensure it remains fluffy and airy. When you’re ready to serve, gently fold in the whipped cream and refrigerate for about 30 minutes to slightly set again, resulting in a deliciously light mousse that’s just as exquisite as if you made it the same day!
What to Serve with Silky Vanilla Mousse Cake Filling
Transform your dessert experience by pairing this airy mousse filling with delightful accompaniments that elevate its elegance.
- Fresh Berries: The tartness of strawberries and raspberries complements the sweetness of the mousse, adding color and a refreshing burst.
- Chocolate Ganache: Drizzling warm chocolate ganache over your mousse cake creates a luxurious contrast between sweet and rich flavors, delighting every palate.
- Almond Cookies: The nutty crunch of almond cookies provides a wonderful texture variance, making each bite a contrast of smooth and crunchy.
- Citrus Zest: Sprinkling lemon or orange zest on top enhances the mousse’s vanilla notes, adding brightness and a zesty twist for a refreshing finish.
- Whipped Cream: A dollop of lightly sweetened whipped cream boosts the lightness and adds an extra touch of indulgence, perfect for those cream lovers!
- Sparkling Wine: Serve alongside a glass of bubbly to accentuate the lightness of the mousse, creating a celebratory pairing for festive gatherings.
- Mint Leaves: Garnish with fresh mint leaves for a pop of color and an aromatic hint, brightening the dessert and providing a sense of freshness.
- Coconut Flakes: Topped with toasted coconut flakes, your mousse cake gains a tropical flair, enhancing its appeal for a more exotic treat.
- Caramel Sauce: A drizzle of salted caramel adds a sweet and savory element that pairs beautifully with the lightness of the Silky Vanilla Mousse Cake Filling.
Expert Tips for Silky Vanilla Mousse Cake Filling
-
Ingredient Temperatures: Ensure all ingredients are at room temperature before mixing to avoid clumping and achieve a smooth, integrated filling.
-
Whipping Cream: Use cold heavy cream for whipping; it helps achieve a greater volume and the ideal fluffy texture for your Silky Vanilla Mousse Cake Filling, ensuring it stays light.
-
Gelatin Consistency: Make sure to fully dissolve the bloomed gelatin before adding it to the mixture; undissolved gelatin can result in a lumpy mousse.
-
Folding Technique: Gently fold the whipped cream into the cream cheese mixture to maintain that airy texture; overmixing can deflate the mousse, leading to a heavier final product.
-
Chilling Time: Don’t rush the chilling step; allowing adequate time in the fridge helps the mousse set properly, ensuring it’s easy to spread and layer.
-
Flavor Variations: Feel free to experiment with flavor alternatives like almond or citrus zest; just remember to adjust the overall sweetness to balance the flavors in your Silky Vanilla Mousse Cake Filling.
Silky Vanilla Mousse Cake Filling Recipe FAQs
How do I select the best vanilla for my mousse?
Absolutely! To elevate the flavor of your Silky Vanilla Mousse Cake Filling, opt for high-quality vanilla extract or pure vanilla bean paste. Look for extracts made from real vanilla beans rather than artificial ones, as they offer a richer and more nuanced flavor. When selecting bean paste, choose one with visible vanilla specks for that authentic touch—it’s worth it!
What’s the best way to store leftover mousse?
Leftover Silky Vanilla Mousse Cake Filling should be stored in an airtight container in the refrigerator, where it can last for up to 3 days. To preserve its fluffy texture, avoid any exposure to air, which can lead to drying out or hardening. When you’re ready to serve, a gentle re-whip will restore its delightful consistency.
Can I freeze Silky Vanilla Mousse Cake Filling?
Yes, indeed! You can freeze your mousse for up to 2 months. To do this, spoon the mousse into a sealable freezer bag or airtight container and press out as much air as possible before sealing. When you’re ready to enjoy it, thaw overnight in the fridge. If it seems a bit separated after thawing, simply re-whip it with a hand mixer on low speed until it regains its airy texture.
What if my mousse doesn’t set properly?
Very often, an unset mousse can be attributed to undissolved gelatin. If your mousse isn’t firming up, try gently reheating the gelatin mixture before adding it to the base, ensuring it’s completely melted. For any future attempts, make sure to bloom the gelatin correctly and mix it thoroughly into the filling—this helps maintain structure and enhances the overall result of your Silky Vanilla Mousse Cake Filling.
Is this recipe suitable for those with allergies?
The beauty of this Silky Vanilla Mousse Cake Filling lies in its versatility! For those with dairy allergies, simply substitute heavy cream with coconut cream or another non-dairy alternative, and use vegan cream cheese if needed. To ensure it’s nut-free, double-check all ingredient labels for potential cross-contamination. This way, everyone can indulge in the creamy goodness without worry!

Silky Vanilla Mousse Cake Filling for Elegant Celebrations
Ingredients
Equipment
Method
- Sprinkle gelatin over 2 tablespoons of cold water in a small bowl and let it sit for 5-10 minutes to bloom.
- Beat softened cream cheese until smooth and creamy. Gradually add granulated sugar until fluffy.
- Blend in vanilla extract and a pinch of optional salt into the cream cheese mixture.
- Gently heat bloomed gelatin in the microwave for 10-15 seconds until liquid and mix into cream cheese base.
- Whip cold heavy cream with powdered sugar until soft peaks form.
- Fold whipped cream into the cream cheese mixture in batches, being careful not to deflate the whipped cream.
- Transfer the mixture to a container and refrigerate for 20-30 minutes to chill and set.
Leave a Reply