
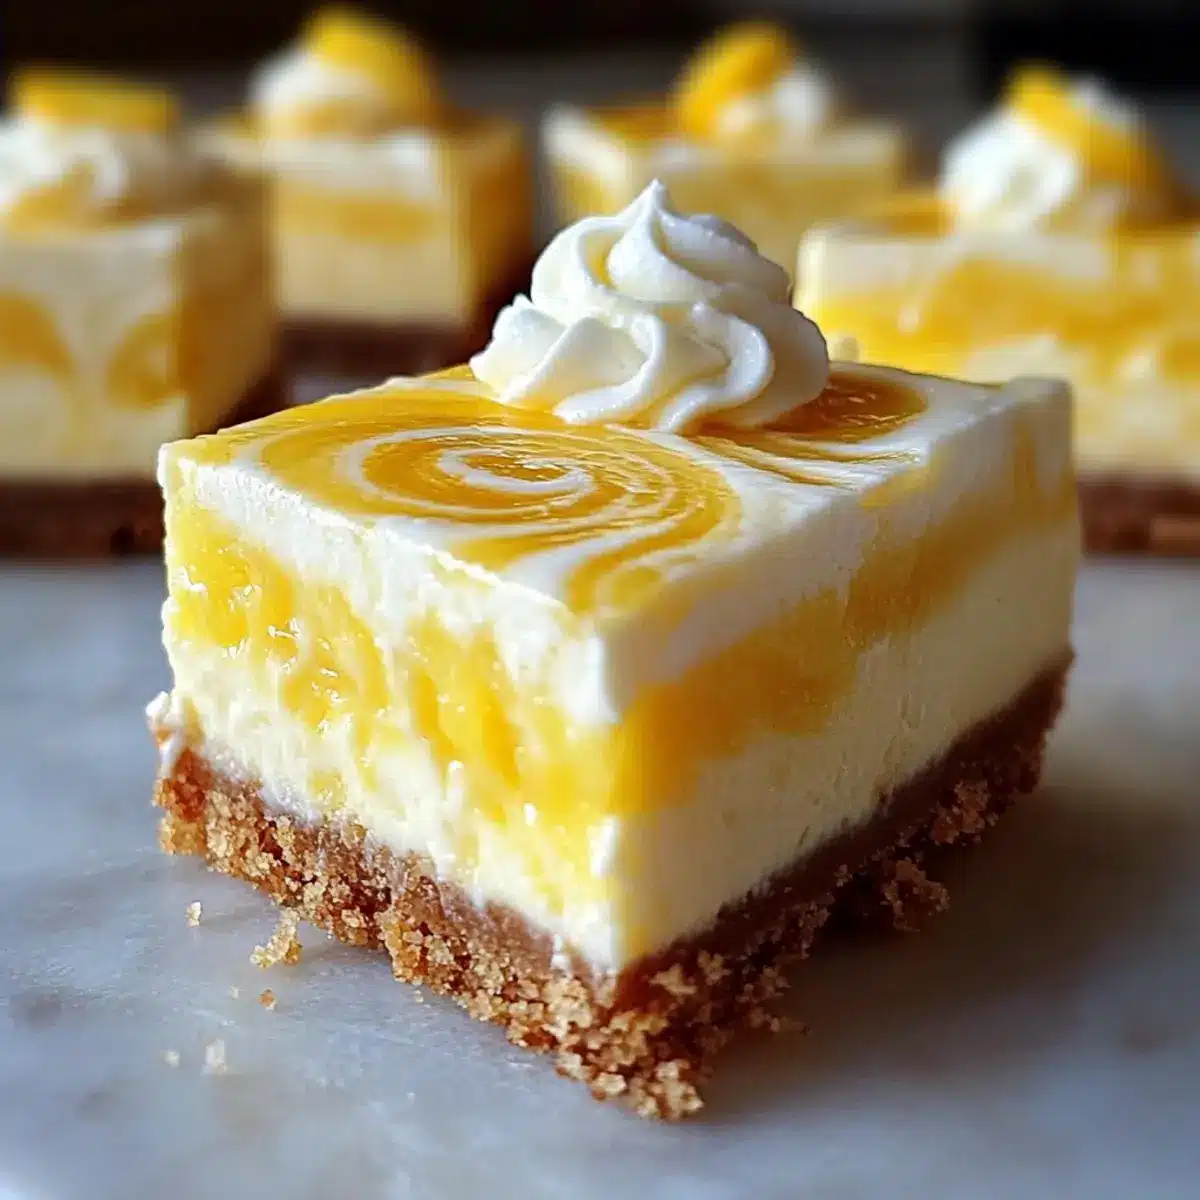
As I stood in my kitchen, the scent of freshly zested lemons wafted through the air, instantly transporting me to sun-drenched summer picnics. If you’re craving a dessert that captures that perfect balance of creamy goodness and zesty brightness, then these Lemon Marbled Cheesecake Bars are calling your name! With a smooth, velvety filling swirled with vibrant lemon hues and a satisfying graham cracker crust, these bars are not just a delight for the taste buds but also make for an effortlessly impressive dessert. They’re easy to whip up and can even be made gluten-free if you swap out the crust. Perfect for both casual gatherings and special occasions, these bars have a way of bringing people together. So, are you ready to sweeten your day with a zesty twist?
Why Will You Adore These Cheesecake Bars?
Simplicity at its finest: With just a handful of ingredients, these Lemon Marbled Cheesecake Bars are a breeze to make.
Citrusy Bliss: The fresh lemon zest brightens every single bite, making it the ultimate summer dessert.
Texture Contrast: Enjoy the delightful crunch of the graham cracker crust paired with the creamy filling that melts in your mouth.
Versatile Serve: Perfect for any occasion, whether it’s a casual family dinner or a chic garden party.
Gluten-Free Option: Easily accommodate dietary needs by swapping the crust for a gluten-free alternative, so everyone can indulge!
So, if you’re on the hunt for a refreshing treat, these bars are sure to impress—just like the delightful Lemon Oatmeal Crumble or Light Choux Pastries.
Lemon Marbled Cheesecake Bars Ingredients
For the Cheesecake Filling
• Cream Cheese – provides the rich, creamy base; ensure it’s at room temperature for a smooth texture.
• Granulated Sugar – sweetens the filling and balances the tartness of the lemon perfectly.
• Fresh Lemons – adds natural zest and juice for vibrant flavor; bottled lemon juice can substitute, but fresh is recommended for depth.
• Eggs – binds the filling together while providing essential structure.
For the Crust
• Graham Cracker Crumbs – creates a crunchy base that complements the creamy filling; swap with gluten-free crumbs for a gluten-free version.
• Butter – adds richness and helps bind the crust together; melted unsalted butter is preferred for even mixing.
These delightful Lemon Marbled Cheesecake Bars are easy to whip up and sure to brighten any gathering!
Step‑by‑Step Instructions for Lemon Marbled Cheesecake Bars
Step 1: Prepare the Crust
Preheat your oven to 350°F (175°C) and gather a 9×9-inch baking dish. In a mixing bowl, combine graham cracker crumbs and melted unsalted butter until well-mixed. Press this mixture firmly into the bottom of the baking dish to create an even layer. Bake in the preheated oven for about 10 minutes, or until the crust turns golden brown. Once done, allow it to cool completely.
Step 2: Make the Filling
In a large mixing bowl, beat the room-temperature cream cheese with granulated sugar using an electric mixer on medium speed until the mixture becomes smooth and creamy. This should take about 3-4 minutes. To avoid lumps, make sure the cream cheese is soft. Gradually add eggs, one at a time, mixing gently after each addition until just combined; this will create a rich filling for your Lemon Marbled Cheesecake Bars.
Step 3: Incorporate Lemon
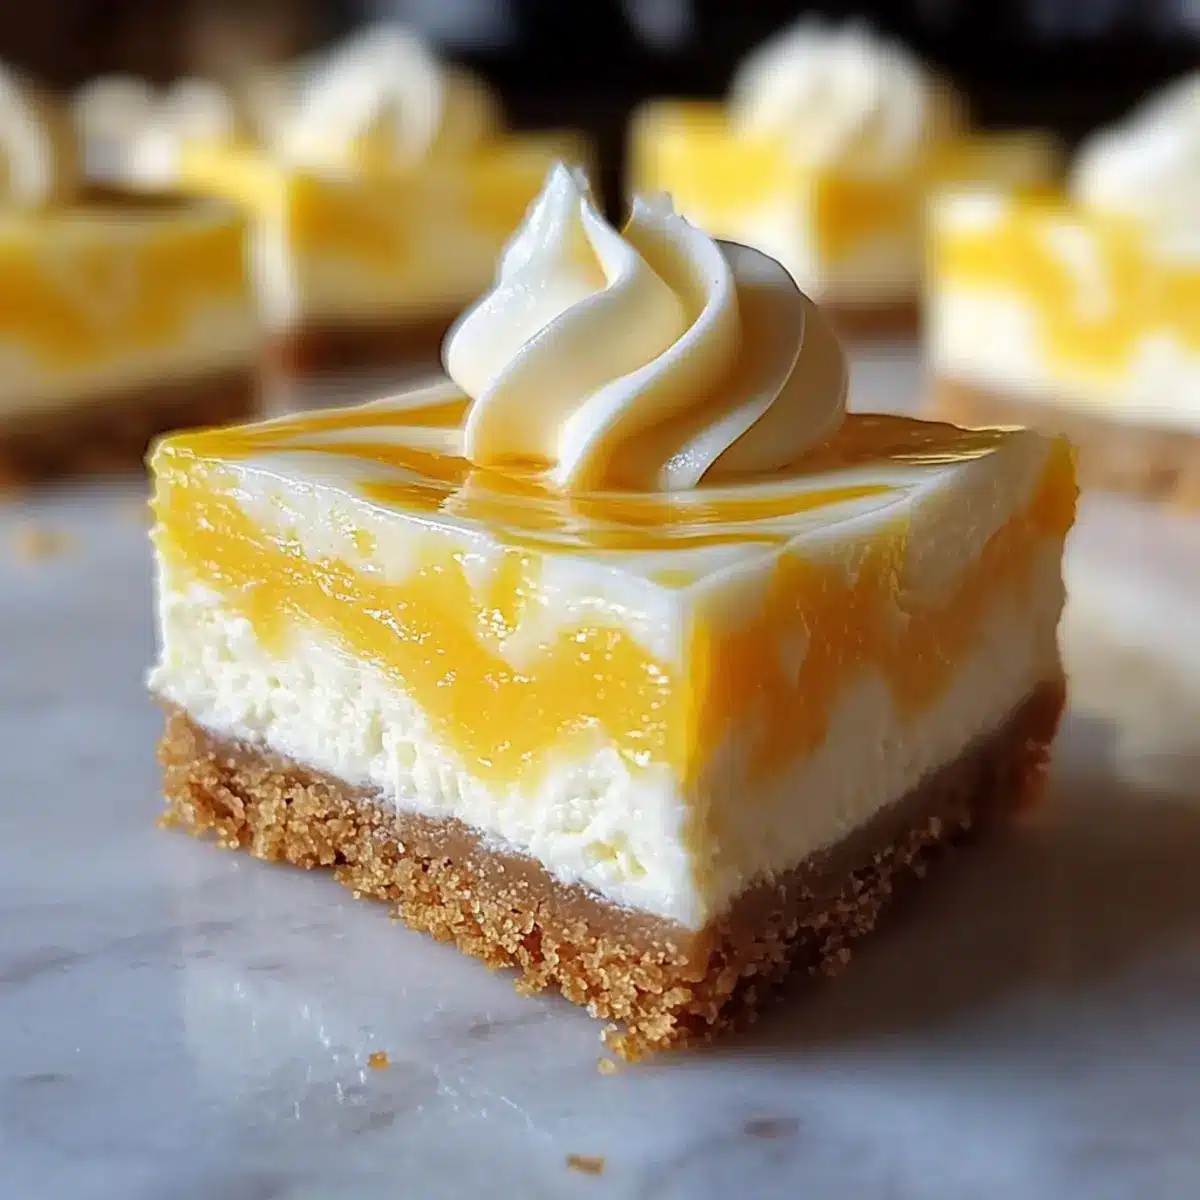
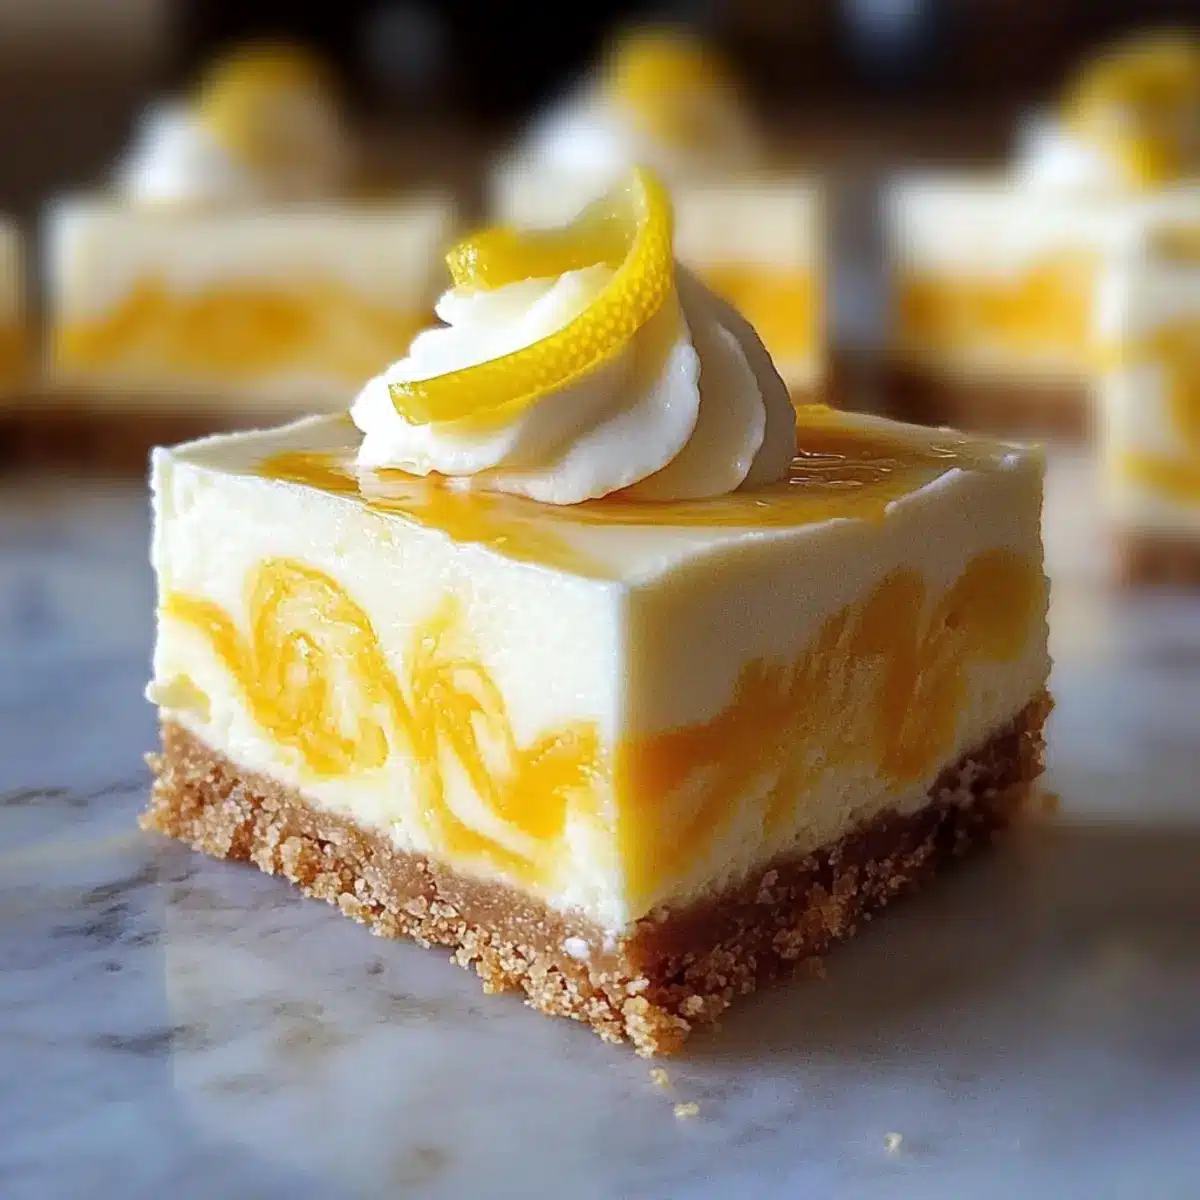
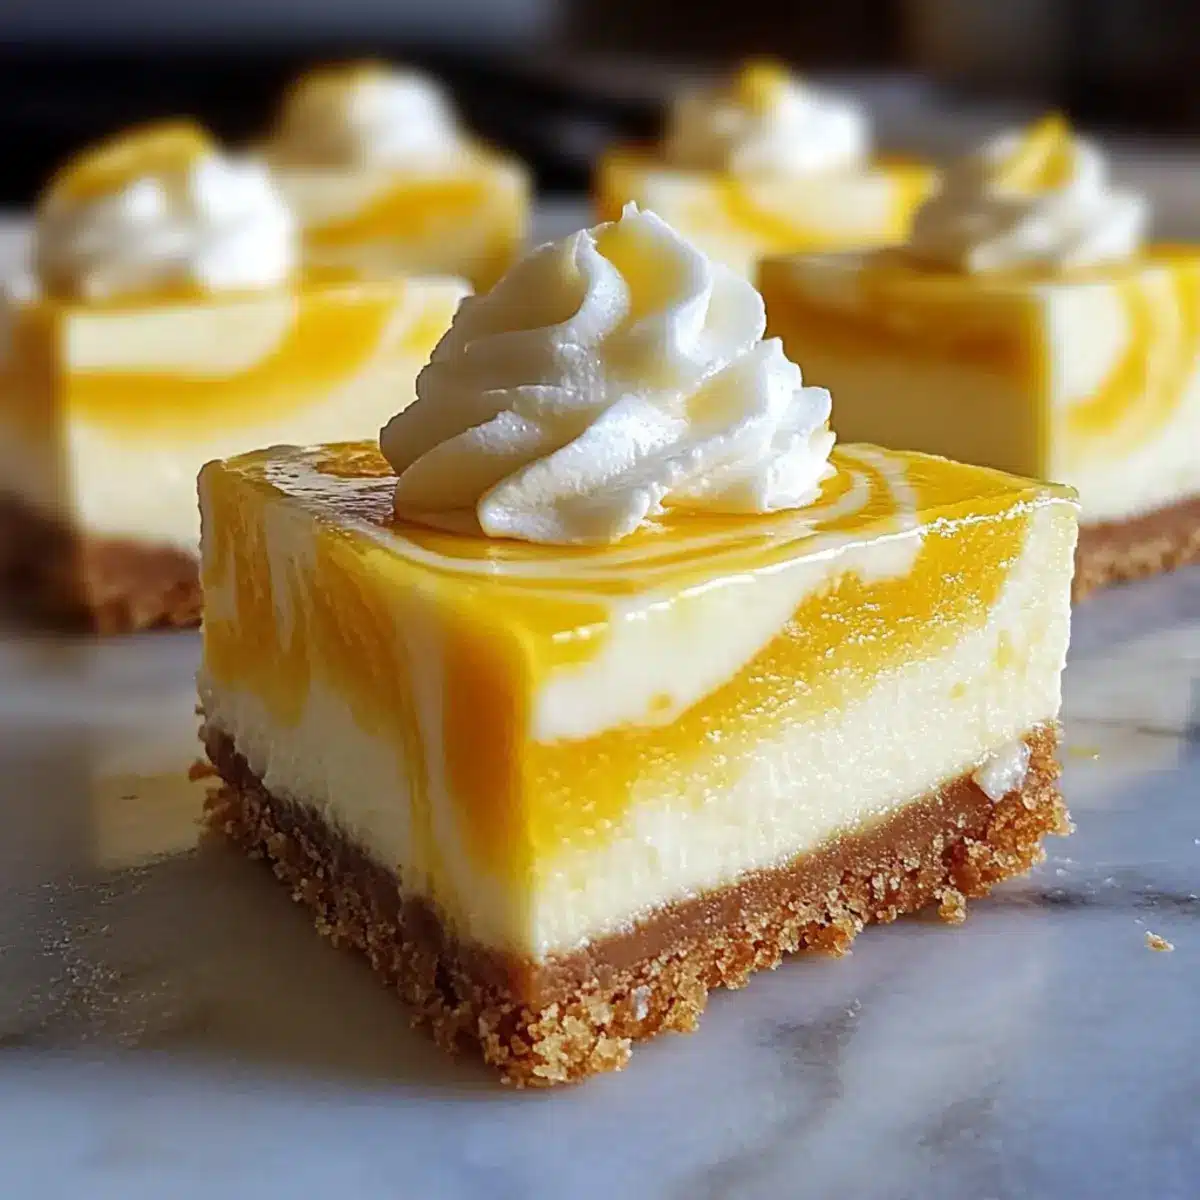
Zest and juice fresh lemons to capture that vibrant flavor, measuring about 1/4 cup of juice and zesting the same amount of lemons. Stir the lemon juice and zest into the cream cheese mixture until evenly combined. Next, carefully swirl this lemon mixture into the cheesecake filling with a spatula, creating a beautiful marbled effect that will enhance the overall flavor of the Lemon Marbled Cheesecake Bars.
Step 4: Bake
Pour the luscious lemon-infused filling over the cooled crust, using a spatula to spread it evenly. Place the dish in the oven and bake for 25-35 minutes. You’ll know it’s ready when the edges are set and the center has a slight jiggle. Keep an eye on it to avoid over-baking, as this can lead to cracks in the bars.
Step 5: Cool
Once baked, turn off the oven and leave the Lemon Marbled Cheesecake Bars inside with the door slightly ajar for about an hour. This gradual cooling process helps prevent cracks while giving the bars a chance to set fully. After that, remove the dish from the oven and refrigerate for at least 2 hours, or preferably overnight, to achieve a firm consistency before slicing into squares.
Expert Tips for Lemon Marbled Cheesecake Bars
- Room Temperature Cheese: Ensure your cream cheese is at room temperature to avoid lumps in the filling; this creates a silky texture.
- Gentle Mixing: Mix eggs into the batter gently; over-mixing after adding them can lead to cracks on the surface of your bars.
- Slow Cooling: Allow the cheesecake bars to cool gradually in the oven with the door ajar to minimize cracking; a sudden temperature drop can cause them to split.
- Proper Storage: Refrigerate leftover Lemon Marbled Cheesecake Bars in an airtight container for up to five days, or freeze individually for future sweet cravings.
- Adjust Crust Thickness: Use a different baking dish size to make thicker or thinner bars, but remember to check the baking time accordingly!
Lemon Marbled Cheesecake Bars Variations
Feel free to get creative and transform these delectable bars into your own signature treat to delight friends and family!
- Citrus Twist: Substitute fresh lemons with limes or oranges for a unique flavor profile. The bright notes will bring a refreshing zing!
- Nutty Crust: Use crushed almonds or walnuts instead of graham crackers for a gluten-free, nutrient-packed twist. These nuts add an earthy crunch that contrasts beautifully with the creamy filling.
- Berry Surprise: Fold in some fresh blueberries or raspberries into the cheesecake mixture for bursts of flavor and color. Not only do they elevate the taste, but they also create a beautiful marbled effect.
- Chocolate Drizzle: Enhance your bars by drizzling melted dark chocolate over the top before slicing. This adds a rich touch that pairs perfectly with the zesty lemon.
- Herb Infusion: Add a hint of fresh basil or mint into the lemon mixture for a sophisticated flavor twist. This herbal note can awaken your taste buds in a delightful way.
- Spiced Up: Incorporate ground ginger or cardamom into the filling for a warm, aromatic twist. This imparts an unexpected depth that will surprise and delight everyone.
- No-Bake Option: For a refreshing summer treat, turn these bars into a no-bake version by using a setting agent like gelatin or agar-agar in the filling, resulting in a lighter dessert.
- Freezing Joy: Freeze individual portions of these bars for a quick treat anytime! Simply wrap them up and enjoy a frosty delight whenever the mood strikes.
If you’re looking for other delightful recipes to try, check out Lemon Oatmeal Crumble or indulge in some Light Choux Pastries for a twist on classic desserts!
What to Serve with Lemon Marbled Cheesecake Bars
Imagine delightful flavors and eye-catching textures that perfectly complement your dessert masterpiece!
- Whipped Cream: This light and airy topping enhances the bars’ richness while adding a touch of creaminess. A dollop on each slice turns them into a heavenly treat.
- Fresh Berries: Juicy strawberries or tart raspberries provide a refreshing contrast to the sweet and creamy bars, adding both color and a burst of flavor.
- Mint Leaves: Fresh mint leaves not only jazz up the presentation but also offer a crisp and aromatic note that beautifully balances the zesty lemon flavor.
- Gelato: A scoop of lemon or vanilla gelato adds an extra layer of creaminess and elevates the dessert experience, making each bite even more indulgent.
- Iced Tea: A refreshing glass of sweetened iced tea pairs beautifully with the zesty profile of the bars, enhancing your overall meal.
- Chocolate Drizzle: For chocolate lovers, a simple chocolate drizzle can add a contrasting flavor and richness, creating a unique taste experience.
- Coconut Flakes: Toasted coconut flakes scattered on top or alongside the bars provide an extra crunch and a hint of tropical flavor that pairs beautifully with lemon.
- Coffee: The rich and robust notes of a freshly brewed coffee round out the flavors perfectly, making for a cozy and comforting dessert pairing.
- Fruit Salad: Serve a colorful and vibrant fruit salad alongside for a light, fresh addition, making your dessert feel even more festive and summery.
Make Ahead Options
These Lemon Marbled Cheesecake Bars are perfect for meal prep and save you precious time on busy days! You can prepare the graham cracker crust up to 3 days in advance. Just bake it, let it cool completely, and then wrap it tightly in plastic wrap at room temperature. The cheesecake filling can be made 24 hours ahead as well; simply prepare as directed, pour it over the crust, and bake. After baking, allow the bars to cool gradually in the oven for the best results and refrigerate them overnight for optimal texture. When it’s time to serve, just slice, and enjoy these delightful treats that taste just as delicious as when freshly made!
How to Store and Freeze Lemon Marbled Cheesecake Bars
Fridge: Keep your Lemon Marbled Cheesecake Bars in an airtight container for up to 5 days for the best freshness and flavor.
Freezer: For longer storage, freeze the bars individually wrapped in plastic wrap and then in aluminum foil. They’ll last for up to 3 months.
Thawing: To enjoy frozen bars, thaw them in the fridge overnight before serving. This will preserve their creamy texture.
Reheating: Serve chilled straight from the fridge or allow them to sit at room temperature for about 15 minutes for a softer bite.
Lemon Marbled Cheesecake Bars Recipe FAQs
How do I choose the best lemons for the filling?
Absolutely! When selecting lemons for your Lemon Marbled Cheesecake Bars, look for those that are firm, glossy, and heavy for their size. Avoid lemons with dark spots or wrinkles, as these may not be fresh. Fresh lemons will provide the best flavor, so opt for juicy ones that yield slightly when gently squeezed.
How should I store leftover cheesecake bars?
To keep your Lemon Marbled Cheesecake Bars fresh, refrigerate them in an airtight container for up to 5 days. This method retains their flavor and creaminess. If you don’t plan to eat them within that timeframe, consider freezing to extend their shelf life.
Can I freeze these cheesecake bars?
Absolutely! To freeze your Lemon Marbled Cheesecake Bars, wrap each individual piece tightly in plastic wrap, then place them inside a freezer-safe bag or container. They’ll stay fresh for up to 3 months. When you’re ready to enjoy them, simply thaw them in the refrigerator overnight.
What should I do if my cheesecake bars crack during baking?
Very common! To prevent cracks in your Lemon Marbled Cheesecake Bars, avoid over-mixing the batter, especially after adding the eggs. Also, bake them at a lower temperature and allow them to cool gradually in the oven with the door ajar. If cracks do appear, don’t fret! You can cover them with whipped cream or fruit for a delicious disguise.
Are these cheesecake bars safe for those with allergies?
When considering allergies, it’s important to note that this recipe contains dairy and eggs, which may not be suitable for those with lactose or egg allergies. For a gluten-free option, simply use gluten-free graham cracker crumbs in the crust. Always check with your guests regarding any specific dietary restrictions before serving.
Irresistible Lemon Marbled Cheesecake Bars - Creamy and Zesty
Ingredients
Equipment
Method
- Preheat your oven to 350°F (175°C) and gather a 9x9-inch baking dish. Combine graham cracker crumbs and melted butter, then press into the bottom of the baking dish. Bake for about 10 minutes until golden brown and cool completely.
- Beat the cream cheese with granulated sugar until smooth and creamy. Add eggs one at a time, mixing gently after each. This creates a rich filling.
- Zest and juice fresh lemons, measuring about 1/4 cup. Stir into the cream cheese mixture until combined. Carefully swirl the lemon mixture into the cheesecake filling.
- Pour the filling over the cooled crust and spread evenly. Bake for 25-35 minutes until edges are set and the center has a slight jiggle.
- Turn off the oven and leave the bars inside with the door ajar for about an hour to cool gradually. Refrigerate for at least 2 hours before slicing.
Leave a Reply