
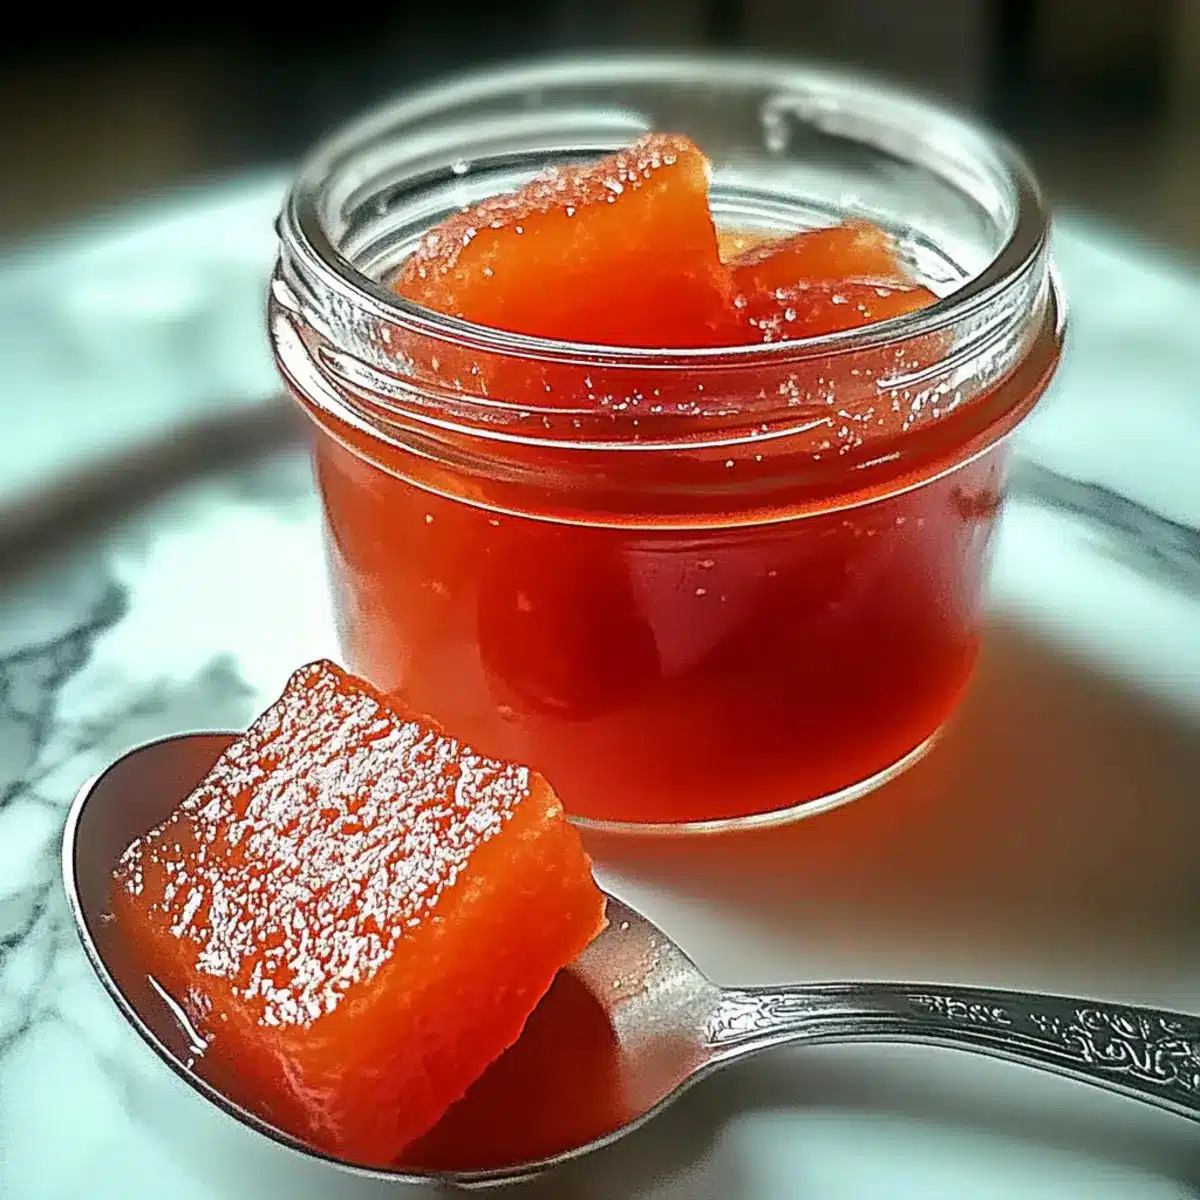
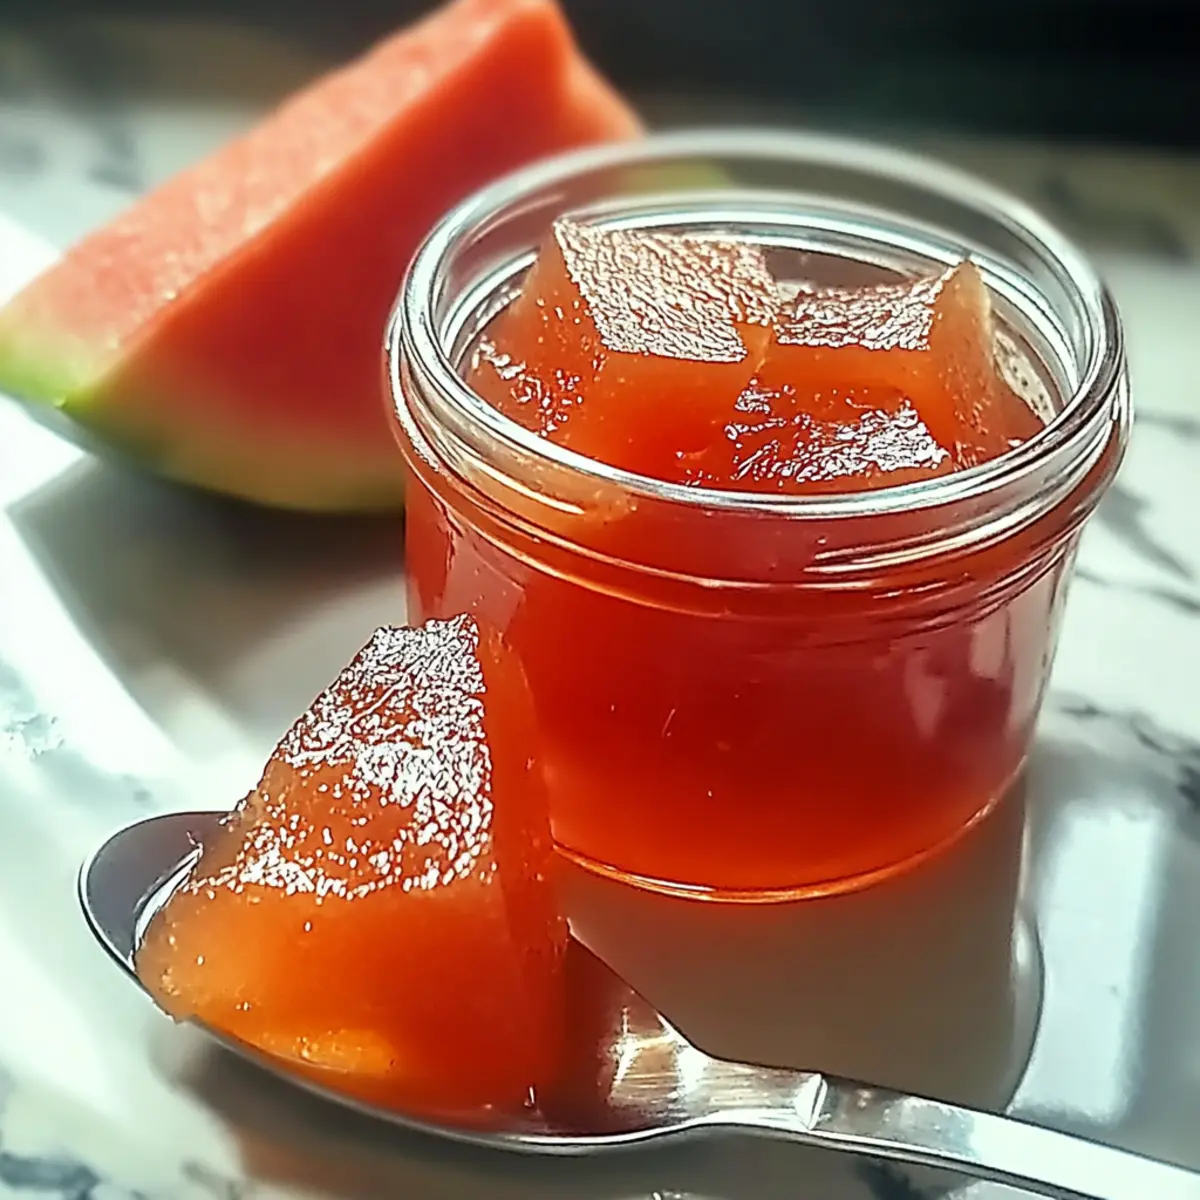
“Did you ever think about how much of a watermelon goes to waste? While we savor the sweet flesh, the rinds often end up in the compost. But what if I told you that we could transform those neglected remnants into scrumptious homemade Watermelon Rind Jellies? In just 30 minutes, you can whip up this delightful, tangy delight that’s perfect for spreading on toast or elevating desserts. Not only does this recipe allow us to enjoy every bit of our summer treat, but it’s also a fun and easy way to reduce food waste while impressing your family and friends. Curious about how to make this unique jelly that brings a taste of summer straight to your table?”
Why Choose Watermelon Rind Jellies?
Flavorful Twist: This homemade jelly captures summer’s essence with its vibrant, sweet, and tangy taste—perfect for anyone wanting to elevate their breakfast or dessert game.
Easy to Make: With just 30 minutes of prep, even novice cooks can whip this up, making it an excellent project for those looking to try something new.
Waste Not, Want Not: By utilizing often-discarded rinds, you’re not just making jelly—you’re embracing sustainable cooking practices, reducing food waste with every jar.
Versatile Delight: Perfect for spreading on toast or dolloping on yogurt, these jellies can also serve as innovative fillings for pastries or toppings for cheese boards.
Customizable Flavor: Feel free to get creative—try adding spices like ginger or switching in lime juice for added zing, making each batch a unique adventure!
Discover this delightful recipe and learn how to impress your friends with homemade jelly!
Watermelon Rind Jellies Ingredients
For the Jelly Base
• Watermelon Rind – This is the star ingredient; choose fresh and firm rinds for the best flavor.
• Water – Provides the necessary hydration to cook and soften the rind.
• Salt (½ tsp) – Enhances the natural flavor of the rind, balancing sweetness.
For Sweetness and Flavor
• Sugar (2 cups) – Adds sweetness to balance the tanginess; adjust according to your taste preference.
• Lemon Juice (1 lemon) – Freshly squeezed juice adds acidity and brightness to the jam, enhancing its flavor profile.
• Powdered Pectin (1 packet) – A crucial thickening agent to help achieve that perfect jelly consistency; follow package instructions closely for best results.
Transform those wasted watermelon rinds into delightful Watermelon Rind Jellies!
Step‑by‑Step Instructions for Watermelon Rind Jellies
Step 1: Prepare the Rind
Begin by washing the watermelon thoroughly. Carefully cut the watermelon into halves, then remove the green outer skin from the rind, leaving just the white part. Dice the rind into 1-inch cubes to maximize flavor extraction. This initial step sets a great foundation for your Watermelon Rind Jellies.
Step 2: Soak the Rind
Place the diced watermelon rind into a large bowl and immerse it in fresh water. Let it soak for approximately 30 minutes. This crucial soaking time softens the rind and enhances its flavor, ensuring your homemade jelly will have a texture and taste that delightfully captures summer.
Step 3: Cook the Jelly Base
After soaking, drain the watermelon rind and transfer it to a medium saucepan. Add 1 cup of water along with ½ teaspoon of salt. Bring the mixture to a rolling boil over medium heat, then reduce the heat and let it simmer for about 30 minutes. The rind should become tender during this process, releasing its natural essence.
Step 4: Strain the Mixture
Once the rind is soft, carefully pour the mixture through a fine-mesh sieve into a large bowl, ensuring that all the liquid is separated from the solids. This step is vital for making your Watermelon Rind Jellies smooth and spreadable. Set the strained liquid aside, while discarding the solids, and prepare for the next step.
Step 5: Add Sweetness and Flavor
Return the strained liquid to the saucepan. Add 2 cups of sugar, the freshly squeezed juice of 1 lemon, and 1 packet of powdered pectin. Stir the mixture well, ensuring the sugar dissolves completely. Then, bring it to a boil again. This is where your jelly starts transforming into a sweet, tangy delight.
Step 6: Thicken the Jelly
As the mixture reaches a rolling boil, continue to cook for about 10 minutes. Keep stirring occasionally until the jelly thickens to a gel-like consistency. You’ll know it’s ready when you can draw a spoon through it, and the mixture holds its shape momentarily. Watch for that vibrant color change as well!
Step 7: Jar the Jelly
Once thickened, remove the saucepan from heat and carefully pour the hot jelly into sterilized jars, leaving about ½ inch of headspace at the top. This step is essential to ensure your Watermelon Rind Jellies cool properly while minimizing the risk of spoilage. Wipe the rims clean to ensure a safe seal.
Step 8: Seal and Process
Immediately seal the jars with lids. To further preserve the jelly, process the filled jars in a boiling water bath for 5-10 minutes. Ensure there is at least an inch of water covering the jars during this step. This final touch secures your jellies and allows them to last longer on your pantry shelf.
Step 9: Cool Completely
After processing, remove the jars from the water bath and set them on a clean towel or cooling rack. Allow the jars to cool completely at room temperature. You’ll hear the satisfying pop of the seals as the jars cool, indicating that your watermelon rind jellies are properly sealed and ready for storage.
Expert Tips for Watermelon Rind Jellies
-
Choose Fresh Rinds: Use only firm and fresh watermelon rinds for the best flavor and texture, avoiding any soft or bruised pieces.
-
Avoid Overheating: Boil your jelly gently to prevent scorching. Stir regularly, especially as it thickens, to maintain an even consistency.
-
Test for Set: To check if the jelly is ready, place a spoonful on a cold plate. If it holds its shape after a minute, you’ve achieved the right consistency for your Watermelon Rind Jellies.
-
Reheat as Needed: If your jelly doesn’t set after the initial boiling, add a bit more powdered pectin, reheat, and boil for an additional 5-10 minutes.
-
Use Proper Sterilization: Ensure jars are well-sterilized before pouring in the jelly, which is crucial for long-lasting storage and preventing spoilage.
Watermelon Rind Jellies Variations
Personalize your homemade Watermelon Rind Jellies for unique flavors and textures that all your loved ones will rave about!
-
Spicy Kick: Add a pinch of cayenne pepper for a surprising heat that contrasts beautifully with the sweetness of the jelly.
-
Citrus Swap: Replace lemon juice with lime or orange juice to infuse a different fruity dimension. The zesty zing can transform your jellies into a tropical treat!
-
Herbal Infusion: Steep fresh mint or basil in the cooking water to add a refreshing herbal note. It’s an unexpected twist that will elevate your jelly to gourmet status!
-
Choco Twist: Stir in a couple of tablespoons of cocoa powder into the mixture for a chocolate version—perfect for dessert lovers looking for a sweet surprise.
-
Berry Blend: Mix in crushed berries, like raspberries or strawberries, during the boiling stage for a delightful fruity blend that changes both color and flavor.
-
Ginger Zing: Grate fresh ginger and add it to the pot while simmering. This will create a warm, spicy note that dances on your taste buds.
-
Vanilla Creamy: Add a splash of vanilla extract right before jarring for a subtle creaminess that complements the sweet and tangy notes of the jelly.
-
Mango Magic: Puree some ripe mango and blend it into the mixture before boiling for a delightful fusion of watermelon and mango flavors, capturing the essence of summer in each spoonful.
Explore these variations to make the recipe truly your own, and don’t forget to check out other adventurous spreads like homemade jelly to inspire your next kitchen project!
What to Serve with Watermelon Rind Jellies
Imagine a delightful feast where sweet, tangy jellies dance on your table, enhancing every bite of your meal.
- Toasted Sourdough: Warm, crispy slices of sourdough provide a perfect canvas to showcase the jelly’s vibrant flavors, adding a rustic touch to your breakfast.
- Creamy Goat Cheese: The tangy richness of goat cheese pairs beautifully, creating a delightful balance with the jelly’s sweetness in a cheese platter.
- Pancakes with Maple Syrup: Drizzling watermelon rind jelly over pancakes creates a refreshing twist, making breakfast a nostalgic treat with a modern flair.
- Greek Yogurt Parfait: Layer the jelly with creamy Greek yogurt and fresh fruits for a delicious parfait that captures summer’s freshness in every spoonful.
- Savory Cheese Board: Combine sharp cheeses with watermelon rind jelly for a complex flavor profile, perfect for your next gathering with friends.
- Herbed Chicken Salad: Spread the jelly on a warm chicken salad sandwich for a surprising burst of sweetness that elevates every bite.
- Chilled White Wine: A crisp, chilled white wine enhances the jelly’s bright flavors, making it a perfect companion while you relax on a warm summer evening.
- Homemade Biscuits: Light, flaky biscuits slathered with watermelon rind jelly provide a comforting touch that’s hard to resist, evoking memories of family gatherings.
Explore the remarkable ways to make your meals shine by incorporating these delightful pairings!
Make Ahead Options
These Watermelon Rind Jellies are perfect for meal prep enthusiasts! You can prepare the diced watermelon rind, soak it in water, and store it in the refrigerator for up to 24 hours before cooking. This makes your jelly-making process quicker and easier on busy days. When you’re ready to make the jelly, simply boil the soaked rind with water and salt, then follow the remaining steps as usual. To maintain the jelly’s bright flavor and texture, be sure to seal the jars tightly and store them in a cool, dark place. This way, you’ll have delightful, homemade jelly ready at your fingertips whenever you crave a sweet treat!
Storage Tips for Watermelon Rind Jellies
Room Temperature: Store sealed jars in a cool, dark place for up to a year. Ensure they are undisturbed to maintain quality and flavor.
Fridge: Once opened, refrigerate your Watermelon Rind Jellies and consume within 2-3 weeks to enjoy the best taste and freshness.
Freezer: For longer storage, freeze unused jelly in airtight containers. It can last up to a year in the freezer—just thaw in the fridge before using.
Reheating: If you find your jelly has thickened after refrigeration, gently heat it in a saucepan while stirring until it reaches spreadable consistency.
Watermelon Rind Jellies Recipe FAQs
What type of watermelon rind should I use?
It’s best to use firm and fresh watermelon rinds for this recipe. Avoid rinds that are soft, bruised, or have dark spots, as they can affect the flavor and texture of your Watermelon Rind Jellies. The rinds should have a nice crispness to them for optimal jelly-making.
How should I store Watermelon Rind Jellies?
Store sealed jars in a cool, dark place for up to a year. Once opened, keep the jelly in the refrigerator and consume it within 2-3 weeks for the best flavor and freshness. Properly sealed jars can last quite a while, so you’ll always have summer’s essence on hand!
Can I freeze Watermelon Rind Jellies?
Absolutely! For longer storage, you can freeze the unused jelly in airtight containers or freezer-safe bags. It can last up to a year in the freezer. When you’re ready to enjoy it, simply thaw it in the fridge overnight before use.
What should I do if my jelly doesn’t set?
If your Watermelon Rind Jellies doesn’t set after boiling, don’t worry! Reheat the mixture, add an additional packet of powdered pectin, and boil for 5-10 minutes while stirring consistently. Test for the proper set by placing a spoonful on a cold plate. If it holds its shape after a minute, you’re golden!
Are there any dietary restrictions I should consider with this recipe?
This recipe is quite flexible and doesn’t have specific dietary restrictions, but always check for allergies related to the ingredients. For instance, ensure that only safe sugar or sweeteners are used if addressing diet-specific concerns. If you’re making this for others, inquire about any fruit sensitivities or allergies beforehand!
Can I add other flavors to my jelly?
Yes, the more the merrier! Consider infusing your Watermelon Rind Jellies with spices such as ginger or cinnamon for a unique flavor twist. You can also substitute the lemon juice with lime or orange juice for a whole new flavor profile, making each batch a delightful experience!
Watermelon Rind Jellies: A Sweet Twist on Food Waste
Ingredients
Equipment
Method
- Wash the watermelon thoroughly and remove the green outer skin from the rind, leaving just the white part. Dice the rind into 1-inch cubes.
- Soak the diced watermelon rind in fresh water for approximately 30 minutes.
- Cook the watermelon rind with 1 cup of water and ½ teaspoon of salt in a saucepan until boiling, then simmer for 30 minutes.
- Strain the mixture through a fine-mesh sieve into a bowl, discarding the solids.
- Return the strained liquid to the saucepan and add sugar, lemon juice, and pectin. Stir and bring to a boil again.
- Cook for about 10 minutes until the jelly thickens and reaches a gel-like consistency.
- Pour the hot jelly into sterilized jars, leaving about ½ inch of headspace, and wipe the rims clean.
- Seal the jars and process them in a boiling water bath for 5-10 minutes to preserve the jelly.
- Cool the jars completely at room temperature and ensure proper sealing.
Leave a Reply