
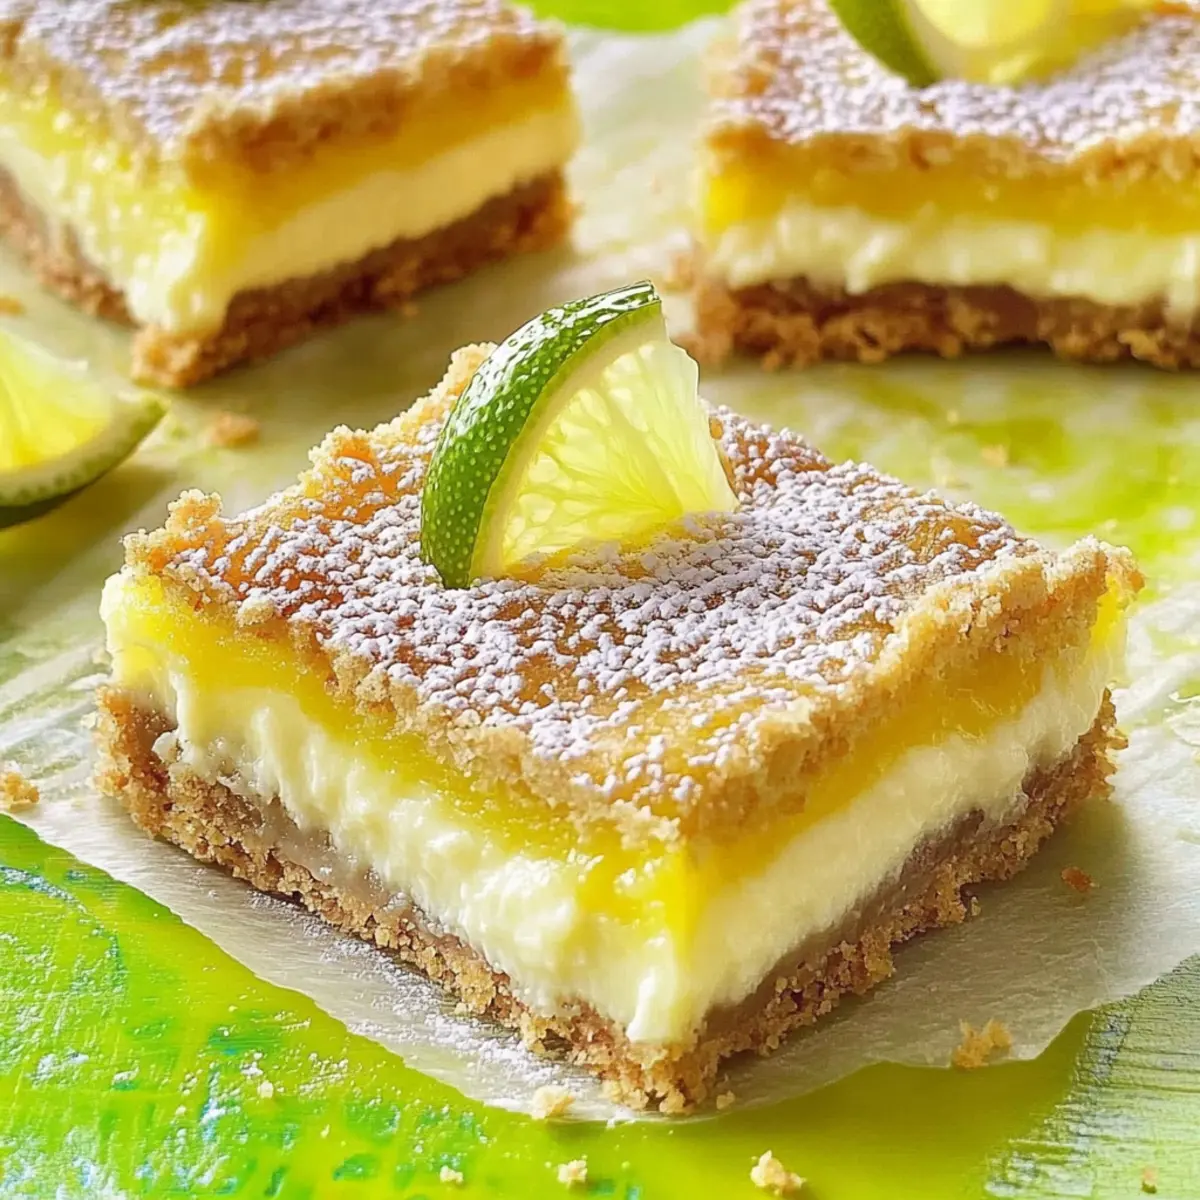
As I stood in my kitchen one sunny afternoon, the zesty aroma of freshly squeezed Key lime juice filled the air, instantly transporting me to tropical shores. There’s something magical about these Classic Key Lime Bars that perfectly balance sweet and tart flavors, all nestled in a buttery, crumbly crust. Not only are they a delightful addition to any gathering or potluck, but they are also a breeze to make ahead of time—just pop them in the freezer and you’ll always have a refreshing treat at your fingertips. If you’re seeking a simple yet crowd-pleasing dessert that sparks joy and satisfaction, these Key Lime Bars are a must-try! Curious to discover the secrets behind their creamy texture and zingy flavor? Let’s dive in!
Why Are Key Lime Bars So Irresistible?
Freshness: Each bite bursts with the bright, zesty flavors of Key lime, evoking memories of sun-soaked beaches and summer get-togethers.
Ease of Preparation: This recipe is simple to follow, making it perfect for novice bakers and seasoned chefs alike.
Make-Ahead Magic: With the ability to freeze, you can whip up a batch and always have a refreshing dessert ready for unexpected guests.
Crowd-Pleasing Appeal: These bars are a guaranteed hit at potlucks or family gatherings, perfect for anyone craving a light treat.
Versatile Toppings: Serve them plain, or dress them up with whipped cream or fresh berries to take this treat to the next level! Check out how to elevate your desserts with Oatmeal Crumble Bars for extra inspiration.
Key Lime Bars Ingredients
For the Crust
- All-purpose flour – Provides structure for the crust; no substitutes for stability.
- Vanilla wafers – Adds sweetness to the crust; can swap with graham crackers for a unique twist.
- Confectioners’ sugar – Sweetens the crust without graininess; granulated sugar can be used but may change texture.
- Chopped pecans – Offers crunch and nutty flavor; any nuts can work or omit for allergies.
- Cold butter – Binds crust ingredients while ensuring a flaky texture; keep it cold for best results.
For the Creamy Layer
- Cream cheese – Creates the rich, creamy filling; Neufchâtel cheese can be used for a lower-fat option.
- Sugar (for cream cheese layer) – Sweetens the cream cheese mix; granulated sugar is standard, though brown sugar will slightly alter flavor.
- 2% milk – Aids in blending the filling smoothly; any milk or non-dairy alternatives are suitable.
- Vanilla extract – Enhances flavor; consider almond extract for a delightful twist.
For the Key Lime Layer
- Sugar (for Key lime layer) – Balances the tartness of Key lime juice; granulated is essential, with no substitutes recommended.
- All-purpose flour (for Key lime layer) – Helps stabilize the filling; do not substitute.
- Large eggs – Provides richness and binding; using an egg substitute may change texture.
- Key lime juice – Essential for that signature tart flavor; regular lime juice works but the taste will differ.
For Serving
- Confectioners’ sugar (for serving) – Gives a lovely finish before serving; optional, but highly recommended for presentation.
These Key Lime Bars are sure to impress with their vibrant flavors and are perfect for any occasion!
Step‑by‑Step Instructions for Key Lime Bars
Step 1: Preheat Your Oven
Begin by preheating your oven to 350°F (175°C). This temperature ensures that your crust bakes to a delightful golden brown. While the oven warms up, gather your ingredients for the crust, such as all-purpose flour, vanilla wafers, and cold butter, to have everything ready for the next steps.
Step 2: Create the Crust Mixture
In a food processor, combine 1 cup of all-purpose flour, 1 ½ cups of crushed vanilla wafers, ⅓ cup of confectioners’ sugar, and ½ cup of chopped pecans. Pulse until the mixture resembles fine crumbs. Add ½ cup of cold butter, cut into small pieces, and pulse again until you achieve a crumbly consistency. This mixture will give your Key Lime Bars a rich, buttery base.
Step 3: Press Crust into Baking Dish
Using your fingers, press the crust mixture evenly into the bottom of an ungreased 13×9-inch baking dish. Make sure to compact it well so the bars hold together after baking. Bake the crust for 15-18 minutes, or until it turns lightly golden and fragrant. Once done, remove it from the oven and allow it to cool on a wire rack.
Step 4: Prepare the Cream Cheese Layer
In a mixing bowl, beat together 8 ounces of cream cheese, ½ cup of granulated sugar, 2 tablespoons of 2% milk, and 1 teaspoon of vanilla extract until smooth and creamy. This layer adds richness to your Key Lime Bars, making them deliciously satisfying. Once your crust is cooled, spread the cream cheese mixture evenly over the crust layer, ensuring full coverage.
Step 5: Mix the Key Lime Filling
In another bowl, whisk together 1 cup of granulated sugar and 2 tablespoons of all-purpose flour. Once combined, add 3 large eggs one at a time, mixing thoroughly after each addition. Finally, stir in ½ cup of freshly squeezed Key lime juice to achieve that characteristic tart flavor. The filling should be smooth and well incorporated.
Step 6: Bake the Bars
Carefully pour the Key lime filling over the cream cheese layer in the baking dish. Make sure it spreads evenly for consistent flavor across each bar. Bake in the preheated oven for 20-25 minutes, or until the filling is just set and no longer jiggles when gently shaken. Once baked, cool the dish on a wire rack before refrigeration.
Step 7: Chill and Serve
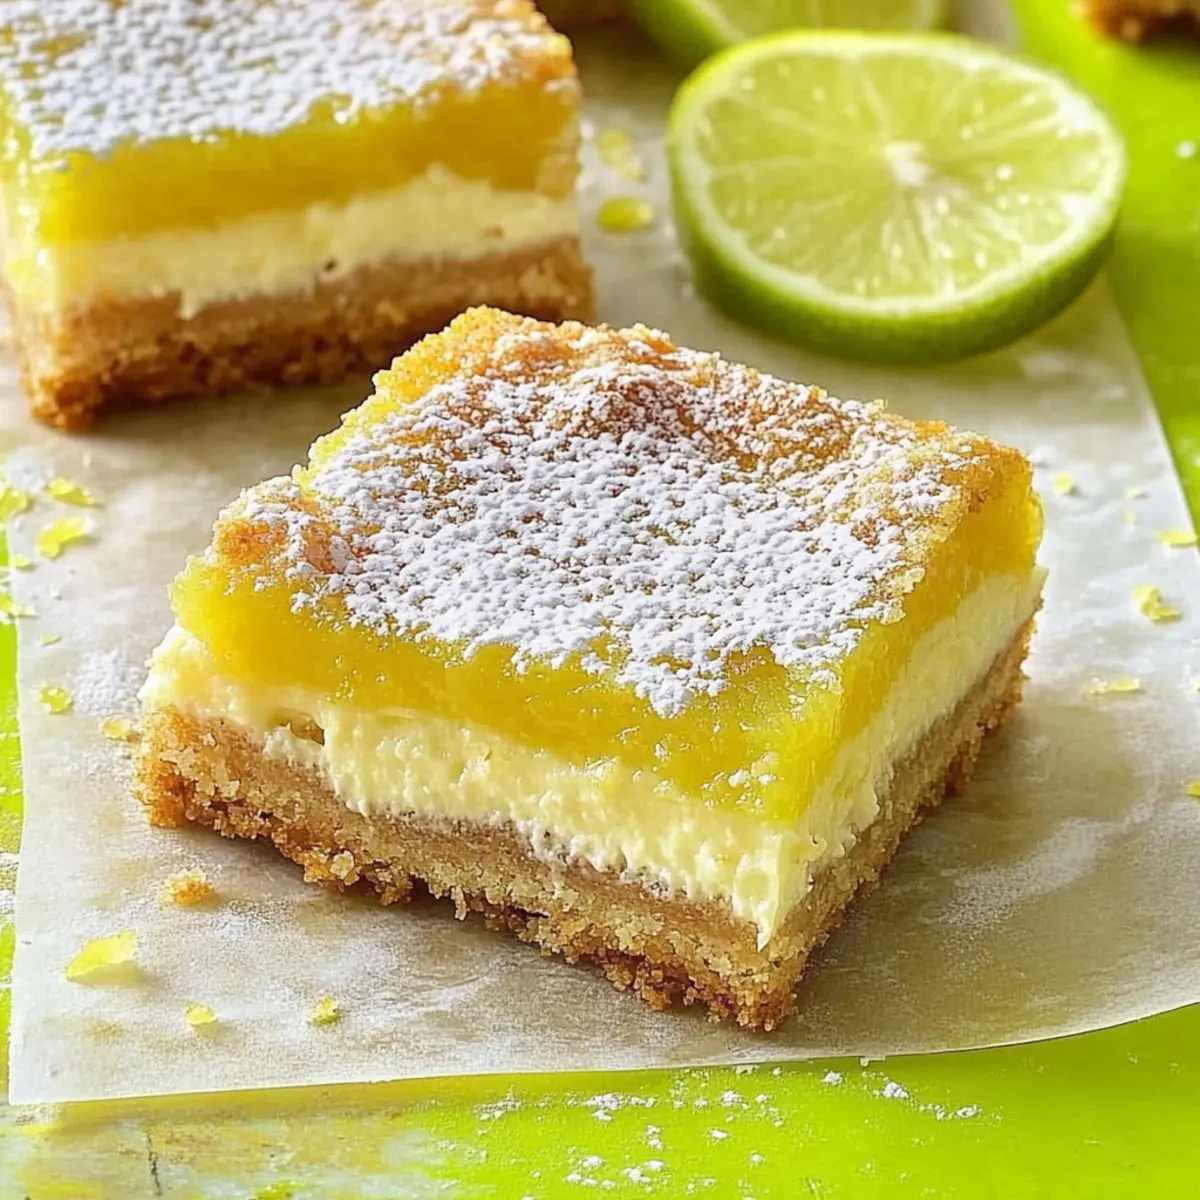
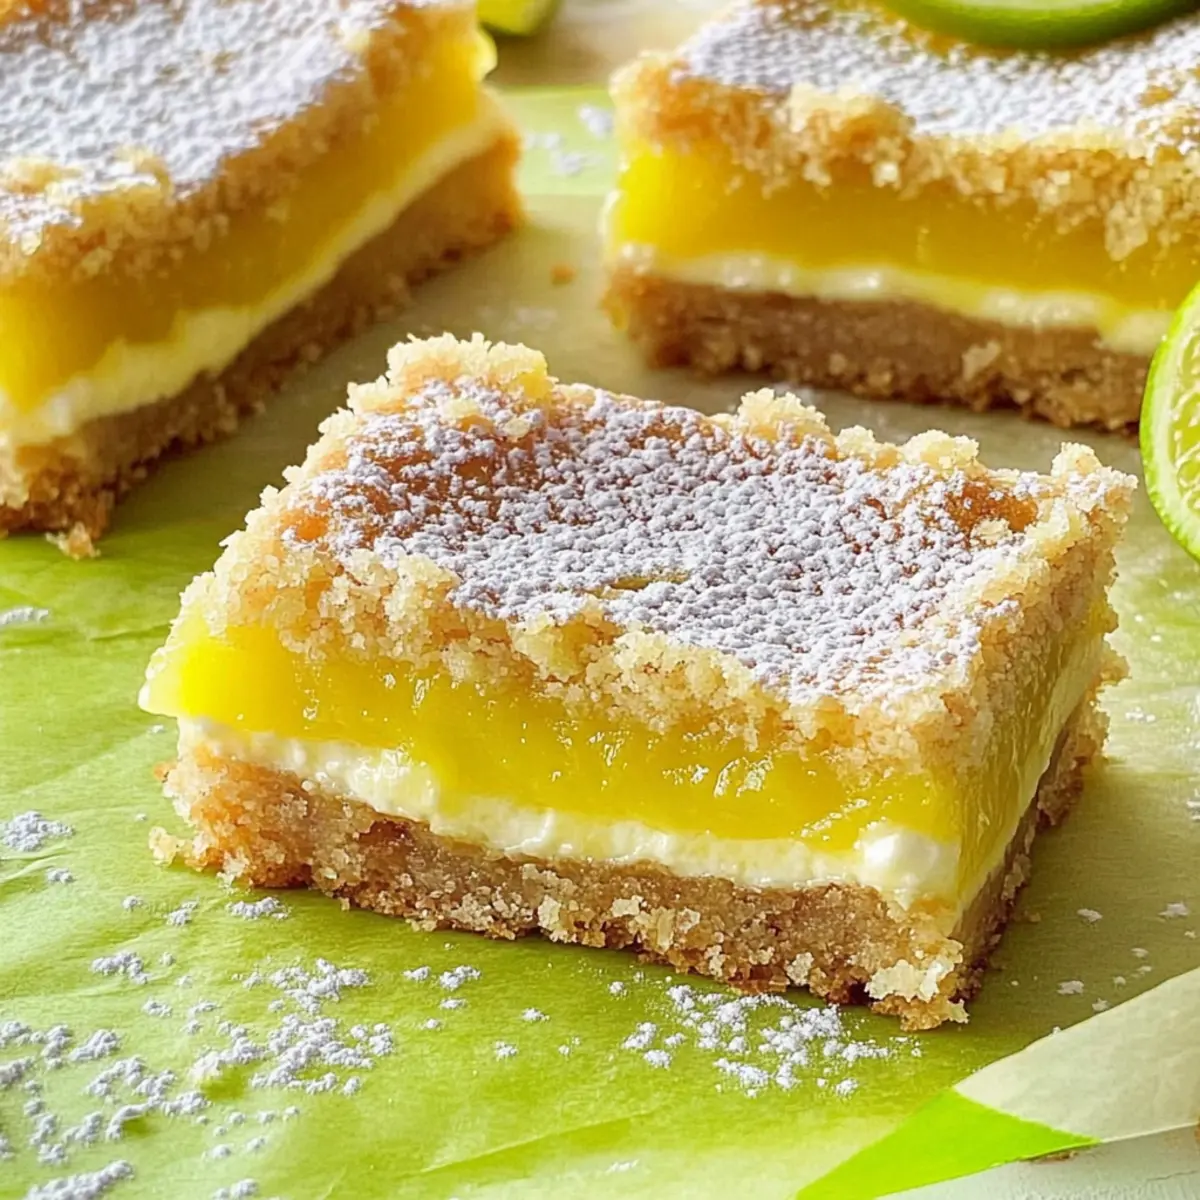
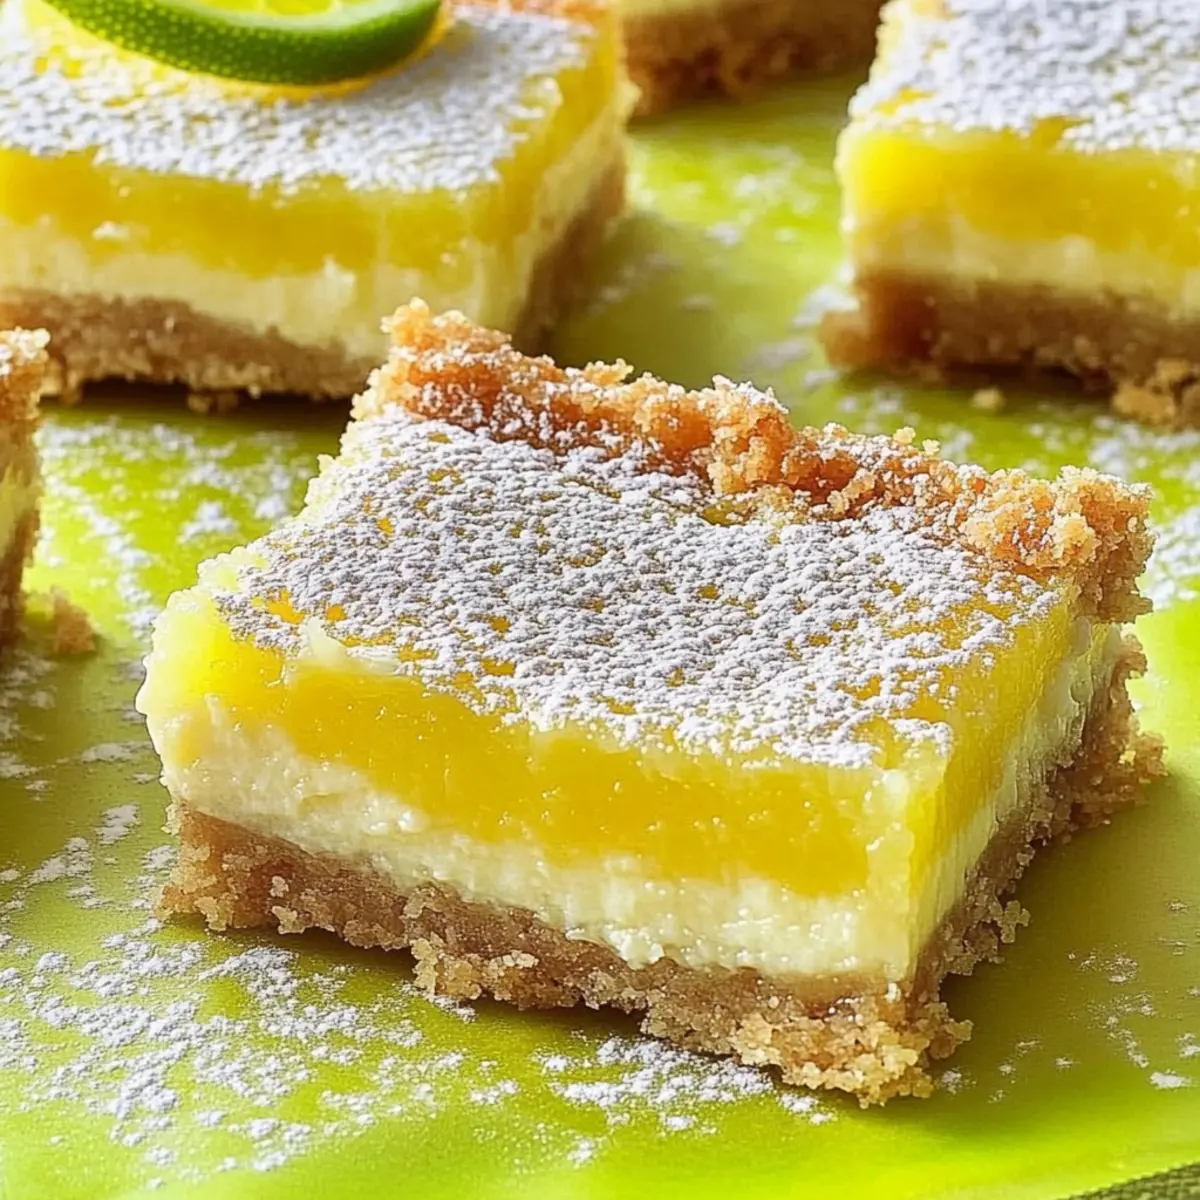
After your Key Lime Bars have cooled to room temperature, place the dish in the refrigerator for at least 1 hour to facilitate firming up. Once chilled, cut into 36 squares for serving. For a lovely presentation, sprinkle with confectioners’ sugar just before serving. Each bar should showcase its creamy texture and refreshing zesty flavor beautifully!
Expert Tips for Key Lime Bars
-
Chill Time Matters: Allow your Key Lime Bars to chill for at least an hour after baking. This ensures they set properly and are easier to cut into neat squares.
-
Choose Fresh Juice: Use freshly squeezed Key lime juice for the best flavor. Bottled juice can lack the vibrant tartness that makes these bars so special.
-
Avoid Overmixing: When combining the filling ingredients, mix just until smooth. Overmixing can introduce air bubbles, leading to cracks while baking.
-
Prep the Baking Dish: For easy removal, consider lining your baking dish with parchment paper before adding the crust. This helps keep your Key Lime Bars intact.
-
Creative Variations: Experiment with flavors! Add a touch of lime zest to the filling for a burst of extra citrus or swap the crust for a graham cracker base for a different texture.
Make Ahead Options
These Key Lime Bars are ideal for meal prep, allowing you to enjoy a refreshing dessert without the last-minute rush! You can prepare the crust and cream cheese layer up to 24 hours in advance; simply bake and cool the crust, then layer the cream cheese mixture, wrap tightly in plastic wrap, and refrigerate. When you’re ready to enjoy, make the Key lime filling (using freshly squeezed juice for the best flavor) and pour it over the chilled layers. Bake as directed and cool before refrigerating for an hour. This way, these mouthwatering Key Lime Bars will taste just as delicious, making your busy weeknights a little sweeter!
Key Lime Bars Variations & Substitutions
Feel free to let your creativity shine and adjust these Key lime Bars to suit your taste and dietary needs!
-
Graham Cracker Crust: Swap vanilla wafers with crushed graham crackers for a classic flavor twist. The familiar crunch enhances the nostalgic treat.
-
Nut-Free Option: Omit chopped pecans from the crust or replace with sunflower seeds to maintain the texture without allergens.
-
Lower-Fat Substitute: Use Neufchâtel cheese instead of cream cheese for a lighter creamy layer without sacrificing flavor. The bars will still remain delectably rich!
-
Dairy-Free Delight: Substitute non-dairy cream cheese and almond milk for a deliciously creamy and dairy-free filling. This variation opens the door for everyone to enjoy!
-
Citrus Boost: Add 1 tablespoon of lime zest to the filling for an extra pop of refreshing citrus flavor. It enhances the tartness, making each bite even more vibrant.
-
Heat It Up: Add a pinch of cayenne or a few drops of hot sauce to the filling for a surprising spicy kick that complements the sweet-tart profile.
-
Frozen Treats: Pour the prepared Key lime mixture into popsicle molds instead of baking. Freeze for a fun, refreshing twist on your favorite dessert on hot days!
-
Serving Suggestions: Try pairing these bars with a dollop of whipped cream or serve alongside a scoop of vanilla ice cream for an indulgent dessert experience. You can also mix and match with delightful recipes like Fish Tacos Lime for a perfect meal combo!
Explore and enjoy these variations on your Key Lime Bars, each adding a special touch to a classic favorite!
What to Serve with Classic Key Lime Bars
As you prepare these sweet-tart delights, think about creating a full experience that tantalizes the taste buds and embraces the vibrant flavors of summer.
-
Whipped Cream:
The light, fluffy texture of whipped cream adds a lovely contrast to the creamy filling and enhances the overall sweetness. -
Fresh Berries:
Juicy strawberries, blueberries, or raspberries bring a burst of color and freshness, complementing the tartness of the Key lime bars beautifully. -
Coconut Ice Cream:
The tropical flavor of coconut ice cream pairs wonderfully with the zesty lime, creating a refreshing treat that’s perfect for warm days. -
Mint Sprigs:
A simple garnish of fresh mint not only dresses up the bars but adds a cool, aromatic flavor that balances the tartness. -
Iced Tea:
A glass of sweetened iced tea can serve as a delightful palate cleanser, providing a refreshing contrast to the rich, creamy bars. -
Pineapple Salsa:
For an unexpected twist, serve a zesty pineapple salsa on the side. Its sweetness and tang will enhance the tropical vibe of your dessert.
Adding these elements to your Key Lime Bars will elevate your dessert experience and leave your guests asking for more!
How to Store and Freeze Key Lime Bars
Fridge: Store Key Lime Bars in an airtight container for up to 3 days. Make sure to refrigerate them to maintain their creamy texture and flavor.
Freezer: For longer storage, freeze individual servings wrapped tightly in plastic wrap, then place them in an airtight container for up to 6 months. Thaw in the fridge before serving.
Reheating: These bars are best served chilled, so there’s no need to reheat. Just slice them straight from the fridge and enjoy!
Serving Tip: Dust with confectioners’ sugar just before serving for a beautiful touch, enhancing both flavor and presentation.
Key Lime Bars Recipe FAQs
How do I choose the best Key limes?
Absolutely! When selecting Key limes, look for ones that are small and firm, with a vibrant green color. The skin should be slightly waxy without any dark spots or blemishes. Juicy Key limes will feel heavier for their size, indicating they’re ripe and filled with juice. If you can slightly squeeze them and they yield a bit, that’s a great sign!
How should I store leftover Key Lime Bars?
Very! Store your Key Lime Bars in an airtight container in the refrigerator, where they’ll stay fresh for up to 3 days. For optimal taste and texture, make sure they are wrapped securely. If you anticipate not finishing them quickly, freezing is a fantastic option.
Can I freeze Key Lime Bars? How do I do that properly?
Of course! To freeze your Key Lime Bars, first cut them into squares after they’ve chilled. Then, individually wrap each square tightly in plastic wrap and place them in an airtight container or freezer bag. They can be frozen for up to 6 months. When you’re ready to enjoy, simply transfer the bars to the fridge and let them thaw overnight.
What if my Key Lime Bars are too runny after baking?
No worries! If your Key Lime Bars turn out runny, it might be due to underbaking or insufficient chilling time. Ensure you bake until the filling is just set – it shouldn’t jiggle in the center when gently shaken. Additionally, let them chill for at least an hour in the refrigerator to firm up completely. If they still seem overly soft, consider reducing the baking time slightly in your next attempt for a firmer set.
Are Key Lime Bars suitable for people with nut allergies?
Absolutely! If you’re serving someone with nut allergies, simply omit the chopped pecans from the crust. The bars will still have a delightful texture. You can also use graham crackers instead of vanilla wafers to ensure everything remains nut-free while still retaining the delicious flavors.
Can I use regular lime juice instead of Key lime juice?
Yes, you can! However, it’s important to note that using regular lime juice will change the flavor profile slightly, making it less tart and vibrant than using fresh Key lime juice. If you do substitute, try adding a bit of lime zest to elevate the citrus flavor for a more authentic experience.
Zesty Key Lime Bars - Irresistible Sweet-Tart Treats
Ingredients
Equipment
Method
- Preheat your oven to 350°F (175°C).
- Combine crust ingredients in a food processor and pulse until crumbly. Add cold butter and pulse again until mixed.
- Press crust mixture into an ungreased 13x9-inch baking dish and bake for 15-18 minutes until golden.
- Beat together cream cheese, granulated sugar, 2% milk, and vanilla until smooth. Spread over cooled crust.
- Whisk together granulated sugar and flour in a bowl, then beat in eggs one at a time. Stir in Key lime juice.
- Pour Key lime filling over the cream cheese layer and bake for 20-25 minutes until set.
- Cool to room temperature, then refrigerate for at least 1 hour before cutting into squares and serving with confectioners' sugar.
Leave a Reply