
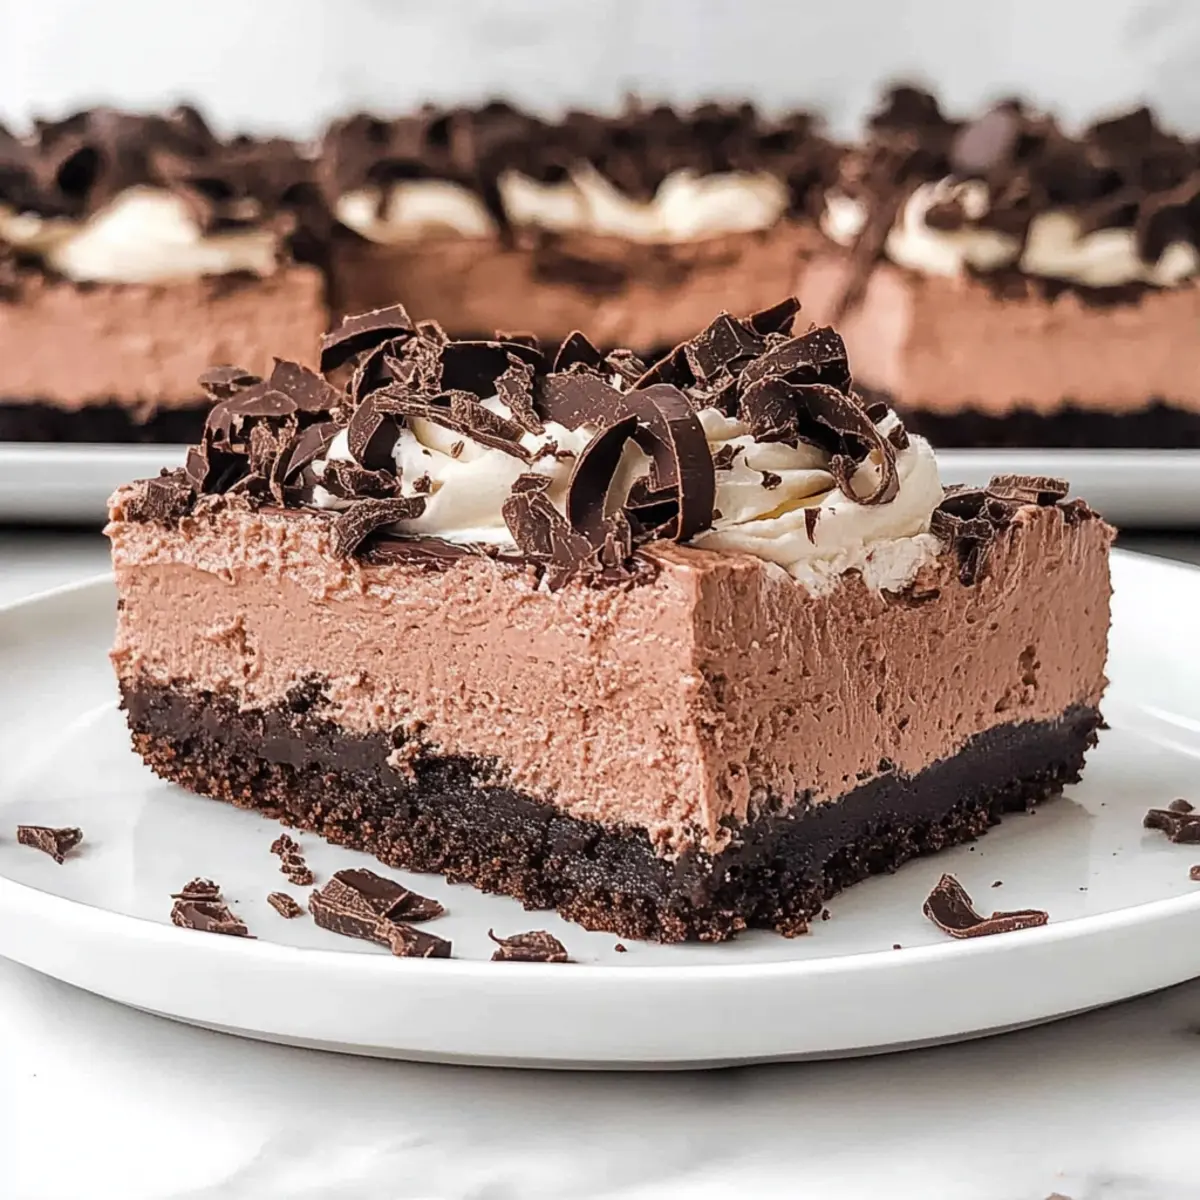
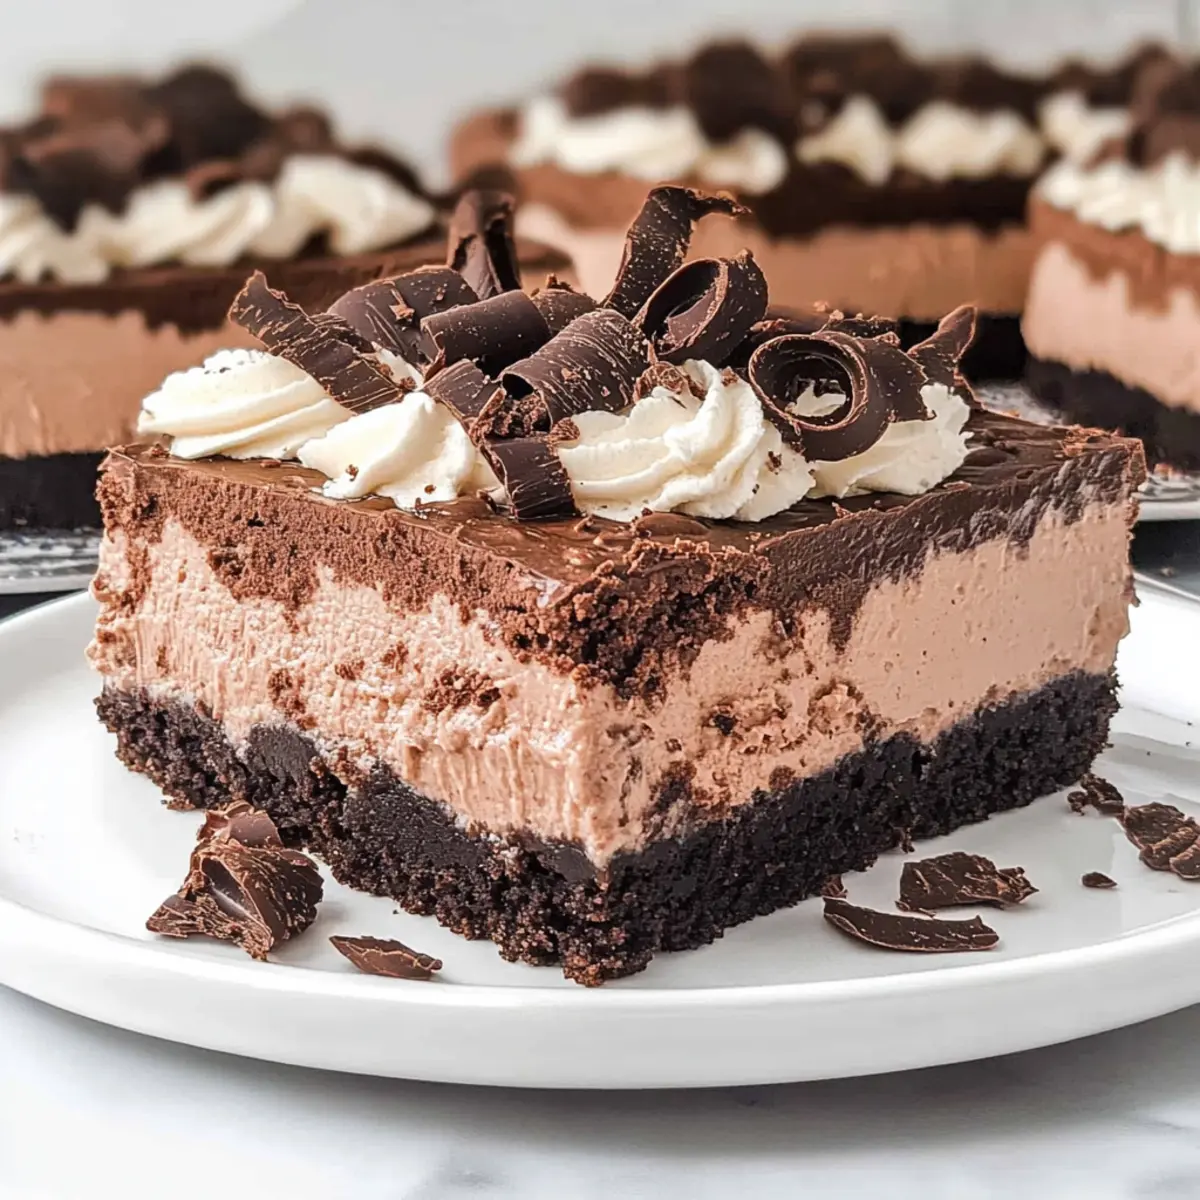
As I unwrapped a luscious chocolate bar on a sunlit afternoon, I couldn’t help but sigh at the thought of the countless desserts that tantalize my cravings. One treat reigns supreme: Death By Chocolate Dream Bars! This indulgent no-bake dessert combines a rich, creamy texture with a dark chocolate Oreo cookie crust that leaves any chocolate lover in blissful delight. Perfect for everything from casual gatherings to special birthdays, these bars are not only easy to whip up but also offer layers of chocolate pudding and cheesecake, all crowned with a light Chocolate Stabilized Whipped Cream. The best part? You get to dive into this delightful experience without the time-consuming hassle of baking! Curious about how to create this heavenly treat? Let’s dive right in!
Why Are These Bars So Irresistible?
Decadent Layers: Each bite of these Death By Chocolate Dream Bars unveils a delightful combination of creamy cheesecake, rich chocolate pudding, and a crunchy Oreo crust. No-Bake Convenience: Save time and effort with this easy no-bake recipe that allows you to indulge without the fuss of traditional baking. Crowd-Pleasing Treat: Perfect for parties or casual get-togethers, these bars are guaranteed to impress chocolate lovers and non-chocolate fans alike! Customizable Flavor: Feel free to swap in flavored Oreos or different pudding types to tailor the recipe to your tastes. Discover more dessert inspiration with our Moist Chocolate Chip or Oatmeal Crumble Bars for even more sweet indulgences!
Death By Chocolate Dream Bars Ingredients
For the Cream Cheese Mixture
• Cream Cheese – Provides a creamy texture for the cheesecake layer; ensure it’s softened to room temperature for easy mixing.
• Unsweetened Cocoa Powder – Adds rich chocolate flavor; use Dutch-processed cocoa for a milder taste if desired.
• Powdered Sugar – Sweetens the whipped cream and cheesecake; granulated sugar can be used but may not dissolve as smoothly.
• Vanilla Extract – Enhances the flavor of the cheesecake and whipped cream; almond extract can also be used for a unique twist.
For the Crust
• Dark Chocolate Oreos – Base for the crust that adds chocolate flavor and sweetness; feel free to experiment with other Oreo varieties.
• Butter – Binds the Oreo crumbs to form the crust; margarine is a great dairy-free alternative.
For the Pudding Layer
• Chocolate Fudge Pudding Mix – Adds flavor and thickness to the pudding layer; instant pudding mix works well for added convenience.
• Milk – Activates the pudding mix to achieve the correct consistency; whole milk is recommended for that extra richness.
For the Cheesecake Layer
• Semi-Sweet Chocolate Chips – Infuses chocolate flavor into the cheesecake layer; consider swapping for milk chocolate for a milder sweetness.
• Hershey Bar or Chocolate Bar – Ideal for garnishing with chocolate curls; optional but enhances presentation beautifully.
Each of these layers will come together to create a delightful experience that showcases the essence of Death By Chocolate Dream Bars!
Step‑by‑Step Instructions for Death By Chocolate Dream Bars
Step 1: Prepare the Cream Cheese Mixture
In a mixing bowl, beat the softened cream cheese until smooth, then add unsweetened cocoa powder, powdered sugar, and vanilla extract. Continue mixing until well combined. Gradually fold in heavy whipping cream and beat until you reach stiff peaks, signaling the perfect consistency. This creamy mixture is the heart of your Death By Chocolate Dream Bars!
Step 2: Make the Oreo Crust
Using a food processor, crush the dark chocolate Oreos into fine crumbs, then combine them with melted butter until fully incorporated. Press this mixture firmly into the bottom of an 8×8-inch pan, creating an even layer. Chill the crust in the freezer for about 30 minutes, allowing it to set perfectly for the layers ahead.
Step 3: Prepare the Pudding Layer
In a medium bowl, whisk together the chocolate fudge pudding mix and whole milk, stirring vigorously until the mixture thickens, which should take just a couple of minutes. Once thickened, cover the bowl with plastic wrap and refrigerate for 10-15 minutes to ensure a perfectly smooth texture before layering on top of the cheesecake layer later.
Step 4: Mix the Cheesecake Layer
Melt semi-sweet chocolate chips in a microwave or double boiler until smooth. In a separate bowl, combine melted chocolate with the previously prepared cream cheese mixture. Mix well, ensuring the chocolate is evenly distributed, then gently fold in any remaining whipped cream until the cheesecake layer is airy and light, enhancing the indulgence of your Death By Chocolate Dream Bars.
Step 5: Layer the Bars
Spread the creamy cheesecake mixture evenly over the chilled Oreo crust, smoothing the top with a spatula. Next, carefully spoon the chilled pudding layer on top of the cheesecake, leveling it out for an even finish. Complete the layers by spreading any remaining whipped cream for that final luscious touch on your dessert.
Step 6: Chill Before Serving
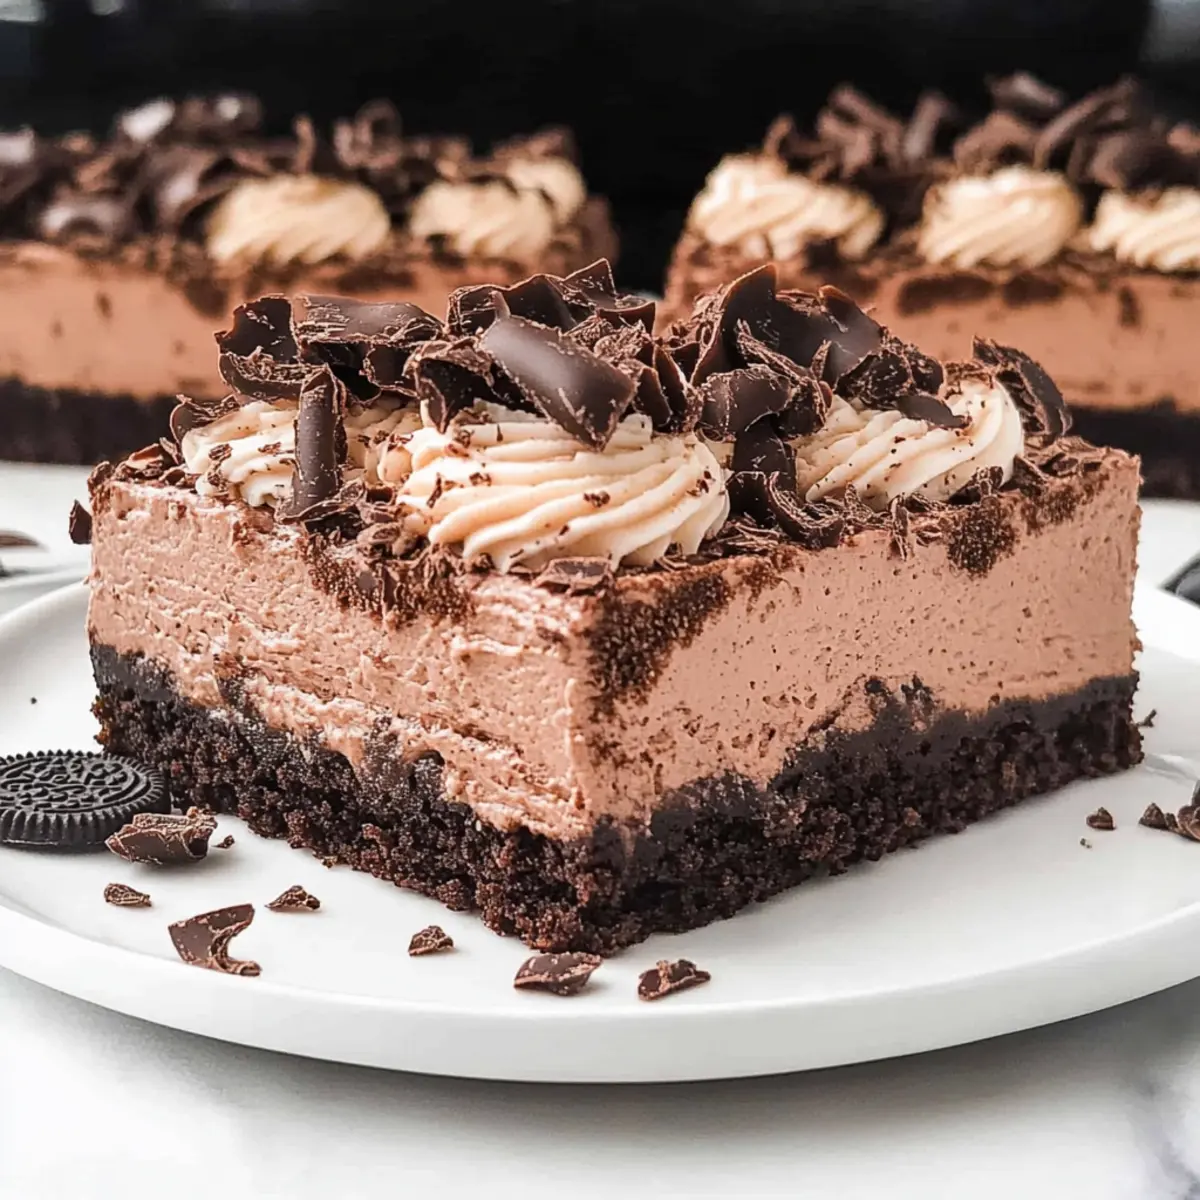
Cover the pan with plastic wrap and place it in the refrigerator for at least 2 hours to allow the layers to set properly. Alternatively, for quicker results, freeze for 1 hour. Once set, garnish the top with chocolate curls or crushed Oreo pieces for a stunning presentation of your Death By Chocolate Dream Bars before slicing into squares to serve.
What to Serve with Death By Chocolate Dream Bars
Indulging in these no-bake chocolate gems creates the perfect backdrop for a delightful dessert spread.
-
Fresh Berries: The tartness of raspberries or strawberries cuts through the richness, adding a refreshing note to your chocolate experience. They provide a vibrant color contrast, making your dessert plate visually appealing.
-
Vanilla Ice Cream: A scoop of creamy vanilla ice cream alongside these decadent bars creates a luscious blend of flavors, enhancing every bite with its coolness. The combination is a match made in dessert heaven!
-
Chocolate Sauce: Drizzling warm chocolate sauce over your Death By Chocolate Dream Bars brings an extra level of decadence. It intensifies the chocolate flavor and creates a fabulous gooey texture as it seeps into every layer.
-
Coffee or Espresso: The boldness of a rich cup of coffee perfectly complements the sweetness of the bars, balancing the palate beautifully. Consider preparing a frothy cappuccino for a comforting after-dinner treat.
-
Caramel Drizzle: Adding a light drizzle of caramel sauce fosters a sweet contrast to the chocolate, enriching the flavor profile. This delightful pairing adds an unexpected twist that chocolate lovers will adore!
-
Mint Leaves: Fresh mint sprigs serve not only as a garnish but also add a refreshing touch that brightens up the dense flavors of the dessert. It’s an elegant finishing touch that elevates your presentation.
-
Whipped Cream: A dollop of classic whipped cream adds lightness to the bars and enhances their creaminess. It’s an easy way to elevate your dessert while keeping flavors harmonious.
-
Milk or Chocolate Milk: Serve a cold glass of milk or a deliciously rich chocolate milk to enhance the indulgent chocolate experience. It’s a nostalgic choice that harks back to classic dessert pairings.
-
Chocolate-Covered Strawberries: For a touch of elegance, pair these delicious bars with a platter of chocolate-covered strawberries. They’ll impress your guests while providing a delightful contrast in textures and flavors.
Death By Chocolate Dream Bars Variations
Feel free to personalize your Death By Chocolate Dream Bars with these delightful variations that add a touch of your creativity!
-
Flavored Oreos: Swap regular Oreos for mint or peanut butter-flavored varieties for a fun twist. Each layer will burst with a new taste experience!
-
Pudding Substitutes: Try using vanilla or butterscotch pudding mixes instead of chocolate. This simple change can create a deliciously unique flavor profile!
-
Dairy-Free: Use coconut cream in place of heavy whipping cream and opt for dairy-free chocolate chips. Enjoy a chocolatey treat that fits your dietary needs!
-
Crunchy Texture: Add crushed nuts, like walnuts or pecans, into the cheesecake layer for an extra crunch that beautifully contrasts the creamy filling.
-
Extra Chocolate: Incorporate a layer of melted dark chocolate between the cheesecake and pudding layers for those who simply can’t get enough chocolate goodness!
-
Layered Colors: Consider adding a layer of strawberry or raspberry puree to brighten up the dessert with a fruity note. This delightful contrast adds visual appeal and a hint of tartness!
As you embark on this chocolate adventure, don’t hesitate to check out our Decadent Chocolate Chip or Gluten Free Chocolate recipes for even more sweet inspiration!
Make Ahead Options
These Death By Chocolate Dream Bars are a fantastic choice for busy home cooks aiming to streamline their meal prep! You can prepare the crust and cheesecake layer up to 24 hours in advance, ensuring that the flavors meld beautifully. To do this, simply follow the crust and cream cheese mixture steps, layer them in your pan, and refrigerate. For the pudding layer, it can also be made ahead and refrigerated for up to 3 days—just give it a good stir before adding it onto the cheesecake layer. When you’re ready to serve, add the final whipped cream layer and let it chill for about 2 hours for that divine texture! By prepping these components ahead, you’ll save valuable time while enjoying a dessert that remains just as delicious!
Expert Tips for Death By Chocolate Dream Bars
-
Softened Cream Cheese: Ensure your cream cheese is at room temperature before mixing; this prevents lumps and creates a smooth cheesecake layer.
-
Whipped Cream Peaks: Be cautious not to overbeat the whipped cream; you want soft to stiff peaks, which keeps the cheesecake airy without becoming grainy.
-
Chill Time Matters: Proper chilling is key for layered desserts. Allow at least 2 hours in the fridge to ensure that your Death By Chocolate Dream Bars set up perfectly.
-
Parchment Paper Aid: Consider lining your pan with parchment paper to make it easier to lift and slice the bars after chilling.
-
Flavor Swaps: Don’t hesitate to get creative! Different flavored Oreos and various pudding types can customize your Death By Chocolate Dream Bars to your preference.
How to Store and Freeze Death By Chocolate Dream Bars
Fridge: Keep your Death By Chocolate Dream Bars covered in the refrigerator for up to 7 days, ensuring they maintain their creamy texture and flavor.
Freezer: For longer storage, freeze the bars in an airtight container for up to 3 months. When ready to enjoy, thaw in the fridge overnight.
Serving After Freezing: Allow the bars to sit at room temperature for a few minutes after thawing to regain their creamy consistency before serving.
Make-Ahead Tips: You can prepare these bars 24 hours in advance, making them perfect for entertaining without the last-minute rush!
Death By Chocolate Dream Bars Recipe FAQs
How do I choose the right chocolate for my Death By Chocolate Dream Bars?
Absolutely! For the best flavor, opt for high-quality semi-sweet chocolate or dark chocolate chips. If you prefer a sweeter taste, milk chocolate can be used instead. When selecting your chocolate bar for decoration, choose one with a rich cocoa content to enhance the dessert’s overall indulgence.
How should I store my Death By Chocolate Dream Bars?
To keep your delicious bars fresh, store them in the refrigerator in an airtight container for up to 7 days. This will preserve their creamy texture and rich flavor. For longer storage, you can freeze them in an airtight container for up to 3 months – just make sure to thaw them in the fridge overnight before serving!
Can I freeze the Death By Chocolate Dream Bars? How do I do it?
Of course! To freeze your Death By Chocolate Dream Bars, first, ensure they are set and fully chilled. Cut them into squares, then place a layer of parchment paper between the bars to prevent sticking. Transfer them to an airtight container, layering parchment in between each row, and freeze for up to 3 months. When you’re ready to enjoy, simply thaw in the fridge overnight!
What should I do if my cream cheese mixture is lumpy?
No worries! If your cream cheese mixture ends up lumpy, it’s likely because the cream cheese wasn’t softened enough. Try mixing it with a hand mixer or whisk vigorously until smooth. If time permits, you can microwave the cream cheese for about 10-15 seconds to soften it further, making mixing much easier. Remember, softened cream cheese is the key to a silky-smooth cheesecake layer!
Are there any dietary considerations I should be aware of for my guests?
Yes, it’s always wise to check! These Death By Chocolate Dream Bars contain cream cheese and butter, making them unsuitable for those with dairy allergies. For a dairy-free option, substitute with vegan cream cheese and margarine. Always be mindful of guests’ allergies and inform them of the ingredients used, especially since the bars are rich in chocolate and sugar.
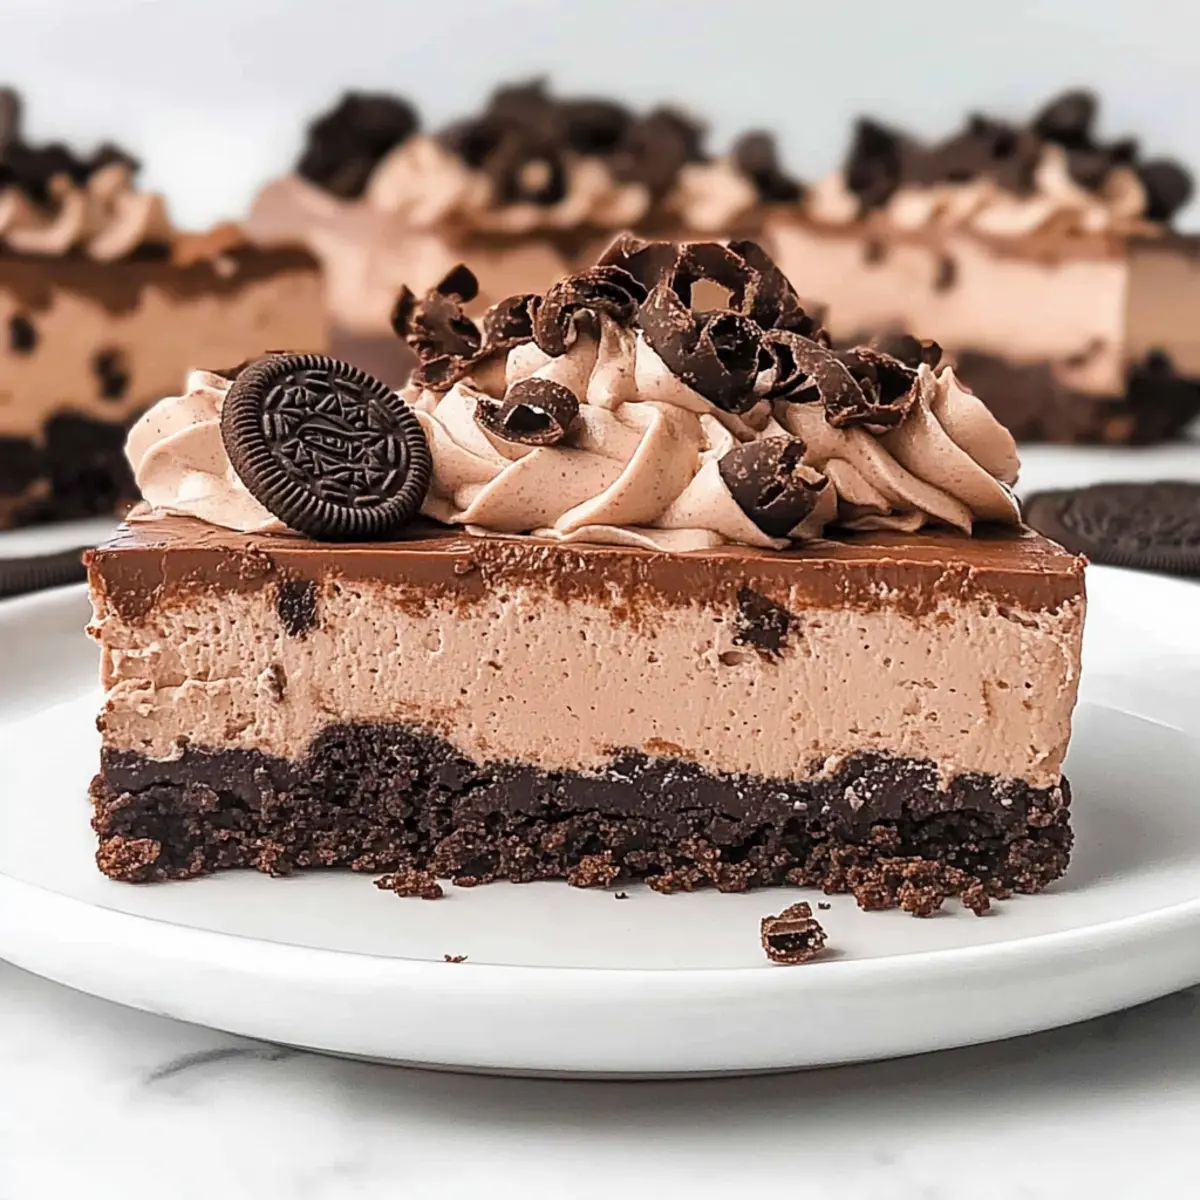
Indulge in Death By Chocolate Dream Bars - No-Bake Delight!
Ingredients
Equipment
Method
- Beat the softened cream cheese until smooth, then add unsweetened cocoa powder, powdered sugar, and vanilla extract. Mix until combined, then fold in heavy whipping cream until stiff peaks form.
- Crush dark chocolate Oreos into fine crumbs, then mix with melted butter. Press the mixture into an 8x8-inch pan and chill for 30 minutes.
- Whisk together chocolate fudge pudding mix and milk until thick, then refrigerate for 10-15 minutes.
- Melt semi-sweet chocolate chips, then combine with the cream cheese mixture. Fold in remaining whipped cream until light.
- Spread the cheesecake mixture over the crust, then layer on the pudding. Top with whipped cream and garnish as desired.
- Cover and refrigerate for at least 2 hours or freeze for 1 hour before serving.
Leave a Reply