
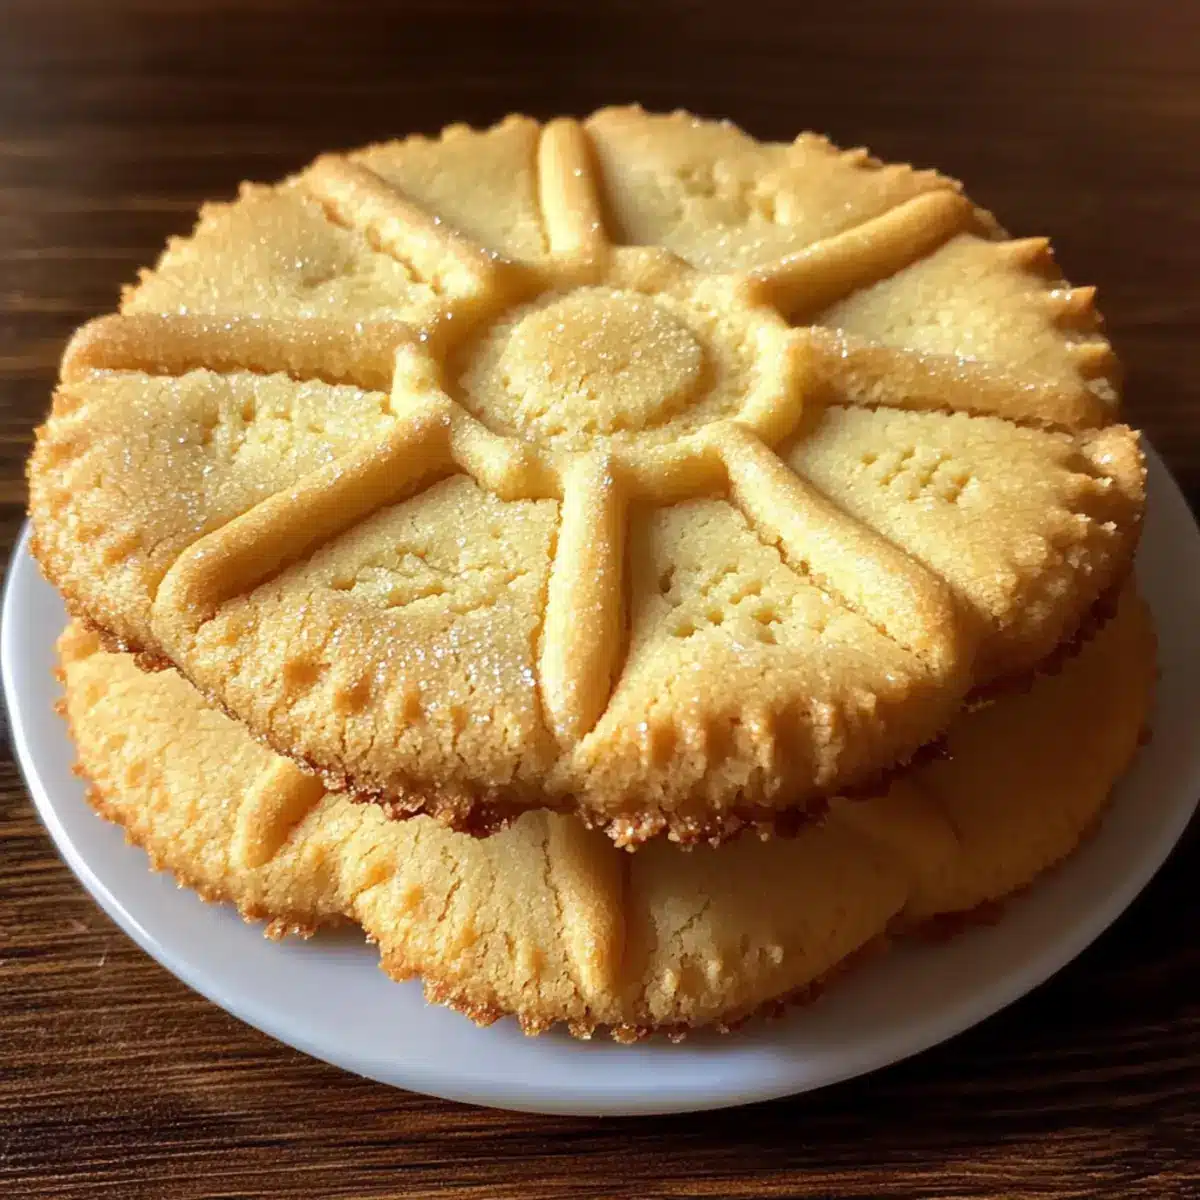
As I sifted through the flour, a delightful aroma wafted through my kitchen, evoking memories of cozy gatherings and cheerful laughter. Today, we’re diving into the world of Crispy Danish Butter Cookies, a delightful treat that’s sure to transport you to festive Scandinavian markets. This recipe is not only forgiving—allowing you to play around with ingredients—but it also ensures those treasured cookies stay crispy for days, making them perfect for sharing or simply indulging yourself. With their alluring melt-in-your-mouth texture, these cookies are the ultimate harmony of simplicity and elegance. Are you ready to elevate your baking game and impress your loved ones with these buttery delights? Let’s get started!
Why Are These Cookies So Irresistible?
Crispy, Melty Perfection: Each bite of these cookies offers a delicate balance of crispiness on the outside and a melting, buttery interior that will delight your taste buds.
Flexible Recipe: Enjoy the freedom to customize the ingredients, whether you choose almond meal for a nutty twist or add chocolate chips for an indulgent treat.
Fun for Everyone: Perfect for family baking sessions or gatherings, these cookies are an absolute crowd-pleaser.
Easy Preparation: With simple steps, even novice bakers will achieve delicious results that impress.
Crisp for Days: Plus, the tips provided ensure those crispy cookies maintain their texture for up to a week—ideal for gifting or enjoying leisurely.
Crispy Danish Butter Cookies Ingredients
• Note: Gather these ingredients to create the perfect batch of Crispy Danish Butter Cookies that will melt in your mouth!
For the Cookie Dough
- Unsalted Butter – the star ingredient for richness; be sure it’s softened to room temperature for a smooth consistency.
- Granulated Sugar – provides sweetness and an enchanting crispy texture; don’t skip on this!
- All-Purpose Flour – gives structure to these delightful cookies; can be swapped with gluten-free flour if needed.
- Powdered Sugar – enhances sweetness and plays a vital role in achieving a melt-in-your-mouth quality.
- Vanilla Extract – adds a beautifully rich flavor; feel free to use almond extract for a unique twist.
- Salt – balances the sweetness; if you prefer using salted butter, reduce this amount by half.
Optional Mix-ins
- Almond Meal – a delightful substitution for half of the flour that adds nutty flavor for true gourmet appeal.
- Chocolate Chips or Dried Fruit – experiment with these for a taste explosion that elevates your cookies beyond the ordinary.
Step‑by‑Step Instructions for Crispy Danish Butter Cookies
Step 1: Cream the Butter and Sugar
In a mixing bowl, using an electric mixer, cream together 1 cup of softened unsalted butter and 3/4 cup of granulated sugar on medium speed until the mixture is light and fluffy, about 3-5 minutes. Scrape down the sides as needed to ensure an even blend. This step is crucial for achieving the airy texture of your Crispy Danish Butter Cookies.
Step 2: Add the Powdered Sugar and Flavorings
Gradually incorporate 1/4 cup of powdered sugar, 1 teaspoon of vanilla extract, and a pinch of salt into the butter mixture. Beat on low speed until fully combined, which should take about 1-2 minutes. The dough should be creamy and fragrant, creating the perfect base for your cookies.
Step 3: Sift and Fold in the Flour
Sift 2 cups of all-purpose flour directly into the creamed mixture, folding gently with a spatula until just combined. Be careful not to overmix, as this could affect the texture of your Crispy Danish Butter Cookies. The dough should come together smoothly—look for a slightly sticky consistency.
Step 4: Chill the Dough
Wrap the dough tightly in plastic wrap and refrigerate for at least 1 hour, or up to 2 days for deeper flavor. Chilling is essential as it helps the cookies maintain their shape during baking. When ready to bake, preheat your oven to 350°F (175°C) to ensure the perfect baking environment.
Step 5: Shape the Cookies
On a lightly floured surface, roll out the chilled dough to about 1/4 inch thick. Use cookie cutters or a sharp knife to cut out desired shapes. Place the cookies on parchment-lined baking sheets, leaving a little space between them to allow for spreading. They will puff up slightly, so this spacing is important for your Crispy Danish Butter Cookies.
Step 6: Bake to Perfection
Bake in the preheated oven for 10-12 minutes, or until the edges are lightly golden. Keep an eye on them, as baking times can vary depending on your oven. The cookies should still feel slightly soft in the center but firm up as they cool, ensuring that crispy exterior and melty interior.
Step 7: Cool and Store
Once baked, remove the cookies from the oven and let them cool on the baking sheet for about 5 minutes before transferring them to a wire rack. Allow the cookies to cool completely before storing them in an airtight container, where they will stay crisp for up to a week. Enjoy your Crispy Danish Butter Cookies!
Make Ahead Options
These Crispy Danish Butter Cookies are perfect for busy home cooks seeking to streamline their baking ritual! You can prepare the cookie dough up to 2 days in advance; simply wrap it tightly in plastic wrap and refrigerate. Chilling the dough not only deepens the flavors but also helps maintain the shape during baking. Alternatively, you can freeze the rolled-out cookies before baking for up to 3 months—just be sure to place parchment paper between layers to prevent sticking. When you’re ready to bake, no need to thaw; simply place them in the oven and adjust the baking time by a minute or two. You’ll have fresh, buttery cookies with minimal effort, tantalizing your family and friends!
Expert Tips for Crispy Danish Butter Cookies
• Room Temperature Butter: Ensure your butter is at room temperature to achieve that light and fluffy consistency during creaming, essential for crispy Danish butter cookies.
• Watch the Baking Time: Avoid overbaking by checking your cookies a minute or two before the recommended time to maintain that delightful texture.
• Chilling is Key: Don’t skip the chilling step! It prevents spreading and helps maintain the shape, ensuring the best texture in your cookies.
• Store Properly: Keep your cookies in an airtight container to maintain their crispness for up to a week and avoid moisture.
• Experiment with Flavors: Feel free to substitute with almond meal or try different extracts; creativity can turn these cookies into a personalized favorite!
Crispy Danish Butter Cookies Variations
Feel free to get creative with your cooking journey and add your personal touch to these delightful cookies!
- Gluten-Free: Replace all-purpose flour with your favorite gluten-free blend for a cookie everyone can enjoy.
- Nutty Flavor: Substitute half the flour with almond meal for a tasty twist that adds depth to each bite.
- Citrus Zest: Add lemon or orange zest to the dough for a refreshing, zesty lift, making the cookies even more vibrant.
- Chocolate Delight: Fold in chocolate chips or dried fruits like cranberries for a chewy, luxurious addition that transforms these cookies into something truly special.
- Spicy Kick: Incorporate a pinch of cinnamon or nutmeg for warming spices that evoke cozy seasonal memories.
- Sweet Glaze: Drizzle a simple icing made of powdered sugar and milk over cooled cookies for a sweet look and extra flavor.
- Creamy Filling: Pipe some buttercream or cream cheese frosting between two cookies for a delightful sandwich treat.
- Savory Twist: Try adding shredded cheddar cheese for an unexpected yet delicious savory contrast, perfect for snacking alongside a cup of tea.
As you experiment with these variations, don’t forget to explore delightful recipes like Crocot Pot Garlic Butter Beef Bites and Chocolate Oat Cookies to expand your culinary adventures!
What to Serve with The Best Danish Butter Cookies
Indulging in crispy, buttery bites opens the door to a delightful meal featuring comforting flavors and textures.
- Fresh Berries: Juicy strawberries or raspberries add a vibrant, natural sweetness that balances the richness of the cookies, creating a beautiful contrast.
- Whipped Cream: Light and airy, topped with a touch of vanilla, it can elevate your cookie experience, making each bite feel luxurious.
- Herbal Tea: A warm cup of chamomile or mint tea offers soothing notes that perfectly complement the buttery richness, inviting you to relax and unwind.
- Dark Chocolate: Rich and slightly bitter chocolate pairs beautifully, letting the sweetness of the cookies shine. A chocolate dip will be quite a treat!
- Cheese Platter: A selection of creamy brie or tangy goat cheese enhances the flavor profile, adding a savory dimension to your dessert experience.
- Lemonade: A refreshing citrus drink cuts through the buttery richness, leaving your palate feeling clean and satisfied between bites.
- Vanilla Ice Cream: Creamy and cool, it provides a delightful contrast to the warm cookies, turning every bite into a tempting dessert masterpiece.
- Espresso: A bold shot of coffee awakens the senses, enhancing the cookie’s flavor while providing a lovely after-dinner pick-me-up.
How to Store and Freeze Crispy Danish Butter Cookies
Airtight Container: Store your crispy Danish butter cookies in an airtight container at room temperature for up to one week to maintain their delightful texture.
Refrigeration: If you have made the dough in advance, you can refrigerate it for up to two days before baking. Just make sure it’s well wrapped to prevent it from drying out.
Freezing Dough: You can freeze the cookie dough for up to three months. Wrap it tightly in plastic wrap and place it in a resealable bag. When ready to bake, thaw overnight in the refrigerator before shaping and baking.
Avoid Freezing Baked Cookies: Baked crispy Danish butter cookies don’t freeze well due to their delicate texture. It’s best to enjoy them fresh or store them at room temperature.
Crispy Danish Butter Cookies Recipe FAQs
How do I know if my butter is at room temperature?
Absolutely! Your butter should be soft enough to leave an indentation when pressed with your finger but not so melted that it becomes oily. Typically, letting it sit out for about 30 minutes to an hour before starting your cookies will get you the perfect texture needed for creaming.
How long can I store my crispy Danish butter cookies?
You can store your cookies in an airtight container at room temperature for up to one week. To maintain their crispness, make sure the container is sealed tightly. For best results, avoid placing any cookies that are still warm in the container; let them cool first!
Can I freeze the dough for later use?
Yes, you certainly can! Wrap your cookie dough tightly in plastic wrap and place it in a resealable bag to freeze for up to three months. When you’re ready to bake, simply thaw it overnight in the refrigerator. Once thawed, roll it out and bake as per the recipe instructions!
What if my cookies spread too much while baking?
Very good question! If you notice your cookies spreading excessively, it might be due to the butter being too soft or the dough not being chilled long enough. Remember, chilling the dough for at least one hour is crucial! If you suspect the butter was too warm, you can refrigerate the shaped cookies for 15-30 minutes before baking as a helpful trick to prevent spreading.
Are crispy Danish butter cookies safe for pets or those with allergies?
Absolutely not for pets! These cookies contain ingredients like butter and sugar that are not suitable for dogs or cats. If you have individuals with allergies, be sure to substitute the all-purpose flour with a gluten-free blend and check labels on all ingredients for any potential allergens. If needed, allow for personalized variations to ensure everyone’s safety and enjoyment!
Crispy Danish Butter Cookies That Melt in Your Mouth
Ingredients
Equipment
Method
- Cream together the softened unsalted butter and granulated sugar on medium speed until light and fluffy, about 3-5 minutes.
- Gradually add the powdered sugar, vanilla extract, and salt into the mixture, beating on low until fully combined.
- Sift in the all-purpose flour and fold gently until just combined, ensuring not to overmix.
- Wrap the dough tightly in plastic wrap and refrigerate for at least 1 hour.
- Roll out the chilled dough on a floured surface to about 1/4 inch thick and cut out shapes.
- Place cookies on parchment-lined baking sheets and bake in a preheated oven at 350°F (175°C) for 10-12 minutes.
- Allow cookies to cool on the baking sheet for about 5 minutes before transferring to a wire rack.
Leave a Reply