
As I stood in my kitchen, the tropical scent of coconut wafting through the air brought back memories of sun-soaked beaches and summer vacations. If you’re craving that blissful vibe at home, my Coconut Shrimp Recipe is just what you need. With a perfect crunch from the panko breadcrumbs and a subtle sweetness that dances on your palate, these crispy coconut shrimp are not just a treat but a quick, crowd-pleasing dish that anyone can whip up in about 45 minutes. Whether you decide to fry, bake, or air-fry them, this dish is versatile enough to cater to your cravings and dietary preferences. Plus, it’s gluten-free with a simple ingredient swap, making it suitable for everyone. Curious how to make this delectable dish? Let’s dive into the details that will transform your dinner into a tropical getaway!
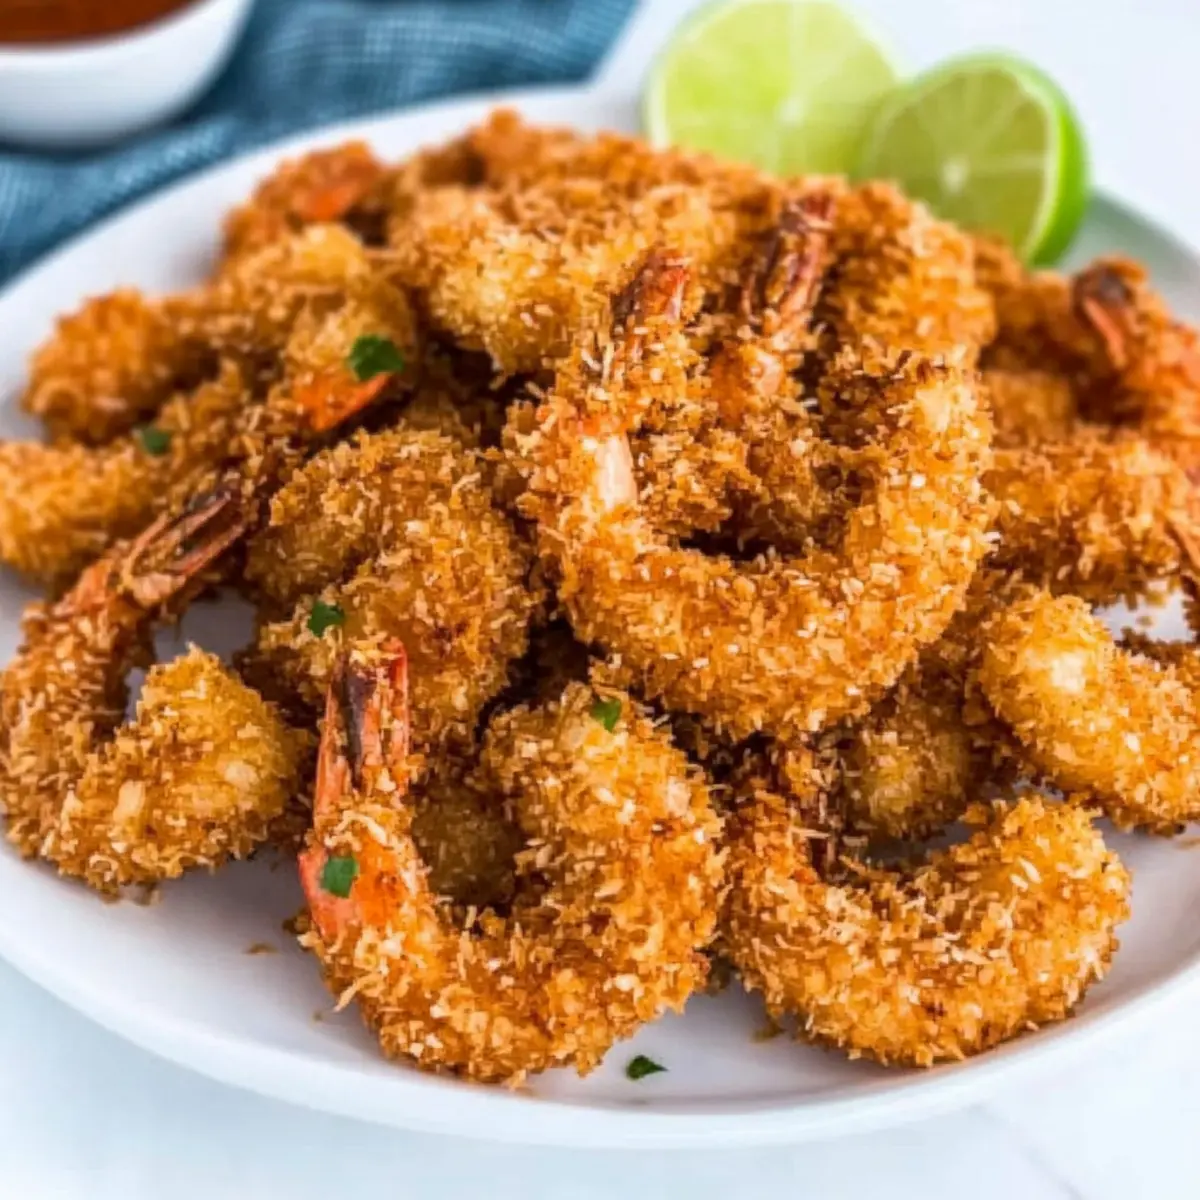
Why is Coconut Shrimp So Irresistible?
Crispy Texture: Each bite gives you a delightful crunch that perfectly complements the tender shrimp inside.
Tropical Flavors: The combination of sweet coconut and savory seasoning transports your taste buds straight to a beach paradise.
Versatile Cooking Methods: Whether you want to fry, bake, or air fry, this recipe adapts to your kitchen style.
Quick Preparation: Ready in just 45 minutes, it fits seamlessly into busy schedules, making it a go-to recipe.
Diet-Friendly Options: With simple substitutions, you can easily create a gluten-free version or swap out shrimp for chicken or tofu, catering to various dietary needs.
Crowd-Pleasing Appeal: Perfect for gatherings, these crunchy coconut shrimp will have everyone asking for seconds, impressing even the pickiest eaters. You might also enjoy trying them with a classic seafood dipping sauce or serving them alongside a refreshing Avocado Shrimp Ceviche.
Coconut Shrimp Ingredients
For the Breading
- Jumbo Shrimp – These are the star of the dish; peeled and deveined for easy preparation.
- All-Purpose Flour – Helps the breading to stick effectively; for a gluten-free version, substitute with gluten-free flour.
- Seafood Seasoning – Imparts flavor; feel free to use Old Bay or your favorite seafood spice blend.
- Salt – Enhances flavors throughout; adjust based on the seasoning used.
- Black Pepper – Provides a hint of heat; freshly ground offers the best aroma and taste.
For the Egg Wash
- Eggs – Acts as a binding agent to hold the breading together; can be swapped with a flax egg for a vegan alternative.
- Coconut Milk – Adds creaminess to the wash; regular milk or any dairy-free alternative would work too.
- Hot Sauce – Gives a spicy kick; this can be omitted if you prefer no heat.
For the Coating
- Sweetened Flaked Coconut – Provides delightful sweetness and crunch; avoid using unsweetened for best results.
- Panko Breadcrumbs – Create an extra crispy coating; crushed regular breadcrumbs can be a good substitute in a pinch.
For Frying
- Peanut or Vegetable Oil – Ideal for frying; for a tropical twist, use coconut oil for added flavor.
Ready to bring the beach vibes to your kitchen with this Coconut Shrimp recipe? Let’s get cooking!
Step‑by‑Step Instructions for Coconut Shrimp
Step 1: Prep the Shrimp
Start by placing your peeled and deveined jumbo shrimp in a large Ziploc bag. Add all-purpose flour, seafood seasoning, salt, and freshly ground black pepper. Seal the bag and shake it vigorously until the shrimp are evenly coated. This initial coating ensures the flavors stick and sets the stage for your delicious Coconut Shrimp.
Step 2: Create the Egg Wash
In a shallow bowl, whisk together the eggs and coconut milk until smooth. This mixture will act as a moist binding agent for the shrimp. The combination of eggs and coconut milk adds richness that enhances the shrimp’s flavor. Make sure the bowl is large enough to dip the shrimp comfortably as you prepare to coat them.
Step 3: Prepare the Coconut Panko Mixture
Grab another shallow bowl and mix together sweetened flaked coconut and panko breadcrumbs. The combination provides a perfect crunch for your Coconut Shrimp, marrying sweetness with texture. Make sure the mixture is well combined so that every shrimp gets an even coating when you roll them in this heavenly blend.
Step 4: Coat the Shrimp
Now it’s time to assemble your Coconut Shrimp! Start by dipping the flour-coated shrimp into the egg wash, allowing any excess to drip off. Then, dredge the shrimp in the coconut-panko mixture, pressing gently to ensure a thick coating. Place the coated shrimp on a sheet of wax paper and put them in the freezer for 20 minutes to set. This step is crucial for achieving that perfect crispy texture.
Step 5: Fry the Shrimp
Heat peanut or vegetable oil in a deep skillet over medium-high heat until it reaches 350°F. Carefully add the shrimp in batches, frying for about 2 minutes on each side or until they turn golden brown and crispy. Keep an eye on them, as cooking times may vary based on shrimp size. Use a slotted spoon to remove the shrimp and let them drain on paper towels, ensuring a delightful crunch.
Step 6: Serve and Enjoy
Once your Coconut Shrimp are perfectly fried, serve them immediately with your favorite sweet chili dipping sauce or any preferred condiment. The tropical sweetness and crispy outer layer create a delightful combination that is sure to please your family or guests. The visual appeal of these golden bites, paired with a delicious sauce, makes for an irresistible treat!
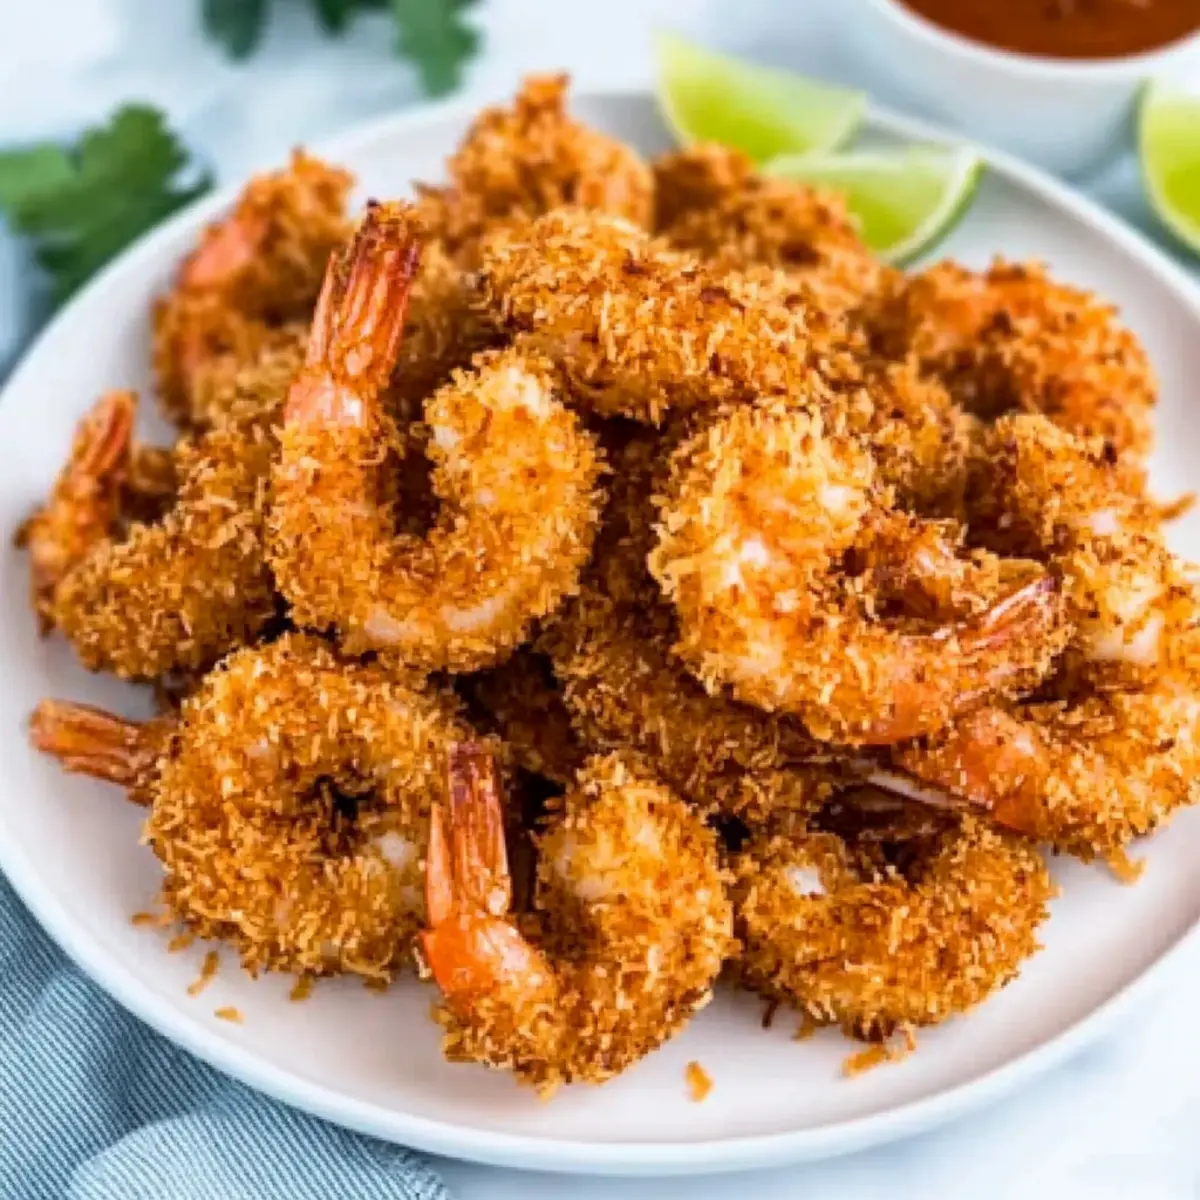
Coconut Shrimp Variations You’ll Love
Feel free to get creative with your Coconut Shrimp and adapt these ideas for a delicious twist!
- Gluten-Free: Substitute all-purpose flour and panko with gluten-free flour and breadcrumbs for a tasty gluten-free version.
- Baked Version: Arrange coated shrimp on a baking sheet and bake at 400°F for about 15-20 minutes for a lighter, crispy alternative.
- Air-Fried Delight: Air fry shrimp at 375°F for about 10-12 minutes, checking halfway through; watch them get crispy without all the oil!
- Spicy Coconut Shrimp: Add cayenne pepper or extra hot sauce to the egg wash for a fiery kick that makes your taste buds dance.
- Zesty Lime: Toss with lime zest before frying for a fresh, zesty flavor that brightens the sweetness of the coconut.
- Crispy Tofu: Switch shrimp for cubed, firm tofu for a vegetarian version; follow the same breading process for a delightful treat.
- Double Dip: For an extra crunchy layer, dip the shrimp twice—once in the egg wash and again in the coconut mixture before frying.
- Unique Dipping Sauce: Try pairing with a pineapple mango salsa or a delicious spicy mayo for a fun twist that everyone will love.
These variations not only cater to different preferences but can elevate your meal experience. While you’re experimenting, don’t miss out on trying them with a Mexican Shrimp Cocktail or alongside a plate of One Pot Garlic Butter Shrimp Pasta for a splendid family dinner!
Make Ahead Options
These Coconut Shrimp are a fantastic choice for meal prep! You can coat the shrimp in the flour mixture and dip them in the egg wash up to 24 hours in advance, covering them tightly and refrigerating until you’re ready to finish cooking. Alternatively, you can also freeze the fully coated shrimp (after the egg wash and coconut mixture) for up to 3 months—just be sure to spread them evenly on a baking sheet and freeze them before transferring to a zip-top bag. When you’re ready to serve, simply fry, bake, or air fry them from frozen, adding an extra minute to the cooking time to achieve that perfect golden crunch. This way, your dish maintains its delightful texture and flavor while saving you valuable time on busy weeknights!
How to Store and Freeze Coconut Shrimp
Fridge: Store leftover Coconut Shrimp in an airtight container for up to 3 days to maintain freshness and flavor.
Freezer: For longer storage, freeze the cooked shrimp on a baking sheet for about an hour, then transfer them to a sealed bag or container. They can be kept frozen for up to 3 months.
Reheating: To retain the crispy texture, reheat Coconut Shrimp in the oven at 375°F for about 10-15 minutes until heated through. Avoid using a microwave, as it may make them soggy.
Meal Prep Tip: If you want to save time, you can also freeze uncooked, breaded Coconut Shrimp. Just cook them directly from frozen, adding a few extra minutes to the cooking time.
Expert Tips for Coconut Shrimp
Perfect Frying Temperature: Ensure your oil reaches 350°F before adding shrimp. This temperature creates a crispy exterior while maintaining the shrimp’s juiciness.
Don’t Overcrowd the Pan: Frying too many shrimp at once can lower the oil temperature, leading to sogginess. Cook in batches for even crispiness.
Watch Cooking Time: Jumbo shrimp should cook about 2 minutes per side. Smaller shrimp require less time, so keep an eye on them to avoid overcooking.
Chill Before Frying: Freezing the coated shrimp for 20 minutes prior to frying helps the breading stick and ensures a crunchy finish on your Coconut Shrimp.
Experiment with Dips: While sweet chili sauce is classic, explore different flavors with mango salsa or spicy mayo for a fun twist at your next gathering.
What to Serve with Crispy Coconut Shrimp?
Transform your meal into a tropical feast with delightful side dishes and drinks that complement the wonderful flavors of coconut shrimp.
-
Creamy Coleslaw: This crisp and tangy salad offers a refreshing contrast to the crunchy shrimp, adding a nice balance of flavors.
-
Sweet Chili Dipping Sauce: Essential for enhancing the shrimp’s tropical taste, this sweet and spicy sauce brings the masterpiece together beautifully.
-
Mango Salsa: Bursting with fresh flavors, this fruity salsa adds a zesty kick that pairs wonderfully with the coconut’s sweetness. It’s vibrant and refreshing.
-
Coconut Rice: A fragrant side that echoes the shrimp’s coconut notes, creating a harmonious dish that transports you to a beachside paradise.
-
Grilled Pineapple: The caramelized sweetness of grilled pineapple adds a burst of tropical flavor, complementing the shrimp’s crunch perfectly. Serve it alongside for a delicious contrast.
-
Crispy Potato Wedges: Soft inside with a golden, crispy layer outside, these wedges add an extra crunch that your guests will love.
-
Cucumber Salad: Light and refreshing, this salad with a hint of vinegar complements the rich coconut shrimp, offering a palate-cleansing effect.
-
Light Beer or Tropical Cocktail: A crisp, cold beer or a vibrant cocktail like a piña colada enhances the entire beach vibes experience, pairing perfectly with your meal.
Mix and match these servings to create a satisfying and memorable dining experience!
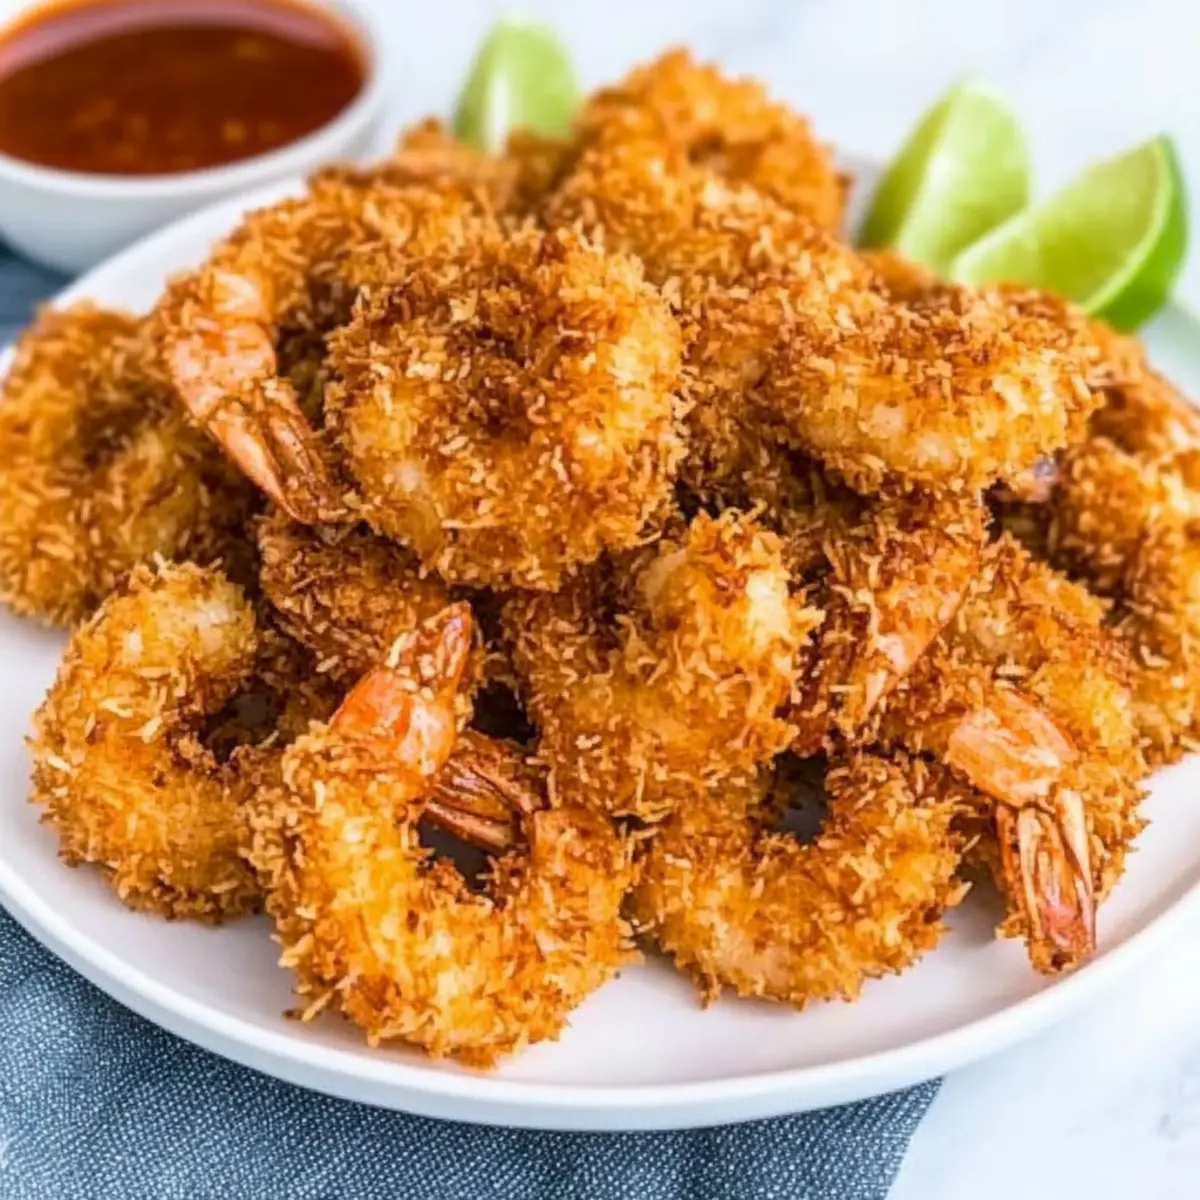
Coconut Shrimp Recipe FAQs
How do I choose the best shrimp for this recipe?
Absolutely! When selecting shrimp, look for jumbo shrimp that are firm and slightly translucent, without any dark spots on their shells. Fresh shrimp should smell like the sea, not fishy. Using tail-on shrimp adds a nice touch for handling, making them perfect for dipping.
What is the best way to store leftover coconut shrimp?
To keep your Coconut Shrimp fresh, place them in an airtight container in the fridge, where they will stay good for up to 3 days. When reheating, I suggest placing them in the oven at 375°F for about 10-15 minutes for that lovely crunch you want!
Can I freeze cooked coconut shrimp? How?
Yes, you can freeze your Coconut Shrimp! After frying, allow them to cool completely. Then, spread them out on a baking sheet to freeze for about an hour. Once they are firm, transfer them to a sealed freezer bag or container. They will maintain their quality for up to 3 months! When you’re ready to enjoy, reheat them in the oven for the best texture.
What can I do if my breading falls off during frying?
Oh no! If your breading falls off, it could be due to the shrimp being too wet or not freezing long enough. Make sure to pat your shrimp dry before adding the flour mix and freeze them for at least 20 minutes after coating. This helps the breading adhere better during frying!
Are there any dietary considerations for coconut shrimp?
Certainly! For a gluten-free version of Coconut Shrimp, simply swap out regular all-purpose flour and panko breadcrumbs for gluten-free alternatives. If you’re cooking for those with shellfish allergies, you can try using chicken tenders or tofu instead while following the same breading process.
Can I prepare the coconut shrimp ahead of time?
Very much so! You can prepare the breaded coconut shrimp in advance and store them in the freezer uncooked. Just remember to freeze them on a baking sheet first before transferring to a bag. When you’re ready to cook, you can fry or air fry them directly from frozen, adding a few extra minutes to the cooking time to ensure they’re cooked through!
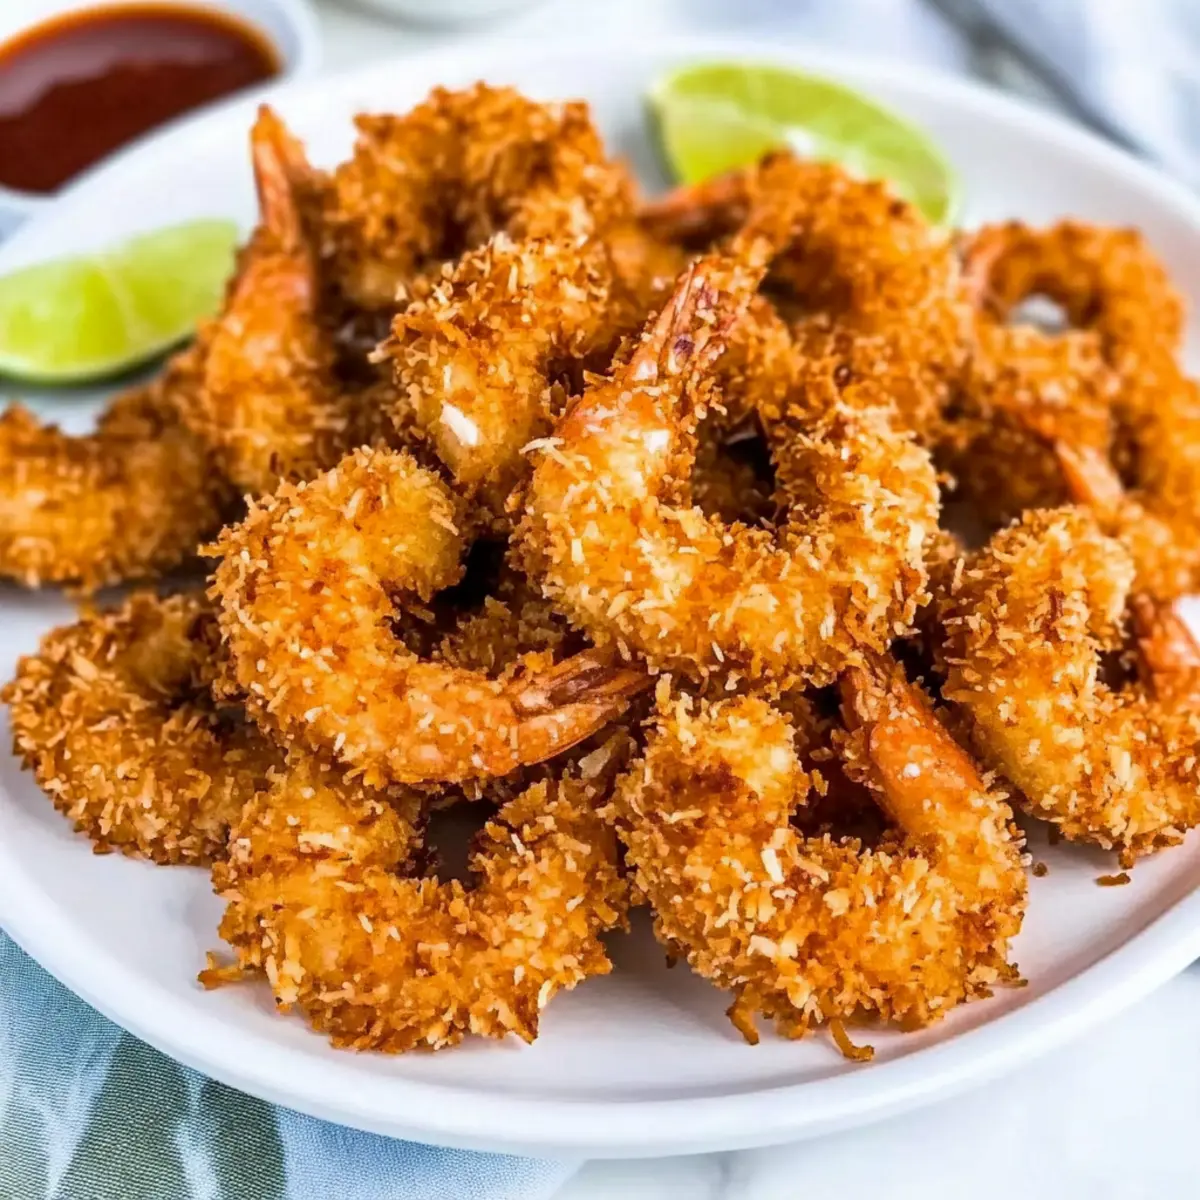
Crunchy Coconut Shrimp: A Tropical Bite You Can't Resist
Ingredients
Equipment
Method
- Prep the shrimp by placing them in a Ziploc bag with flour, seasoning, salt, and pepper. Seal and shake to coat.
- Create the egg wash by whisking together eggs and coconut milk in a shallow bowl.
- Prepare the coconut panko mixture by mixing sweetened coconut and panko in another shallow bowl.
- Coat the shrimp by dipping them in the egg wash, then dredging in the coconut-panko mixture. Freeze for 20 minutes.
- Fry the shrimp in heated oil until golden brown, about 2 minutes each side. Drain on paper towels.
- Serve immediately with your favorite dipping sauce.
Leave a Reply