
As I stood in my kitchen, the vibrant colors of the dragon fruit caught my eye, igniting a spark of inspiration. That’s when I decided to whip up a stunning no-bake Dragon Fruit Cheesecake, a dessert that promises to be a feast for the eyes and the palate. With its tropical flavor and creamy texture, this cheesecake is not only visually captivating but also incredibly easy to assemble—perfect for anyone wanting to impress without the oven drama. Whether you’re celebrating a special occasion or simply indulging in a sweet escape, this no-bake delight is sure to steal the show. Ready to create a dessert that’s as delicious as it is beautiful? Let’s dive into the recipe!
Why is Dragon Fruit Cheesecake a Must-Try?
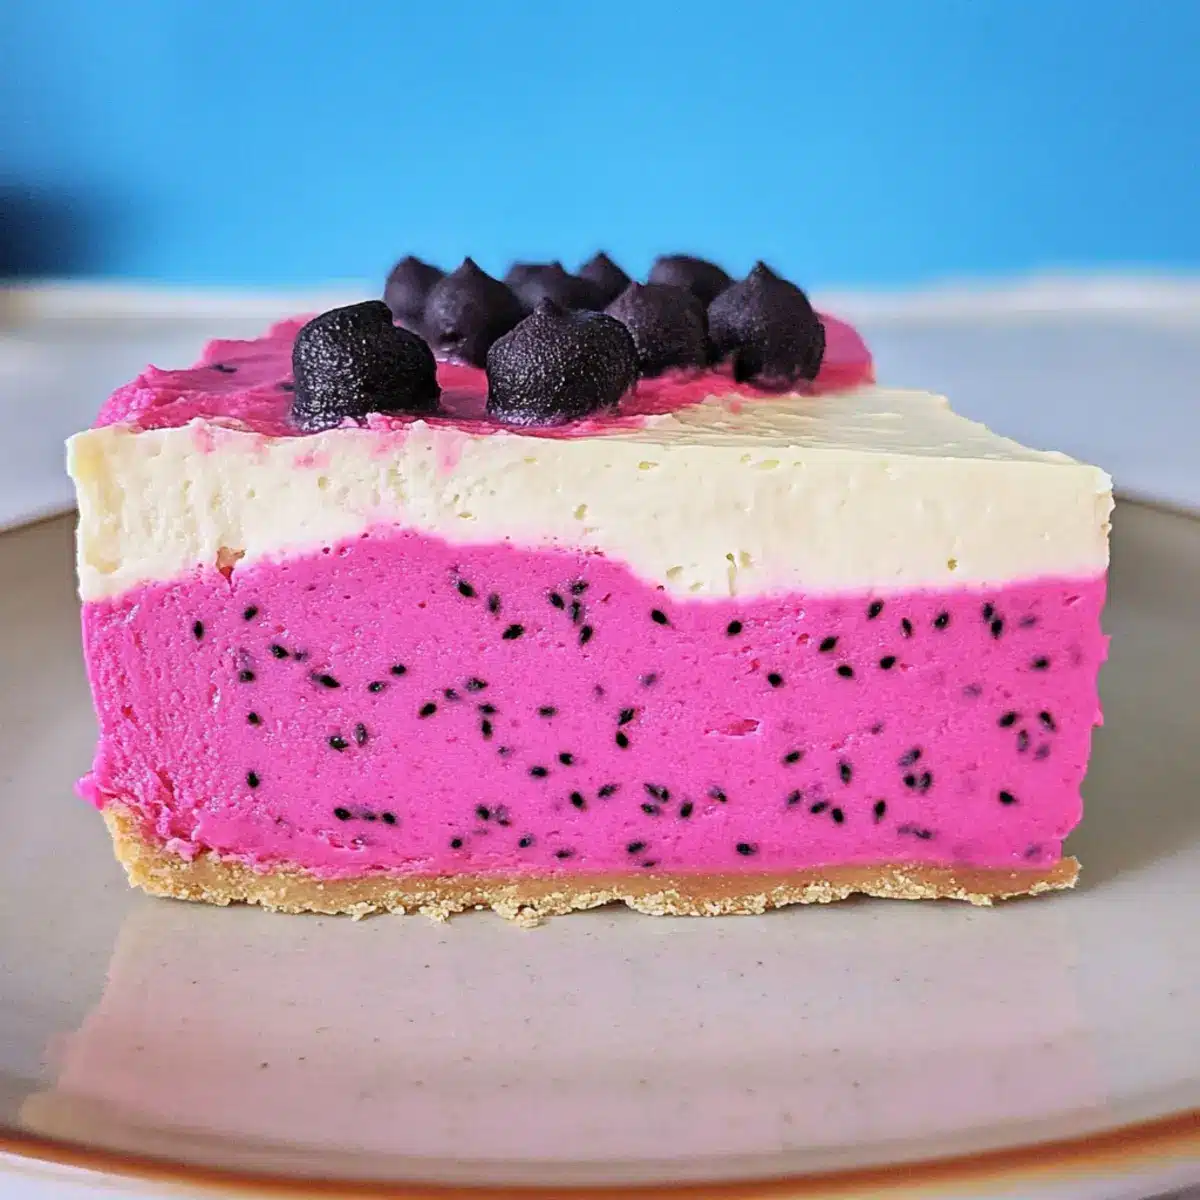
Vibrant Colors: The stunning pink and purple layers are as eye-catching as they are appetizing, making this cheesecake the star of any gathering.
No-Bake Convenience: Enjoy a delicious dessert without the fuss of baking! Simply mix, layer, and chill—all the best flavors with minimal effort.
Tropical Delight: The unique taste of dragon fruit infuses this cheesecake with an exotic flair, a delightful escape from ordinary desserts.
Crowd-Pleasing Appeal: Perfect for parties, it’s guaranteed to impress family and friends with its beauty and flavor. Pair it with a fruit coulis or fresh fruit for a complete dessert experience!
Versatile Variations: Feel free to swap out dragon fruit for your favorite fruits, like mango or berries, and discover new flavor combinations! This flexible recipe can adapt to any palate.
Once you experience this creamy Dragon Fruit Cheesecake, you’ll understand why it’s a go-to dessert for celebrations. If you’re interested in another delicious dessert, consider trying the delightful Apple Snickerdoodles Chewy for a sweet twist!
Dragon Fruit Cheesecake Ingredients
Experience the tropical magic with these essential components!
For the Crust
- Graham Crackers – A sweet and crunchy base that offers great texture; substitute with digestive biscuits for a twist.
- Granulated Sugar – Sweetens the crust for a delightful contrast with the creamy filling; adjust to fit your sweetness preference.
- Butter – Binds the crust ingredients together, bringing richness; use coconut oil for a dairy-free option.
For the Filling
- Cream Cheese – The key ingredient for a creamy and rich filling; opt for low-fat cream cheese if you prefer a lighter dessert.
- Heavy Cream – Whipped to create lightness and fluffiness; feel free to substitute with plant-based cream for a non-dairy version.
- Vanilla Extract – Adds a delightful touch of aromatic sweetness; almond extract can be a delightful alternative.
- Unflavored Gelatin (KNOX) – Essential for setting the cheesecake and providing structure; agar-agar works as a vegetarian substitute.
- Water – Necessary for dissolving gelatin and creating a smooth filling.
- Frozen Dragon Fruit – The star ingredient that gives the cheesecake its vibrant color and unique flavor; fresh dragon fruit can be used if available.
- Neon Pink and Purple Food Coloring Gel – Enhances the visual appeal, though optional for a natural look.
Now that you have all the ingredients ready, let’s embark on making this stunning and delicious Dragon Fruit Cheesecake. Your taste buds are in for a tropical treat!
Step‑by‑Step Instructions for Dragon Fruit Cheesecake
Step 1: Thaw the Dragon Fruit
Begin by placing half of the frozen dragon fruit in a bowl and allowing it to thaw at room temperature for about 30 minutes. This will ensure it blends smoothly into your cheesecake filling later. Check that it is soft and easily mashable, which indicates it’s ready to be pureed.
Step 2: Prepare the Crust
In a food processor, blend 1 ½ cups of graham crackers into fine crumbs. Mix in ¼ cup of granulated sugar, then pour in ½ cup of melted butter until fully combined. Transfer this mixture into the base of a spring-form pan, pressing it down firmly to create an even crust. Place it in the freezer for 15 minutes to set while you prepare the filling.
Step 3: Whip the Heavy Cream
In a mixing bowl, pour 1 cup of heavy cream and add 2 tablespoons of granulated sugar. Using an electric mixer, whisk on medium-high speed until stiff peaks form—this should take about 3-5 minutes. Once ready, transfer the whipped cream to the refrigerator to chill while you continue with the rest of the Dragon Fruit Cheesecake layers.
Step 4: Mix the Cream Cheese Filling
In another bowl, beat 8 ounces of softened cream cheese until smooth and creamy using a hand mixer. Gradually add ½ cup of granulated sugar and 1 teaspoon of vanilla extract while mixing. Scrape down the sides and continue until the mixture is well incorporated and fluffy. This forms the base of your luscious filling.
Step 5: Incorporate the Whipped Cream
Gently fold the chilled whipped cream into the cream cheese mixture using a spatula. Make sure to combine them carefully to maintain the airy texture of the whipped cream. This step is crucial for creating a light and creamy Dragon Fruit Cheesecake filling that everyone will love.
Step 6: Dissolve the Gelatin
In a small bowl, mix 1 packet of unflavored gelatin with ¼ cup of water. Microwave this bowl for about 15 seconds, then stir until the gelatin is fully dissolved and smooth. Allow it to cool slightly before adding it to the cheesecake mixture. This will help set the cheesecake once assembled.
Step 7: Combine Gelatin with Filling
Slowly pour the dissolved gelatin into the cream cheese and whipped cream mixture. Stir gently to ensure it is evenly distributed throughout the filling. This is an important step to give your Dragon Fruit Cheesecake the right structure, so ensure no lumps remain.
Step 8: Layer the Mixture
Divide the cream cheese mixture in half, pouring the first half into the prepared crust in the spring-form pan. Spread it evenly and gently smooth the top with a spatula. Place the pan back in the freezer for about 30 minutes to allow this layer to set before adding the vibrant dragon fruit layer.
Step 9: Blend Dragon Fruit and Color
Take the thawed dragon fruit and blend it until smooth; you want a vibrant puree. Stir in a few drops of neon pink and purple food coloring gel to enhance the visual appeal. Once combined, fold this mixture into the remaining cream cheese filling until completely incorporated.
Step 10: Finish Layering and Freeze
Pour the dragon fruit mixture over the set cheesecake layer in the spring-form pan, spreading it evenly on top. Cover the entire cheesecake with plastic wrap and return it to the freezer for at least 4 hours, or ideally overnight, to truly set and develop all the flavors.
Step 11: Serving the Cheesecake
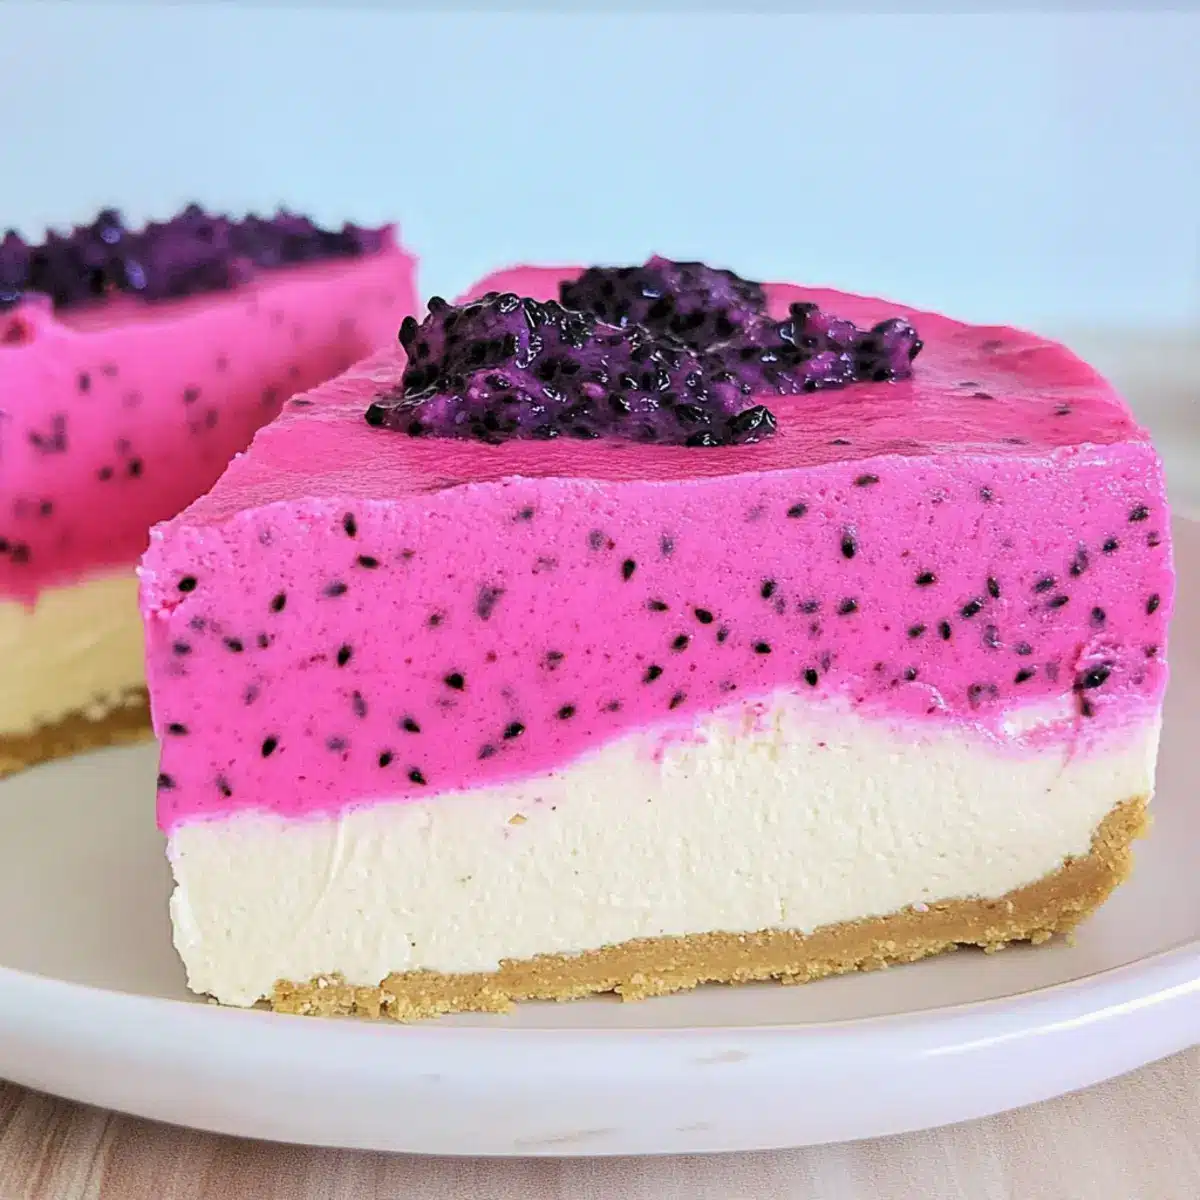
Once fully chilled and set, remove the cheesecake from the spring-form pan. Use a sharp knife dipped in warm water for clean slices. This stunning Dragon Fruit Cheesecake is now ready to dazzle your taste buds and impress your guests; serve it chilled, garnished with fresh fruit or coulis if desired!
Make Ahead Options
Preparing your luscious Dragon Fruit Cheesecake ahead of time is a fantastic way to save precious minutes when you’re busy! You can make the crust and the cream cheese filling up to 24 hours in advance. Simply follow the crust instructions, press it into the spring-form pan, and then refrigerate. For the filling, mix the cream cheese and whipped cream before adding the gelatin, then cover and refrigerate until you’re ready to combine with the dragon fruit puree. Just remember, to maintain quality, avoid freezing until the final assembly step. When it’s time to serve, finish by layering the vibrant dragon fruit mix and freezing overnight; this ensures a flavor-packed, visually stunning dessert perfect for impressing your guests!
Dragon Fruit Cheesecake Variations
Feel free to unleash your creativity with this delightful cheesecake, transforming it into a personalized masterpiece!
-
Mango Bliss: Replace dragon fruit with fresh mango for a tropical twist that brings a sweet, sunny flavor.
Imagine a creamy mango layer embracing the cheesecake’s nice texture, creating a delightful fruit-forward experience. -
Berries Galore: Swap dragon fruit for a medley of berries like strawberries, blueberries, or raspberries to add a tangy essence.
The combination of various berries not only brings vibrant colors but also tantalizing taste for berry lovers! -
Nutty Crust: Experiment with a pecan or almond crust instead of graham crackers for a flavorful crunch and added nutrition.
The nuttiness enhances the cheesecake’s flavor profile, creating a rich base that complements the fruit filling beautifully. -
Coconut Cream: Use coconut cream instead of heavy cream for a tropical flavor boost and creamy texture.
This adaptation takes your cheesecake to the next level, infusing each bite with luscious coconut goodness! -
Spiced Chocolate Drizzle: Drizzle melted chocolate mixed with a touch of cinnamon over the cheesecake before serving for a twist of indulgence.
The warmth of spice against the cool cheesecake creates a delightful contrast that will excite your taste buds. -
Agar-Agar Alternative: If you’re looking for a vegan option, substitute gelatine with agar-agar to maintain that perfect set without sacrificing flavor.
This is a fantastic way to cater to dietary preferences while enjoying the same beautiful texture! -
Fruit Puree Layer: Add a layer of blended fruit puree as a middle layer for extra flavor and visual appeal.
It’s a fun way to showcase even more fruit and elevate the cheesecake into a beautiful, vibrant experience.
Don’t forget, if you’re captivated by the allure of creaminess, check out these Apple Snickerdoodles Chewy that will make your day even sweeter! With these variations, your Dragon Fruit Cheesecake can become a canvas for your culinary imagination. Happy baking!
Expert Tips for Dragon Fruit Cheesecake
-
Soften Before Mixing: Always ensure your cream cheese is at room temperature; this makes blending smooth and prevents lumps in your filling.
-
Proper Gelatin Use: Make sure the gelatin is completely dissolved. If not, your cheesecake may end up with a gritty texture and won’t set well.
-
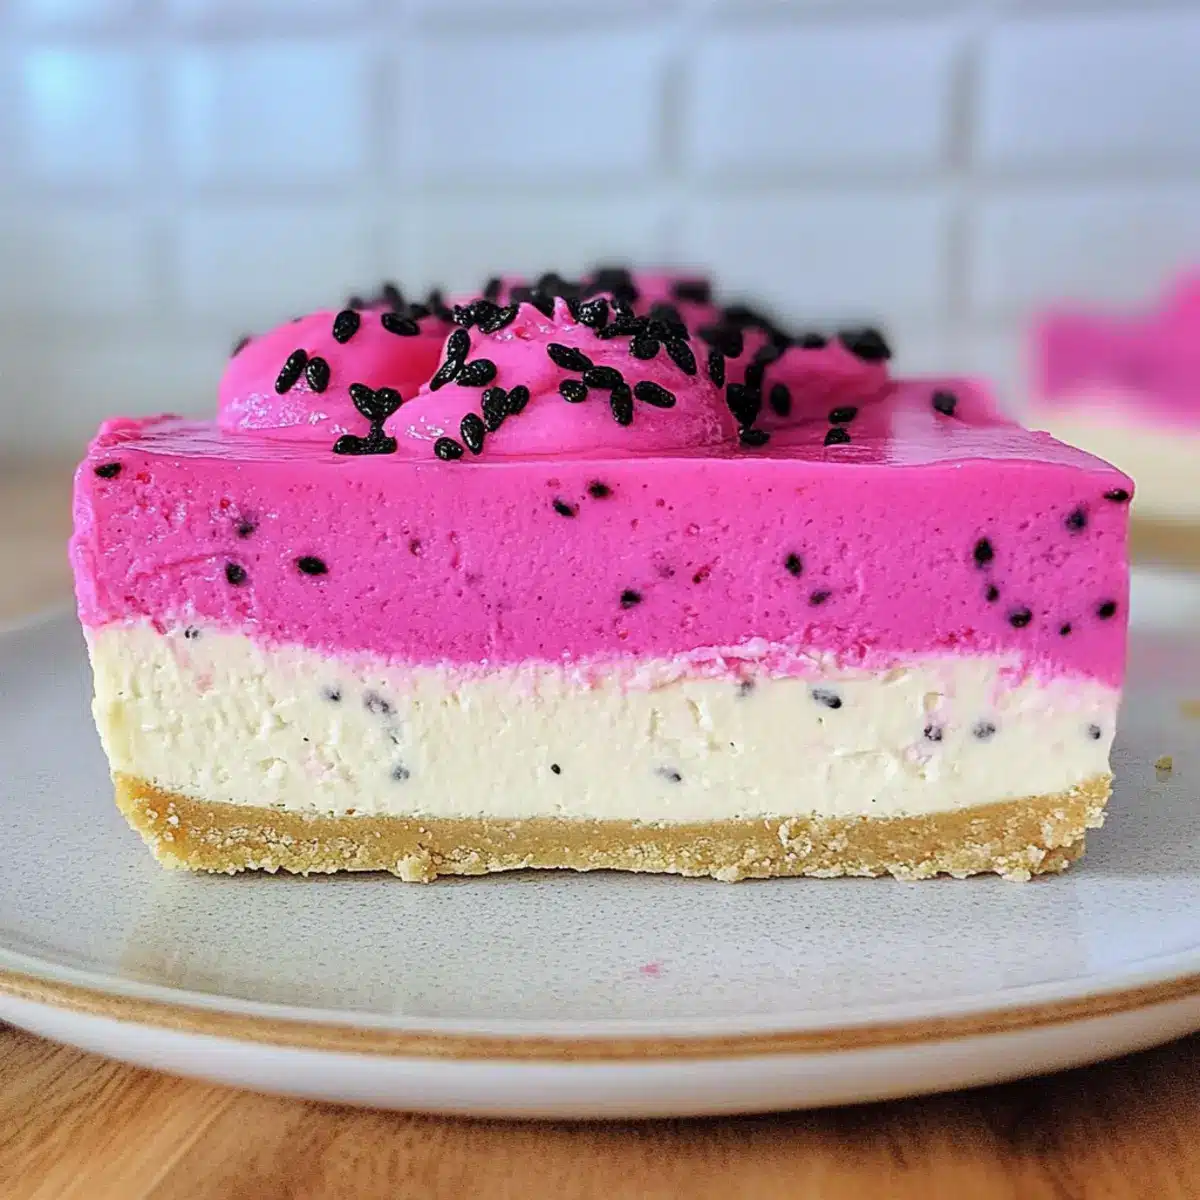
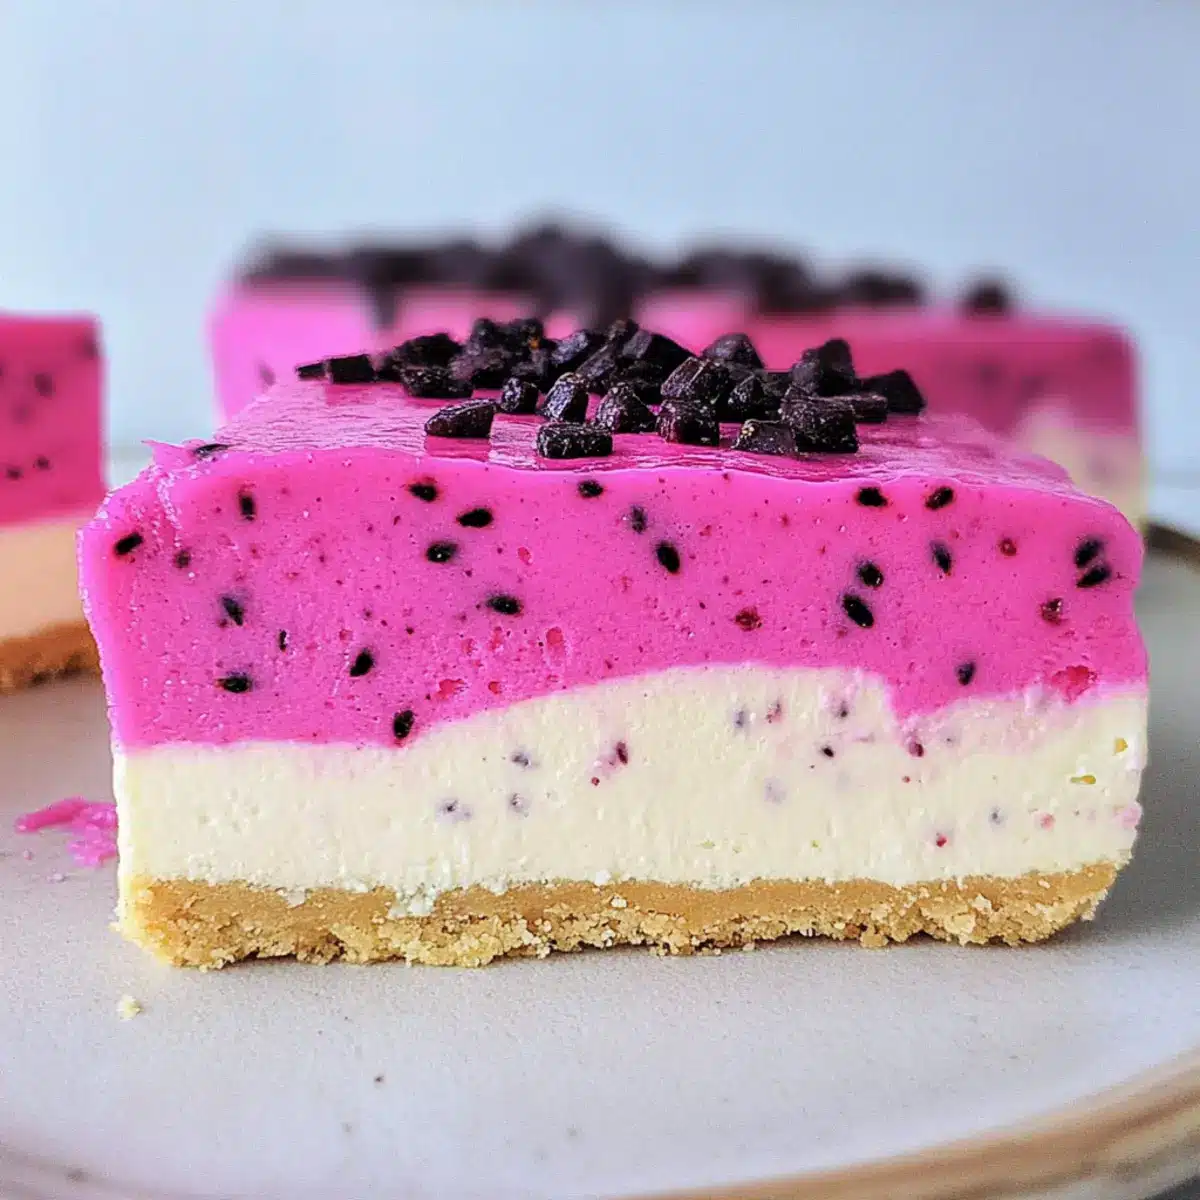
Chill Layers: Allow each layer to set in the freezer before adding the next. This ensures a clean separation between the cheesecake layers for that stunning visual appeal!
-
Knife Technique: Use a serrated knife for cutting the cheesecake to achieve clean slices. Dipping it in warm water helps the knife glide through smoothly.
-
Color Play: If you want vibrant layers, don’t shy away from food coloring! It enhances the beauty of the dragon fruit cheesecake without compromising flavor.
-
Substitution Ideas: Feel free to swap the dragon fruit for other fruits like mango or berries, and create new flavor profiles that will captivate your guests!
Storage Tips for Dragon Fruit Cheesecake
Fridge: Store leftover Dragon Fruit Cheesecake in an airtight container in the refrigerator for up to 5 days to maintain freshness and flavor.
Freezer: While it’s best enjoyed fresh, you may freeze unassembled components, like the crust and filling, for up to 3 months. Just remember, once assembled, avoid freezing the cheesecake.
Reheating: There’s no need to reheat since this is a no-bake dessert. Simply serve it chilled for the best experience!
Visual Appeal: If you’re saving slices for later, consider covering each piece with plastic wrap to protect the vibrant colors and enhance its stunning presentation.
What to Serve with Vibrant No-Bake Dragon Fruit Cheesecake?
Elevate your dessert experience with these delightful pairings that harmonize beautifully with your vibrant cheesecake masterpiece.
-
Fresh Berries: The tartness of strawberries or blueberries complements the sweetness of the cheesecake, adding a burst of freshness.
-
Coconut Whipped Cream: Light and airy, this coconut-infused topping enhances the tropical vibe, creating a heavenly pairing that resonates with the cheesecake’s flavors.
-
Tropical Fruit Salad: A medley of mangoes, papayas, and kiwis brings out the exotic elements and adds bright textures, unveiling a lovely contrast.
-
Mint Leaves: A sprig of fresh mint not only adds a pop of color but also a refreshing aromatic note that balances the rich creaminess.
-
Mango Coulis: Drizzling this silky sauce over slices introduces a sweet-tart profile that enriches the cheesecake’s tropical essence.
-
Sparkling Water or Prosecco: Pairing a glass of bubbly with your cheesecake punctuates the experience, offering light effervescence that cleanses the palate beautifully.
-
Chocolate Shavings: A hint of dark chocolate adds a decadent twist, perfectly balancing the lightness of the cheesecake with a touch of indulgence.
-
Lime Zest Sprinkles: Adding a sprinkle of lime zest brightens the dish, enhancing both the flavors and visual appeal—a perfect finishing touch.
Dragon Fruit Cheesecake Recipe FAQs
How do I select the best dragon fruit for my cheesecake?
Absolutely! When selecting dragon fruit, look for fruits with vibrant colors and a slight give when gently squeezed. Avoid fruits with dark spots or blemishes, as this may indicate overripeness. If you can, choose dragon fruit that has a bright pink or yellow skin; this is a good sign of ripeness and flavor.
How should I store leftover Dragon Fruit Cheesecake?
To keep your delicious cheesecake fresh, store any leftovers in an airtight container in the refrigerator for up to 5 days. This method preserves both flavor and texture while keeping it ready for your next dessert craving!
Can I freeze Dragon Fruit Cheesecake?
While the flavors are best enjoyed fresh, you can freeze the unassembled components (the crust and the filling) separately for up to 3 months. Here’s how:
- Freeze the crust in the spring-form pan, tightly covered with plastic wrap.
- Pour the filling into a freezer-safe container, and make sure to remove any excess air before sealing.
- When ready to serve, thaw in the refrigerator overnight before assembling. Avoid freezing the assembled cheesecake as it may lose its texture once thawed.
What should I do if my cheesecake doesn’t set properly?
If your cheesecake doesn’t set, it might be due to the gelatin not dissolving completely. To troubleshoot:
- Ensure you mix the gelatin in hot water and stir until fully dissolved—this step is crucial!
- If the cheesecake still hasn’t set after freezing all night, gently heat the mixture again and add more dissolved gelatin to salvage it. Pour it back in the spring-form pan and freeze for additional time.
Is this Dragon Fruit Cheesecake safe for people with allergies?
Yes! However, if anyone has allergies, make sure to check the ingredients carefully. Individuals with dairy allergies can substitute cream cheese and heavy cream with dairy-free alternatives like coconut cream or cashew cream. Always verify that the gelatin used is free from any allergens too.
Can I make this cheesecake ahead of time?
Very! This cheesecake is ideal for making the day before an event, as chilling it overnight allows the flavors to meld perfectly. This approach enhances not only the taste but also the texture, ensuring a delectable experience when you’re ready to serve it!
Creamy Dragon Fruit Cheesecake That Dazzles Your Taste Buds
Ingredients
Equipment
Method
- Thaw the Dragon Fruit by placing half of it in a bowl at room temperature for about 30 minutes.
- Prepare the Crust by blending graham crackers, granulated sugar, and melted butter in a food processor. Press into a spring-form pan.
- Whip the Heavy Cream with granulated sugar until stiff peaks form. Chill in the refrigerator.
- Mix the Cream Cheese Filling by beating cream cheese, granulated sugar, and vanilla until smooth.
- Incorporate the Whipped Cream into the cream cheese mixture gently.
- Dissolve the Gelatin by mixing it with water, microwaving for 15 seconds, and stirring until smooth.
- Combine Gelatin with Filling by slowly pouring it into the mixture and stirring gently.
- Layer the Mixture by dividing the cream cheese mixture and pouring the first half into the crust and freezing for 30 minutes.
- Blend Dragon Fruit and Color until smooth and fold into remaining cream cheese filling.
- Finish Layering by pouring the dragon fruit mixture over the set cheesecake layer and freeze for at least 4 hours.
- Remove from the pan and slice with a warm knife. Serve chilled, garnished with fresh fruit or coulis.
Leave a Reply