
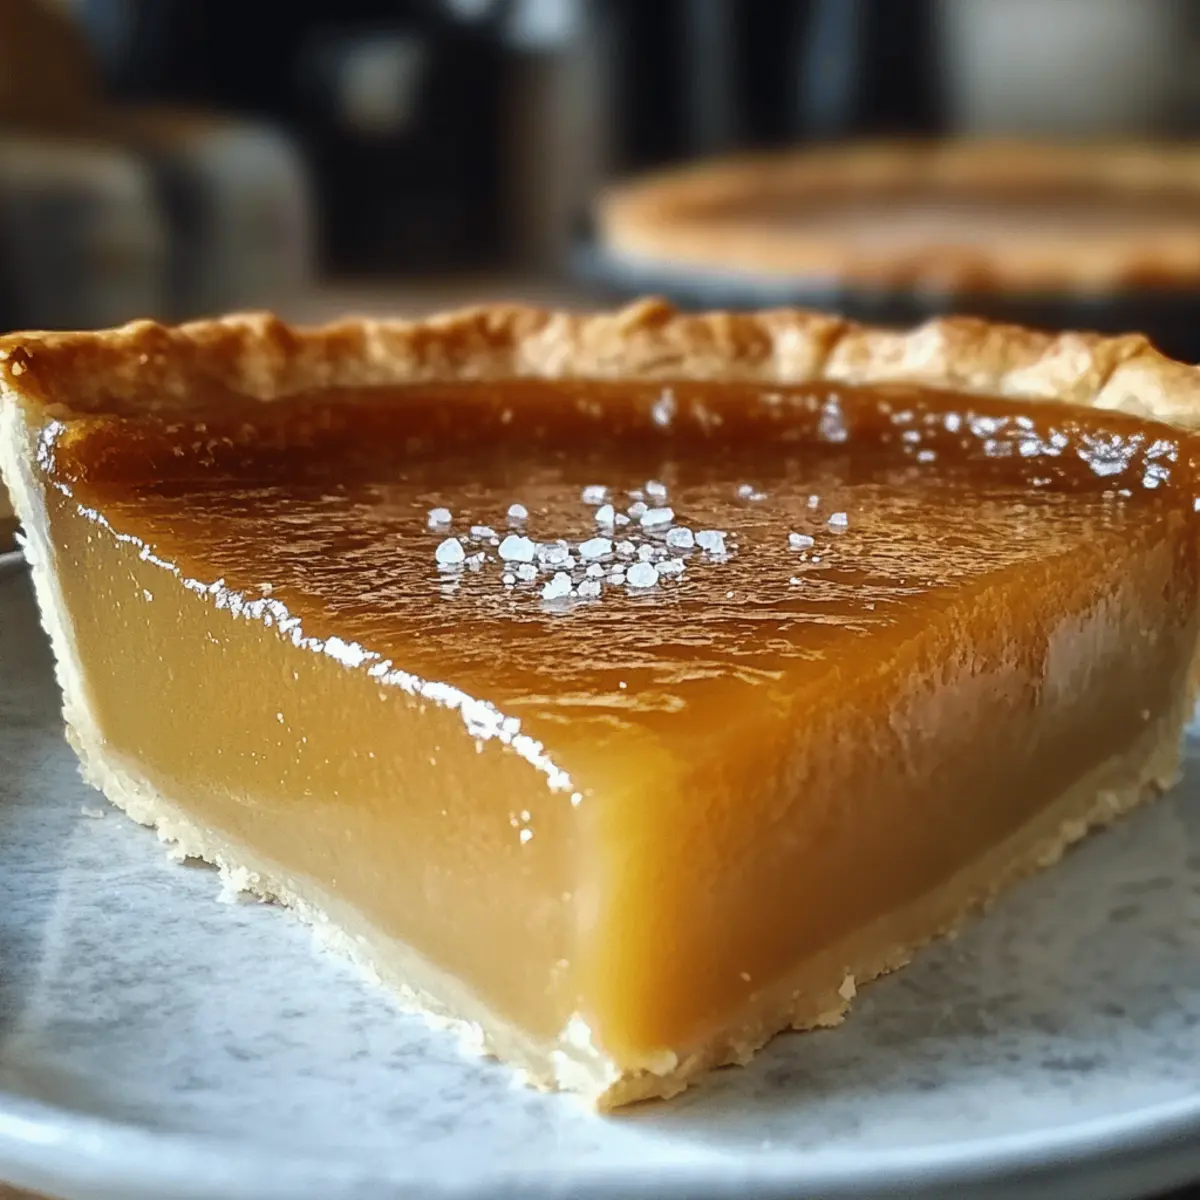
As I stood in my kitchen, the aroma of warm, golden honey wafting through the air, I realized I was about to create something truly special: Salted Honey Pie. This delightful Southern dessert combines a silky honey custard nestled in a buttery crust, finished off with a sprinkle of flaky sea salt. What sets it apart is not just its charming flavor profile of sweet and salty, but also its surprisingly easy preparation that makes it perfect for both casual family dinners and special celebrations. Whether you’re a seasoned baker or just beginning your culinary journey, this pie is a crowd-pleaser that’s sure to elevate your dessert game. Curious about how to whip up this modern twist on a classic? Let’s dive into the recipe!

Why is Salted Honey Pie so irresistible?
Irresistible Flavor Balance: The combination of sweet honey and flaky sea salt creates a sensational taste that tantalizes the taste buds.
Simplicity: This pie is straightforward to make, allowing you to impress guests without complex techniques or ingredients.
Versatile Dessert: Perfect for any occasion, whether it’s a cozy family dinner or a festive gathering, it adapts to your needs seamlessly.
Crowd-Pleasing: With its unique flavor profile, the Salted Honey Pie will undoubtedly win over family and friends, leaving them craving more!
Quick Preparation: Most steps are quick and straightforward, letting you enjoy the fun of baking without spending all day in the kitchen.
For more exciting dishes inspired by sweet and savory notes, check out my Hot Honey Chicken or the delicious Hot Honey Pepperoni recipes!
Salted Honey Pie Ingredients
For the Crust
• 9-inch Pie Crust – Use either homemade or store-bought for a buttery base, just make sure to blind bake it first!
For the Filling
• ½ cup Unsalted Butter – This adds richness; melt and let cool slightly before mixing.
• ¾ cup Granulated Sugar – Gives the pie its sweetness, balancing well with the salty notes.
• ¼ cup Fine Cornmeal – Helps structure the pie without any grittiness.
• ¼ teaspoon Salt – Enhances the flavor profile of the custard filling.
• 1 tablespoon White Vinegar or Lemon Juice – Adds brightness and balances the sweetness of the honey.
• 1 teaspoon Vanilla Extract – Introduces aromatic depth to the filling.
• ½ cup Honey (preferably wildflower or clover) – The star ingredient that will shine through in your Salted Honey Pie!
• 3 Large Eggs – Acts as a binding agent and enriches the texture.
• ½ cup Heavy Cream – Elevates the richness of the pie.
For the Finish
• Flaky Sea Salt (such as Maldon) – Sprinkle just before serving to highlight the sweet and salty experience.
Step‑by‑Step Instructions for Salted Honey Pie
Step 1: Blind Bake the Crust
Begin by preheating your oven to 375°F (190°C). If using a store-bought pie crust, place it in a 9-inch pie dish, crimping the edges as desired. Chill the crust for about 30 minutes, then line it with parchment paper and fill it with pie weights. Bake for 12–15 minutes until the edges are lightly golden. Remove the weights and parchment, and bake for an additional 5 minutes until the crust is firm and dry. Let it cool slightly.
Step 2: Prepare Filling
In a large mixing bowl, whisk together ½ cup melted and slightly cooled unsalted butter, ¾ cup granulated sugar, ¼ cup fine cornmeal, and ¼ teaspoon salt until well combined. Then, mix in 1 tablespoon of white vinegar (or lemon juice), 1 teaspoon of vanilla extract, and ½ cup of honey until smooth. This mixture will form the sweet and creamy filling for your Salted Honey Pie.
Step 3: Add Eggs
Crack 3 large eggs into the bowl, adding them one by one to the honey mixture. Whisk thoroughly after each addition to ensure a homogeneous filling. Finally, incorporate ½ cup of heavy cream, blending until the mixture is smooth and silky, which is essential for the custard texture in your Salted Honey Pie.
Step 4: Fill Crust
Carefully pour the prepared custard filling into the pre-baked pie crust, ensuring an even distribution. To prevent spills, place the pie dish on a baking sheet. This will make it easier to handle in and out of the oven while also catching any potential drips.
Step 5: Bake Pie
Transfer the Salted Honey Pie to your preheated oven, setting the temperature to 350°F (175°C). Bake for 40–50 minutes, or until the custard is just set but slightly jiggly in the center. If you notice the crust browning too quickly, tent the edges with aluminum foil to protect it while the filling cooks through.
Step 6: Cool
Once baked, remove the pie from the oven and allow it to cool completely on a wire rack for at least 2 hours. This cooling period is crucial for the custard to firm up properly, ensuring it slices beautifully when serving your delicious Salted Honey Pie.
Step 7: Finish
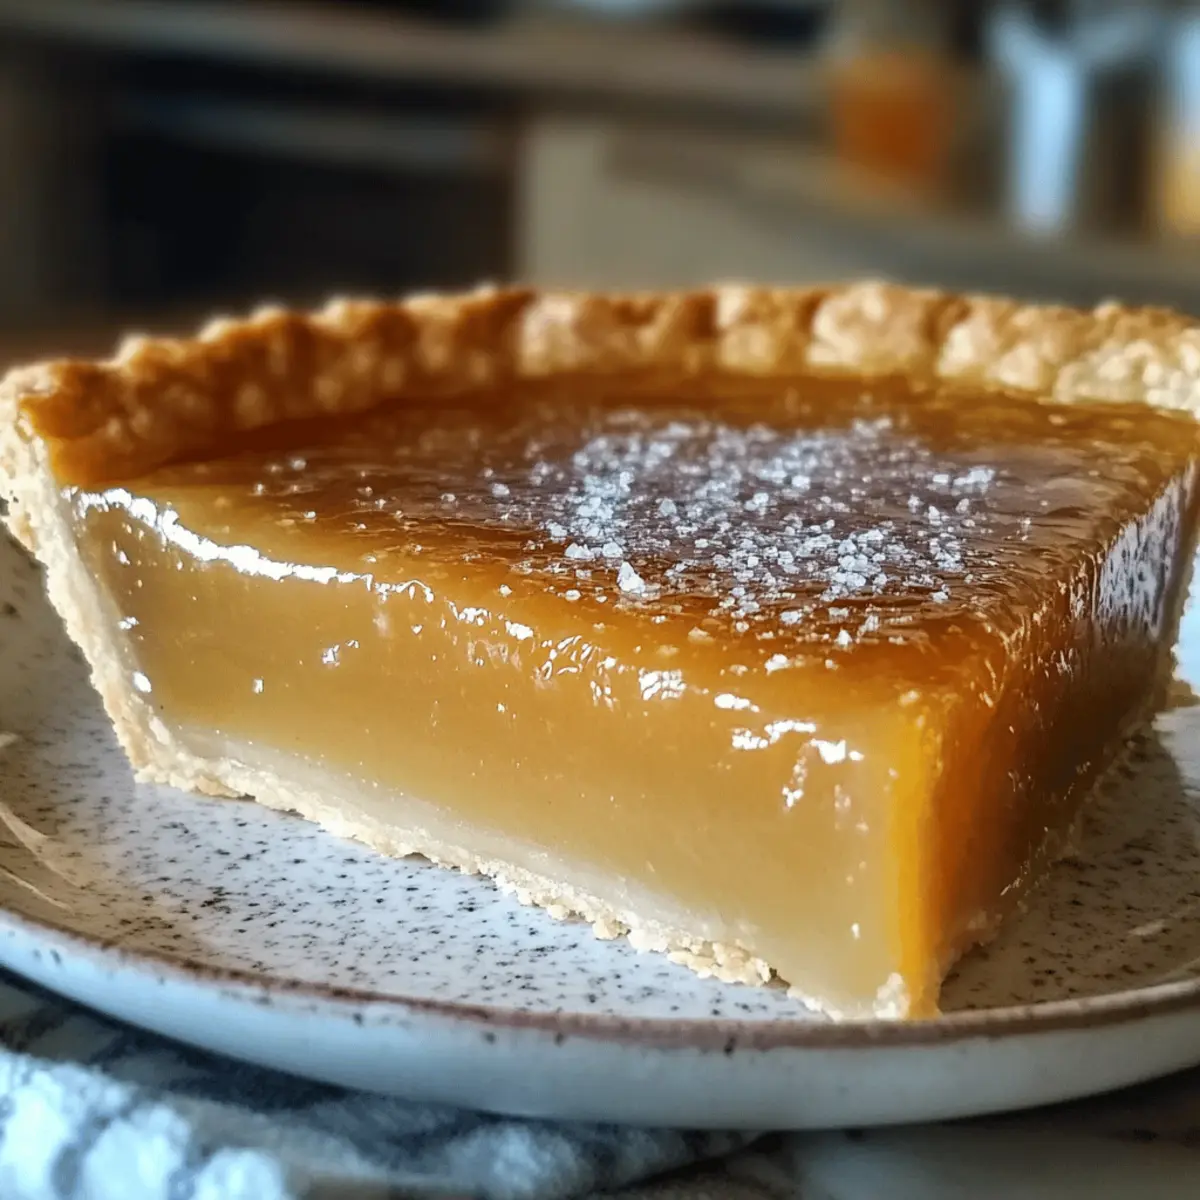
Just before serving, sprinkle a light layer of flaky sea salt across the top of the cooled pie. This final touch will elevate the sweet and salty experience, enhancing the flavors and providing a delightful contrast to the creamy custard. Serve slices chilled or at room temperature for the best enjoyment!
Make Ahead Options
Salted Honey Pie is a fantastic choice for meal prep, making it easier to enjoy this decadent dessert during busy weeks! You can prepare the pie crust up to 3 days in advance and store it tightly wrapped in the refrigerator. Additionally, the custard filling can be mixed and stored in the fridge, covered, for up to 24 hours before baking, ensuring that all the flavors meld beautifully. When you’re ready to finish the pie, simply pour the chilled custard into the pre-baked crust and bake as directed. This way, you achieve the same delicious results with minimal effort, perfect for impressing guests or treating your family any night of the week!
What to Serve with Salted Honey Pie
As you slice into this decadent treat, consider complementing it with a few delightful pairings that will elevate your dessert experience.
-
Fresh Berries: The tartness and juiciness of strawberries or raspberries cut through the richness of the pie and offer a refreshing contrast.
-
Vanilla Ice Cream: A scoop melts perfectly against the warm custard, balancing the flavors and adding creaminess that pairs wonderfully with the pie.
-
Herbal Tea: A calming chamomile or mint tea complements the sweet-salty notes, offering a soothing finish and enhancing the pie’s warm flavors.
-
Whipped Cream: Light and fluffy whipped cream adds an airy texture that nicely contrasts the custard, making each bite feel indulgent yet light.
-
Lemon Sorbet: The zesty coldness brings a bright, citrus touch that balances the sweetness while cleansing the palate between bites.
-
Nutty Caramel Sauce: Drizzling a light layer on the pie adds a sweet crunch and a unique layered flavor experience, enhancing the honey notes beautifully.
Experimenting with these options can transform your Salted Honey Pie into a full-flavored meal, creating a delightful moment to savor with friends and family!
How to Store and Freeze Salted Honey Pie
Fridge: Store the Salted Honey Pie tightly covered in the refrigerator for up to 4 days. This keeps the custard fresh and preserves its creamy texture.
Freezer: For longer storage, wrap the pie (whole or in slices) in plastic wrap and foil, then freeze for up to 2 months. Thaw overnight in the fridge before serving.
Reheating: If you prefer your pie warm, gently reheat slices in the oven at 350°F (175°C) for about 10 minutes, just until warmed through, to enhance its flavors.
Tips for the Best Salted Honey Pie
- Room Temperature Ingredients: Ensure your eggs and cream are at room temperature before mixing; this will create a smoother filling for your Salted Honey Pie.
- Blind Bake Essential: Don’t skip the blind baking step! It’s crucial for achieving a crisp crust that holds up against the creamy filling.
- Cooling Time: Allow the pie to cool completely on a wire rack for at least 2 hours; this helps the custard set properly and makes slicing easier.
- Quality Honey Matters: Use high-quality honey for the best flavor—wildflower honey can add a beautiful floral note to your pie.
- Tent if Necessary: If your crust starts to brown too quickly while baking, use aluminum foil to gently cover the edges, preventing them from burning.
Salted Honey Pie Variations & Substitutions
Feel free to make this delightful pie your own with these creative twists and substitutions!
-
Dairy-Free: Substitute unsalted butter with plant-based butter and heavy cream with coconut cream for a smooth, creamy filling.
-
Sweetener Swap: Try using maple syrup instead of honey for a unique flavor; this may subtly change the pie’s texture.
-
Citrus Zest: Add finely grated lemon or orange zest to the filling for a refreshing citrusy note that brightens the dessert.
-
Nutty Crust: For added texture, swap the traditional pie crust for a nut-based crust made with ground almonds or walnuts.
-
Spice It Up: Incorporate a dash of cinnamon or nutmeg into the filling to give your Salted Honey Pie a warm, spiced twist that feels cozy.
-
Fruit Addition: Fold in small pieces of caramelized apples or pears into the custard for a sweet, fruity surprise in every slice.
-
Infused Honey: Use flavored honey, such as lavender or rosemary, to elevate the flavor profile and create a more distinct dessert.
Enhancing your Salted Honey Pie is a delightful adventure! And if you’re looking for more unique flavor combinations, consider trying my Hot Honey Chicken or the unconventional Hot Honey Pepperoni recipes!

Salted Honey Pie Recipe FAQs
How do I know if the honey I’m using is of good quality?
Absolutely! When selecting honey, look for varieties that are labeled as pure, raw, or organic. High-quality honey often has a rich, floral aroma and a thick, viscous consistency. Avoid honey that appears overly processed or has artificial flavors added, as these can detract from the natural sweetness and flavor of your Salted Honey Pie.
What is the best way to store leftovers?
To keep your Salted Honey Pie fresh, cover it tightly with plastic wrap or aluminum foil and refrigerate it for up to 4 days. This will help maintain the creamy custard texture and prevent it from absorbing other odors in the fridge. Ensure that the pie is completely cool before wrapping to avoid any condensation from forming.
Can I freeze Salted Honey Pie?
Yes, you can! If you want to freeze your Salted Honey Pie, wrap it tightly in plastic wrap and then in aluminum foil. This will help protect it from freezer burn and keep it fresh for up to 2 months. When you’re ready to enjoy it, simply thaw the pie overnight in the refrigerator before serving. If you prefer it warm, you can gently reheat individual slices in the oven at 350°F (175°C) for about 10 minutes.
What should I do if my custard is too runny after baking?
If your Salted Honey Pie’s custard appears too runny after baking, it may not have set properly. This can happen if it wasn’t baked long enough or if the oven temperature was too low. For best results, ensure you bake it at 350°F (175°C) for 40-50 minutes. Keep an eye on it, and if needed, use a knife or toothpick to check for doneness; the center should be slightly jiggly but not liquid.
Can I make this pie gluten-free?
Yes, you can easily adapt the crust of your Salted Honey Pie to be gluten-free! Simply use a gluten-free pie crust (store-bought or homemade using gluten-free flour) in place of the traditional crust. Ensure that any thickening agents or additional ingredients you use are also certified gluten-free, and you’ll have a delightful dessert that everyone can enjoy!
Delight in Salted Honey Pie: A Sweet and Salty Dream
Ingredients
Equipment
Method
- Preheat oven to 375°F (190°C). Chill crust for 30 minutes, then blind bake for 12–15 minutes until lightly golden.
- Whisk together melted butter, sugar, cornmeal, and salt in a mixing bowl, then stir in vinegar, vanilla, and honey until smooth.
- Add eggs one by one, whisking thoroughly after each addition, then mix in heavy cream until smooth.
- Pour the filling into the pre-baked crust, placed on a baking sheet to catch drips.
- Bake at 350°F (175°C) for 40–50 minutes until custard is just set but slightly jiggly.
- Allow the pie to cool completely on a wire rack for at least 2 hours.
- Sprinkle flaky sea salt on top before serving. Serve chilled or at room temperature.
Leave a Reply