
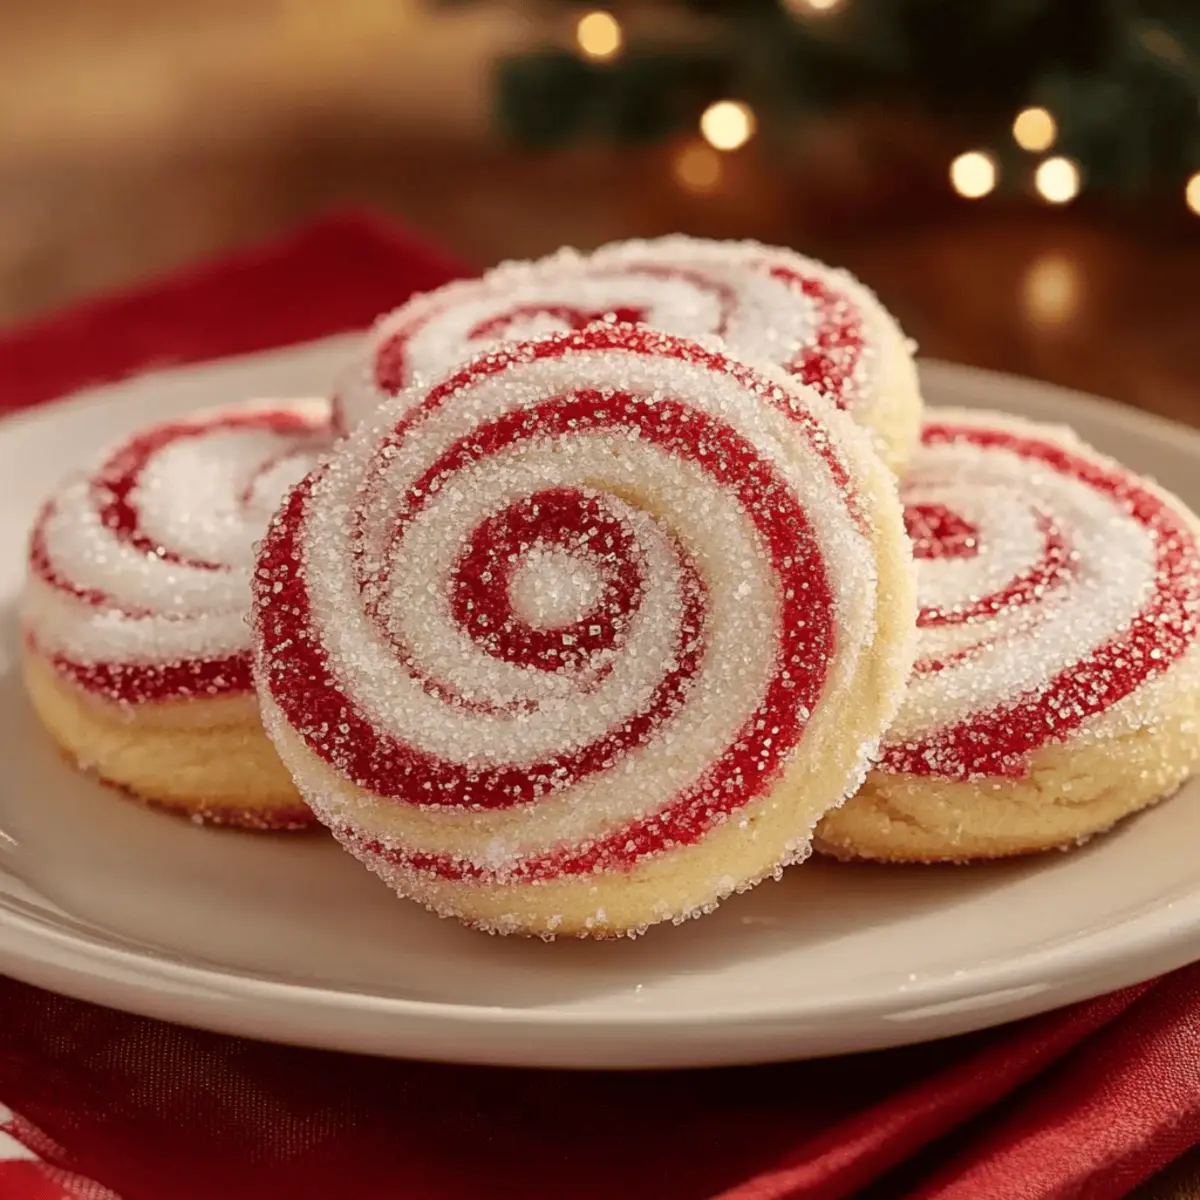
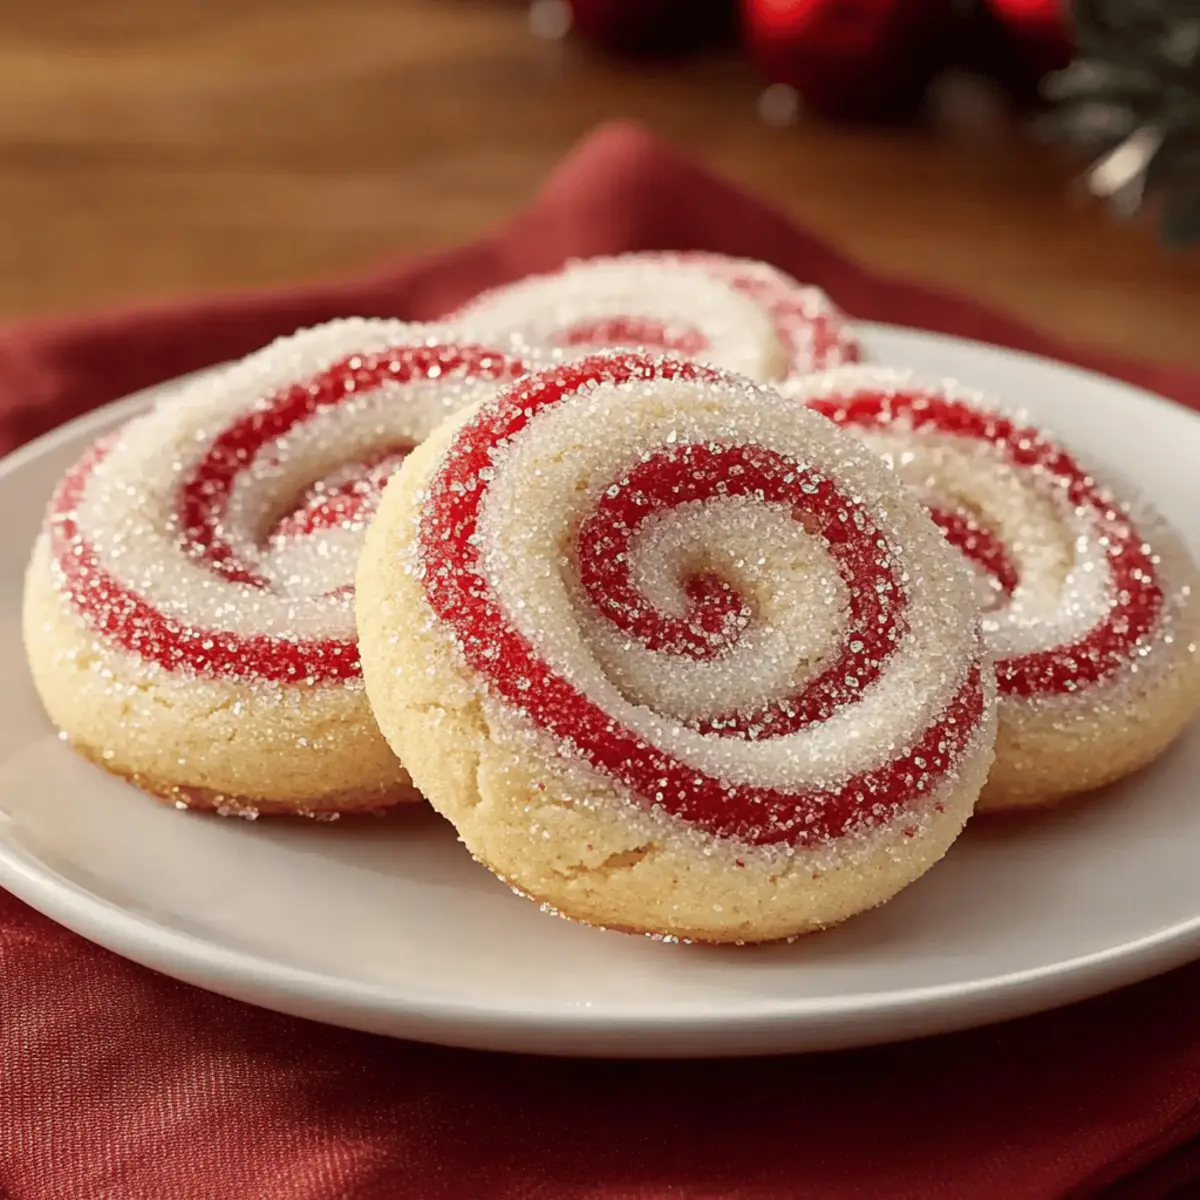
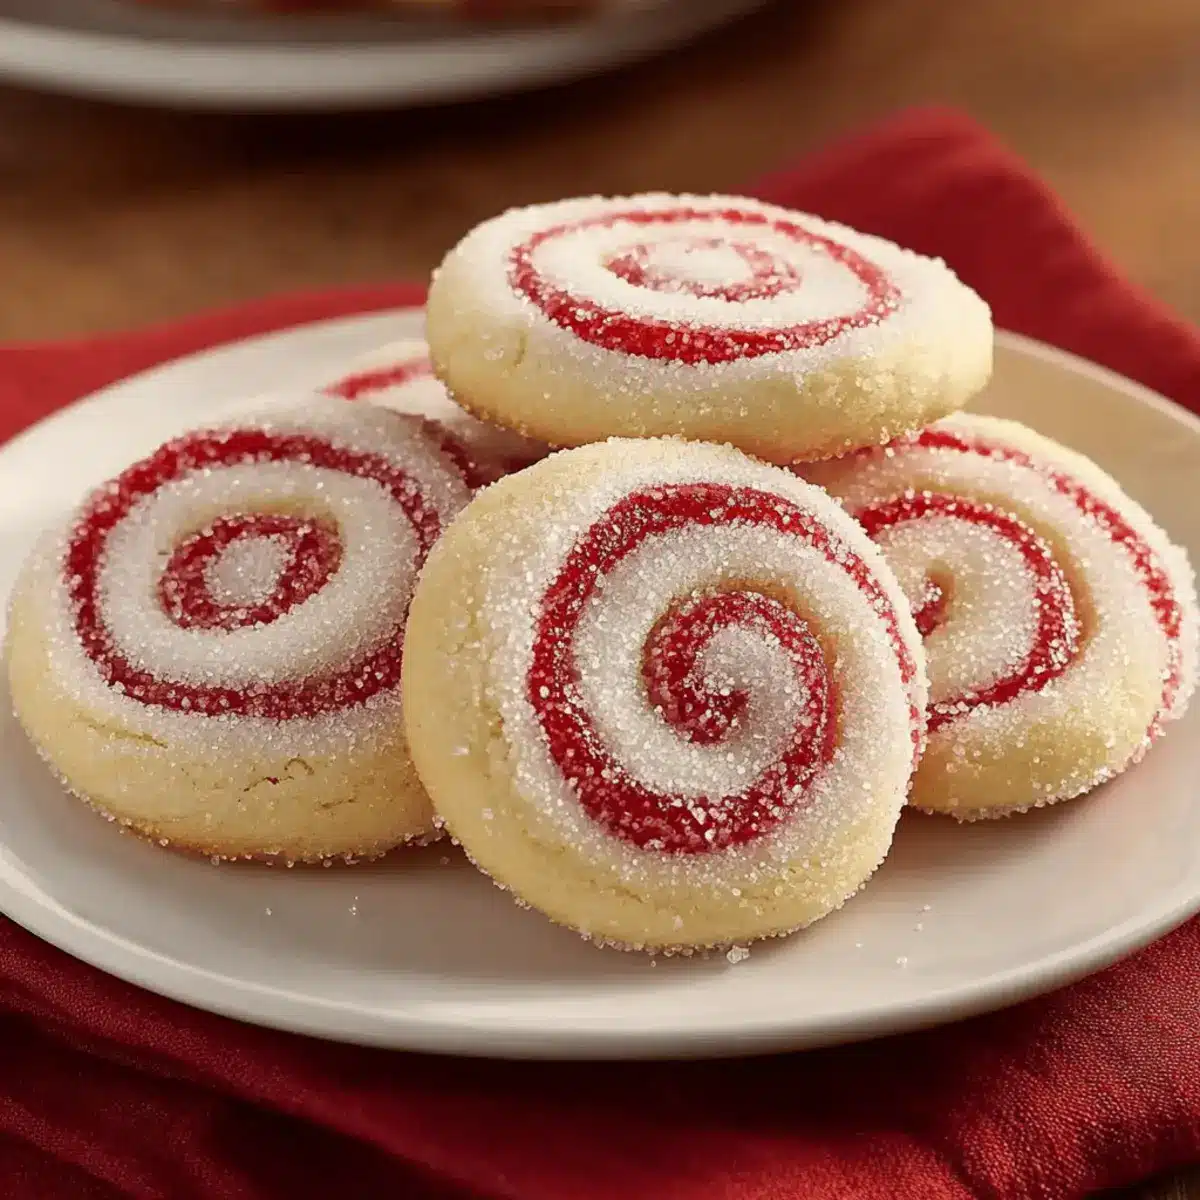
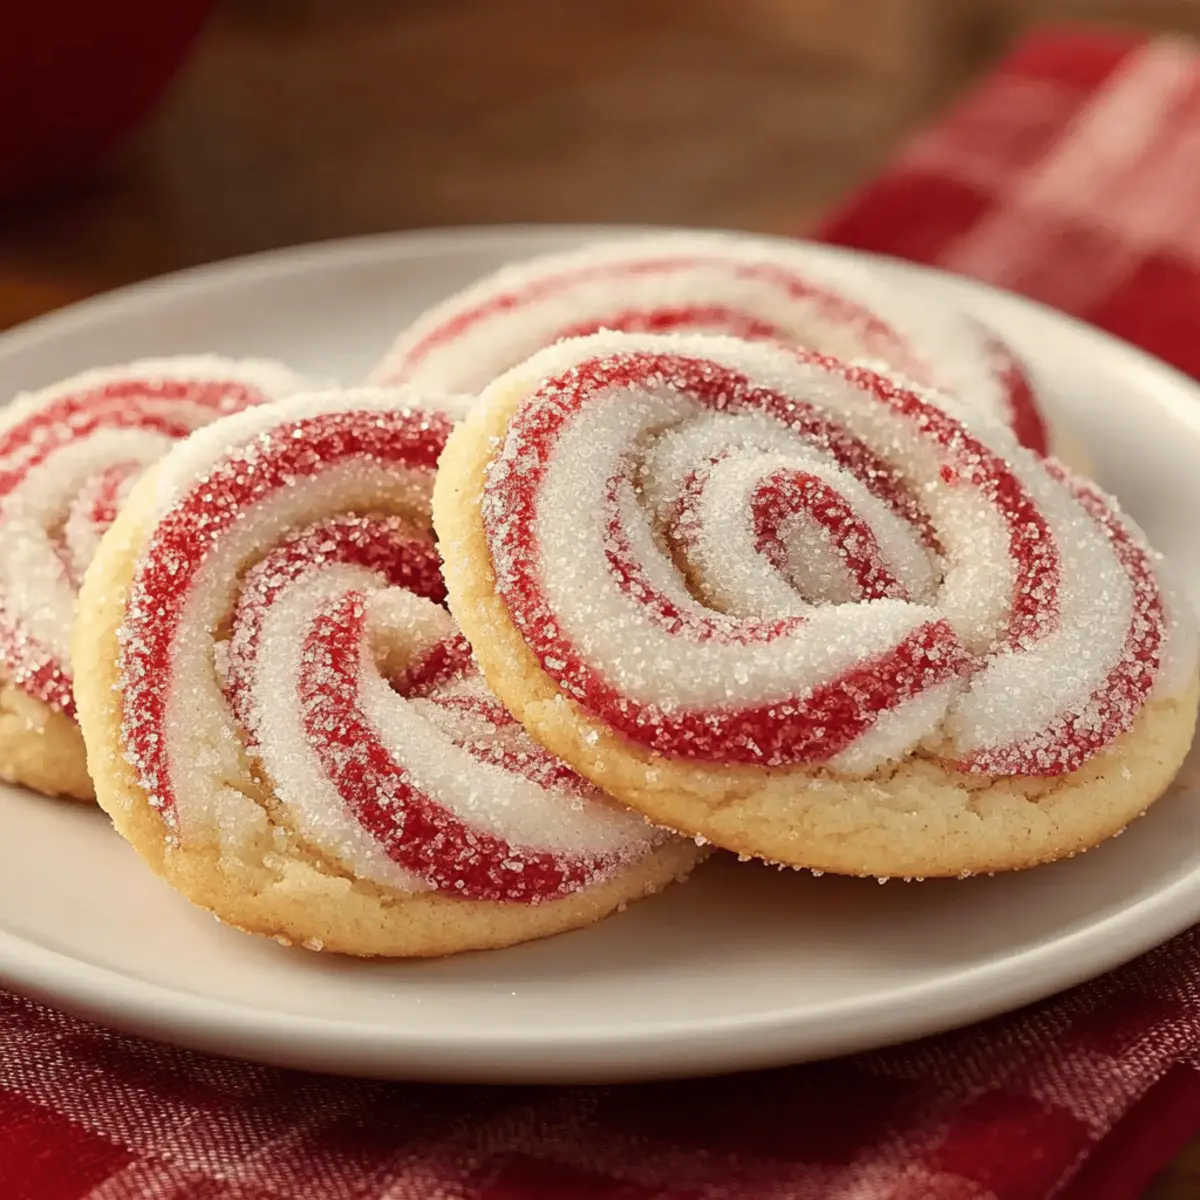
As I stood in my kitchen, the aroma of the holiday season wafting through the air, I couldn’t help but feel excitement at the thought of baking a fresh batch of Peppermint Swirl Cookies. These festive treats are not only an eye-catching centerpiece for your holiday gatherings, but they also come together with surprising ease. With their crisp edges and tender, minty insides, these cookies are perfect for bringing joy to your loved ones or adding a personal touch to gift-giving. The delicious peppermint flavor gives a delightful twist that will leave everyone asking for more. Ready to sprinkle some magic into your baking routine? Let’s dive into this fun recipe that guarantees a joyful baking experience!
Why Are Peppermint Swirl Cookies a Must-Try?
Irresistible, festive appeal: These cookies are a stunning addition to any holiday spread, making them perfect for gatherings or thoughtful gifts.
Easy to make: Even novice bakers will shine with this straightforward recipe that requires no complicated techniques.
Delicious flavor: The combination of peppermint and vanilla creates a refreshing twist that tantalizes the taste buds.
Wonderful texture: Enjoy a delightful contrast between the crisp exterior and soft, tender interior.
Perfect for sharing: Bake a batch, and prepare to spread cheer as friends and family rave about these delightful treats! For more cozy inspiration, check out my Cinnamon Swirl Banana or Chewy Pumpkin Cookies that are sure to impress.
Peppermint Swirl Cookies Ingredients
Indulge in the delightful flavors of these holiday cookies with this easy ingredient list!
For the Cookie Dough
- All-Purpose Flour – Provides necessary structure for cookies; can be substituted with a gluten-free all-purpose flour blend with xanthan gum.
- Baking Powder – Acts as a leavening agent, ensuring a light cookie without excess cakiness.
- Salt – Enhances flavor and balances sweetness.
- Unsalted Butter – Softened at room temperature for a tender crumb and rich flavor; avoid margarine for best results.
- Granulated Sugar – Sweetens the dough and helps achieve a light and fluffy texture when creamed with butter.
- Large Egg – Binds all the ingredients together and adds moisture; you can use a flax egg for a vegan alternative.
- Vanilla Extract – Balances the peppermint flavor with aromatic depth.
- Peppermint Extract – Delivers the signature minty flavor crucial for these cookies.
For the Color and Decoration
- Red Gel Food Coloring – Adds vibrant color without extra moisture; avoid liquid food coloring for best results.
- Coarse Sugar or Crushed Peppermint Candies – For coating; adds sparkle and enhances the delightful peppermint flavor in these cookies.
Step‑by‑Step Instructions for Peppermint Swirl Cookies
Step 1: Prepare Dry Ingredients
In a medium bowl, whisk together 2 cups of all-purpose flour, 1 teaspoon of baking powder, and 1/4 teaspoon of salt until well combined. This blends the leavening agent with the flour and ensures even distribution. Set this dry mixture aside while you focus on creaming the butter and sugar.
Step 2: Cream Butter and Sugar
In a large mixing bowl, use an electric mixer to cream 1 cup of softened unsalted butter with 1 cup of granulated sugar. Beat on medium speed for about 2-3 minutes, until the mixture becomes light and fluffy. You will notice a change in color as air is incorporated, indicating it’s ready to move to the next step.
Step 3: Combine Wet Ingredients
Add in 1 large egg, 1 teaspoon of vanilla extract, and 1 teaspoon of peppermint extract to the creamed mixture. Beat well on low speed until everything is fully combined, about 1 minute. The mixture should look smooth and homogeneous, showcasing the delightful peppermint flavor for your Peppermint Swirl Cookies.
Step 4: Mix Dry and Wet Ingredients
Gradually add the dry ingredients mixture to the wet ingredients, mixing on low speed until a cohesive dough forms—around 1-2 minutes. Be careful not to overmix; you want to combine the ingredients just until no dry flour remains visible. This dough will be the base for your colorful swirls.
Step 5: Divide Dough
With clean hands or a spatula, divide the dough in half on a lightly floured surface. Keep one half plain and to the other half, add a few drops of red gel food coloring. Knead gently until the coloring is fully incorporated. You’ll have a vibrant red dough and a classic white for your Peppermint Swirl Cookies.
Step 6: Chill Dough
Wrap each half of the dough separately in plastic wrap, ensuring they are tightly sealed. Refrigerate both doughs for at least 30 minutes; this chilling step helps to firm up the dough, making it easier to roll out without sticking.
Step 7: Roll Dough
After chilling, dust your work surface lightly with flour and roll out each dough into rectangles measuring about 10×12 inches and 1/4 inch thick. Aim for uniform thickness to ensure even baking. The bright red and plain dough will create that stunning swirl effect in your Peppermint Swirl Cookies.
Step 8: Layer Dough
Place the red dough directly on top of the plain dough, positioning it carefully. Gently press down to adhere the layers together before starting to roll the dough tightly from one end to form a log. This will create the beautiful swirls in your cookies; take your time to ensure a tight roll.
Step 9: Second Chill
Wrap the rolled log tightly in plastic wrap to maintain its shape and chill in the refrigerator for another 2 hours. This step is crucial for achieving clean slices and firming up the dough, making cutting much easier when you are ready to bake your Peppermint Swirl Cookies.
Step 10: Preheat Oven
Preheat your oven to 375°F (190°C) and prepare two baking sheets by lining them with parchment paper. This ensures your cookies will bake evenly and won’t stick, providing a clean surface for your delightful treats.
Step 11: Slice and Coat
Using a sharp, non-serrated knife, slice the chilled log into 1/4-inch rounds. If desired, brush each slice with a little water or beaten egg white before rolling them in coarse sugar or crushed peppermint candies for extra sweetness and sparkle. This adds a festive touch to your Peppermint Swirl Cookies.
Step 12: Bake
Place the coated cookie slices on the prepared baking sheets, making sure to leave space between each for expansion. Bake in the preheated oven for 8-10 minutes or until the edges turn lightly golden. Remove them as soon as they look done to ensure a soft interior.
Step 13: Cool
Let your freshly baked Peppermint Swirl Cookies cool on the baking sheets for about 5 minutes. Carefully transfer them to a wire rack to cool completely before serving. This cooling process allows the cookies to set perfectly, making them ready for sharing and enjoyment!
Peppermint Swirl Cookies Variations
Feel free to explore these delightful ways to customize your peppermint swirl cookies and make them uniquely yours!
- Nutty Twist: Substitute almond extract for a delightful nutty flavor that complements the peppermint perfectly.
- Citrusy Brightness: Add a teaspoon of orange zest to the dough for a refreshing, citrusy pop that brightens the mint.
- Colorful Fun: Experiment with different gel food coloring options, such as green or blue, for a festive twist on the classic red swirls.
- Flavored Sugars: Roll cookies in flavored sugars like vanilla or cinnamon sugar instead of coarse sugar for an extra layer of flavor.
- Chocolate Chip Love: Mix in a handful of mini chocolate chips to the dough for a sweet and creamy surprise in each bite.
- Crunchy Texture: Incorporate finely crushed nuts or even crushed pretzels into your dough for added crunch and contrast.
- Spicy Kick: Throw in a pinch of cayenne pepper or ginger for a hint of warmth that beautifully contrasts the sweetness.
- Pipeable Delight: Create peppermint cookie sandwiches by piping your favorite frosting between two cooled cookies, adding to the fun and flavor!
Get creative, and for more cozy goodness, don’t miss my Chewy Pumpkin Cookies or those luscious Chocolate Oat Cookies that are sure to bring joy to your baking adventures!
Expert Tips for Perfect Peppermint Swirl Cookies
-
Room Temperature Butter: Ensure your butter is softened to room temperature to achieve a light, fluffy texture while creaming. Cold butter won’t blend well, affecting the cookie’s rise.
-
Chilling is Key: Don’t skip the chilling steps! Proper chilling ensures clean cuts, defined swirls, and prevents the cookie dough from spreading too much during baking.
-
Use Sharp Knives: For clean, beautiful slices, always use a sharp, non-serrated knife to cut the cookie log. A dull knife may squish the dough and ruin the swirls.
-
Bake Carefully: Watch your cookies closely in the oven. The edges should be golden but be sure to take them out before the centers harden too much for that desired soft, tender interior.
-
Decorative Coating: When rolling in coarse sugar or crushed peppermint candies, do this immediately after slicing. You want the dough to be slightly moist for the toppings to stick perfectly on your Peppermint Swirl Cookies.
What to Serve with Peppermint Swirl Cookies
Baking these cheerful treats invites the warmth of festivity into your kitchen, creating delightful memories with every bite.
- Hot Cocoa: The rich creaminess of hot cocoa perfectly complements the refreshing peppermint flavor, making it a cozy pairing for winter evenings.
- Vanilla Ice Cream: A scoop of vanilla ice cream brings a delightful creaminess that balances the cookie’s minty crunch, creating a nostalgic dessert experience.
- Coffee: The bold, robust flavors of freshly brewed coffee enhance the sweetness of the cookies, making it a delightful pairing for brunch or gatherings.
- Cheese Platter: Incorporate a variety of cheeses like brie and aged cheddar; the savory notes contrast beautifully with the sweet peppermint, providing a unique balance of flavors.
- Peppermint Tea: Enjoy a warm cup of peppermint tea to echo the flavors in the cookies; it’s an inviting sip for after-dinner enjoyment.
- Fruit Salad: A vibrant fruit salad with tart berries and citrus can cut through the sweetness, adding a refreshing element that brightens the dessert table.
- Chocolate Dipped Strawberries: These elegant treats enhance the holiday spirit with their festive appearance and decadent chocolate pairing, creating a sweet, elegant finish to your meal.
- Nutty Biscotti: A crunchy nutty biscotti pairs well by providing texture and adding a delightful contrast to the soft, tender cookies.
- Gingerbread Cookies: Enhance the holiday cheer by serving these spiced treats alongside the peppermint cookies, creating an enchanting medley of seasonal flavors.
Make Ahead Options
These Peppermint Swirl Cookies are perfect for busy bakers looking to save time! You can prepare the dough up to 24 hours in advance; simply wrap each half separately in plastic wrap and refrigerate. If you need a longer timeframe, raw dough logs can be frozen for up to 3 months. When ready to bake, simply slice the chilled or frozen logs directly from the fridge or freezer, brush with water or egg white, and roll in decorative sugar before baking. This way, you’ll enjoy the same delicious texture and flavor just as if they were freshly made, leaving you with delightful cookies without the last-minute fuss.
How to Store and Freeze Peppermint Swirl Cookies
Room Temperature: Store in an airtight container at room temperature for up to 5-7 days; adding a slice of bread can help maintain moisture.
Fridge: If placing in the fridge, use an airtight container, and consume within 5 days for the best flavor and texture.
Freezer: Freeze raw dough logs wrapped tightly in plastic wrap for up to 3 months; bake directly from frozen with additional baking time.
Reheating: For baked cookies, warm in a microwave for 10-15 seconds or enjoy them cold; they will retain their refreshing peppermint flavor!
Peppermint Swirl Cookies Recipe FAQs
What kind of peppermint extract should I use?
Absolutely! Use pure peppermint extract for the best flavor in your Peppermint Swirl Cookies. Avoid artificial extracts as they may contain additional flavors that could alter the beloved minty taste. Look for a clear, high-quality extract to ensure your cookies shine in both flavor and fragrance.
How should I store my Peppermint Swirl Cookies?
To keep your festive cookies fresh, store them in an airtight container at room temperature for up to 5-7 days. If you’d like to keep them for longer, adding a slice of bread inside the container can help maintain moisture. Just be sure to consume them before they lose their delightful flavor!
Can I freeze the cookie dough?
Definitely! Freezing the dough is a wonderful option. Wrap your raw dough logs tightly in plastic wrap and freeze them for up to 3 months. When you’re ready to bake, simply slice the frozen log into rounds and bake directly, adding a couple of extra minutes to the baking time. This way, you can enjoy freshly baked Peppermint Swirl Cookies anytime you crave them!
What should I do if my cookie dough is too sticky to roll?
No worries! If your dough has become too sticky, it’s likely due to not enough chilling time or a bit too much warmth from handling. Chill the dough again for an additional 15-30 minutes in the refrigerator. Make sure your work surface is lightly floured when rolling it out to prevent sticking. Remember, patience is key for those perfect, vibrant swirls!
Can I adjust the color of my cookies?
Very much so! You can use any gel food coloring of your choice to create unique swirls in your Peppermint Swirl Cookies. Whether you want a green tint for a more festive look or mix colors for fun themes, just ensure the coloring is gel-based to avoid excess moisture. Get creative and let your cookies showcase your personality!
Are these cookies safe for kids/pets due to peppermint extract?
While the peppermint extract is generally safe for both kids and pets in small amounts, always consult with a pediatrician regarding very young children. For pets, especially dogs, it’s best to avoid giving them cookies with peppermint or chocolate, as those can be harmful. It’s wonderful to enjoy these treats with loved ones, but also keep their safety in mind!
Irresistible Peppermint Swirl Cookies for Festive Cheer
Ingredients
Equipment
Method
- In a medium bowl, whisk together 2 cups of all-purpose flour, 1 teaspoon of baking powder, and 1/4 teaspoon of salt until well combined.
- In a large mixing bowl, cream 1 cup of softened unsalted butter with 1 cup of granulated sugar for about 2-3 minutes until light and fluffy.
- Add in 1 large egg, 1 teaspoon of vanilla extract, and 1 teaspoon of peppermint extract to the creamed mixture and beat well on low speed.
- Gradually add the dry ingredients mixture to the wet: mix on low speed until a cohesive dough forms.
- Divide the dough in half; keep one half plain and to the other half, add a few drops of red gel food coloring and knead gently.
- Wrap each half of the dough in plastic wrap and refrigerate for at least 30 minutes.
- Roll out each dough into rectangles measuring about 10x12 inches and 1/4 inch thick.
- Layer the red dough on top of the plain dough; gently press down and roll into a log.
- Wrap the rolled log tightly in plastic wrap and chill in the refrigerator for another 2 hours.
- Preheat the oven to 375°F (190°C) and line two baking sheets with parchment paper.
- Slice the chilled log into 1/4-inch rounds; brush with water or beaten egg white, then roll in coarse sugar or crushed peppermint candies.
- Bake in the preheated oven for 8-10 minutes until edges are lightly golden.
- Let the cookies cool on baking sheets for about 5 minutes, then transfer to a wire rack to cool completely.
Leave a Reply