
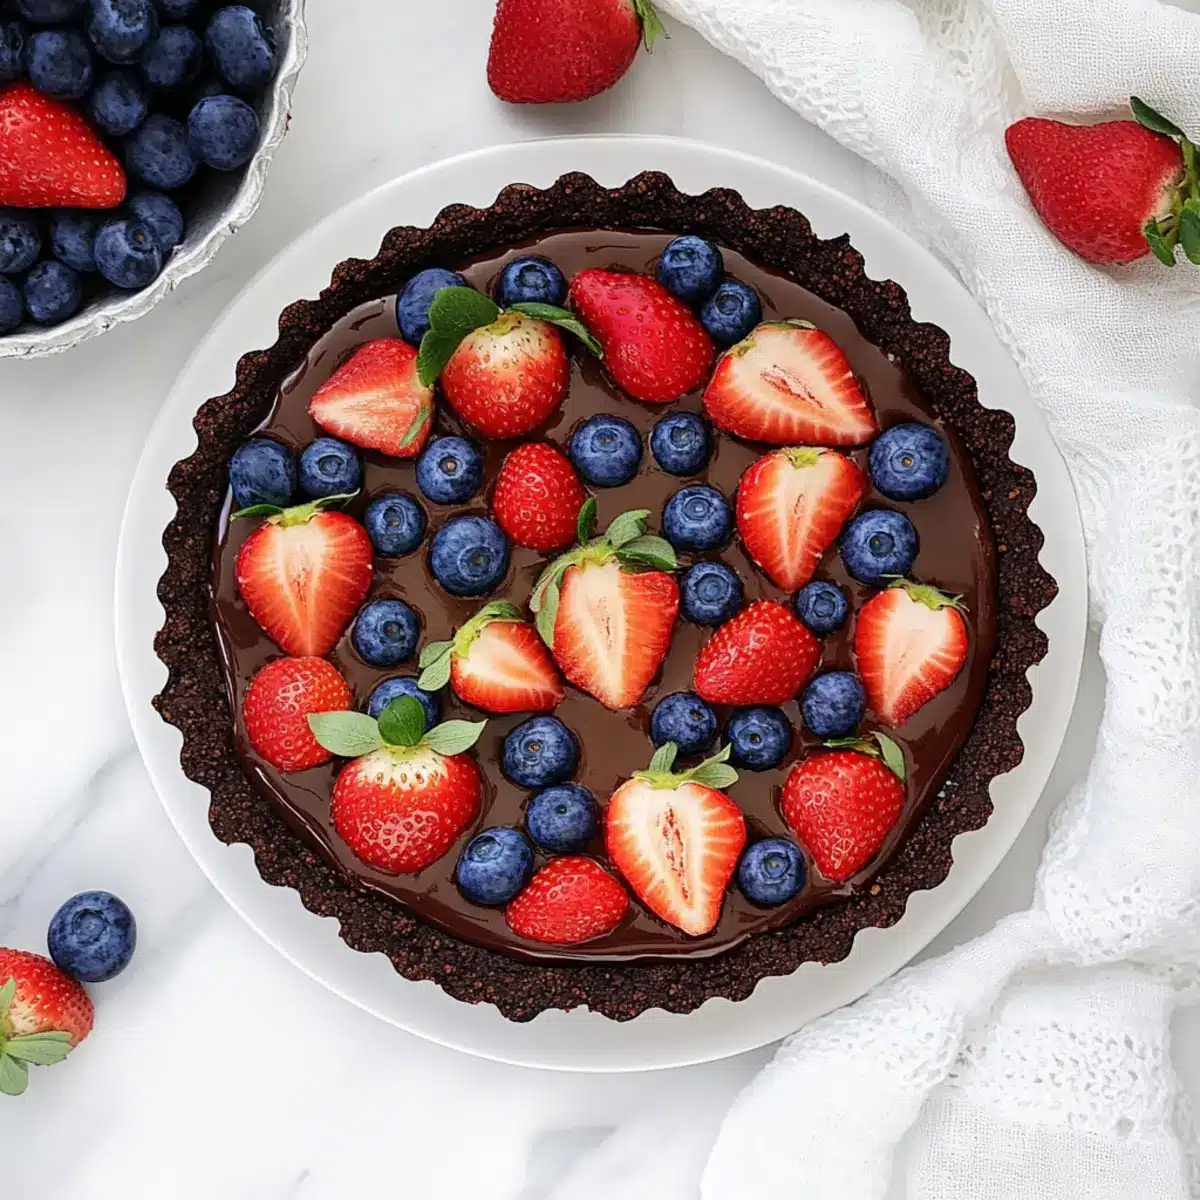
As I stood in my kitchen, a wave of temptation washed over me the moment I caught a glimpse of this Easy No-Bake Chocolate Berry Tart. The luscious chocolate filling, somehow indulgent yet dairy-free, is perfectly complemented by a crispy cocoa crust that beckons you to take a bite. Not only is this delightful creation a crowd-pleaser, but it also proudly wears the titles of gluten-free, vegan, and refined sugar-free, so you can relish every sumptuous slice without any guilt. Whether you’re hosting friends or simply treating yourself, this no-bake dessert is a quick and elegant choice, making it a must-try for anyone ready to elevate their dessert game. Are you ready to whip up a sweet masterpiece that’s as simple as it is satisfying?
Why is this dessert a game changer?
No-Bake Simplicity: This tart requires no baking skills, making it accessible for everyone. Just blend, press, and chill!
Flavor Explosion: The rich chocolate filling paired with fresh berries creates a delightful burst of flavors that will leave your taste buds dancing.
Health-Conscious Indulgence: Enjoy every bite knowing it’s gluten-free, vegan, and refined sugar-free—perfect for those mindful of their dietary choices.
Impress in Minutes: Serve this stunning tart at gatherings or cozy nights in without spending hours in the kitchen.
Versatile Variations: Feel free to switch up the crust with almond flour or explore different toppings for a personalized touch. You might also enjoy our Gluten Free Chocolate or the delectable Decadent Chocolate Chip recipes for more options!
No-Bake Chocolate Berry Tart Ingredients
For the Crust
- Rolled Oats – Base for the crust; use certified gluten-free oats to ensure safety for Celiac individuals.
- Cocoa Powder – Provides delicious chocolate flavor and depth to the crust.
- Maple Syrup – Acts as a natural sweetener for both the crust and filling; adjust based on your desired sweetness level.
- Coconut Oil – Binds the crust and thickens the filling; you can substitute with vegan butter if preferred.
- Salt – Balances the sweetness and richness of the tart.
For the Filling
- Canned Coconut Milk – Adds incredible creaminess to the filling; opt for canned over boxed for the best texture.
- Vanilla Extract – Enhances the flavor; choose pure vanilla extract for the best results.
For the Topping
- Fresh Berries (e.g., strawberries, blueberries) – Provides brightness and freshness; avoid frozen berries since they can release too much juice.
With these carefully chosen ingredients, you’re well on your way to creating the ultimate no-bake chocolate berry tart that is sure to impress!
Step‑by‑Step Instructions for No-Bake Chocolate Berry Tart
Step 1: Prepare the Crust
In a food processor, combine rolled oats, cocoa powder, maple syrup, melted coconut oil, and a pinch of salt. Blend until the mixture resembles coarse crumbs, then continues until a dough forms, about 1–2 minutes. Press this dough firmly into the bottom and sides of a tart pan, smoothing it with your fingers for an even layer.
Step 2: Make the Filling
Using the same food processor, add canned coconut milk, more maple syrup, cocoa powder, melted coconut oil, and vanilla extract. Blend until the filling is smooth and creamy, which should take about 1–2 minutes. Taste the mixture and adjust the sweetness if needed, ensuring the filling has a rich chocolate flavor perfect for your No-Bake Chocolate Berry Tart.
Step 3: Assemble the Tart
Once the crust is prepared, pour the creamy chocolate filling into it, spreading it evenly with a spatula to create a beautiful top. Place the tart in the refrigerator and allow it to chill for at least one hour, or until set. This chilling step is crucial for achieving that perfect slice of your No-Bake Chocolate Berry Tart.
Step 4: Add Berries
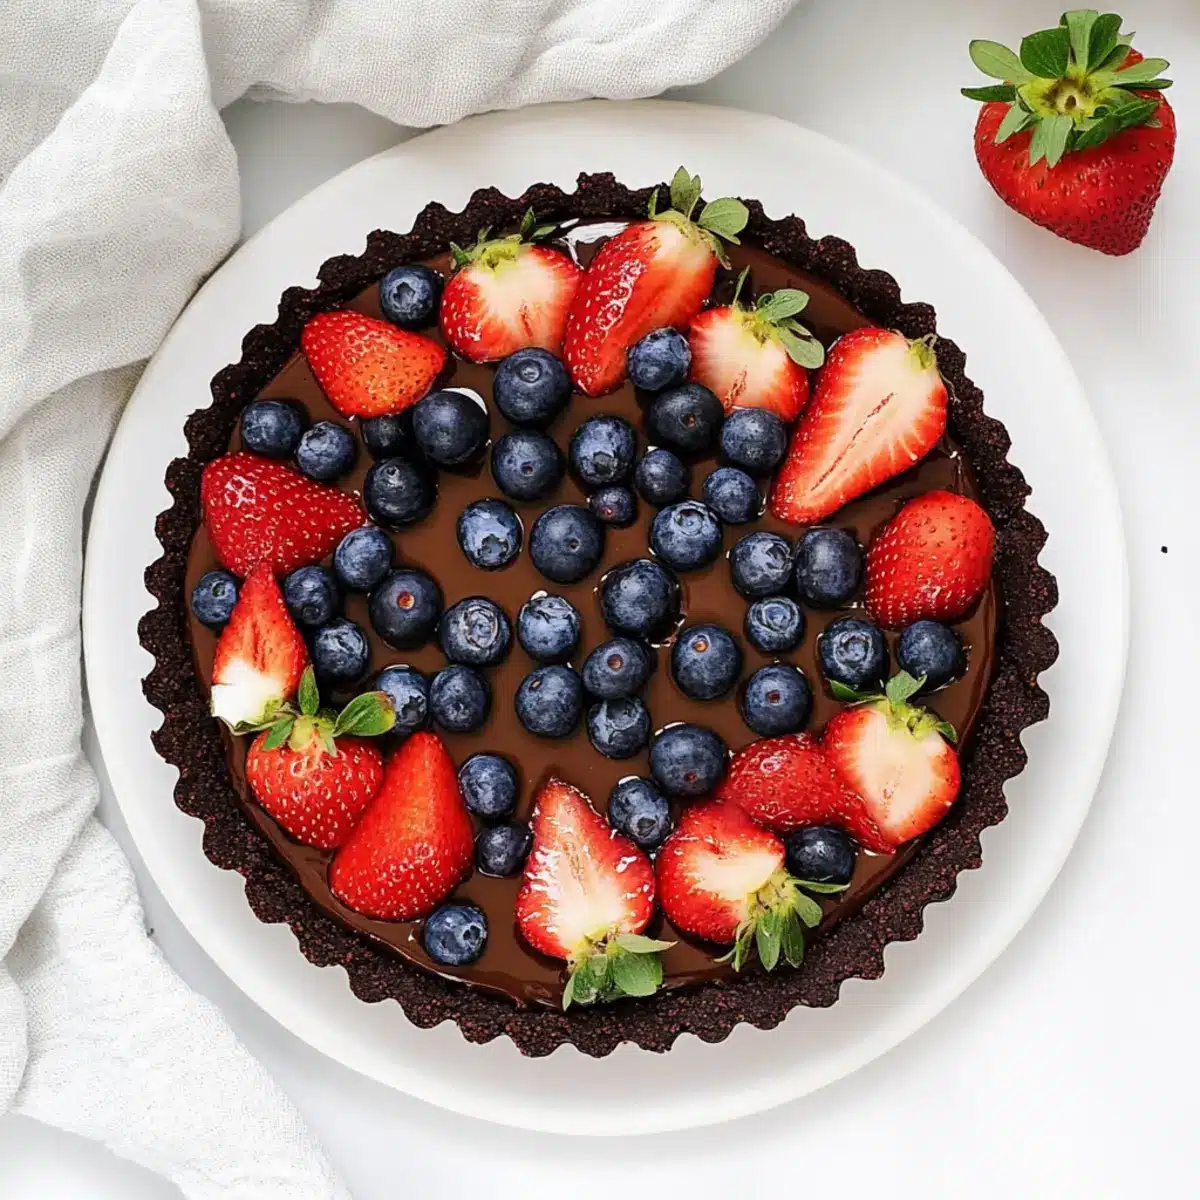
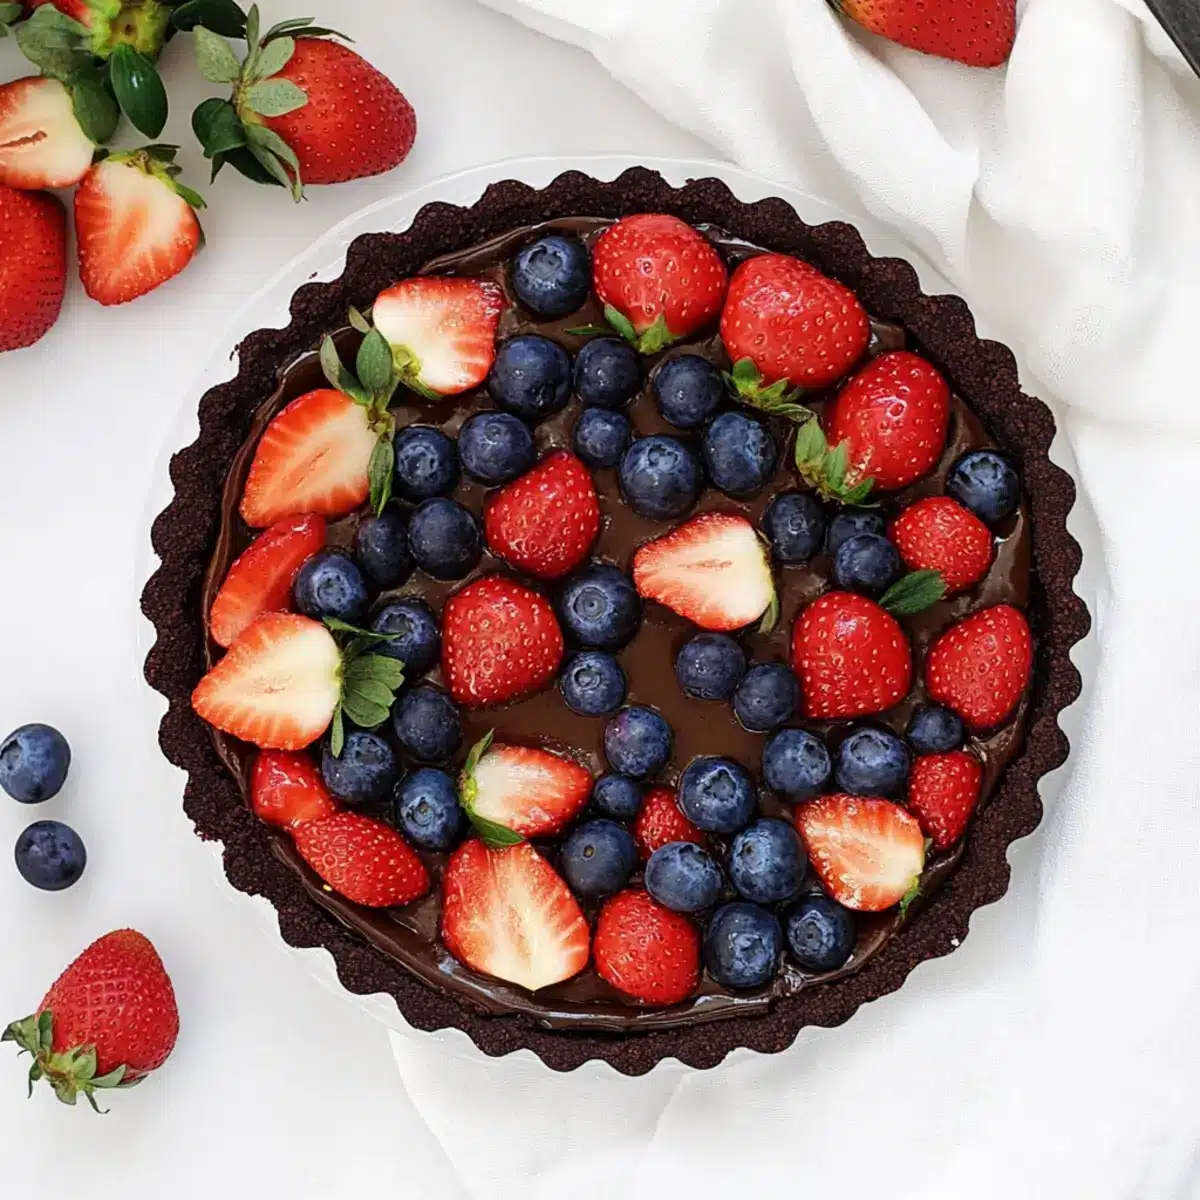
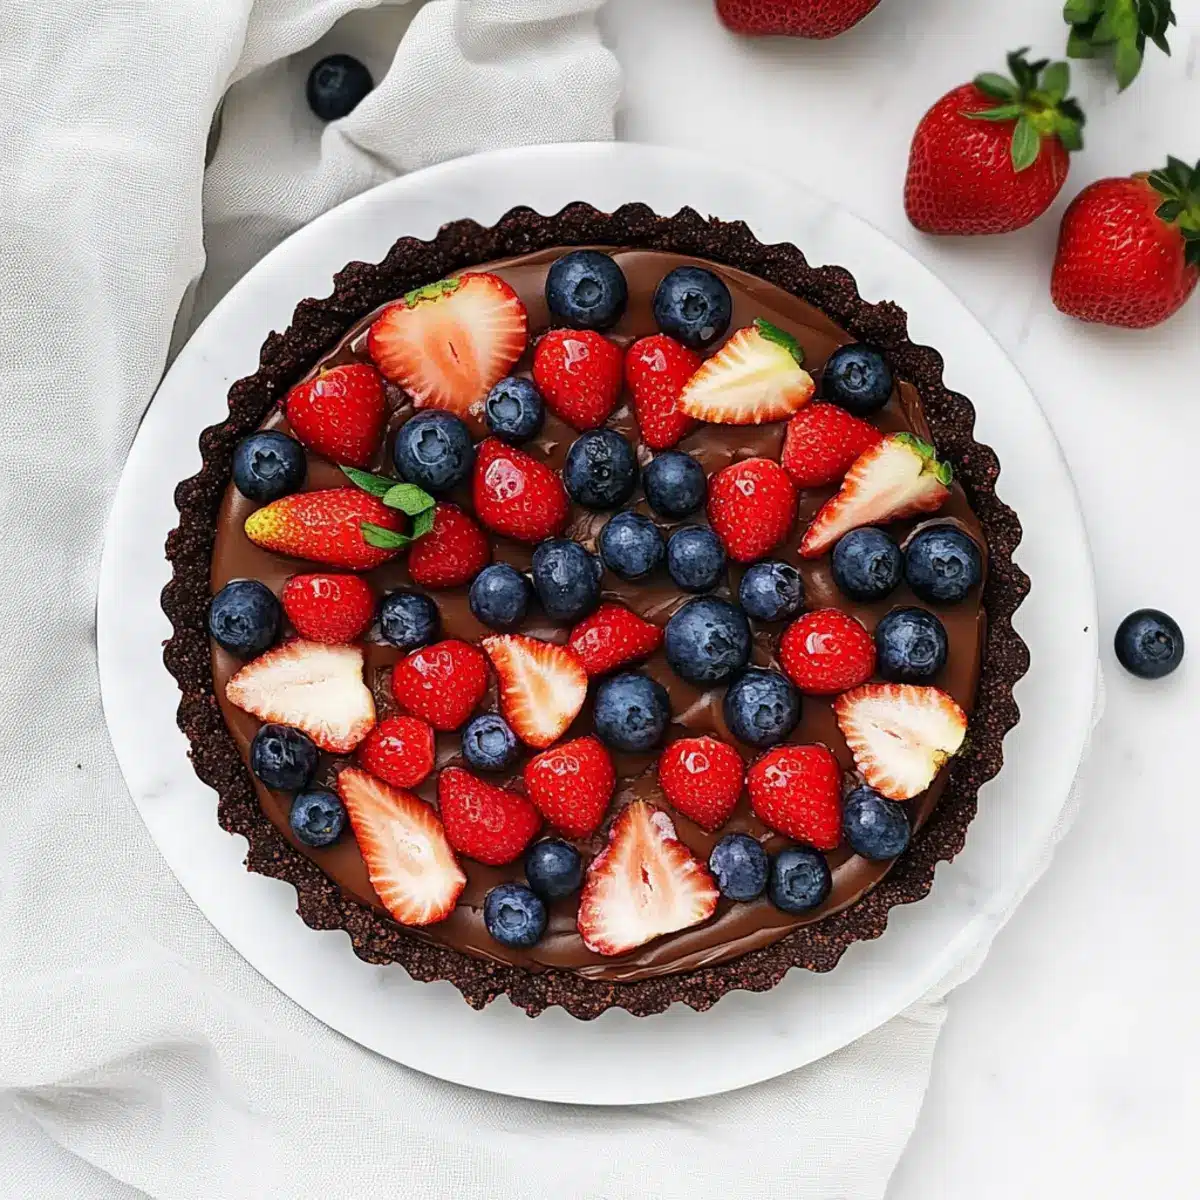
Just before serving your decadent No-Bake Chocolate Berry Tart, remove it from the fridge and top it with a generous assortment of fresh berries, such as strawberries and blueberries. Gently pat the berries to adhere them beautifully to the filling, creating a visually stunning and colorful topping that will make your tart irresistible.
Make Ahead Options
These No-Bake Chocolate Berry Tarts are perfect for meal prep enthusiasts who want to save time during busy weeks! You can prepare the crust and filling up to 3 days in advance, storing them separately in the refrigerator. Just blend the crust ingredients and press them tightly into the tart pan; make sure to cover the tart securely to maintain freshness. When you’re ready to serve, pour the filling into the crust and refrigerate for at least an hour to set. Just before serving, add your fresh berries for a vibrant touch. This way, you’ll have a delightful dessert ready with minimal effort, tasting just as delicious as if made fresh!
Expert Tips for No-Bake Chocolate Berry Tart
-
Melt the Coconut Oil: Ensure the coconut oil is completely melted before mixing; this prevents clumps and ensures a smooth filling.
-
Perfect Crust Texture: Avoid over-processing the crust mixture; blend just until it forms a dough to maintain the right firmness.
-
Adjust Sweetness Wisely: Always taste the filling before chilling; you can easily adjust the sweetness to your liking for the best no-bake chocolate berry tart experience.
-
Optimal Chilling Time: Allow the tart to chill for at least an hour, but letting it set for several hours yields a firmer texture and more defined slices.
-
Fresh Berries Last: Add fresh berries right before serving to keep them vibrant and juicy—this keeps the tart looking beautiful and delicious!
What to Serve with No-Bake Chocolate Berry Tart
Imagine the perfect meal, where each bite offers a delightful interplay of textures and flavors that leave everyone feeling satisfied and happy.
- Coconut Whipped Cream: A light, airy topping that enhances the chocolate without overpowering it, adding a luscious creaminess.
- Fresh Mint Leaves: These fragrant leaves offer a refreshing contrast to the rich, chocolatey tart. Just a sprinkle elevates the presentation and flavor.
- Chilled Herbal Iced Tea: The herbal notes create a calming balance, making each sip a lovely accompaniment to the dessert’s sweetness.
- Mixed Green Salad: Crisp greens tossed with a light vinaigrette can cleanse the palate, offering a fresh contrast to the tart’s richness.
- Dark Chocolate Dipped Fruit: For those who crave more chocolate, this pairing provides an indulgent, yet healthy, option that complements the tart’s flavors.
- Almond Biscotti: Crunchy and slightly sweet, these biscotti offer a delightful texture that pairs perfectly with the creamy filling of the tart.
- Fruit Platter: A colorful spread of seasonal fruits will not only appeal visually but also provide a refreshing counterbalance to the buttery crust.
- Coffee or Espresso: A steaming cup adds warmth and its strong flavors beautifully contrast with the tart’s sweetness, creating a cozy finish to the meal.
- Sorbet: A light, fruity sorbet can cleanse the palate. Opt for berry flavors to create harmony with the tart while adding a refreshing touch.
- Chocolate Sauce Drizzle: For an extra touch of decadence, a simple drizzle over each slice can enhance the chocolate experience, delighting any sweet tooth.
How to Store and Freeze No-Bake Chocolate Berry Tart
Fridge: Store the tart in an airtight container in the refrigerator for up to 5 days. This keeps the filling creamy and the crust firm.
Freezer: If you want to keep the tart longer, freeze it without the berries for up to 3 months. Wrap it tightly in plastic wrap or foil.
Thawing: To enjoy the tart after freezing, transfer it to the fridge and allow it to thaw overnight. Add fresh berries just before serving for the best freshness.
Make-Ahead: Prepare the tart 1-2 days in advance, refrigerating it until you’re ready to serve. This makes it an excellent choice for gatherings!
No-Bake Chocolate Berry Tart Variations
Customize your no-bake chocolate berry tart with these delightful twists that will tantalize your taste buds!
-
Nut-Based Crust: Substitute rolled oats with almond flour for a nutty flavor and extra richness—perfect for nut lovers!
-
Different Sweeteners: Switch maple syrup for agave nectar or brown rice syrup for a unique sweetness profile. Experiment until you find your perfect match!
-
Fruit Toppings: Instead of the usual berries, try topping with sliced peaches or mango for a tropical flair—nothing says summer like fresh fruit!
-
Add Spices: Sprinkle in a pinch of cinnamon or a dash of chili powder to the filling for a surprising heat that pairs beautifully with chocolate. The warmth of these spices will enhance the depth of flavors.
-
Chocolate Variations: Mix in some white or dark chocolate shavings into the filling for an added texture layer that will make every bite special!
-
Crunchy Toppings: Top your tart with crushed nuts or seeds for a satisfying crunch that contrasts with the smooth filling. It’s a simple way to elevate your dessert!
-
Vegan Cream: Serve with a side of coconut whipped cream for a decadent finish—just whip some chilled coconut milk until fluffy!
-
Chickpea Flour Crust: For a protein boost and gluten-free option, try making your crust with chickpea flour. It’s nutritious and offers a unique texture!
These adaptations can change your dessert game, making your no-bake chocolate berry tart just the way you love it! If you enjoy versatility in desserts, be sure to also check out our Moist Chocolate Chip and Protein Triple Berry recipes for more yummy inspirations!
No-Bake Chocolate Berry Tart Recipe FAQs
How do I choose the right berries for this tart?
Absolutely! When selecting berries, look for ones that are vibrant and plump, with no dark spots or signs of mold. Fresh strawberries and blueberries work wonderfully for this tart, as they offer both sweetness and a burst of color. Avoid frozen berries, as they tend to release excess juice that can make the tart soggy.
How should I store leftovers of the No-Bake Chocolate Berry Tart?
Very! Store the tart in an airtight container in the refrigerator for up to 5 days. This keeps the chocolate filling creamy and the crust firm. Just remember to add the fresh berries right before serving to maintain their freshness!
Can I freeze the No-Bake Chocolate Berry Tart?
Yes! To freeze, wrap the tart tightly in plastic wrap or aluminum foil without the berries. It can be stored in the freezer for up to 3 months. When you’re ready to enjoy it, transfer the tart to the refrigerator to thaw overnight and add fresh berries just before serving for a delightful treat.
What should I do if the filling isn’t thick enough?
If your filling isn’t setting properly, it might need some extra time in the fridge or a little more coconut oil to help it firm up. Make sure to blend it thoroughly to incorporate air and achieve that creamy, smooth consistency.
Is this tart safe for people with common food allergies?
Great question! This No-Bake Chocolate Berry Tart is gluten-free, vegan, and refined sugar-free, making it suitable for many dietary needs. However, always double-check ingredient labels if you’re serving individuals with specific allergies, especially regarding oats and coconut products.
Can I substitute any ingredients in the tart?
Absolutely! If you’re looking for variations, you can replace rolled oats with almond flour for a nut-based crust or use other natural sweeteners like agave syrup. Feel free to experiment with different berries or even add toppings like shredded coconut or chopped nuts for a personalized touch!
Decadent No-Bake Chocolate Berry Tart You’ll Crave!
Ingredients
Equipment
Method
- In a food processor, combine rolled oats, cocoa powder, maple syrup, melted coconut oil, and a pinch of salt. Blend until the mixture resembles coarse crumbs, then continues until a dough forms, about 1–2 minutes. Press this dough firmly into the bottom and sides of a tart pan.
- Using the same food processor, add canned coconut milk, more maple syrup, cocoa powder, melted coconut oil, and vanilla extract. Blend until the filling is smooth and creamy, which should take about 1–2 minutes. Adjust sweetness if needed.
- Pour the creamy chocolate filling into the crust, spreading it evenly with a spatula. Place the tart in the refrigerator to chill for at least one hour, or until set.
- Before serving, top with fresh berries and gently press them into the filling for a beautiful presentation.
Leave a Reply