
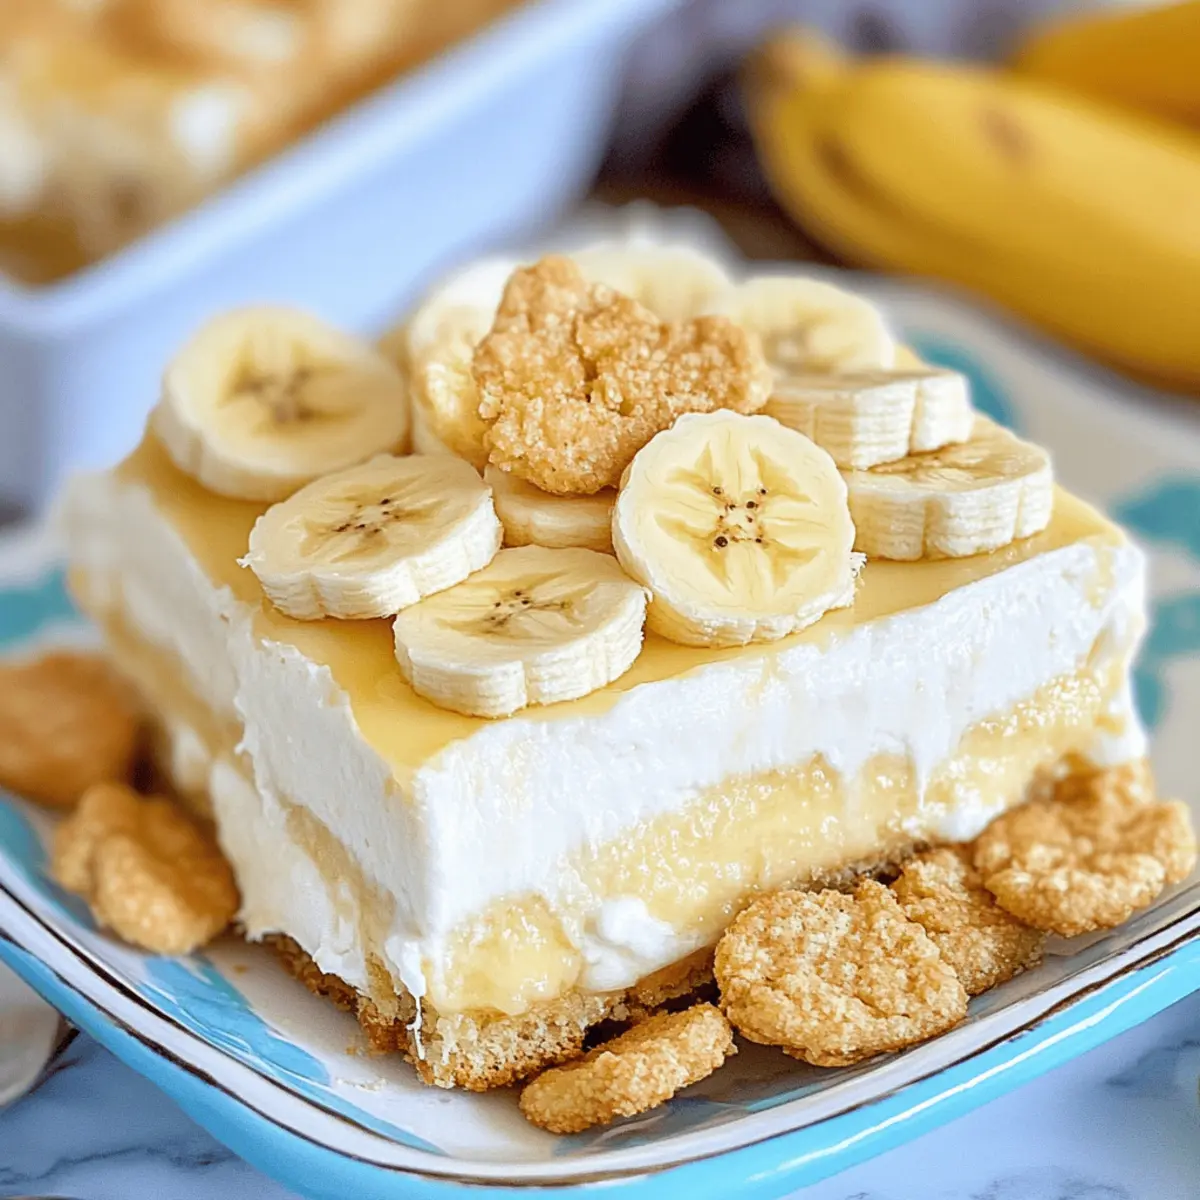
There’s something undeniably heartwarming about a classic dessert that feels like a warm hug. This Gluten Free and Dairy Free Banana Pudding strikes that perfect blend of nostalgia and indulgence, thanks to its creamy layers of vanilla pudding and ripe bananas, all complimented by crunchy homemade gluten free vanilla wafers. Not only is it a healthier option than store-bought alternatives, but it’s also quick to whip up—a delightful treat for any occasion! Whether you’re a seasoned home chef or just starting out, crafting this homemade dessert will turn any gathering into a celebration. Ready to brighten your day with a spoonful of this heavenly delight? Let’s dive into the details of making your very own Banana Pudding.
Why Is This Banana Pudding Irresistible?
Decadent Layers: Each spoonful reveals creamy layers of vanilla pudding and ripe bananas, making this dessert a luxurious indulgence.
Homemade Goodness: Say goodbye to store-bought! This recipe features crunchy homemade gluten free vanilla wafers that elevate every bite.
Healthier Alternative: Crafted without gluten or dairy, this banana pudding is wholesome without sacrificing flavor, perfect for dietary needs.
Quick and Convenient: With simple steps and minimal prep time, you can whip up this delightful treat in no time.
Crowd-Pleasing Delight: Whether for a family gathering or a dinner party, this banana pudding is sure to impress everyone at the table! Don’t forget to check out my other favorites like Cinnamon Swirl Banana and Chocolate Chip Banana for more delicious ideas!
Banana Pudding Ingredients
For the Gluten Free Wafers
• Vegan Butter – Adds richness and moisture; substitute with coconut oil for a dairy-free option.
• Maple Sugar (powdered) – Provides natural sweetness with a hint of caramel flavor; you can use brown sugar as an alternative.
• Eggs (large) – Essential for binding the mixture together and enriching the pudding; for a vegan option, use flax eggs instead.
• Gluten Free Pastry Flour Mix – This forms the base of the wafers; ensure it contains xanthan gum for the right texture, or use almond/coconut flour but note it may alter texture.
For the Dairy Free Pudding
• Coconut Milk Powder – Enhances the pudding’s flavor; can be replaced with extra non-dairy milk if needed.
• Non-Dairy Milk – Serves as the base for the pudding, contributing to its creaminess; pick almond, soy, or oat milk depending on your taste.
• Arrowroot Flour – Acts as a thickener for the pudding without gluten; cornstarch can be used as an alternative.
• Bananas – The star of the show, providing natural sweetness and texture; be sure to use very ripe bananas for the best flavor.
This is where your homemade Banana Pudding journey begins! Enjoy the delightful flavors and textures in this wholesome dessert.
Step‑by‑Step Instructions for Gluten Free & Dairy Free Banana Pudding
Step 1: Prepare the Gluten Free Wafer Cookies
Preheat your oven to 325°F (163°C). In a mixing bowl, cream together the vegan butter and half of the powdered maple sugar until it’s smooth and creamy. Add the eggs and the remaining sugar, mixing until combined. Gradually blend in the dry ingredients, ensuring a consistent batter. Scoop tablespoonfuls onto a lined baking sheet and bake for 15-18 minutes until they turn golden brown.
Step 2: Make the Dairy Free Vanilla Pudding
In a saucepan, heat 2 cups of your choice of non-dairy milk over medium heat until steaming, but do not let it boil. In a separate bowl, whisk together the egg yolks, the remaining powdered maple sugar, and a pinch of salt until blended. Gradually add the hot milk to the egg mixture to temper it, then return it to the saucepan, cooking over low heat while stirring continuously for 5-8 minutes until thickened and creamy.
Step 3: Cool the Pudding
Once the vanilla pudding has thickened, remove it from the heat and stir in 2 tablespoons of vegan butter until melted and fully incorporated. Let the pudding cool at room temperature for about 30 minutes, ensuring it doesn’t set too hard. Stir occasionally to maintain a smooth texture and to prevent it from forming a skin as it cools.
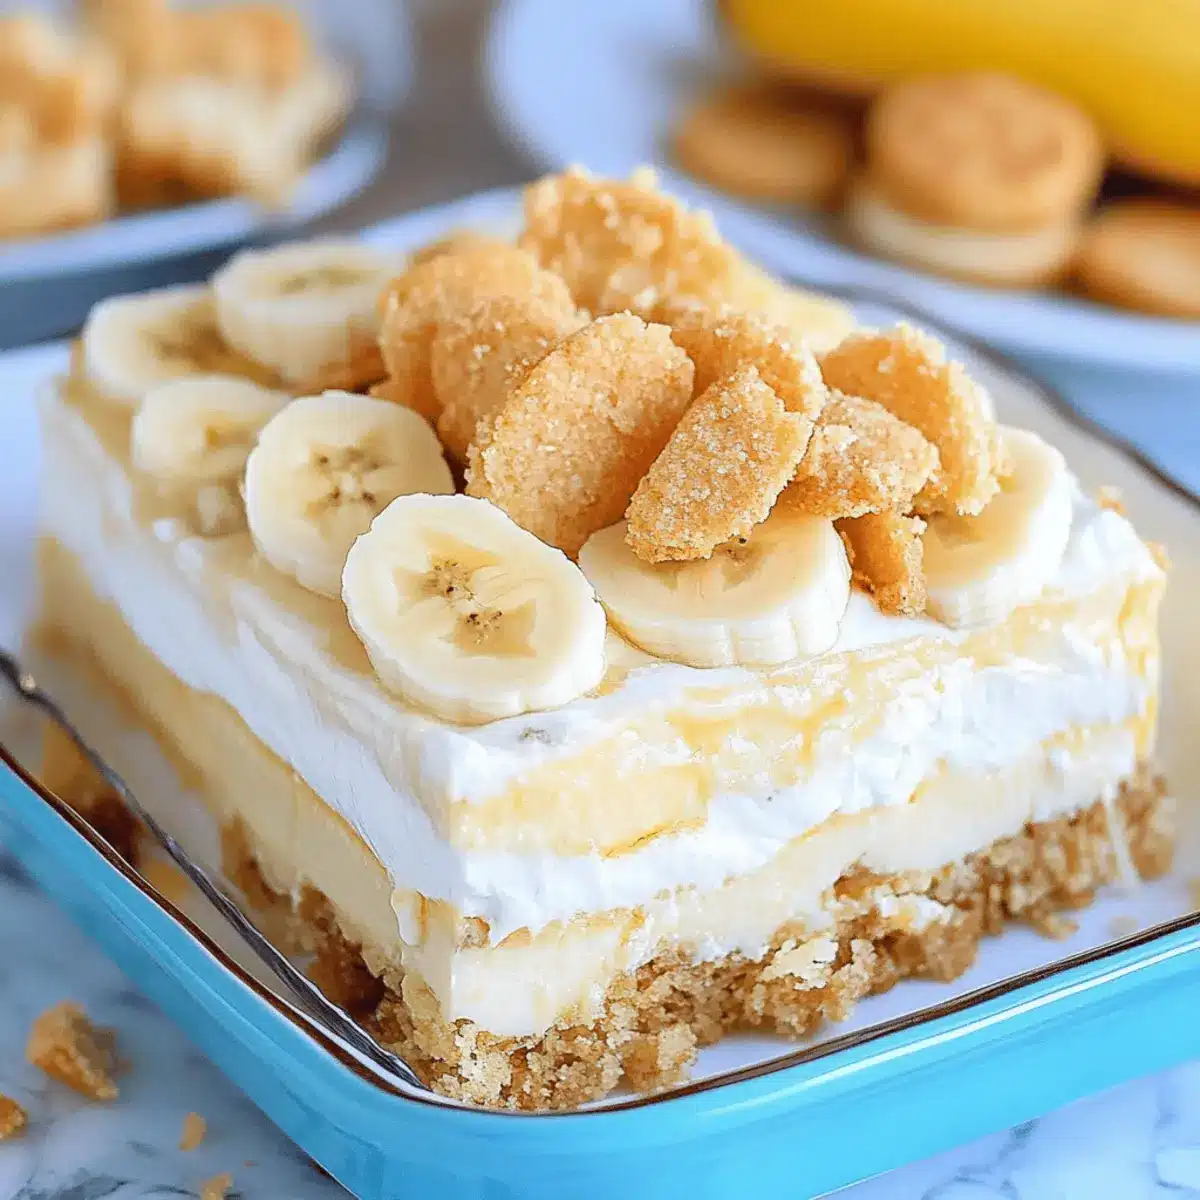
Step 4: Assemble the Banana Pudding
In a large serving dish or individual cups, start layering your homemade banana pudding by adding a layer of gluten free wafers at the bottom. Next, slice ripe bananas evenly and arrange them over the wafers. Pour a generous layer of the cooled vanilla pudding over them, creating a delightful foundation. Repeat the layering process until you’ve used all the wafers, bananas, and pudding.
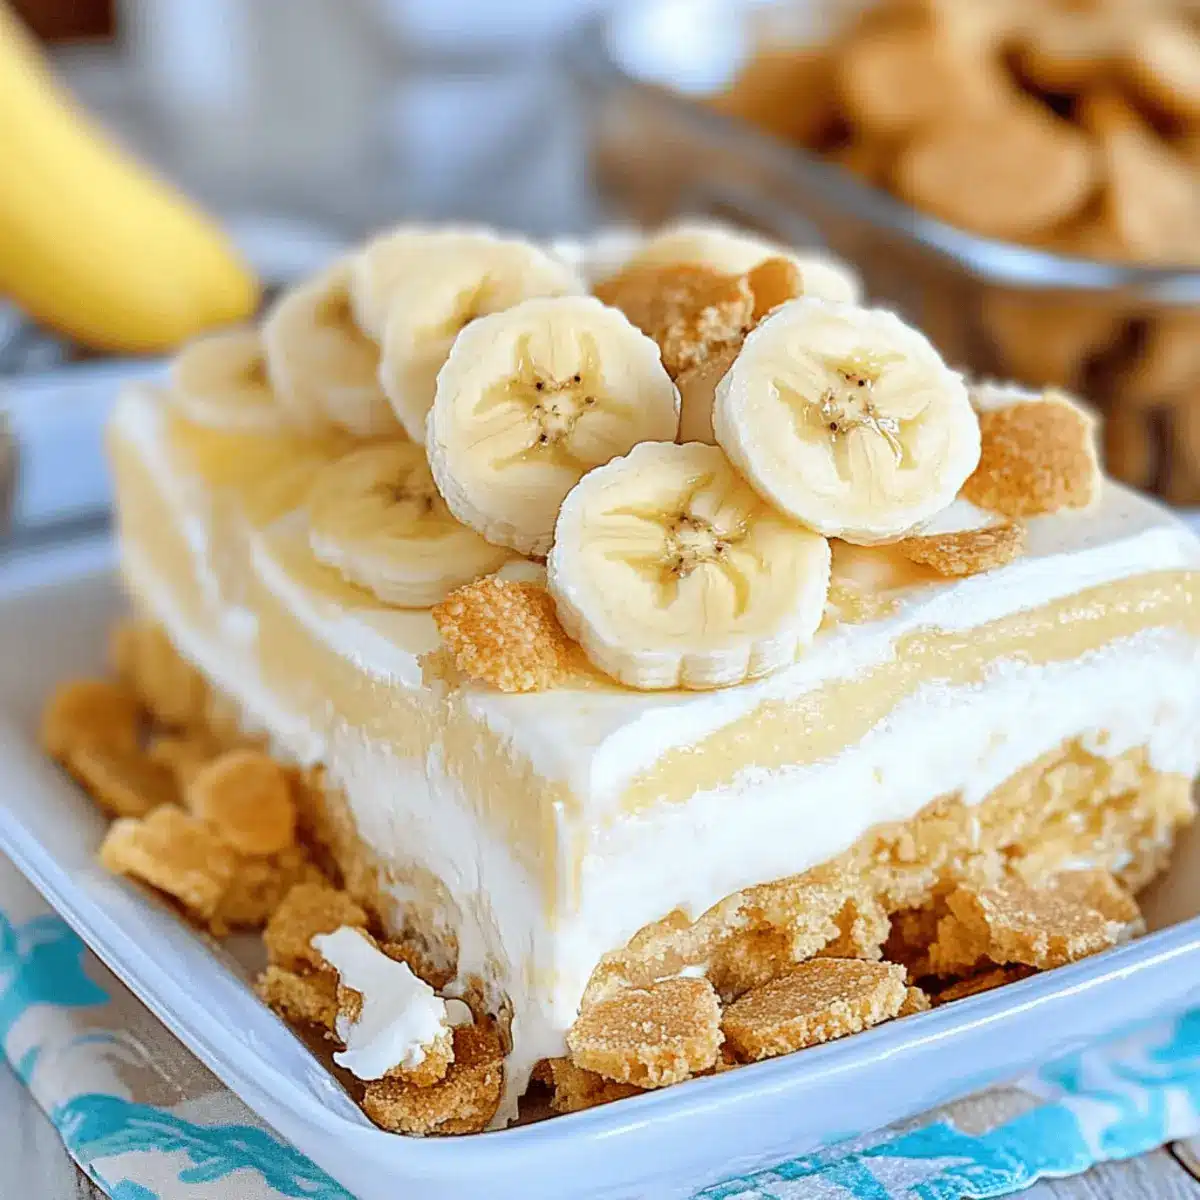
Step 5: Refrigerate and Serve
Cover your assembled banana pudding with plastic wrap and refrigerate it for at least 4-5 hours, or preferably overnight, to allow the flavors to meld and the wafers to soften. When you’re ready to enjoy, serve chilled, garnished with crushed wafer cookies or a sprinkle of cacao powder for a delightful finishing touch.
Expert Tips for Banana Pudding
• Cool Before Assembling: Allow the pudding to cool to room temperature before layering. This prevents the wafers from becoming soggy and ensures a delightful texture.
• Use Ripe Bananas: Choose very ripe bananas for the best flavor and natural sweetness, enhancing your gluten free and dairy free banana pudding’s taste.
• Cover to Avoid Skin: Refrigerate your banana pudding covered with plastic wrap to prevent a skin from forming on the surface, keeping it smooth and creamy.
• Layer Efficiently: When assembling, alternate layers of wafers, bananas, and pudding to achieve a beautiful and cohesive presentation in your banana pudding dessert.
• Enjoy Fresh: For the best flavor, consume your pudding within two days of making it, especially if using fresh bananas. This ensures you savor the optimal taste and texture.
Banana Pudding Variations & Substitutions
Feel free to personalize your Banana Pudding adventure and make it truly your own with these delightful swaps and twists!
-
Nutty Wafers: Substitute almond flour for the pastry flour in the wafers for a deeper, nutty flavor that complements the bananas beautifully. This version offers a splendid crunch that harmonizes with the creamy pudding.
-
Chocolate Twist: Add 2 tablespoons of cocoa powder to the pudding for a rich, chocolatey variation. This delightful twist will transform your banana pudding into a chocolate lover’s dream!
-
Fruit Fusion: Mix in berries or mango slices between layers for a colorful and fruity burst that takes the flavor profile to new heights. Imagine the tangy sweetness dancing with the creamy layers!
-
Spiced Up: Incorporate a dash of cinnamon or nutmeg into the pudding for an aromatic holiday-inspired version. This subtle spice gives your dessert a warm and inviting aroma that enchants everyone around.
-
Vegan Cream: Swap out the non-dairy milk for coconut cream for a luxuriously thick pudding that boasts an inviting tropical flair. This new twist will certainly leave your guests craving for more!
-
Caramel Drizzle: A drizzle of homemade or store-bought caramel sauce over the layers adds an irresistible sweetness that complements the natural banana flavor. Serve this at gatherings, and watch the smiles spread!
-
Extra Crunch: Top your finished pudding with crushed gluten-free granola or nuts for a delightful crunch. This extra texture serves as a perfect contrast to the creaminess below!
-
Savory Touch: For an adventurous gustatory escape, try adding a pinch of salt to the pudding or wafer batter. This unexpected twist can enhance the flavors while creating a unique sweet and savory experience.
Feel inspired? Customize as you desire, and don’t forget to explore delicious variations like Cinnamon Swirl Banana or Chocolate Chip Banana to add even more delightful options to your homemade dessert repertoire!
What to Serve with Gluten Free and Dairy Free Banana Pudding
Elevate your comforting dessert experience with delicious pairings that enhance your homemade treat’s warmth and flavor.
-
Fresh Berries: Bright, juicy berries like strawberries or blueberries add a refreshing contrast, balancing the creamy pudding’s richness perfectly.
-
Coconut Whipped Cream: Light and airy, this dairy-free topping infuses tropical notes while providing an impressive visual appeal to your dessert.
-
Chocolate Drizzle: A bittersweet chocolate drizzle enhances the dish’s indulgence, creating a delightful contrast with its sweet, fruity layers.
-
Herbal Iced Tea: A cold, citrus herbal iced tea offers a refreshing backdrop that cuts through the pudding’s creaminess, making it a delightful drink option.
-
Homemade Granola: Sprinkle crunchy homemade granola on top for an extra layer of texture and nuttiness that complements the pudding beautifully. It’s a warm hug with every bite!
-
Toasted Coconut Flakes: The nutty flavor of toasted coconut flakes brings a lovely crunch and pairs well with the bananas, adding a tropical twist to your dessert experience.
-
Vanilla Almond Milk: Pairing the pudding with a chilled glass of vanilla almond milk makes for a lovely drink option that enhances the vanilla flavor notes.
-
Decaf Coffee: A soothing cup of decaf coffee balances out the sweetness of the pudding, providing a comforting finish to your meal.
How to Store and Freeze Banana Pudding
Fridge: Store your banana pudding in an airtight container for up to 4-5 days. Make sure to cover it to prevent a skin from forming on the surface.
Freezer: While it’s best enjoyed fresh, you can freeze the vanilla pudding in a tightly sealed container for up to 2 months. Note that the texture may change slightly upon thawing.
Assemble Before Serving: If you must freeze, consider freezing the components separately (pudding and wafers), then assemble fresh when ready to serve for the best quality.
Reheating: If using components from frozen, thaw in the fridge overnight and give the pudding a gentle stir before serving to restore its creamy consistency.
Make Ahead Options
These delicious Gluten Free and Dairy Free Banana Pudding layers are perfect for busy cooks looking to save time during hectic weeks! You can prepare the gluten free wafer cookies up to 3 days in advance; simply store them in an airtight container to maintain their crunch. The vanilla pudding can also be made ahead and refrigerated for up to 24 hours; allow it to cool completely, then cover to prevent skin formation. When you’re ready to assemble, layer the wafers, sliced bananas, and pudding, then let it chill for at least 4-5 hours or overnight for the best results. This way, you can enjoy a stunning dessert with minimal effort just when you need it!
Gluten Free & Dairy Free Banana Pudding Recipe FAQs
What kind of bananas should I use for the pudding?
Absolutely! For the best flavor, choose very ripe bananas that have a few brown spots. These bananas are naturally sweeter and softer, giving your gluten free and dairy free banana pudding that rich, creamy texture and delightful taste.
How should I store the banana pudding after making it?
You’ll want to store your banana pudding in an airtight container in the fridge for up to 4-5 days. Make sure to cover it well to prevent a skin from forming on the surface, which helps keep it smooth and delicious.
Can I freeze banana pudding?
Yes, you can! However, I recommend freezing the components separately for the best quality. The vanilla pudding can be stored in a tightly sealed container for up to 2 months. Just remember to thaw it overnight in the fridge before serving, and give it a gentle stir to restore that creamy consistency you love.
What if my pudding isn’t thickening properly?
The thickening process can be a little tricky! If your pudding isn’t thickening, it may be due to not cooking it long enough or not properly tempering the egg yolks with the milk. Make sure to cook over low heat while stirring continuously for about 5-8 minutes until it reaches that creamy, custard-like consistency. Keep an eye on it during this process for the best results!
Are there any dietary considerations I should be aware of?
Certainly! This recipe is gluten free and dairy free, making it a great choice for those with allergies or dietary restrictions. However, if you’re serving it to young children or pets, be cautious with ingredients like bananas, as they can sometimes cause allergies in sensitive individuals. Always do a little check if you’re unsure!
Creamy Homemade Banana Pudding That's Gluten and Dairy Free
Ingredients
Equipment
Method
- Preheat your oven to 325°F. Cream together the vegan butter and half of the powdered maple sugar until smooth. Add the eggs and remaining sugar, mixing until combined. Gradually blend in dry ingredients, scoop onto a lined baking sheet, and bake for 15-18 minutes until golden brown.
- In a saucepan, heat non-dairy milk over medium heat until steaming. Whisk together egg yolks, remaining powdered sugar, and a pinch of salt in a bowl. Gradually add hot milk to temper, return to saucepan, and cook over low heat while stirring continuously for 5-8 minutes until thickened.
- Remove thickened pudding from heat and stir in vegan butter until melted. Let it cool at room temperature for 30 minutes while stirring occasionally.
- Layer the pudding in a dish starting with gluten free wafers, sliced bananas, and a layer of cooled vanilla pudding. Repeat the layering process.
- Cover with plastic wrap and refrigerate for at least 4-5 hours, preferably overnight, before serving chilled.
Leave a Reply