
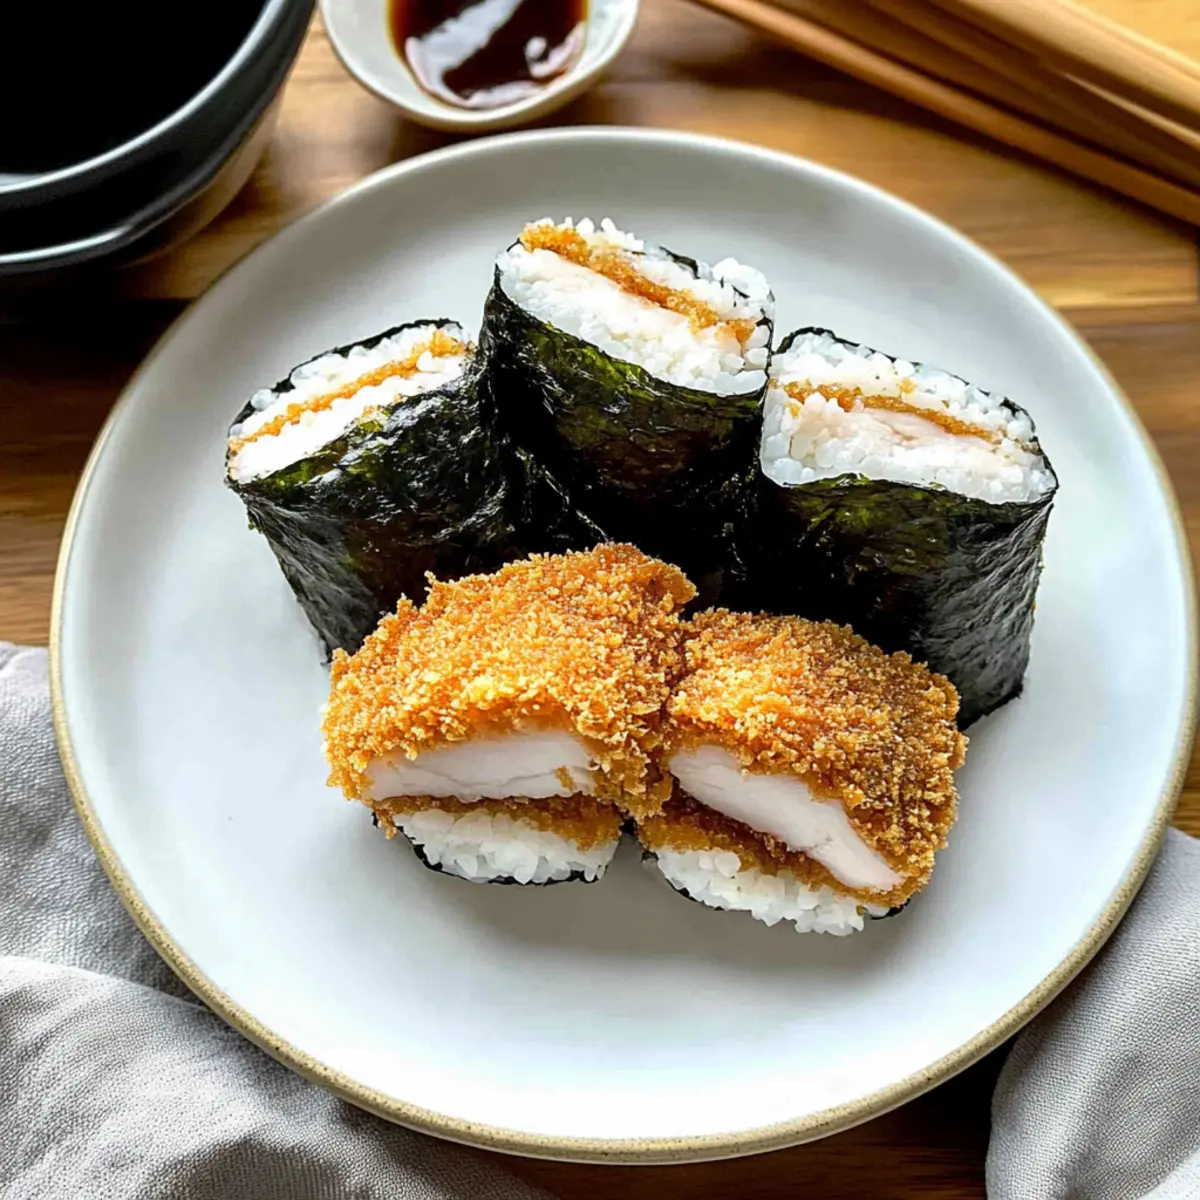
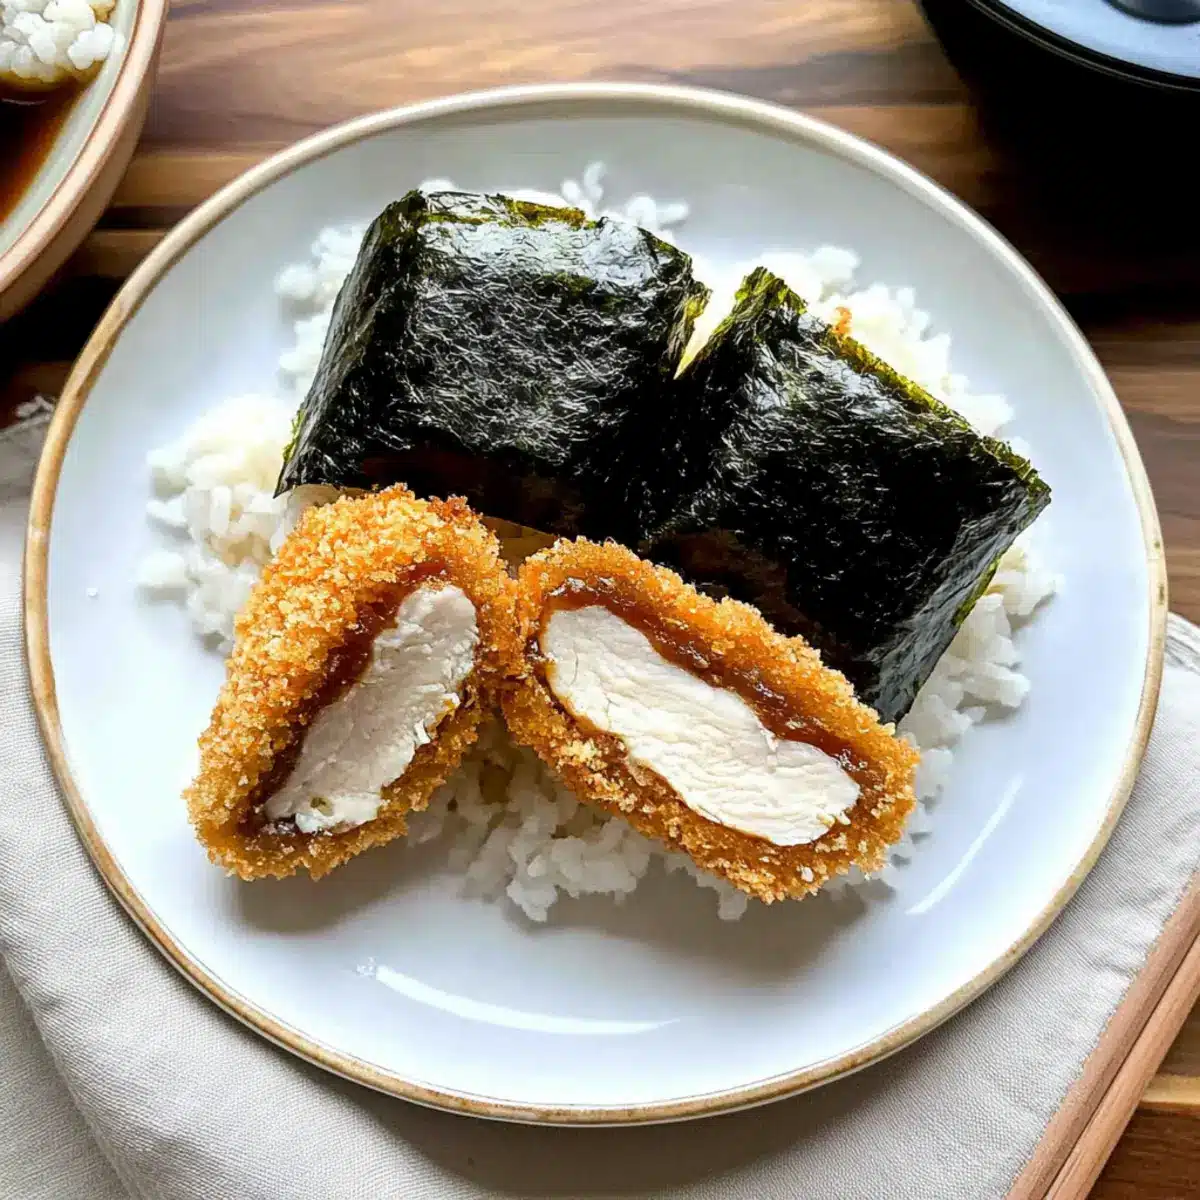
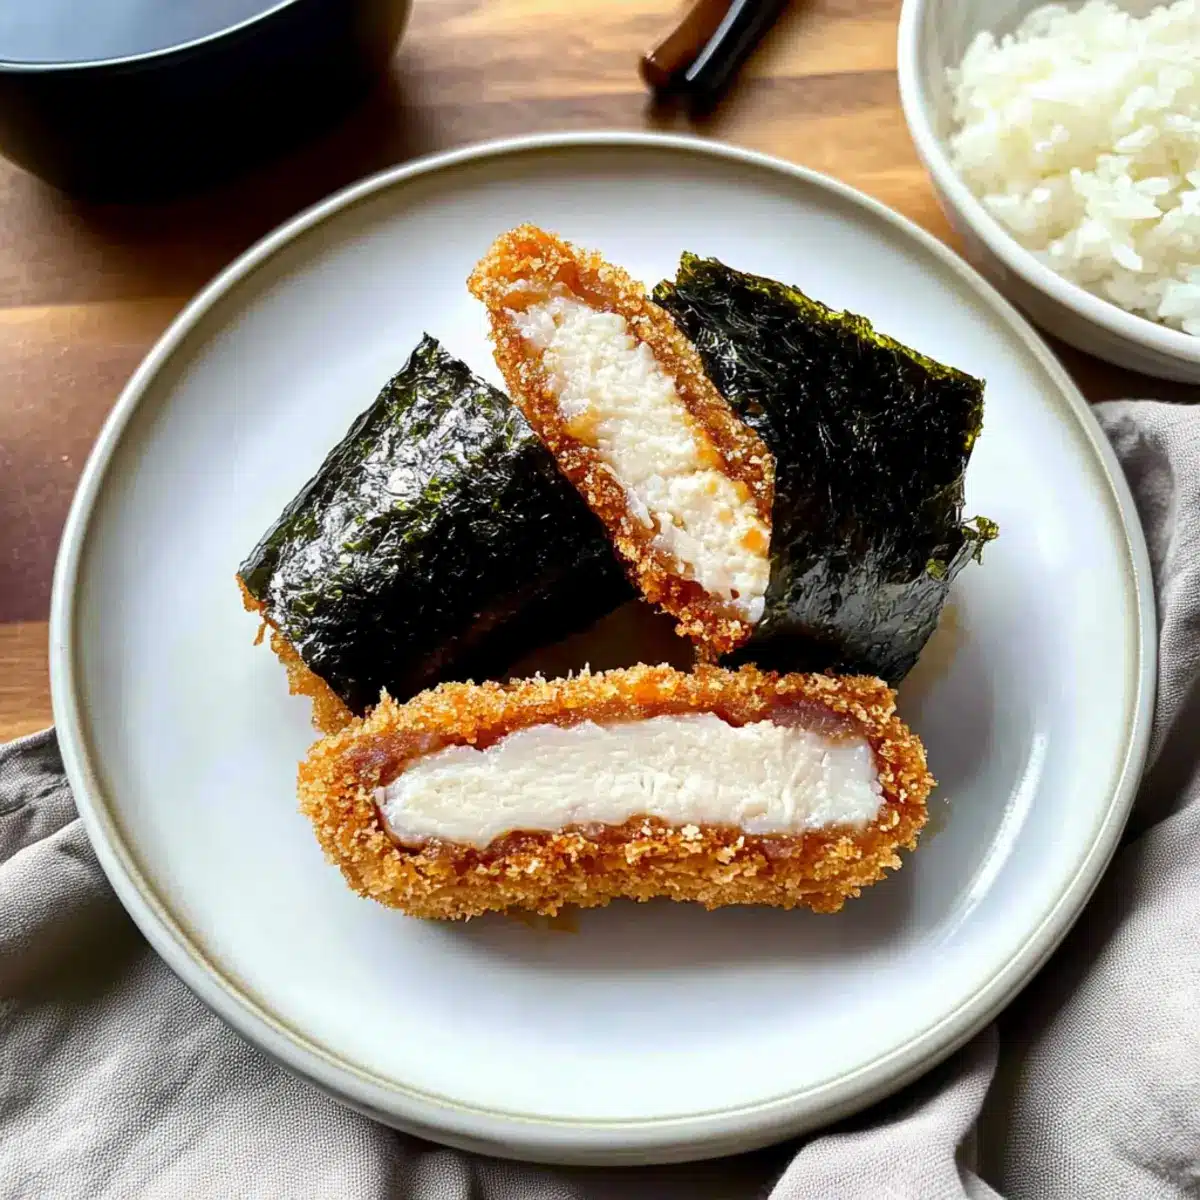
We often find ourselves craving something unique yet comforting, and that’s exactly where Chicken Katsu Musubi comes in. This delightful fusion of Japanese flavors packs a punch with its crispy panko-breaded chicken, perfectly cradled in warm, seasoned sushi rice and wrapped in savory nori. Not only is this Chicken Katsu Musubi easy to assemble, but it also serves as a fantastic on-the-go snack or a hearty lunch option that will impress your taste buds. Whether you’re looking to shake up weekday meals or entertain friends, this recipe delivers irresistible crunch and flavor. Ready to experience a handheld taste of adventure? Let’s dive into the details of crafting your very own musubi!
Why is Chicken Katsu Musubi a must-try?
Crispy Crunchiness: The panko-breaded chicken delivers an unmistakable crunch that pairs perfectly with the chewy sushi rice.
Easy Assembly: With straightforward steps, even beginner cooks can create a delightful culinary experience without the fuss.
Flavor Fusion: The rich umami of tonkatsu sauce combined with the savory nori elevates this dish beyond a simple snack.
Versatile Option: Easily swap chicken for shrimp or tofu, catering to various dietary preferences and ensuring everyone’s happy at the table.
On-the-go Goodness: Perfectly portable, Chicken Katsu Musubi makes for a satisfying lunch or snack, ideal for both busy days or picnics.
Crowd-Pleaser: Impress your friends and family with this unique blend of flavors that will leave them asking for more! Explore flavors further by checking out my Chicken Bacon Ranch or Cheesy Chicken Crescent recipes!
Chicken Katsu Musubi Ingredients
For the Chicken
• Chicken Thighs – This is the primary protein source, providing delicious flavor and juiciness; you can substitute with chicken breasts or tofu for a vegetarian option.
• Eggs – They create a binding for the breadcrumbs, ensuring a crispy texture; consider using a flax egg for a vegan version.
• All-Purpose Flour – This helps in forming a batter; opt for gluten-free flour if you’re looking to avoid gluten.
• Salt – Essential for enhancing flavor; feel free to adjust the amount based on your taste preferences.
• Ground Black Pepper – Adds a touch of seasoning; if you prefer a milder taste, you can swap in white pepper.
• Panko Breadcrumbs – Provides an ultra-crispy coating; while regular breadcrumbs work, panko makes all the difference in crunchiness.
• Neutral Oil – Necessary for frying; vegetable or canola oil can be used as alternatives.
For the Assembly
• Nori Sheets – Wraps around the musubi, giving it a delightful sea-flavored complement; kelp sheets can be used if nori is unavailable.
• Sushi Rice – The base for the musubi, which is best made with short-grain rice for its stickiness; brown rice is a great healthier substitute.
• Tonkatsu Sauce – Adds an incredible flavor boost; you can also try hoisin or barbecue sauce for a different taste experience.
With these thoughtfully chosen ingredients, you’re just a few steps away from crafting your delicious Chicken Katsu Musubi!
Step‑by‑Step Instructions for Chicken Katsu Musubi
Step 1: Prepare the Chicken
Begin by pounding the chicken thighs to a uniform thickness of about ½ inch using a meat mallet. This ensures even cooking and tenderness. Once pounded, season both sides generously with salt and pepper, allowing the flavors to absorb while you prepare the batter.
Step 2: Make the Batter
In a mixing bowl, whisk together the eggs, all-purpose flour, salt, and black pepper until the mixture is slightly looser than pancake batter. This consistency is vital for a proper coating. If needed, adjust with a little more flour or water to achieve a smooth and creamy texture suitable for dipping the chicken.
Step 3: Bread the Chicken
Set up a breading station by placing the seasoned chicken first in the batter, letting any excess drip off. Then, coat the chicken thoroughly with panko breadcrumbs, pressing gently to adhere and achieve that delightful crispy texture. Repeat this process for all pieces to ensure even coverage.
Step 4: Fry the Chicken
In a deep skillet, heat neutral oil to 350°F over medium heat. Carefully add the breaded chicken, frying each piece for 4–6 minutes or until the exterior is golden brown and crispy. Use a meat thermometer to check that the internal temperature reaches 165°F for safe consumption. Once cooked, transfer the chicken to a wire rack to cool, preventing sogginess.
Step 5: Prepare the Sushi Rice
While the chicken cools, cook sushi rice according to package instructions, typically absorbing water until tender. Once cooked, let it cool slightly, then season with a mix of rice vinegar, sugar, and salt to enhance the flavor. Fluff the rice gently with a fork, ensuring it stays slightly sticky for easy assembly.
Step 6: Assemble the Musubi
Lay a sheet of nori shiny side down on a clean surface. If using a mold or empty Spam can, moisten it slightly, then pack about ½ cup of seasoned sushi rice into the mold. Top with a drizzle of tonkatsu sauce and place a piece of crispy chicken on top before packing it down firmly.
Step 7: Wrap the Musubi
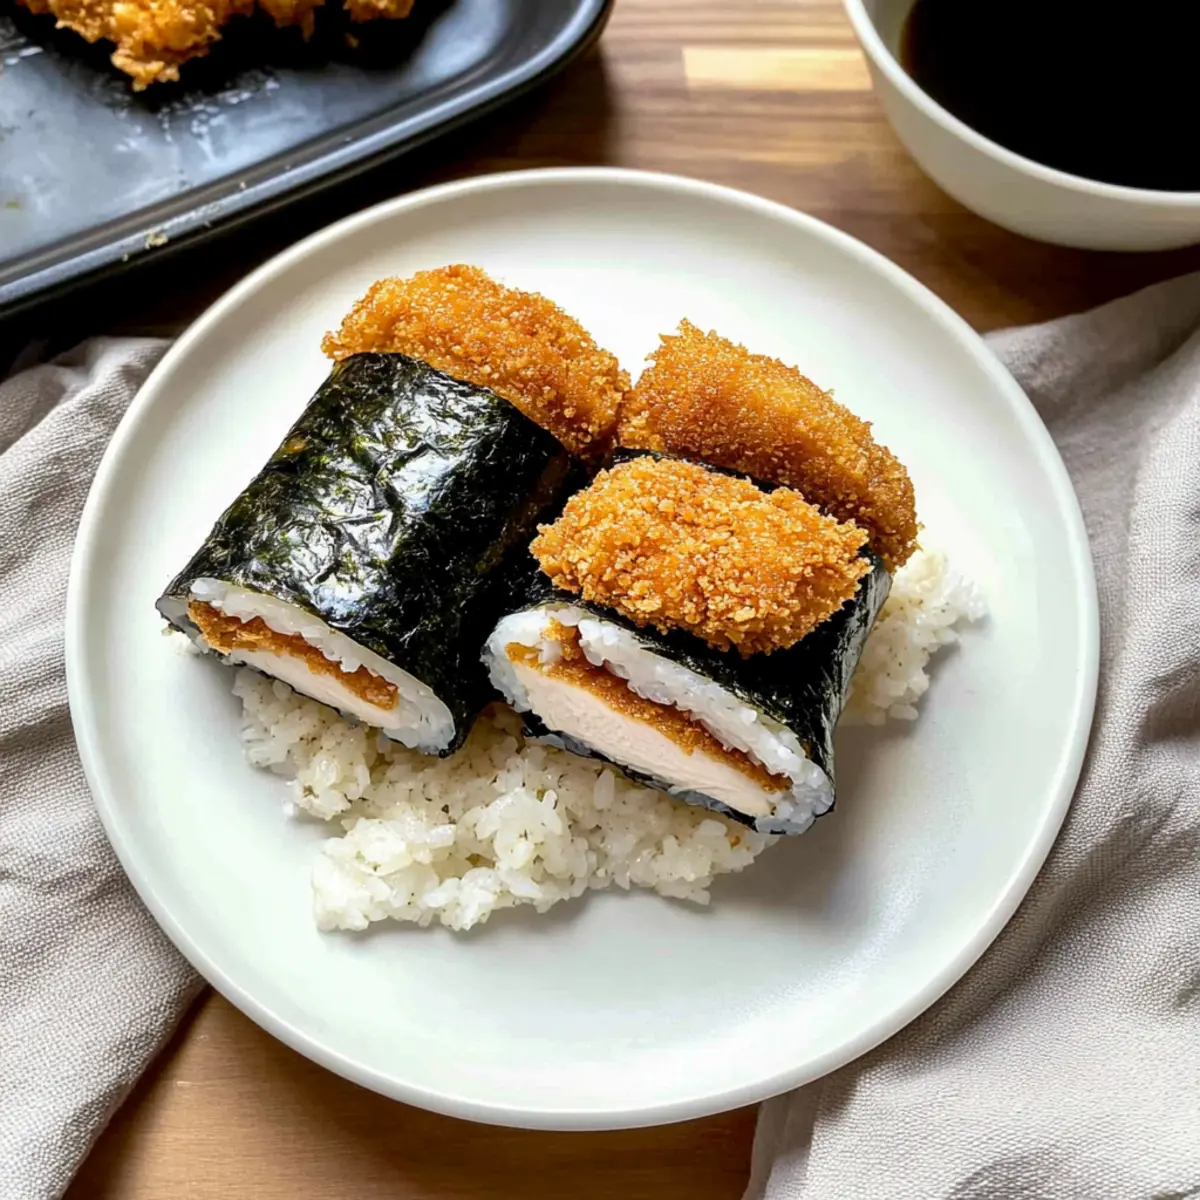
Carefully lift the nori’s edges to wrap around the rice and chicken tightly, securing them within the nori sheet. Use a little water on the edges of the nori to seal it neatly. This step is essential in maintaining the shape of your Chicken Katsu Musubi and ensuring that it holds together beautifully.
Step 8: Slice and Serve
Using a sharp knife coated with a bit of water to prevent sticking, slice the musubi into manageable pieces, about 2 inches wide. Arrange them neatly on a plate, ready to be enjoyed warm or at room temperature. These delicious Chicken Katsu Musubi pieces make for excellent snacks or lunchtime meals!
Expert Tips for Chicken Katsu Musubi
-
Pound Evenly: Ensure the chicken is pounded to uniform thickness for consistent cooking. Uneven pieces may lead to some being overcooked while others remain underdone.
-
Crispy Coating: After frying, place the chicken on a wire rack instead of paper towels to retain its crispiness. This prevents steam from making the coating soggy.
-
Moisten the Mold: If using a mold for the sushi rice, lightly moisten it first to help release the rice easily. This simple trick saves you from any frustrations during assembly.
-
Freshness Counts: For the best experience, enjoy your Chicken Katsu Musubi fresh. If making ahead, store the nori separately to prevent it from becoming chewy or soggy.
-
Sauce Substitutes: Feel free to experiment with different sauces like spicy mayo or teriyaki to customize your musubi’s flavor. This personalization can lead to exciting new tastes!
Make Ahead Options
These Chicken Katsu Musubi are perfect for busy home cooks looking to save time! You can prepare the crispy chicken up to 24 hours in advance by frying it, then allowing it to cool completely and storing it in an airtight container in the refrigerator. The sushi rice can also be made ahead; simply refrigerate it for up to 3 days and reheat gently before assembly. When ready to enjoy, layer the chicken on freshly cooked rice and wrap it in nori shortly before serving to maintain that delicious crunch. This way, you’ll have a delightful, flavorful snack or meal ready for the busy week ahead!
Chicken Katsu Musubi Variations
Feel free to get creative and adapt this Chicken Katsu Musubi recipe to suit your taste preferences and dietary needs!
-
Shrimp Swap: Replace chicken with shrimp for a delightful seafood twist that perfectly complements the nori and rice.
-
Veggie Delight: Use fried eggplant or zucchini slices as a vegetarian alternative, bringing a subtle sweetness to your musubi.
-
Spicy Kick: Drizzle some sriracha mayo on the chicken before assembling for an exciting, spicy flavor infusion.
-
Cheese Lover’s: Add a slice of melty cheese right under the chicken layer for an indulgent touch that adds creaminess.
-
Coconut Rice: Swap traditional sushi rice for coconut rice to infuse a tropical sweetness, pairing wonderfully with chicken or shrimp.
-
Herb-Infused: Mix fresh herbs like cilantro or green onions into your sushi rice for an aromatic burst that elevates each bite.
-
Tonkatsu Variety: Experiment with different sauces, such as hoisin or a homemade teriyaki, to add depth and new flavors to your musubi.
-
Crunch Element: Toss in some toasted sesame seeds on top of the rice before wrapping for added texture and a nutty flavor.
These variations make it easy to adapt the recipe to suit everyone’s palate. For more flavor combinations, why not check out my tasty Cowboy Butter Chicken or add a little zing with some Chicken Enchiladas Savory? Enjoy the creative process!
How to Store and Freeze Chicken Katsu Musubi
Fridge: Store your Chicken Katsu Musubi in an airtight container and consume within 2 days for the best taste and texture.
Freezer: For longer storage, individually wrap the assembled musubi in plastic wrap and place them in a freezer bag. They can last up to 3 months in the freezer.
Reheating: Thaw in the refrigerator overnight before reheating. To restore crispiness, reheat in a toaster oven or skillet rather than a microwave.
Without Nori: If you plan to store it, keep the nori separate until you’re ready to eat to prevent it from becoming soggy.
What to Serve with Chicken Katsu Musubi
When you’re crafting the perfect meal around this delectable Chicken Katsu Musubi, consider options that complement its crispy texture and savory flavor.
- Edamame: These lightly salted soybeans provide a fresh contrast and an added protein punch, making for a delightful and nutritious side.
- Simple Cucumber Salad: Crisp, refreshing cucumber tossed in rice vinegar adds a tangy brightness that balances the richness of the musubi.
- Miso Soup: A warm bowl of miso soup brings comforting umami notes that harmonize beautifully with the flavors of the musubi.
- Japanese Pickles: The crunch and tang of pickles, like takuan or pickled ginger, offer a flavorful palate cleanser enhancing each bite of chicken.
- Teriyaki Glazed Vegetables: Mixed veggies caramelized in teriyaki sauce give a sweet-savory side dish that adds color and nutrition to your meal.
- Green Tea: This lightly bitter and aromatic drink complements the savory musubi while aiding digestion, making it an ideal beverage choice.
- Matcha Cheesecake: A light and creamy dessert with a hint of matcha offers a delightful finish, tying together the meal with Japanese flair.
- Sweet Potato Fries: Crispy, sweet, and slightly salty, they foster a pleasant contrast with the katsu, providing additional crunch and satisfaction.
- Chilled Soba Noodles: Drizzled with a light soy or sesame sauce, these cold noodles lend a refreshing element for a well-rounded meal experience.
- Fresh Fruit Skewers: Light and vibrant, skewers of tropical fruits such as pineapple or mango provide a sweet and juicy conclusion to the feast.
Chicken Katsu Musubi Recipe FAQs
What is the best way to choose ripe chicken for this recipe?
Absolutely! When selecting chicken thighs for your Chicken Katsu Musubi, look for meat that is pink and moist, with no dark spots or unpleasant odors. Fresh chicken should feel slightly firm to the touch. If you’re considering using chicken breasts or tofu as an alternative, aim for similar freshness and quality.
How should I store leftover Chicken Katsu Musubi?
To maintain the best taste and texture, store your Chicken Katsu Musubi in an airtight container in the fridge, and enjoy it within 2 days. If you’re packing it for lunch, try to separate the nori until you’re ready to eat to keep it from becoming chewy.
Can I freeze Chicken Katsu Musubi for later?
Yes, you can definitely freeze your Chicken Katsu Musubi! First, wrap each assembled musubi tightly in plastic wrap. Then, place them in a freezer-safe bag, ensuring you remove as much air as possible. They will stay fresh for up to 3 months! When you’re ready to eat, thaw them in the fridge overnight before reheating.
What if my Chicken Katsu is soggy after frying?
Very! If your Chicken Katsu ends up soggy, it might be due to overcrowding the frying pan or not using a wire rack to cool the chicken. For a better result, make sure to fry in batches and always transfer the cooked chicken to a wire rack instead of a paper towel. This will keep them crispy by allowing air to circulate around the pieces.
Is this recipe safe for individuals with allergies?
I recommend caution! This Chicken Katsu Musubi contains common allergens like eggs and wheat. If you’re cooking for someone with allergies, consider using a flax egg as a vegan alternative and opt for gluten-free flour and panko breadcrumbs. Always double-check any product labels to ensure they meet dietary restrictions.
How can I retain the crispiness if I prepare Chicken Katsu Musubi ahead of time?
For optimal texture, assemble your Chicken Katsu Musubi without nori if you plan to prepare it in advance. Store the fried chicken and the sushi rice separately in the fridge. When you’re ready to enjoy, simply wrap the chicken in nori just before serving. This method keeps the nori fresh and the chicken crispy!
Crispy Chicken Katsu Musubi: A Flavorful Snack Awaits!
Ingredients
Equipment
Method
- Begin by pounding the chicken thighs to a uniform thickness of about ½ inch using a meat mallet. Season both sides with salt and pepper.
- In a mixing bowl, whisk together the eggs, all-purpose flour, salt, and black pepper until the mixture is slightly looser than pancake batter.
- Set up a breading station, placing the seasoned chicken in the batter followed by the panko breadcrumbs.
- Heat neutral oil to 350°F. Fry the chicken for 4–6 minutes until golden brown. Transfer to a wire rack to cool.
- Cook sushi rice and season it with rice vinegar, sugar, and salt once cooked.
- Lay a nori sheet shiny side down, pack sushi rice into a mold, drizzle with tonkatsu sauce, and add a piece of crispy chicken.
- Wrap the nori around the rice and chicken tightly. Use water on the edges to seal.
- Slice the musubi into manageable pieces and arrange them on a plate.
Leave a Reply