
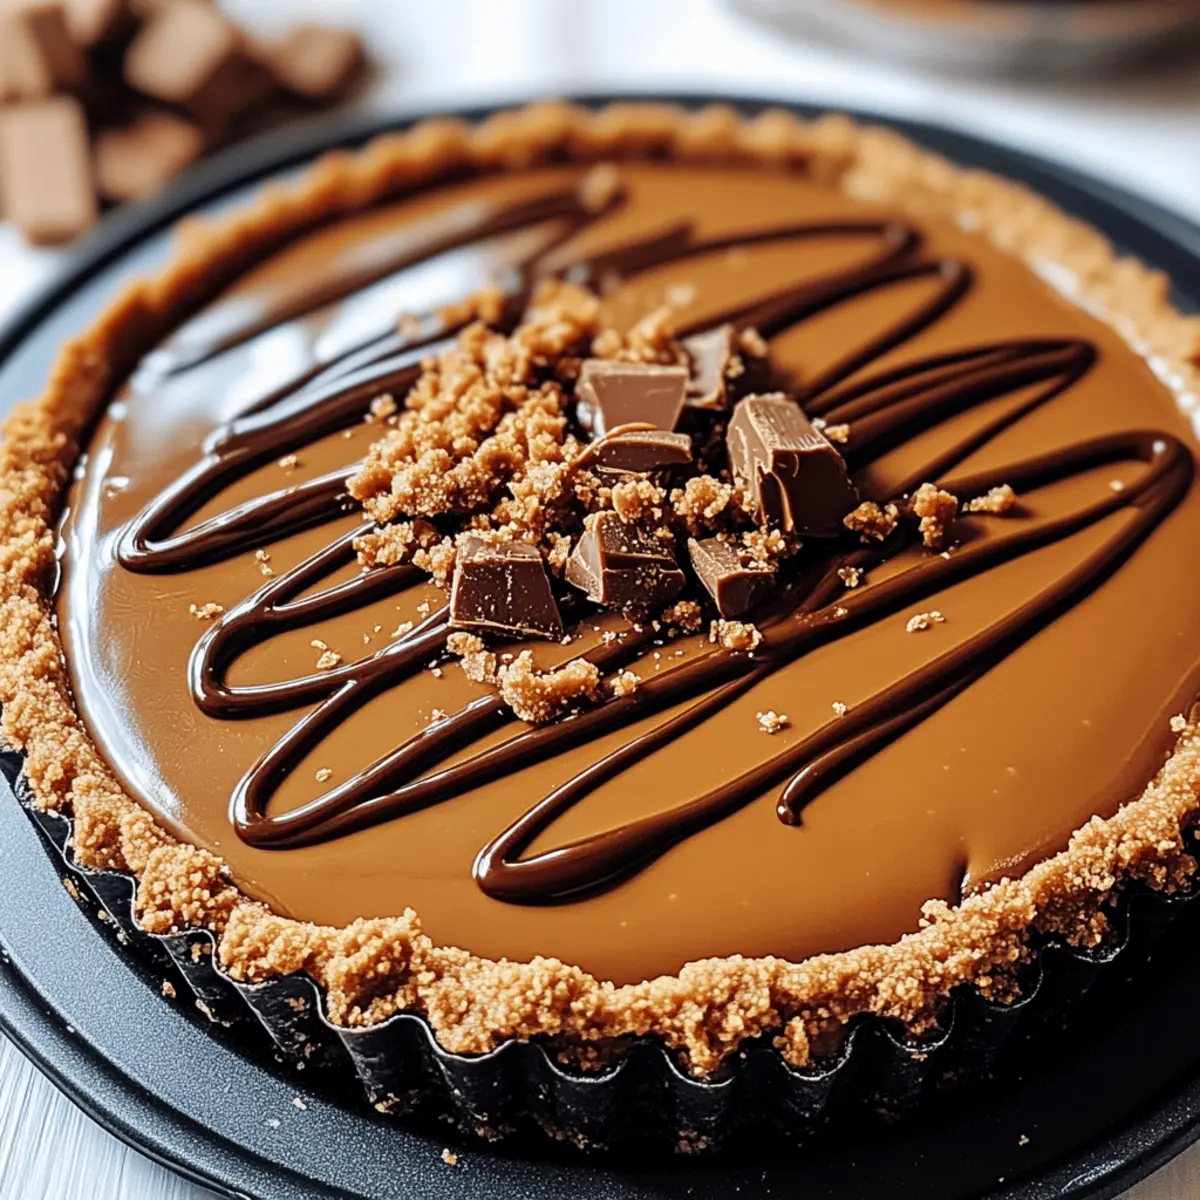
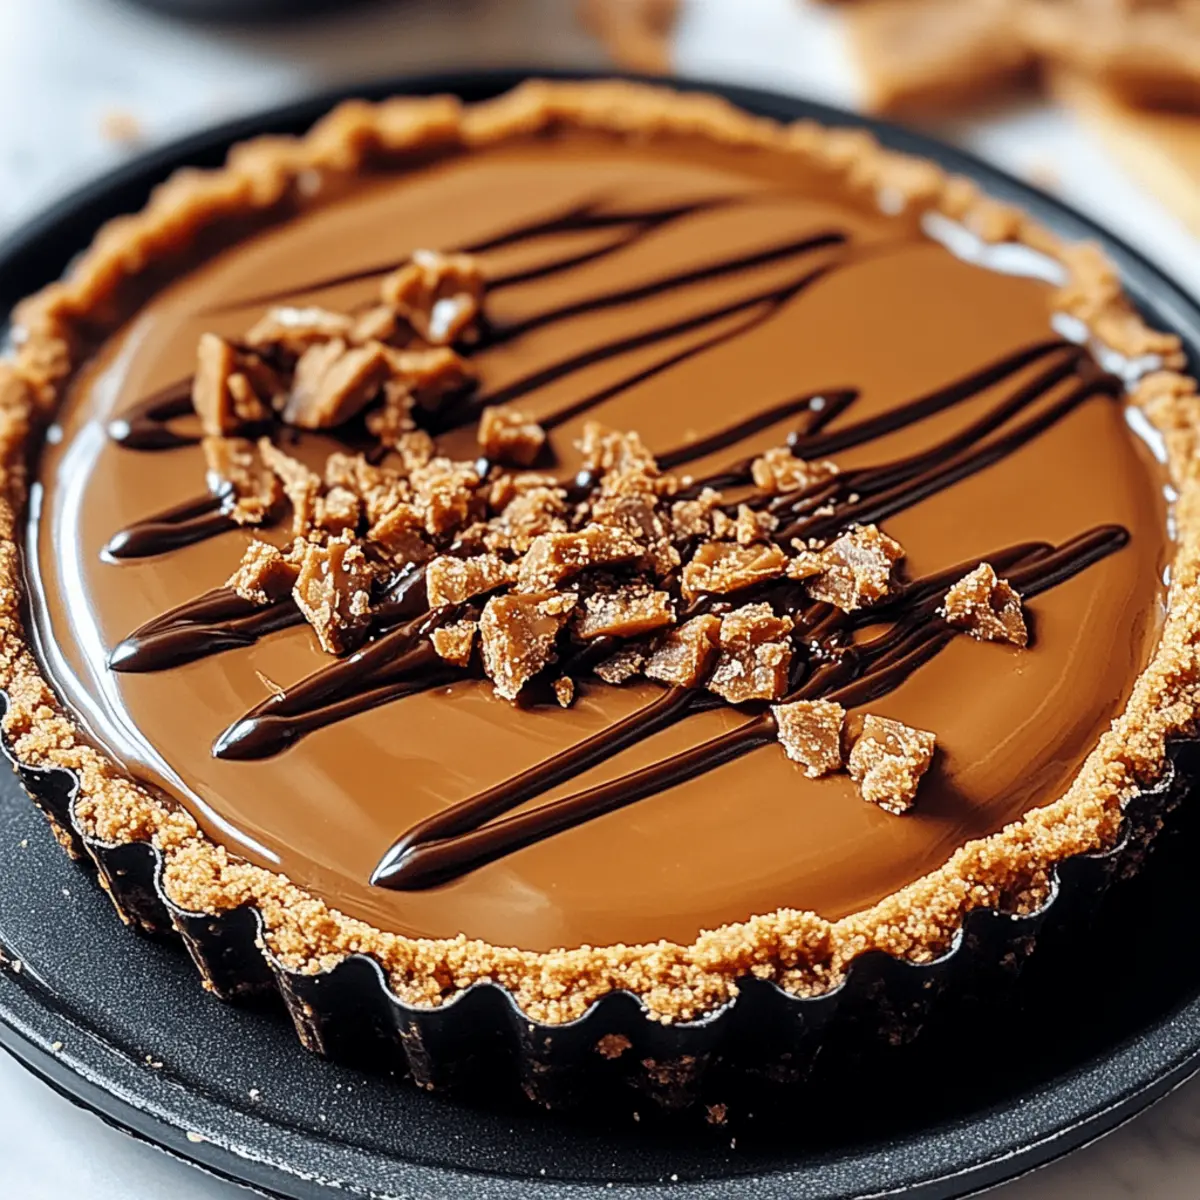
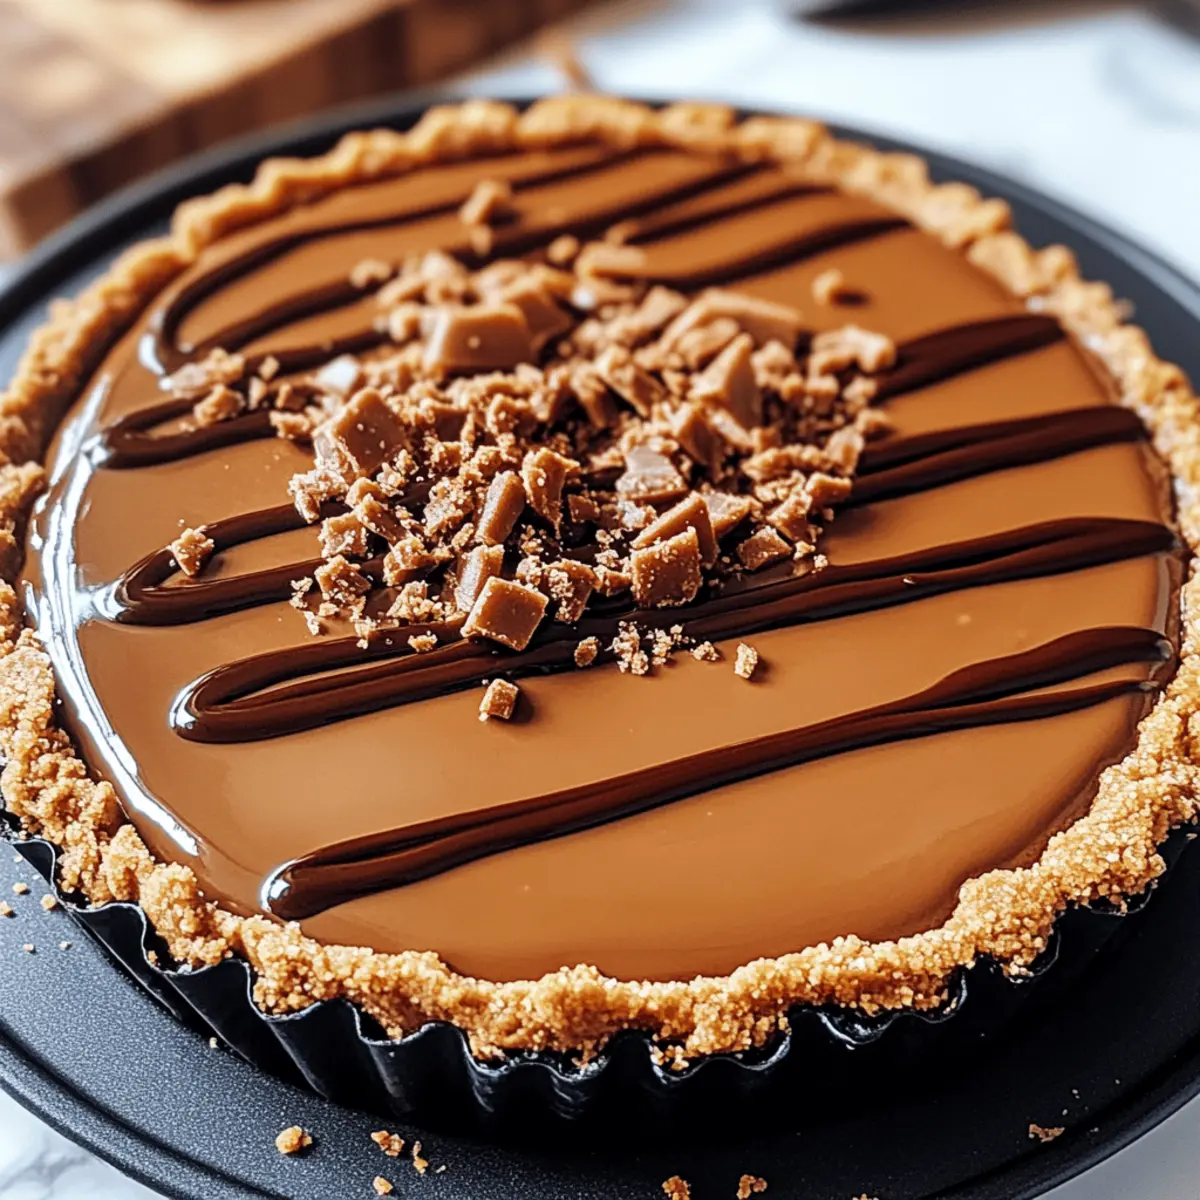
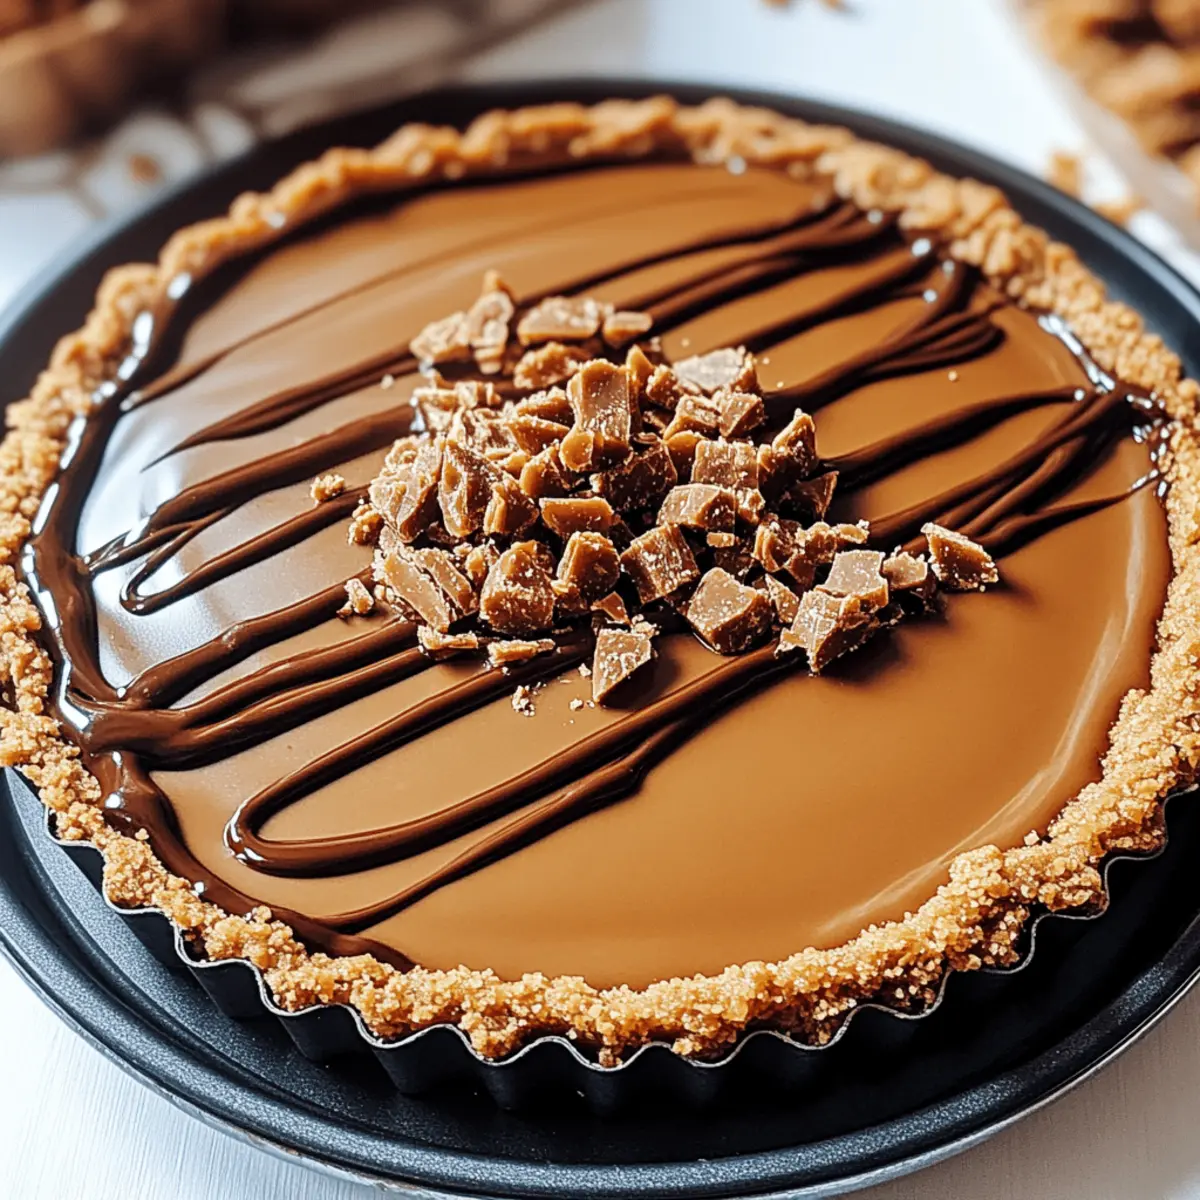
As I sank my teeth into a slice of the Chocolate Biscoff Tart I had tucked away in the fridge, I was transported to a world where little pleasures reign supreme. This irresistibly simple no-bake dessert harmoniously combines smooth, rich chocolate ganache with the delightful crunch of spiced Biscoff cookies, making it a perfect way to elevate any gathering. Not only does this Chocolate Biscoff Tart offer quick preparation—ideal for last-minute hosts—but it also presents a stunning visual centerpiece that’s sure to impress your friends and family. Whether it’s warm summer days or cozy winter nights, this tart is the perfect indulgence for any occasion. So, are you ready to create a dessert that will have everyone begging for seconds? Let’s dive into the delightful world of chocolate and cookie goodness!
Why is this tart a must-try?
Indulgent Flavor: The rich chocolate ganache paired with the spiced Biscoff crust creates an unforgettable taste experience that is truly decadent.
No-Bake Convenience: Perfect for those warm days when you want a refreshing dessert without heating up the kitchen.
Family-Friendly: Kids and adults alike will savor every bite of this delightful treat, making it ideal for all gatherings.
Quick Preparation: In just a few steps, you can whip up this stunning dessert, perfect for last-minute invitations.
Versatile Options: Consider adding fresh fruit or whipped cream to personalize each serving; the flavor combinations are endless! Try serving it alongside a scoop of ice cream for a heavenly contrast. If you love unique desserts, check out our Gluten Free Chocolate recipes for more tasty inspirations!
Chocolate Biscoff Tart Ingredients
For the Crust
• Biscoff Cookies – These provide the perfect base for the tart; crush them finely for a smooth crust.
• Butter – Acts as a binder for the crust; substitute with coconut oil for a dairy-free version.
For the Ganache Filling
• Chocolate (bittersweet or semisweet) – The star ingredient that makes the ganache rich and luscious; dark chocolate can also enhance flavor depth.
• Heavy Cream – Used to create that silky ganache texture; can be swapped with coconut cream for a non-dairy option.
• Cookie Butter – Infuses the filling with extra flavor and richness; almond butter serves as a nut-free alternative.
With these simple yet essential ingredients, your Chocolate Biscoff Tart will not only be easy to prepare, but it will also offer a delightful dessert experience for any occasion!
Step‑by‑Step Instructions for Chocolate Biscoff Tart
Step 1: Prepare the Crust
Begin by crushing the Biscoff cookies into fine crumbs using a food processor or a ziplock bag and rolling pin. Once crushed, melt the butter in a microwave and mix it with the cookie crumbs until fully combined. Press this mixture firmly into the bottom and up the sides of a tart pan, ensuring an even layer. Set it aside while you prepare the filling.
Step 2: Make the Ganache
In a medium saucepan, gently heat the heavy cream over medium-low heat until it is just simmering; avoid boiling it. Remove the cream from heat and pour it over the chopped bittersweet or semisweet chocolate in a heatproof bowl. Allow it to sit for about 5 minutes, giving the chocolate time to melt beautifully under the warmth.
Step 3: Combine Ingredients
After the resting time, stir the chocolate and cream mixture with a spatula or whisk until it becomes smooth and glossy. Then, add the cookie butter into the warm ganache and mix until it is fully incorporated. The mixture should be luscious and creamy, perfect for pouring into your crust.
Step 4: Fill the Tart
Carefully pour the chocolate mixture over the prepared Biscoff crust, smoothing the top with a spatula to ensure an even layer. Tap the tart gently on the countertop to release any air bubbles trapped inside. This step helps in achieving a perfect surface for that final presentation.
Step 5: Chill the Tart
Cover the tart with plastic wrap and place it in the refrigerator to chill for at least 4 hours, allowing the ganache to set fully. If you have time, refrigerating overnight will deepen the flavors and improve the texture, making your Chocolate Biscoff Tart even more indulgent.
Step 6: Serve and Enjoy
Once set, remove the tart from the fridge and gently release it from the tart pan. Slice it with a sharp knife, preferably warmed, to maintain clean edges. Serve chilled, and if desired, add a dollop of whipped cream or a scoop of your favorite ice cream for an extra treat. Enjoy the delightful combination of chocolate and Biscoff flavors!
Variations & Substitutions for Chocolate Biscoff Tart
Feel free to customize your Chocolate Biscoff Tart with these delightful variations that will inspire new flavor profiles!
-
Fruit Layer: Add a layer of fresh raspberries or bananas under the ganache for a zesty contrast. The fruit’s acidity beautifully enhances the richness of the chocolate.
-
Nutty Crust: Incorporate crushed almonds or walnuts into the Biscoff crust for added texture and nutty flavor. This small adjustment transforms the tart into a heartier dessert experience.
-
Dairy-Free Delight: Use coconut cream instead of heavy cream and coconut oil in the crust for a delicious dairy-free version. The coconut will add a subtle tropical twist that’s simply irresistible.
-
Spiced Up: Add a pinch of cinnamon or nutmeg to your crust mixture for warmth and complexity. This extra dimension will elevate your tart, reminiscent of spiced winter treats.
-
Whipped Cream Topping: Top the tart with lightly sweetened whipped cream or even chocolate whipped cream for a luxurious finish. It adds lightness and a visually appealing layer.
-
Chocolate Drizzle: Drizzle extra melted chocolate over the top of the tart for an elegant touch. It not only enhances the presentation but also intensifies the chocolate experience.
-
Cookie Butter Swirl: Before chilling, swirl additional cookie butter into the ganache for a marbled effect. This creates a delightful surprise in each bite.
-
Flavor Infusion: Infuse the heavy cream with a splash of espresso or coffee before mixing with the chocolate. The coffee notes will amplify the chocolate’s richness and provide a delightful twist.
Don’t forget to explore other delectable recipes like our Decadent Chocolate Chip or Crispy Chocolate Oat Cookies to expand your dessert repertoire!
Storage Tips for Chocolate Biscoff Tart
Fridge: Store the Chocolate Biscoff Tart covered in the refrigerator for up to 5 days to maintain its freshness and flavor.
Freezer: If you want to keep it longer, you can freeze the tart for up to 2 months. Wrap it tightly in plastic wrap and then place it in an airtight container to prevent freezer burn.
Thawing: When ready to enjoy, remove from the freezer and let it thaw in the fridge overnight. Serve chilled for the best taste experience.
Reheating: This tart is best served cold and doesn’t require reheating, making it a perfect treat to grab anytime!
What to Serve with Chocolate Biscoff Tart
Enhance your dessert experience with delightful pairings that complement the rich flavors of this decadent tart.
-
Whipped Cream: A dollop of lightly sweetened whipped cream adds a fluffy contrast to the dense chocolate filling. Perfect for a dreamy finish!
-
Fresh Berries: Raspberries or strawberries provide a tart burst of flavor that balances the sweetness, offering a beautiful presentation alongside the tart.
-
Mint Infusion: Fresh mint leaves as a garnish infuse a refreshing note that enhances the chocolate and spice from the Biscoff, creating an aromatic experience.
-
Chocolate Drizzle: A warm drizzle of chocolate sauce over each slice intensifies the chocolaty goodness. It’s a simple yet luxurious touch that will impress your guests.
-
Vanilla Ice Cream: The creamy, cold texture of vanilla ice cream creates a delightful contrast with the tart, cooling the palate while enhancing the dessert’s rich flavors.
-
Coffee Pairing: A hot cup of freshly brewed coffee complements the dessert perfectly. The bitter notes of coffee offset the sweetness, creating a harmonious balance of flavors.
-
Coconut Cream: For a tropical twist, a scoop of coconut cream offers a velvety texture that beautifully aligns with the spiced Biscoff crust.
Let your imagination run wild with these serving suggestions, and transform your Chocolate Biscoff Tart into an unforgettable indulgence!
Make Ahead Options
These Chocolate Biscoff Tarts are perfect for meal prep enthusiasts! You can prepare the Biscoff crust up to 24 hours in advance; just press it into the tart pan and store it covered in the refrigerator. Additionally, you can make the ganache filling and store it separately for up to 3 days. Allow the chocolate ganache to cool to room temperature before refrigerating to prevent condensation that could affect the texture. When you’re ready to complete the tart, simply reheat the ganache gently if needed, pour it over the prepared crust, and chill until set. This way, you’ll have a stunning dessert ready to impress with minimal last-minute effort!
Expert Tips for Chocolate Biscoff Tart
Chill Overnight: For the richest flavor, let the tart chill overnight. This allows the ganache to set perfectly and enhances the taste.
Avoid Graininess: Ensure the heavy cream is not boiling before pouring it over the chocolate. This prevents a grainy texture in your ganache.
Clean Slices: To achieve beautiful, clean slices of your Chocolate Biscoff Tart, dip your knife in hot water, then wipe it dry before cutting.
Customize the Toppings: Consider adding toppings like fresh fruit or whipped cream to elevate the dessert and offer a delightful twist.
Use Fresh Ingredients: Always use quality chocolate and fresh cream for the best flavor. This tart shines the most with high-quality ingredients.
Chocolate Biscoff Tart Recipe FAQs
How do I know if my Biscoff cookies are fresh enough for the crust?
Absolutely! Fresh Biscoff cookies should be crisp and fragrant. If you see any dark spots all over or they smell stale, it’s best to use a new package for your tart. Fresh cookies will provide that perfect crunch and flavor for your crust.
What’s the best way to store leftover Chocolate Biscoff Tart?
To store your Chocolate Biscoff Tart, simply cover it with plastic wrap or place it in an airtight container. It will stay fresh in the refrigerator for up to 5 days. If you prepare it a day in advance, it can also deepen the flavors beautifully!
Can I freeze Chocolate Biscoff Tart? If so, how?
Yes, you can freeze the Chocolate Biscoff Tart! Wrap it tightly in plastic wrap, then place it in an airtight container to prevent freezer burn. It can be stored in the freezer for up to 2 months. When you’re ready to enjoy, let it thaw overnight in the refrigerator before slicing and serving.
How do I prevent the ganache from becoming grainy?
Very important! To prevent a grainy texture, make sure the heavy cream is just simmering—not boiling—before pouring it over the chocolate. If it gets too hot, the chocolate can seize up. Stir the mixture gently but thoroughly until smooth; this will ensure a velvety ganache.
Can I make a nut-free version of this tart?
Of course! To make your Chocolate Biscoff Tart nut-free, simply substitute the cookie butter with sunflower seed butter or a similar alternative. Just make sure to check that the Biscoff cookies you use don’t contain any nuts, and you’ll be good to go!
Is this tart safe for pets, and should I worry about allergies?
Definitely keep it away from pets! The chocolate and heavy cream are not safe for them. Always check for any potential allergies with your guests, especially with ingredients like chocolate and cookie butter, as they can trigger reactions in sensitive individuals.
Decadent Chocolate Biscoff Tart for Easy No-Bake Indulgence
Ingredients
Equipment
Method
- Crush the Biscoff cookies into fine crumbs. Melt the butter and mix with the cookie crumbs, then press firmly into the tart pan.
- Heat the heavy cream in a saucepan until simmering, then pour it over the chocolate in a bowl, letting it sit for 5 minutes.
- Stir the chocolate and cream mixture until smooth, then add the cookie butter and mix until incorporated.
- Pour the mixture into the prepared crust, smoothing the top with a spatula.
- Cover with plastic wrap and refrigerate for at least 4 hours, or overnight for best results.
- Slice and serve chilled; add whipped cream or ice cream if desired.
Leave a Reply