
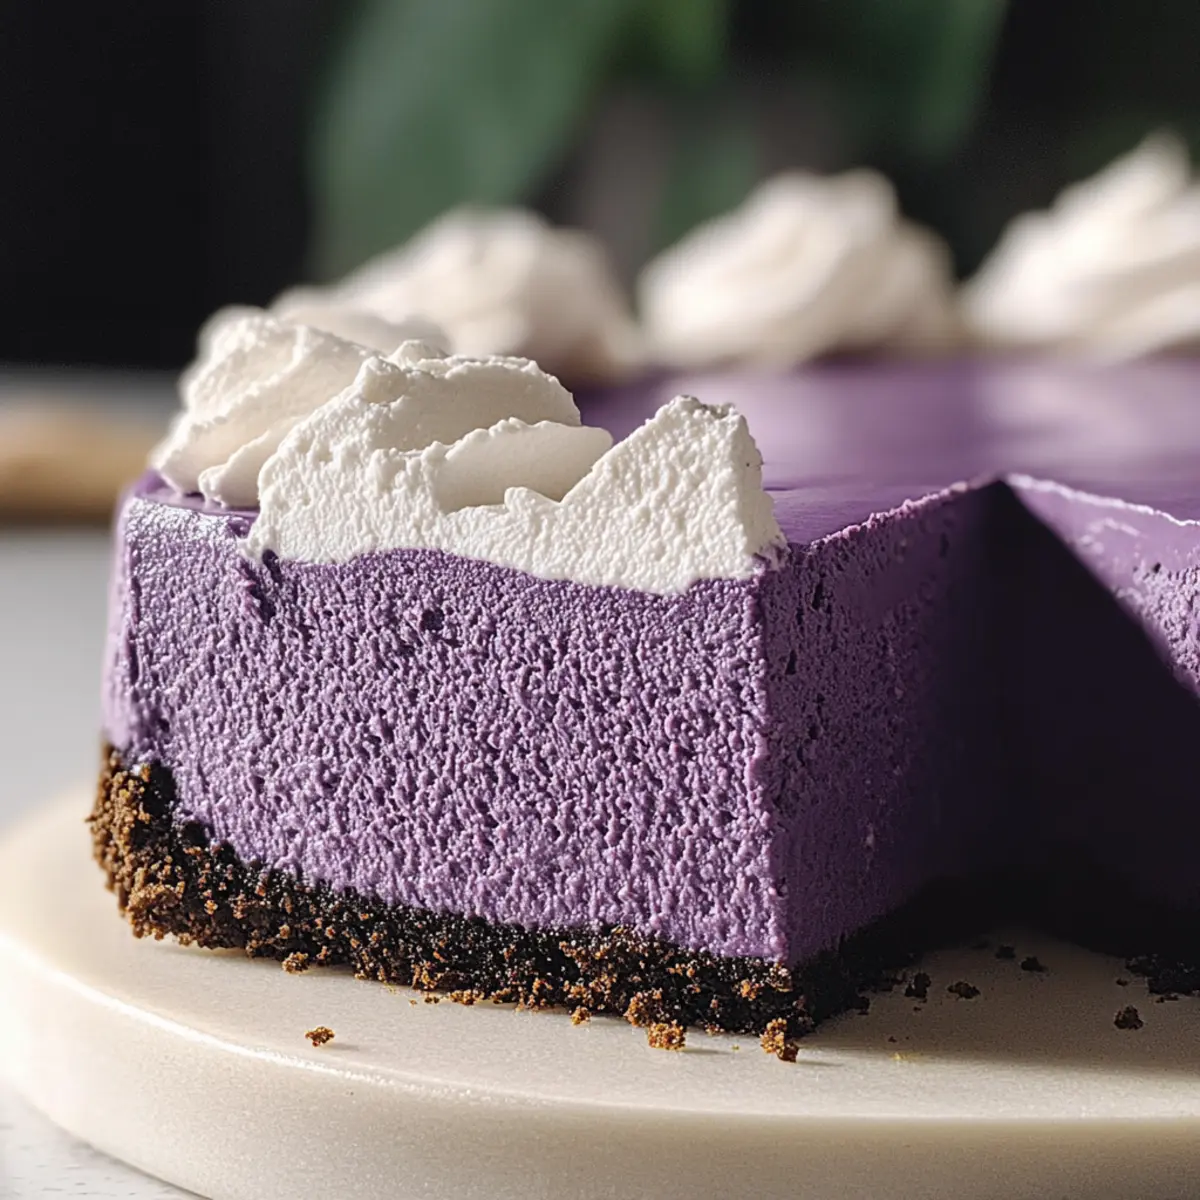
Walking into a Filipino celebration, the sweet aroma of desserts fills the air, but it’s the vibrant purple hue of ube cheesecake that truly catches my eye. This Homemade Ube Cheesecake captures the essence of tradition while bringing a modern twist to the table. Made from the earthy sweetness of ube, this vegetarian delight is not only eye-catching but also incredibly budget-friendly and simple to whip up. In just a few steps, you can create a stunning dessert that’s perfect for impressing guests or treating yourself after a long day. Ready to indulge in a creamy slice of happiness that combines cultural heritage with contemporary flavors? Let’s dive into this delicious recipe!
Why is Ube Cheesecake so Special?
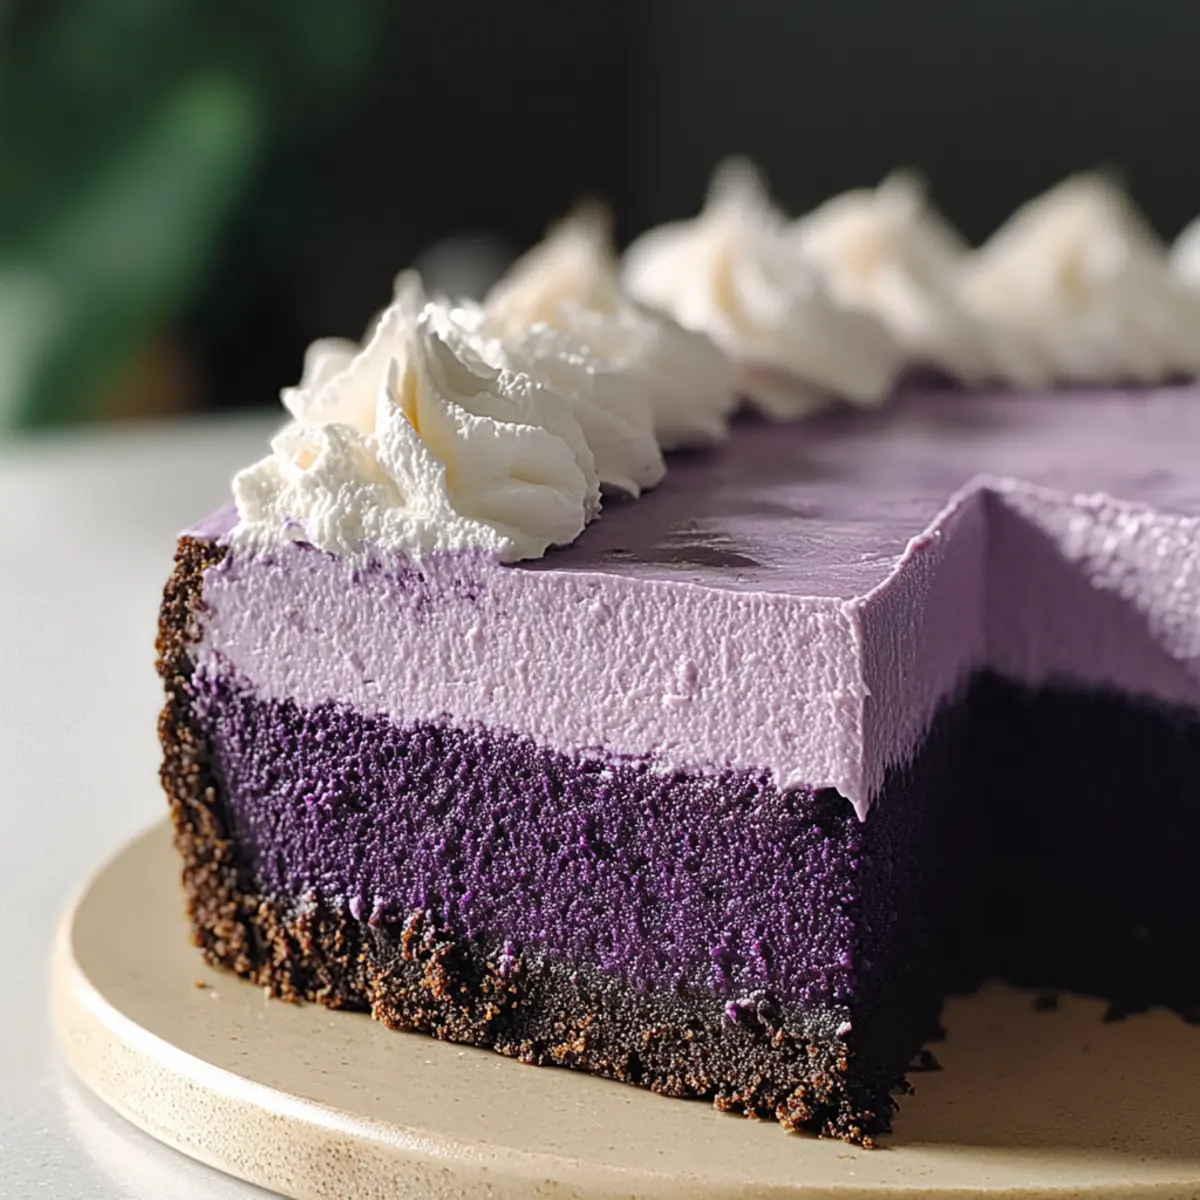
Unique Flavor: The earthy sweetness of ube combined with the classic creaminess of cheesecake creates a taste sensation like no other.
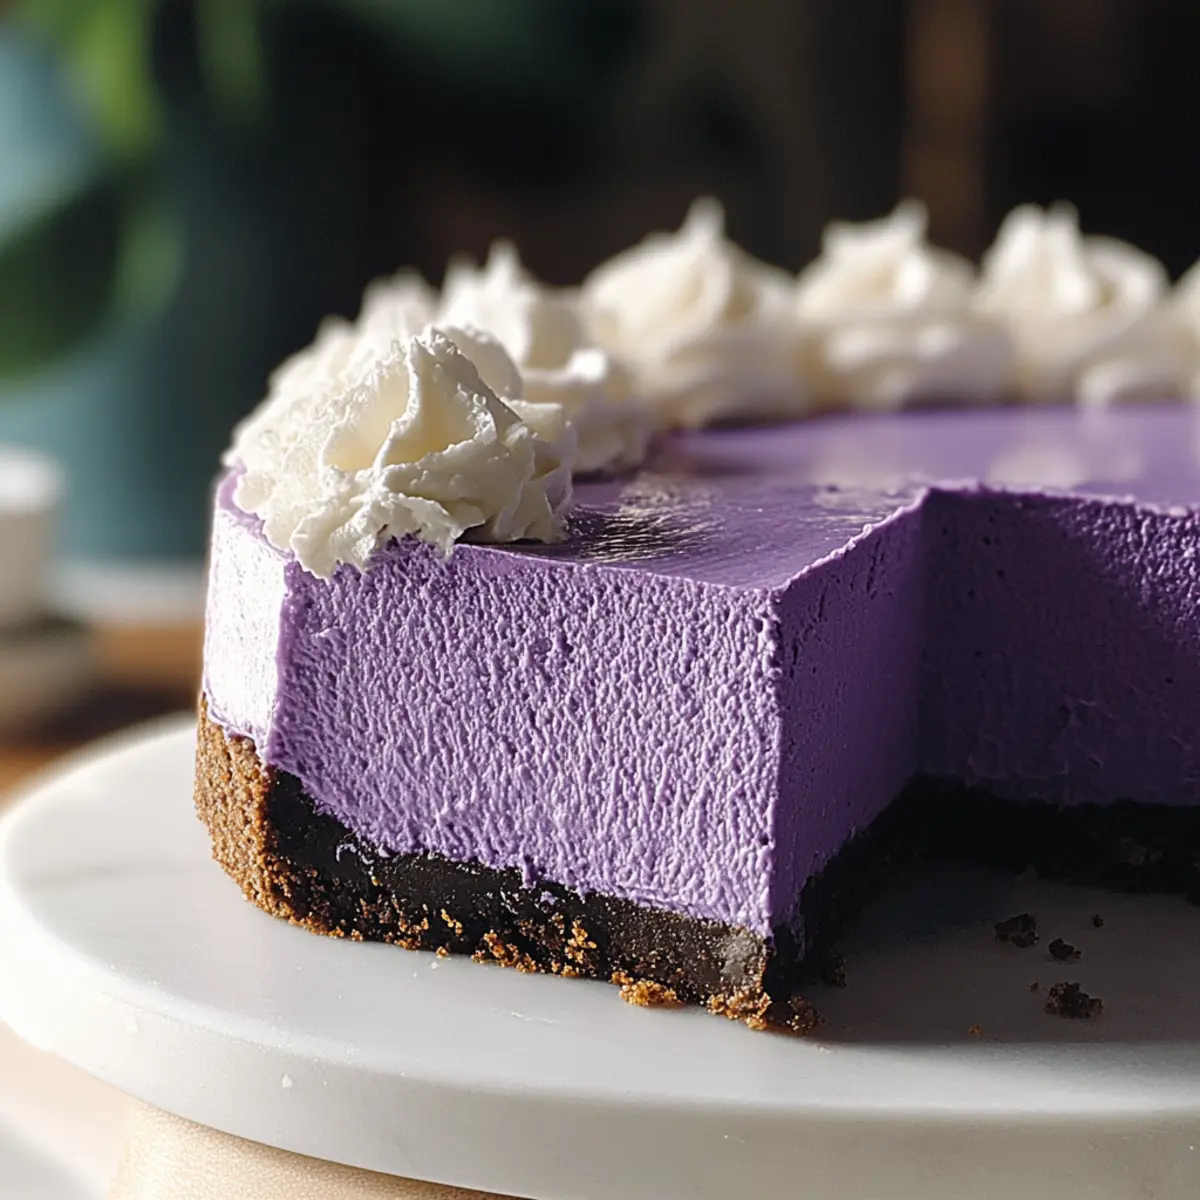
Visually Stunning: Its vibrant violet hue makes it a striking centerpiece at any gathering, guaranteed to impress your guests.
Simple Preparation: Easily whip this dessert together using straightforward techniques that even beginner bakers can master!
Make-Ahead Convenience: This cheesecake is perfect for prepping in advance, leaving you free to enjoy the celebration.
Crowd-Pleasing Delight: No one can resist a slice of this creamy decadence; it’s a fantastic dessert for all ages!
For similar delicious recipes, check out my Chicken Enchiladas for a complete meal that pairs well with your ube cheesecake!
Homemade Ube Cheesecake Ingredients
• Here’s everything you need to create this delightful Filipino dessert!
For the Cheesecake Filling
- Cream Cheese – Provides the rich, creamy base for a luscious texture.
- Ube Halaya (Purple Yam Jam) – Adds that unique earthy sweetness and gorgeous violet hue.
- Granulated Sugar – Balances the tangy flavor of the cream cheese perfectly.
- Eggs – Binds the filling together while ensuring softness and silkiness.
- Sour Cream – Lightens the texture and adds a pleasant tanginess.
- Heavy Cream – Creates a luxurious, smooth finishing touch.
- Vanilla Extract – Enhances and rounds out the flavors beautifully.
For the Crust
- Graham Cracker Crumbs – Forms a delightful crunchy base that complements the creamy filling.
- Unsalted Butter – Binds the crumbs together when melted, providing a perfect texture.
- Salt – Sharpens and balances all the flavors for an elevated taste experience.
With these ingredients for your Homemade Ube Cheesecake, you’re well on your way to crafting a dessert that’s not just beautiful, but deliciously satisfying!
Step‑by‑Step Instructions for Homemade Ube Cheesecake
Step 1: Preheat Oven
Begin by preheating your oven to 325°F (160°C). While it warms up, prepare a 9-inch springform pan by lining the bottom with parchment paper and greasing the sides. This step helps prevent sticking later, ensuring a smooth release when you savor your delightful Homemade Ube Cheesecake.
Step 2: Prepare Crust
In a medium bowl, combine graham cracker crumbs with melted unsalted butter and a pinch of salt. Use a fork or your fingers to mix until the crumbs are evenly coated and resemble wet sand. Press the mixture firmly into the bottom of the springform pan. Bake the crust for about 10 minutes, until it’s slightly golden, then let it cool.
Step 3: Wrap Pan
To protect your cheesecake from water during the baking process, wrap the outside of the springform pan with aluminum foil. Make sure to cover it well and place the wrapped pan in a larger baking tray. This creates a water bath, which helps the cheesecake bake evenly and stay moist.
Step 4: Mix Cheesecake Filling
In a large bowl, use an electric mixer to beat the cream cheese until it’s super smooth and creamy. Gradually add granulated sugar, mixing until fluffy. Next, incorporate the sour cream, heavy cream, and vanilla extract. Gently fold in the ube halaya, followed by the eggs one at a time, mixing thoroughly on low speed until everything is well combined.
Step 5: Bake Cheesecake
Pour the luscious ube cheesecake batter over your cooled crust, tapping the pan lightly to release any air bubbles. Slide the baking tray with the springform pan into the preheated oven and bake for 50-60 minutes. The edges should be set while the center jiggles slightly when done, indicating the perfect creamy texture.
Step 6: Cooling Process
Once the baking time is up, turn off the oven and crack the door open, allowing the cheesecake to cool inside for an hour. This gradual cooling helps prevent cracks. After an hour, transfer the cheesecake to the fridge and chill it for at least 4 hours, or ideally overnight, to let the flavors meld beautifully.
Step 7: Serve
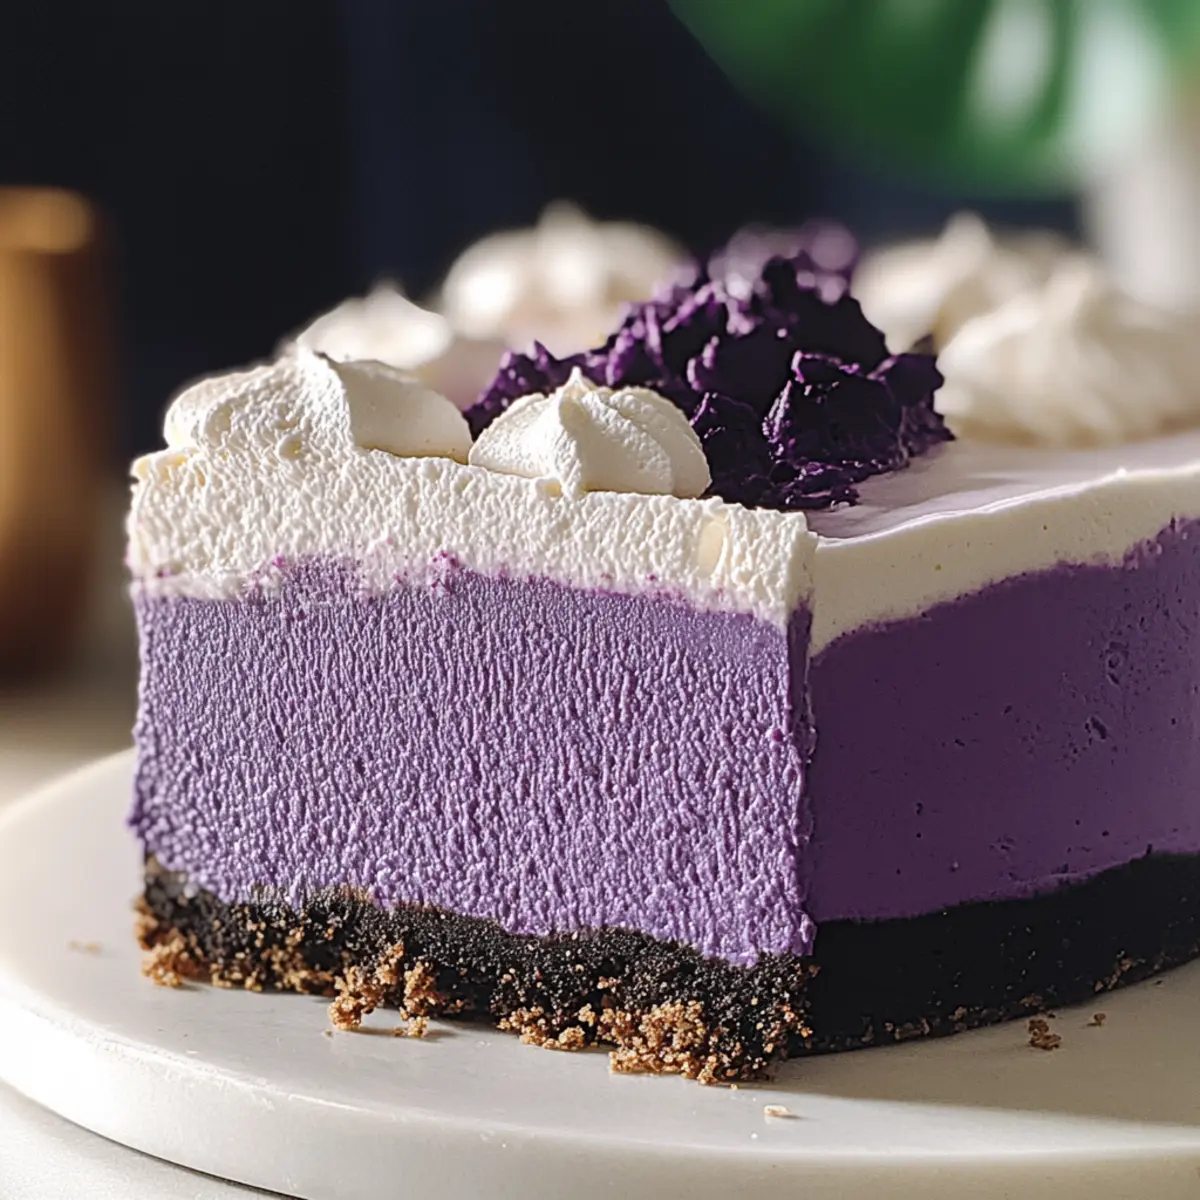
When you’re ready to serve, carefully run a sharp knife around the edge of the springform pan before releasing it. For clean slices of your Homemade Ube Cheesecake, dip the knife in warm water before each cut. Serve chilled, garnishing with whipped cream or coconut flakes if desired for an extra touch of delight.
Make Ahead Options
These Homemade Ube Cheesecakes are fantastic for meal prep, saving you time on busy days. You can prepare the crust and filling up to 24 hours in advance. Simply mix the graham cracker crust and press it into the pan, then store the crust covered at room temperature. For the filling, you can blend the cheesecake ingredients (cream cheese, ube halaya, eggs, and others) and refrigerate it until you’re ready to bake. When you’re set to finish the recipe, just pour the chilled filling over the crust and bake as directed. This approach keeps your dessert just as delicious while freeing up time for celebrations!
Storage Tips for Homemade Ube Cheesecake
Fridge: Store your ube cheesecake covered in the refrigerator for up to 5 days to keep it fresh and flavorful.
Freezer: For longer storage, freeze your cheesecake for up to 2 months. Wrap it tightly in plastic wrap and then in aluminum foil to prevent freezer burn.
Thawing: Thaw the frozen cheesecake overnight in the fridge before serving for the best texture and taste.
Reheating: Serve chilled for a refreshing dessert experience, but avoid reheating as this can affect the lovely creaminess of your homemade ube cheesecake.
Expert Tips for Homemade Ube Cheesecake
-
Springform Pan Essential: Using a springform pan is key for easy release and a beautifully presented cheesecake. Make sure you line it properly!
-
Watch the Bake Time: Avoid overbaking the cheesecake; the center should jiggle slightly when done. A slight jiggle means creamy perfection!
-
Slow Cooling: Allow the cheesecake to cool slowly in the oven to prevent cracks on the surface. This helps maintain its smooth texture.
-
Perfect Slicing: Dip your knife in warm water before cutting the cheesecake. This ensures clean, beautiful slices of your Homemade Ube Cheesecake.
-
Fresh Toppings: Keep any toppings fresh and added right before serving to enhance flavor and presentation. This keeps your dessert looking vibrant!
Homemade Ube Cheesecake Variations
Feel free to explore the delightful world of customization and add your personal touch to this luscious cheesecake!
-
Dairy-Free: Use cashew cream instead of cream cheese for a rich, nutty flavor while keeping it cruelty-free. Cashew cream can yield an equally creamy texture, making your cheesecake just as irresistible.
-
Gluten-Free: Swap out graham cracker crumbs for crushed gluten-free cookies to create a deliciously crunchy crust that fits all dietary needs. Your gluten-free guests will appreciate this thoughtful twist!
-
Vegan: Replace the eggs with silken tofu and use coconut cream in place of heavy cream. The result is a chic, plant-based cheesecake that remains just as creamy and delectable.
-
Chocolate Swirl: Add a rich chocolate ganache swirl to the cheesecake batter before baking for an indulgent chocolate version. The interplay of ube and chocolate is simply divine!
-
Tropical Twist: Top with fresh mango slices or a passion fruit glaze to add a refreshing tropical flair. This tropical accent brightens up the flavor while adding an elegant touch.
-
Extra Sweetness: Drizzle with sweetened condensed milk or a luscious caramel sauce just before serving for a decadent finish everyone will love. It amplifies the indulgence in every bite!
-
Nutty Crunch: Sprinkle some toasted coconut flakes or crushed nuts on top for texture and flavor contrast. The added crunch makes each slice exciting and inviting.
For more enticing recipes, don’t miss out on my delicious Chicken Enchiladas that make for a wholesome meal alongside your cheesecake! Enjoy the creative journey of making this dessert truly yours!
What to Serve with Homemade Ube Cheesecake
Indulging in a slice of this sweet Filipino delight is just the beginning—let’s create a meal that delights every palate!
- Fresh Fruit Salad: A medley of tropical fruits, like mango and pineapple, adds a refreshing burst that complements the creamy ube.
- Coconut Macaroons: Chewy and sweet, these treats echo the island flavors of ube, rounding out your dessert table beautifully.
For a delicious break, serve with a warm cup of jasmine tea to cleanse the palate between bites.
- Sweetened Condensed Milk Drizzle: A simple topping that adds extra sweetness and a creamy finish, enhancing the dessert experience.
- Chocolate Ganache: A rich chocolate layer can balance the sweetness of ube, perfect for a decadent pairing.
Finish your meal with a refreshing glass of pandan-infused lemonade for a tropical touch that brightens your dessert experience!
Homemade Ube Cheesecake Recipe FAQs
What type of ube is best for this recipe?
Absolutely! For the best flavor and color, I recommend using ube halaya (purple yam jam), which adds a delightful earthy sweetness and vibrant hue to your Homemade Ube Cheesecake. If you can’t find halaya, you can substitute it with ube powder; just remember to rehydrate it with milk and sugar according to package instructions for optimal results!
How should I store leftover ube cheesecake?
Very! To keep your ube cheesecake fresh, store it covered in the refrigerator for up to 5 days. Make sure to seal it tightly with plastic wrap or place it in an airtight container. This will prevent it from absorbing any other odors in the fridge and maintain its yummy flavor.
Can I freeze ube cheesecake, and how should I do it?
Yes! You can freeze your Homemade Ube Cheesecake for up to 2 months. Here’s what to do: allow the cheesecake to cool completely, then wrap it tightly in plastic wrap. Next, cover it in aluminum foil to guard against freezer burn. When you’re ready to enjoy, simply thaw it overnight in the fridge for the best flavor and texture.
What if my cheesecake cracks while baking?
Oh no! If your cheesecake cracks, don’t worry—this can happen, especially with traditional cheesecakes. To prevent this in the first place, make sure to cool the cheesecake slowly in the oven after baking. If it does crack, you can disguise it by topping it with whipped cream or fresh fruit, or simply serve it with a scoop of ice cream—no one will mind!
Is this recipe suitable for those with allergies?
Certainly! This ube cheesecake recipe contains dairy and eggs, so it’s not suitable for those with lactose intolerance or egg allergies. For a lighter version, you can substitute sour cream with plain Greek yogurt, and if you’re looking for a dairy-free alternative, consider using vegan cream cheese and almond milk. Always check labels to ensure there are no hidden allergens!
Homemade Ube Cheesecake: A Sweet Filipino Delight Awaits
Ingredients
Equipment
Method
- Preheat your oven to 325°F (160°C) and prepare a 9-inch springform pan by lining the bottom with parchment paper and greasing the sides.
- In a medium bowl, combine graham cracker crumbs with melted unsalted butter and a pinch of salt. Press the mixture into the bottom of the springform pan.
- Wrap the outside of the springform pan with aluminum foil to create a water bath.
- In a large bowl, beat cream cheese until smooth, then mix in granulated sugar, sour cream, heavy cream, and vanilla extract. Fold in ube halaya and eggs.
- Pour the cheesecake batter over the cooled crust and bake for 50-60 minutes.
- After baking, turn off the oven and crack the door open for an hour to cool.
- Transfer the cheesecake to the fridge and chill for at least 4 hours, or overnight.
- Run a knife around the edge of the pan before releasing. Serve chilled.
Leave a Reply