
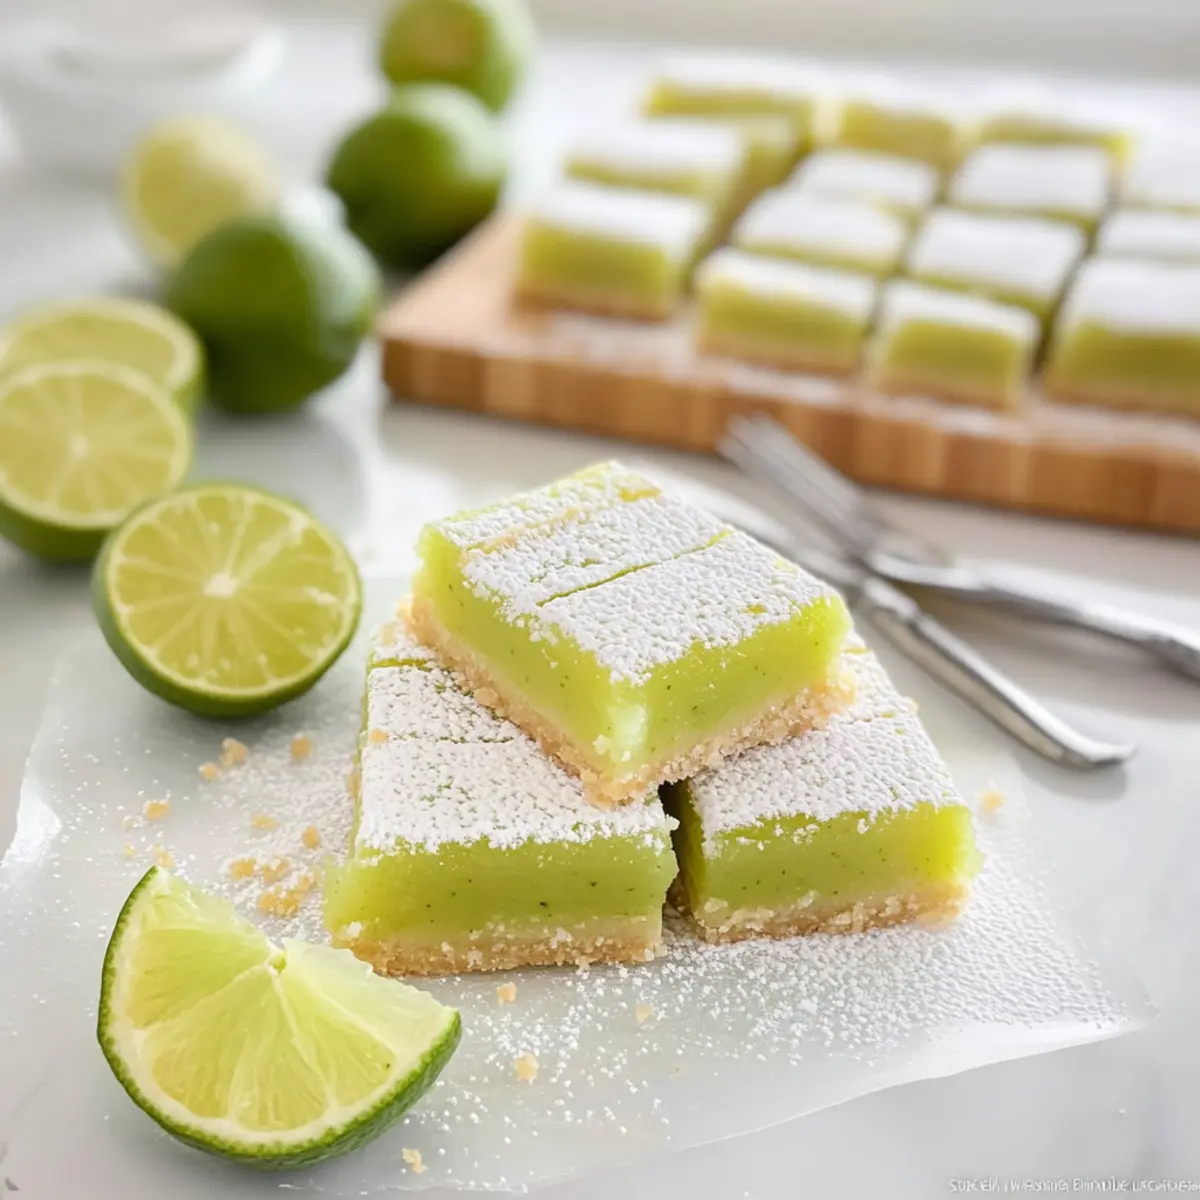
As I sank my teeth into the first slice of these lime bars, a wave of tangy brightness washed over me, lifting my spirits on a warm afternoon. This quick and easy recipe transforms an ordinary moment into a citrusy celebration, pairing a buttery shortbread crust with a creamy lime custard that sings with vibrant zest. Perfect for anyone craving a refreshing dessert, these lime bars are not just a treat; they’re a delightful way to embrace homemade goodness while steering clear of fast food. With just a few simple ingredients and minimal prep time, you’ll be savoring this heavenly combination in no time. Curious about how to whip up this classic twist on a citrus favorite? Let’s get started!
Why Are Lime Bars So Irresistible?
Simplicity, the recipe is easy to follow, perfect for both novice and experienced bakers. Zesty Flavor shines in every bite, as the lime’s tartness beautifully balances with the sweet shortbread crust. Versatile Options let you experiment with different citrus, or even add a touch of coconut for extra texture. Crowd-Pleasing Delight, these bars are sure to impress at any gathering, bringing a ray of sunshine to gatherings or quiet afternoons. Time-Saving Magic means you can whip up this dessert in under an hour, leaving you more time to indulge in your creation. Enjoy these vibrant lime bars alongside a cup of tea, or for an extra treat, check out my Fish Tacos Lime for a complete menu!
Lime Bars Ingredients
For the Shortbread Crust
- All-Purpose Flour – Provides the essential structure for the crust; if gluten-free, replace with a gluten-free flour blend.
- Powdered Sugar – Adds the right amount of sweetness to enhance the crust’s texture; stick to this ingredient for the best results.
- Salt – Elevates overall flavor; consider using sea salt for a gourmet twist.
- Butter – Ensures a rich and flaky crust; margarine can be used as a dairy-free alternative.
For the Lime Filling
- Granulated Sugar – Sweetens the tangy filling with a delightful balance; you can substitute with coconut sugar for a lower glycemic option.
- Eggs – Provides richness and structure to the filling; egg replacers can work for vegan versions if needed.
- Lime Zest – Infuses the bars with aromatic citrus notes; feel free to swap in zest from other citrus fruits for a unique flavor twist.
- Fresh Lime Juice – The star of the show, giving the bars their signature tartness; while bottled juice is an option, fresh juice is highly recommended for optimal flavor.
- Food Coloring (optional) – Adds a vibrant hue for visual appeal; omit if you prefer a more natural appearance.
Step‑by‑Step Instructions for Lime Bars
Step 1: Preheat and Prepare the Baking Dish
Begin by preheating your oven to 350°F (175°C). While it warms up, prepare an 11×7-inch baking dish by either greasing it with butter or lining it with parchment paper, allowing some overhang. This will make it easier to lift out your tangy lime bars later for cutting.
Step 2: Make the Crust
In a food processor, combine all-purpose flour, powdered sugar, salt, and chilled butter. Pulse the mixture until it resembles fine crumbs, about 30 seconds. Once combined, press the mixture evenly into the base of your prepared dish, ensuring it covers the entire surface. Bake in the preheated oven for 18-20 minutes until the crust is lightly golden and firm.
Step 3: Prepare the Filling
While the crust is baking, whisk together granulated sugar and flour in a mixing bowl until well combined. Gradually add in your eggs, whisking after each addition to achieve a smooth consistency. Once mixed, stir in the lime zest and fresh lime juice, along with any optional food coloring if desired, until the filling is fully blended and silky.
Step 4: Bake the Filling
When the crust is ready, remove it from the oven and immediately pour the prepared lime filling over the hot crust. Smooth the surface with a spatula for even baking. Return the dish to the oven and bake for an additional 18-20 minutes, or until the filling is set and firm to the touch (it should not jiggle).
Step 5: Cool and Chill
Allow your lime bars to cool in the baking dish for about 1 hour at room temperature. After cooling, refrigerate them for 1-2 hours to finish setting. This step is crucial for enhancing the flavors and achieving the perfect texture in your creamy lime bars.
Step 6: Cut and Serve
Once cooled and set, carefully lift the lime bars out of the dish using the parchment overhang. Transfer to a cutting board and slice into squares or rectangles as desired. Dust with powdered sugar for an appealing finish, serve chilled, and enjoy this refreshing citrus dessert!
How to Store and Freeze Lime Bars
Fridge: Store leftover lime bars in an airtight container in the refrigerator for up to 7 days to keep them fresh and delicious.
Freezer: For longer storage, freeze lime bars wrapped tightly in plastic wrap and then aluminum foil. They can last for up to 3 months.
Thawing: To enjoy frozen lime bars, thaw them in the refrigerator overnight before serving. This allows the texture to return to its creamy best.
Reheating: If served cold, you can enjoy lime bars straight from the fridge, but for a warm treat, microwave for a few seconds, ensuring they stay moist.
Helpful Tricks for Lime Bars
-
Proper Egg Whisking: Ensure you whisk the eggs thoroughly; well-aerated eggs create a lighter, fluffier filling for your lime bars.
-
Smooth Filling: Take the time to whisk the filling until completely smooth. This prevents any lumps, resulting in a creamy custard texture.
-
Don’t Overbake: Watch the baking time closely. Remove the bars when the filling is set but still slightly jiggly—the perfect texture will firm up as they cool.
-
Chill Time: Be patient and allow the bars to chill for at least 1-2 hours. This step enhances the flavors and makes cutting easier.
-
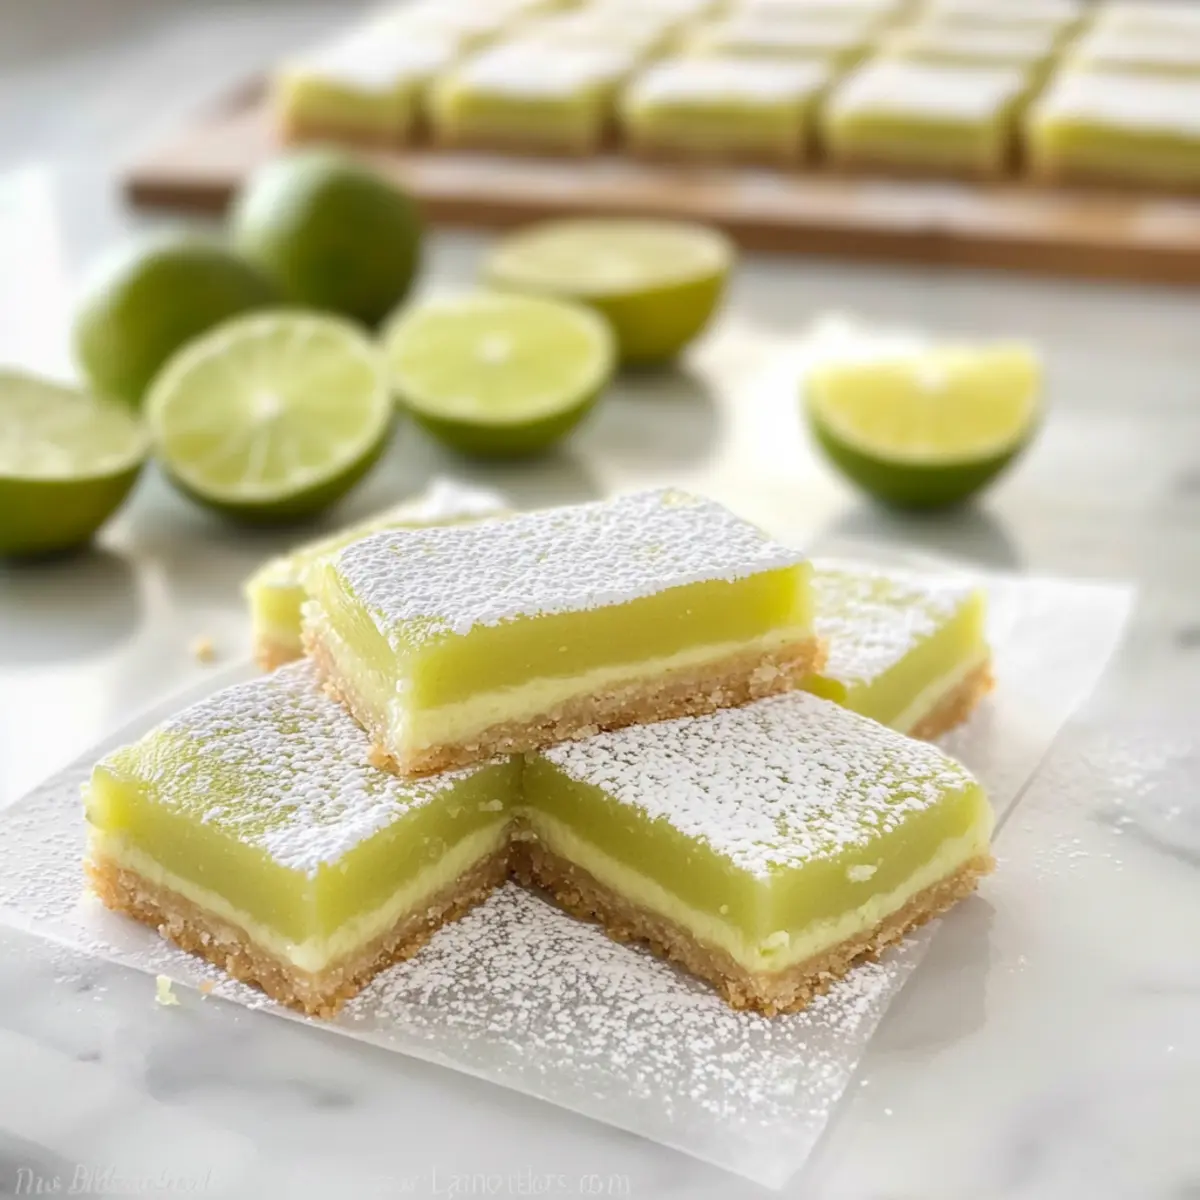
Cutting Tip: Use a sharp knife and wipe it clean between cuts to achieve neat slices of your lime bars, showcasing their beautiful layers.
What to Serve with Tangy Lime Bars?
Imagine enjoying the refreshing zing of lime bars paired perfectly with complementary delights that elevate your dessert experience.
-
Whipped Cream: A dollop of lightly sweetened whipped cream adds a luscious creaminess that balances the tangy lime.
-
Fresh Berries: A medley of raspberries, blueberries, and strawberries brings vibrant color and a sweet-tart contrast, awakening the taste buds.
-
Mint Tea: The soothing, herbal notes of mint tea make for a refreshing complement that enhances the citrusy zing in every bite.
-
Coconut Ice Cream: Creamy coconut ice cream adds exotic sweetness and a rich texture, making each taste a tropical escape.
-
Citrus Salad: A refreshing citrus salad with oranges and grapefruits introduces a bright, juicy sweetness that harmonizes beautifully with the lime bars.
-
Sparkling Water: Serve with mint-infused sparkling water for a bubbly, thirst-quenching contrast that keeps the focus on the zesty flavors.
-
Cheesecake Bites: Mini cheesecake bites can provide a sweet, creamy counterpoint that contrasts well with the tangy lime, making for delightful bite-sized indulgence.
-
Chocolate Dipped Strawberries: The sweet, rich chocolate pairs gorgeously with the tart lime, igniting an explosion of flavors that dance on your palate.
Make Ahead Options
These zesty lime bars are perfect for busy home cooks looking to save time without sacrificing taste! You can prepare the shortbread crust up to 24 hours in advance—just bake it, allow it to cool, then wrap it tightly in plastic wrap and store it at room temperature. The filling can be mixed a few hours ahead (up to 3 hours), but avoid adding the lime juice until you’re ready to pour it over the crust, as this helps maintain its bright flavor. When you’re ready to serve, simply pour the filling over the crust and bake as instructed. This way, you’ll have delicious lime bars ready to impress with minimal last-minute effort!
Lime Bars Variations & Substitutions
Explore the many ways you can personalize these delicious lime bars to match your tastes or dietary needs!
-
Citrus Swap:
Try using lemon or grapefruit juice instead of lime for a completely different citrus twist. Each fruit brings its own unique flavor profile that can change the dessert’s character beautifully. -
Gluten-Free:
Replace all-purpose flour with a gluten-free flour blend to make these bars celiac-friendly. You won’t lose the luscious texture, and the zesty flavor will still shine through! -
Dairy-Free:
Substitute butter with margarine or vegan butter for a dairy-free crust. This ensures everyone can enjoy these tangy treats without sacrificing flavor or texture. -
Low-Sugar:
Consider using coconut sugar or a sugar substitute like stevia to reduce the sweetness in the filling while maintaining the zing of lime. Just remember to adjust according to the sweetness level of your chosen option. -
Coconut Add-In:
Mix in some shredded coconut to the filling or crust for added texture and a hint of tropical flair. This twist can transform your classic lime bars into a delightful coconut-lime fusion. -
Extra Zesty:
If you’re a lime lover, increase the amount of lime zest in the filling for a more pronounced citrus punch. The aroma and flavor will elevate the experience! -
Chili Kick:
For a spicy twist, add a pinch of cayenne pepper to the filling. This unexpected heat will contrast beautifully with the sweetness, creating an exquisite flavor profile that surprises the palate. -
Nutty Crunch:
Toss in crushed nuts like almonds or pecans into the crust for a delightful crunch. The nuttiness pairs wonderfully with the zesty custard and adds depth to each bite.
As you explore these variations, you might also like to pair your lime bars with something refreshing, like a scoop of ice cream or serve them alongside my Oatmeal Crumble Bars for a delightful dessert spread! Enjoy the journey of experimenting in your kitchen!
Lime Bars Recipe FAQs
What type of limes should I use for the best flavor?
Absolutely! Fresh, ripe limes are key for the best flavor. Look for limes that are firm, slightly heavy for their size, and have a vibrant green color. Avoid any limes with dark spots or wrinkled skin, as these can indicate overripeness.
How should I store leftover lime bars?
Store your leftover lime bars in an airtight container in the refrigerator. They will remain fresh and delicious for up to 7 days. If you notice any changes in texture, you might want to enjoy them sooner!
Can I freeze lime bars for later enjoyment?
Yes, you can! To freeze lime bars, wrap them tightly in plastic wrap, then place them in an airtight container or a heavy-duty freezer bag. They can be stored in the freezer for up to 3 months without losing their delightful flavor.
What should I do if my lime filling doesn’t set properly?
If your lime filling doesn’t set, it may need a little extra baking time. Make sure to check your oven temperature and bake the bars until the center is firm—firm to the touch but with a slight jiggle. Allowing them to cool completely will also help them firm up. Skip the temptation to cut too early!
Are lime bars safe for pets or individuals with citrus allergies?
Lime bars contain lime juice and zest, both of which can be harmful to pets, especially dogs. As for allergy considerations, always check with your guests for specific allergies, as the egg and citrus components can trigger reactions in some individuals. If you’re unsure, keeping them off the dessert menu might be wise!
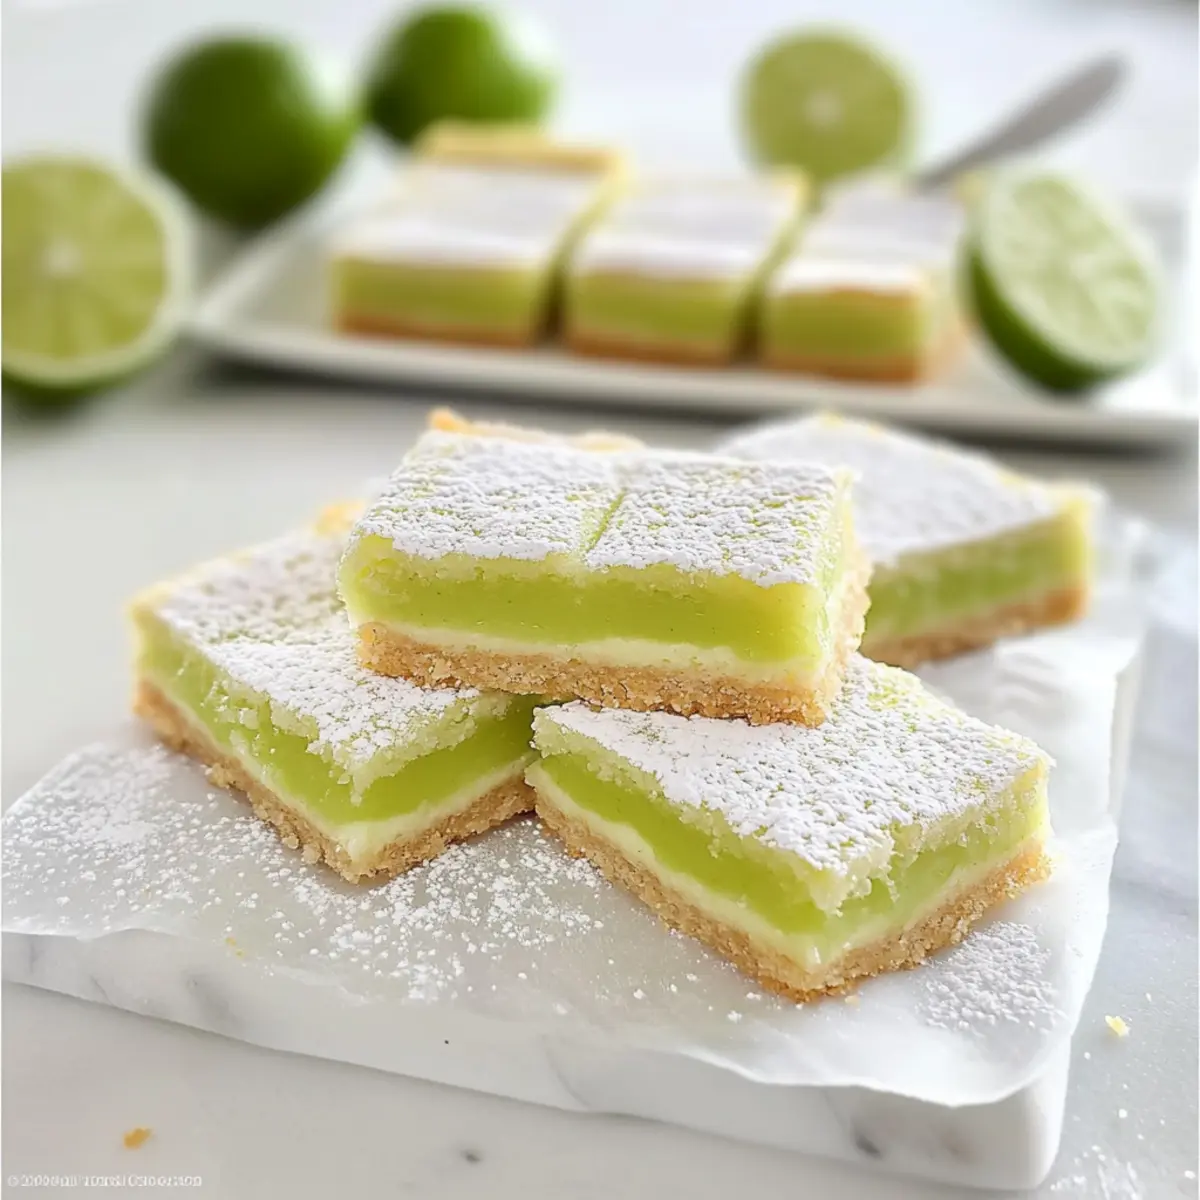
Zesty Lime Bars That Will Brighten Your Day
Ingredients
Equipment
Method
- Preheat your oven to 350°F (175°C) and prepare an 11x7-inch baking dish by greasing it with butter or lining it with parchment paper.
- In a food processor, combine flour, powdered sugar, salt, and butter. Pulse until it resembles fine crumbs. Press into the prepared dish and bake for 18-20 minutes until golden and firm.
- Whisk together granulated sugar and flour in a mixing bowl. Gradually add eggs, whisking after each addition. Stir in lime zest and fresh lime juice until blended.
- Pour the lime filling over the hot crust and smooth the surface with a spatula. Bake for an additional 18-20 minutes until the filling is set and firm.
- Let cool in the dish for 1 hour, then refrigerate for 1-2 hours to finish setting.
- Lift the bars out using the parchment overhang, transfer to a cutting board, and slice into squares. Dust with powdered sugar before serving.
Leave a Reply