
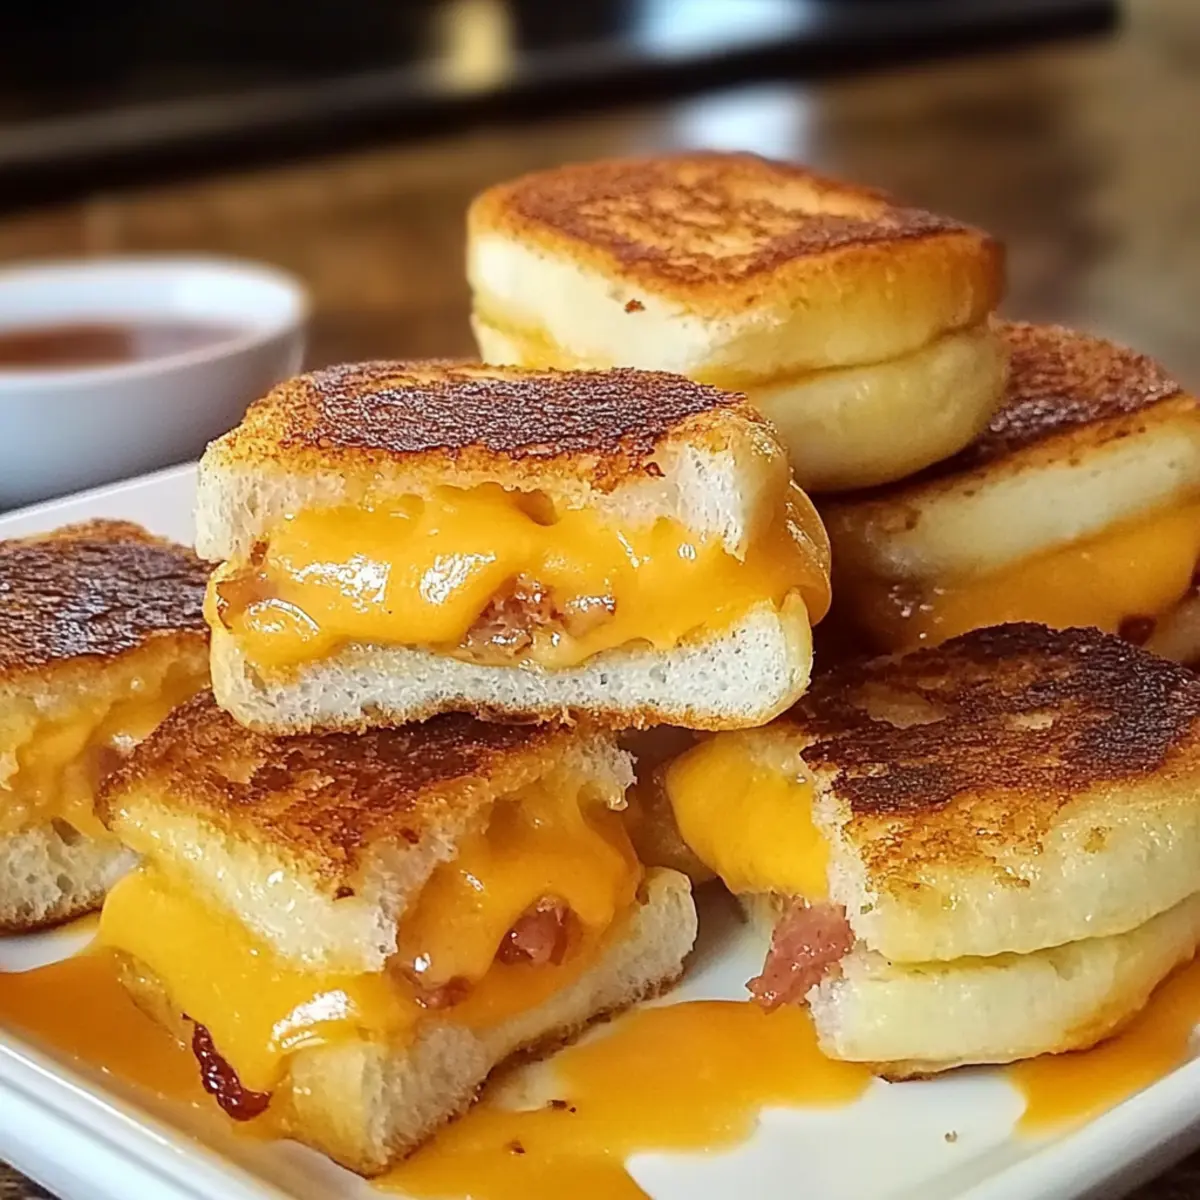
As I flipped through my favorite recipe book, I stumbled upon a nostalgic gem that took me straight back to carefree childhood afternoons: Mini Grilled Cheese Hawaiian Rolls. These little beauties are a delightful blend of sweet Hawaiian rolls and melty cheese, making them irresistibly comforting and oh-so-easy to whip up. Perfect as quick appetizers for parties or satisfying snacks for hungry kiddos, this recipe turns classic comfort food into a fun, bite-sized treat. Plus, their crowd-pleasing nature means they’re bound to be a hit at any gathering. Ready to indulge in these warm, cheesy morsels? Let’s dive into the details that will make you the star of your next get-together!
What makes these rolls so irresistible?
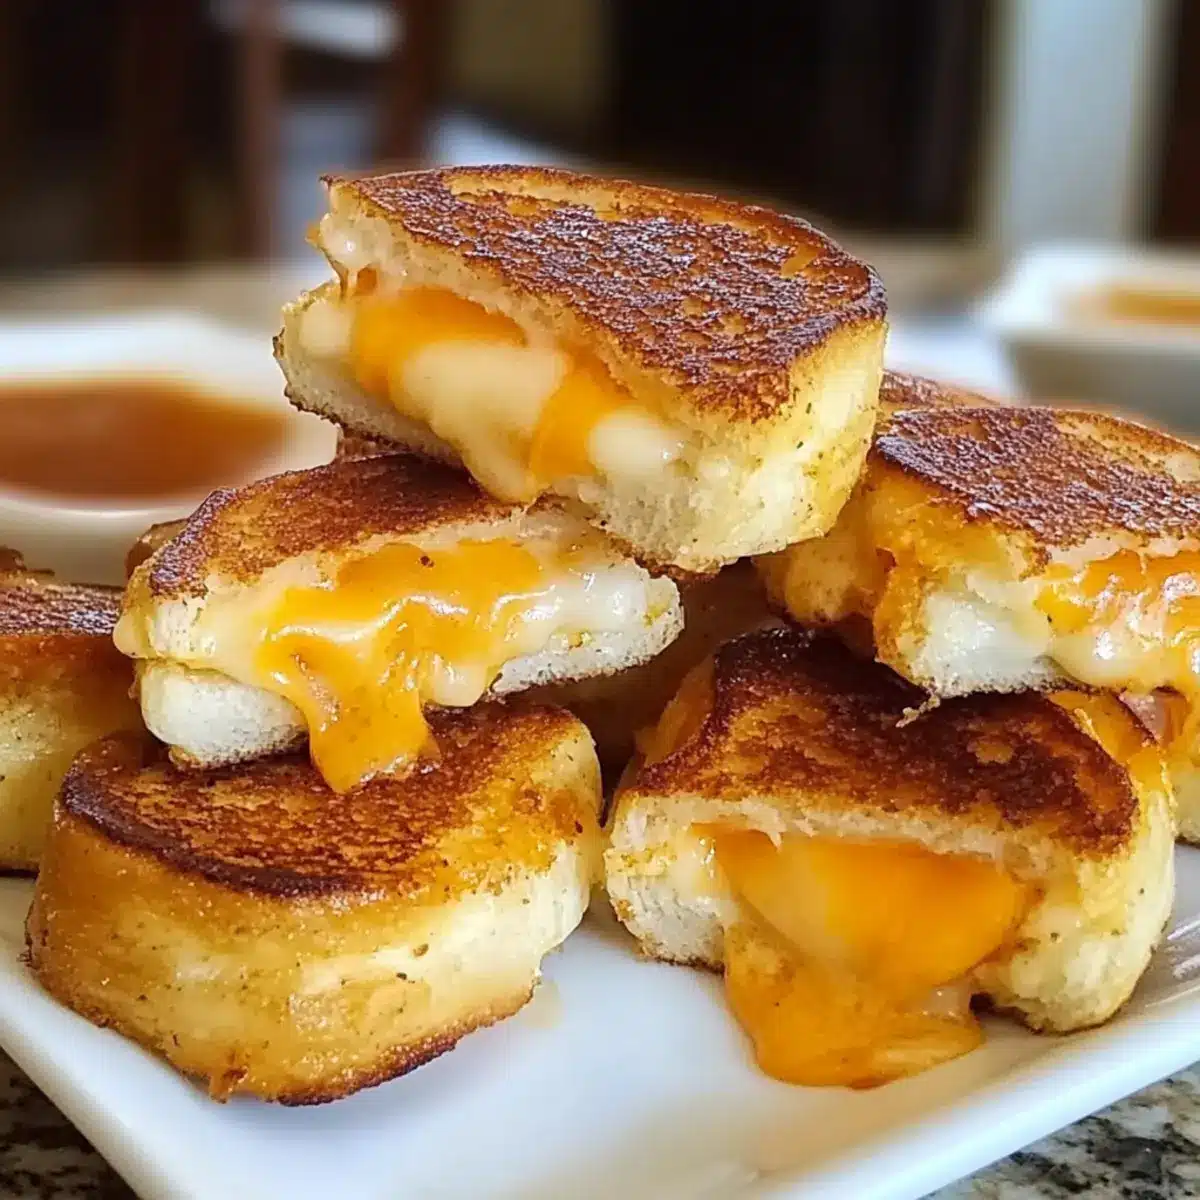
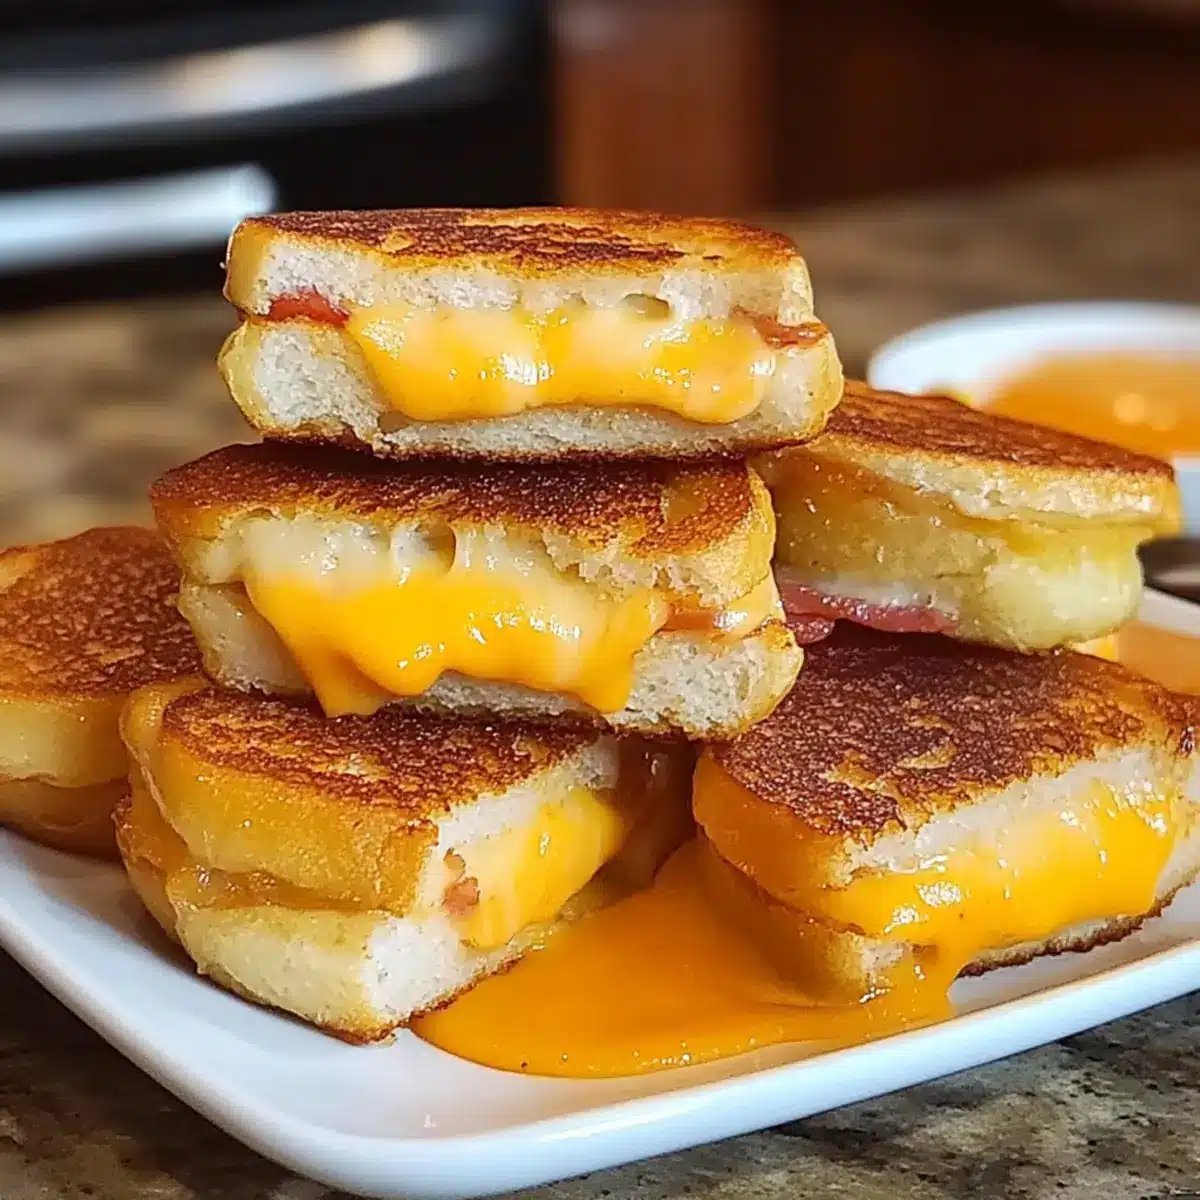
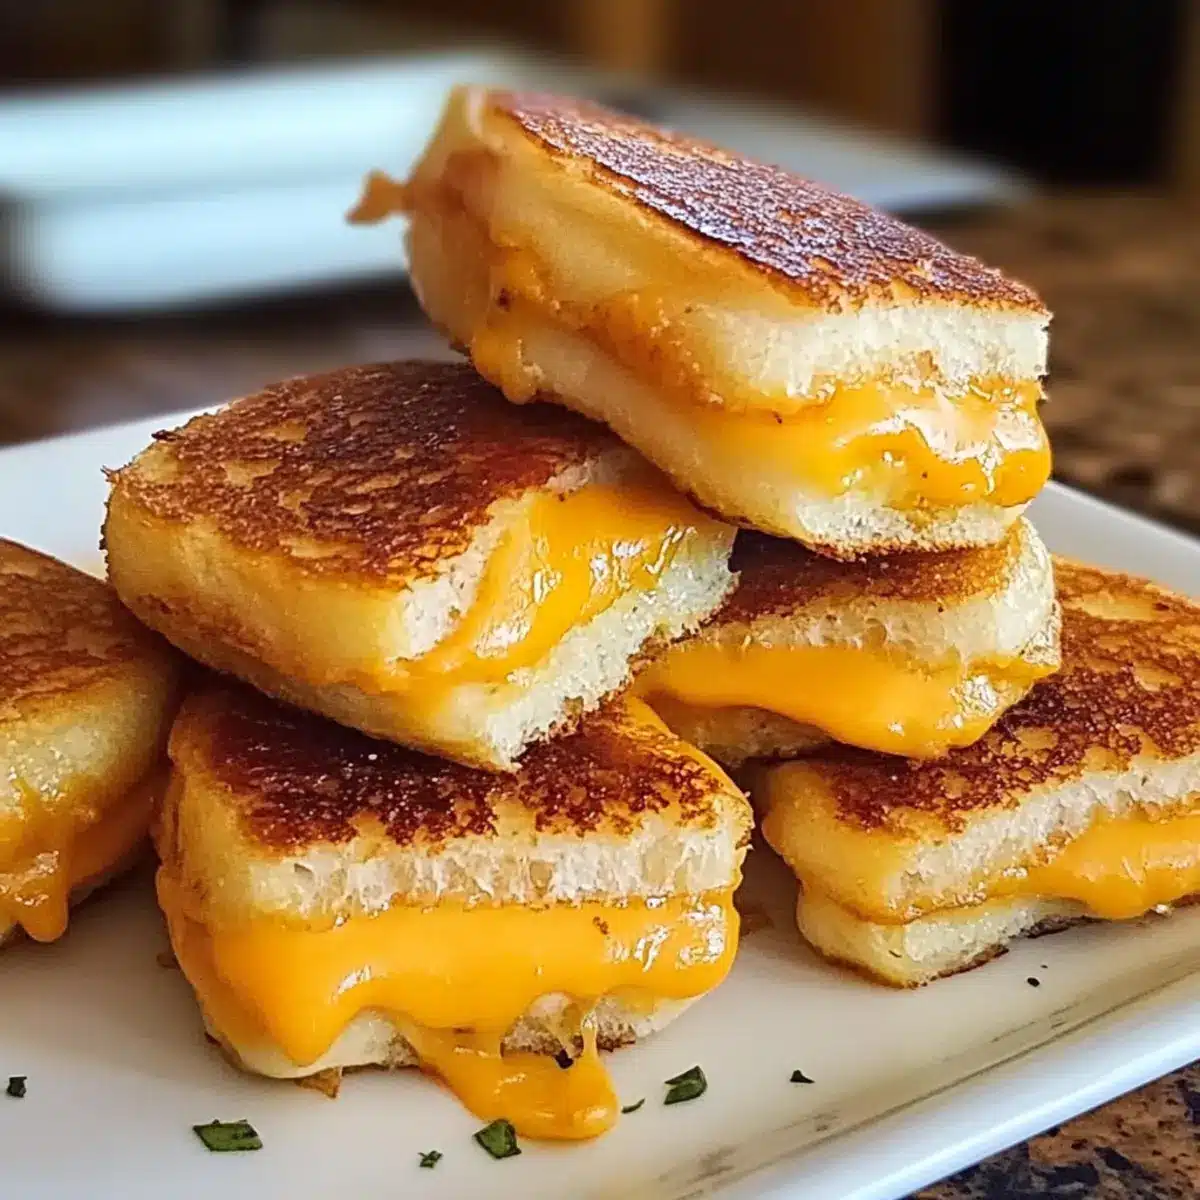
Comforting, Cozy Bites: These Mini Grilled Cheese Hawaiian Rolls fuse the sweetness of Hawaiian bread with gooey cheese, delivering warmth and nostalgia with every bite.
Quick & Easy: They come together in just a few simple steps, making this recipe perfect for busy weeknights or last-minute gatherings.
Crowd-Pleaser: These delightful morsels are sure to impress both family and friends, making them the ultimate addition to any party platter.
Versatile Option: Feel free to mix and match cheeses or even toss in crispy bacon for an extra indulgent touch! Pair them with a fresh salad or a bowl of homemade tomato soup, and you’ve got a meal everyone will love.
Make-Ahead Convenience: Assemble these rolls up to a day in advance and pop them in the oven right before your guests arrive for a stress-free entertaining experience!
Mini Grilled Cheese Hawaiian Rolls Ingredients
Get ready to whip up these delightful bites with the perfect balance of sweet and savory!
For the Rolls
- Hawaiian Rolls – Soft and sweet, they create a comforting canvas for the cheesy filling.
- Cheese (Cheddar, Mozzarella, Swiss, Provolone) – A blend provides gooey goodness; add pepper jack for a spicy twist!
Optional Additions
- Turkey Bacon/Beef Bacon – Adds satisfying meaty flavor without overshadowing the cheese; great for a non-pork option.
For the Butter Mixture
- Butter – Essential for brushing the tops to achieve that golden, crispy crust.
- Garlic Powder – Elevates the flavor with a subtle kick.
- Onion Powder – Adds depth to the seasoning; perfect for enhancing the overall taste.
- Dried Herbs – Use your favorites for extra flavor in the butter; Italian seasoning works wonderfully.
With these ingredients, your Mini Grilled Cheese Hawaiian Rolls will be the talk of the table, delivering comfort food bliss in every bite!
Step‑by‑Step Instructions for Mini Grilled Cheese Hawaiian Rolls
Step 1: Preheat the Oven
Begin by preheating your oven to 350°F (175°C), ensuring it’s hot and ready for baking. This step is crucial for achieving that golden, crispy top on your Mini Grilled Cheese Hawaiian Rolls. While the oven warms up, gather your ingredients and prepare your baking sheet.
Step 2: Slice the Rolls
Carefully slice through the entire sheet of Hawaiian rolls horizontally without pulling them apart. This forms a delightful base for your mini grilled cheese. You’ll want to make a clean cut that allows for easy layering of cheese and optional bacon later on.
Step 3: Layer the Cheese
Take the bottom half of the rolls and evenly layer your chosen cheese blend over the surface. Feel free to mix different cheeses like Cheddar, Mozzarella, or Provolone to amp up the gooey goodness. If you’re adding turkey or beef bacon, crumble it on top of the cheese for an extra flavor boost.
Step 4: Replace the Top Half
Once your cheese (and bacon, if using) is layered, gently place the top half of the rolls back onto the cheese-covered bottom. This creates a sandwich-like structure that will hold all that melty goodness as it bakes. Press down slightly to ensure a snug fit, which will prevent cheese from pooling out.
Step 5: Prepare the Butter Mixture
In a small bowl, combine melted butter with garlic powder, onion powder, and your choice of dried herbs. This mixture adds a delicious flavor to the rolls while helping achieve that golden crust. Brush this buttery blend generously over the top of the rolls to savor every bite.
Step 6: Secure the Rolls
Lightly press down on the assembled rolls to ensure they are compact and that the butter mixture seeps into the layers. This step is essential for maximizing the flavor of your Mini Grilled Cheese Hawaiian Rolls as they bake.
Step 7: Bake Covered
Cover the assembled rolls tightly with aluminum foil and place them in the preheated oven. Bake for 12 minutes, allowing the cheese to melt evenly while the rolls soften. The foil will trap heat and moisture, creating that perfect gooey texture without burning the tops.
Step 8: Bake Uncovered
After 12 minutes, carefully remove the foil and continue baking for an additional 6 minutes. This final step will crisp up the top and allow the rolls to turn a beautiful golden brown. Keep an eye on them and consider removing them once they’re bubbly and inviting.
Step 9: Optional Finishing Touch
For a luscious finish, you may brush the tops with a little more melted butter right after baking. This adds shine and enhances the buttery flavor of your Mini Grilled Cheese Hawaiian Rolls, making them even more irresistible.
Step 10: Serve and Enjoy
Let the rolls cool for just a moment before slicing them into individual portions. Serve warm with your favorite dipping sauces like marinara or ranch for a delightful treat that’s perfect for gatherings or family snacks!
Expert Tips for Mini Grilled Cheese Hawaiian Rolls
• Foil Covered Baking: Covering the rolls with foil for part of the baking helps regulate heat and ensures the cheese melts perfectly without burning the tops.
• Cheese Blend: Combine different cheeses, like Cheddar and Mozzarella, for a delightful mix of gooeyness. Avoid using too much cheese to prevent excessive oozing.
• Pre-Assembly Perks: Assemble your Mini Grilled Cheese Hawaiian Rolls a day in advance. Refrigerate them unbaked to make the baking process a breeze before your guests arrive.
• Flavor Boosting: Experiment with various dried herbs in your butter mixture, like Italian seasoning or even a pinch of chili flakes, to enhance the flavor profile of the rolls.
• Leftover Handling: Avoid microwaving leftovers to keep the rolls from becoming tough. Instead, warm them gently in the oven for a crispy texture.
What to Serve with Mini Grilled Cheese Hawaiian Rolls
Pair these delightful bites with sides that perfectly complement their gooey goodness and comforting sweetness.
-
Tomato Soup: The classic pairing brings warmth and a contrasting creaminess, perfect for dunking and savoring with every bite.
-
Crispy Salad: A fresh, crunchy salad with vibrant greens and a zesty vinaigrette adds a refreshing contrast to the richness of the rolls.
-
Fruit Skewers: Bright, juicy fruits like pineapple or strawberries balance the savory flavor with a sweet, refreshing burst of flavor.
-
Pickles: Crispy, tangy pickles provide a delightful crunch that cuts through the creamy cheese, making each bite exciting.
-
Garlic Herb Dip: A creamy dip infused with herbs gives a rich and flavorful addition for dipping that enhances the rolls’ taste.
-
Sparkling Lemonade: This fizzy drink provides a refreshing palate cleanser, making it an ideal companion for the rich, cheesy goodness.
-
Chocolate Chip Cookies: For dessert, soft, warm chocolate chip cookies provide the perfect sweet ending to your comfort meal, echoing the nostalgic theme!
Mini Grilled Cheese Hawaiian Rolls Variations
Feel free to get creative and make these Mini Grilled Cheese Hawaiian Rolls uniquely yours with these delightful twists!
-
Cheese Variety: Swap cheddar for gouda or cream cheese for a creamier, more indulgent experience. The right cheese can elevate the flavor profile in unexpected ways!
-
Veggie Boost: Add fresh spinach or sliced tomatoes for a healthy crunch. These ingredients not only enhance the nutrition but also bring freshness to the cheesy goodness.
-
Spicy Kick: Incorporate jalapeños or a sprinkle of chili flakes into the cheese layer for a flavorful heat that will tantalize your taste buds. Spice lovers will appreciate this zesty addition!
-
Herb Infusion: Change up the dried herbs in the butter mixture. Try basil or thyme for a fragrant twist that complements the cheese beautifully, adding layers of aromatic complexity.
-
Dairy-Free Delight: Substitute regular cheese with a plant-based cheese alternative for a dairy-free version that everyone can enjoy. Many vegan cheeses melt wonderfully!
-
Savory Bacon: Experiment with different types of bacon or sausage, like turkey bacon or crispy prosciutto, to enhance flavor and add delightful crunch. This makes every bite even more satisfying!
-
Sweet Touch: Add a layer of caramelized onions or a drizzle of honey on top of the cheese before baking for a surprising sweet-salty flavor that pairs beautifully with the gouda or swiss cheese.
For more inspiration in your kitchen, consider trying out these delicious recipes: Tortilla Pizza Rolls or Cheesy Chicken Crescent Rolls. The possibilities are endless, making your culinary adventures even more enjoyable!
Make Ahead Options
These Mini Grilled Cheese Hawaiian Rolls are perfect for busy weeknights or party prep! You can assemble the rolls up to 24 hours in advance; simply layer the cheese and optional bacon and keep them covered in the refrigerator. This method not only saves time but also allows the flavors to meld beautifully overnight. When you’re ready to enjoy them, just bake as instructed—cover with foil for the first part of baking to ensure even melting. For best quality, serve them hot after baking, and consider brushing with a bit more melted butter for extra shine and flavor. Enjoy stress-free entertaining with these crowd-pleasers!
How to Store and Freeze Mini Grilled Cheese Hawaiian Rolls
Fridge: Store leftovers in an airtight container for up to 3 days, ensuring they stay fresh and ready to enjoy.
Freezer: For longer storage, freeze the assembled but unbaked rolls for up to a month. Just wrap tightly in plastic wrap before placing in a freezer bag.
Reheating: When ready to enjoy, bake from frozen at 350°F (175°C) for 20-25 minutes or until heated through and golden brown.
Make-Ahead Option: If you plan on making these Mini Grilled Cheese Hawaiian Rolls ahead of time, prepare them one day in advance and refrigerate unbaked. Just pop them in the oven before serving!
Mini Grilled Cheese Hawaiian Rolls Recipe FAQs
What is the best way to select Hawaiian rolls?
Absolutely! Look for Hawaiian rolls that are soft and fresh, ideally free of any dark spots or mold. The rolls should feel slightly squishy when gently pressed, indicating freshness. If you can, choose rolls with a golden-brown exterior, as they tend to have a sweeter flavor, perfect for this Mini Grilled Cheese Hawaiian Rolls recipe.
How should I store leftover Mini Grilled Cheese Hawaiian Rolls?
To keep them fresh, store any leftovers in an airtight container in the fridge for up to 3 days. This way, they maintain their delightful texture. You can also reheat them in the oven at 350°F (175°C) for about 10 minutes to bring back their crispy goodness!
Can I freeze Mini Grilled Cheese Hawaiian Rolls?
Yes, indeed! To freeze unbaked rolls, wrap them tightly in plastic wrap and place them in a freezer bag. They can be stored for up to a month. When you’re ready to enjoy them, bake from frozen at 350°F (175°C) for 20-25 minutes, and they’ll turn out just perfect!
What are some common troubleshooting tips for this recipe?
If you’re finding the cheese is oozing too much during baking, consider reducing the amount of cheese you’re using. Alternatively, ensure the rolls are pressed down lightly; this helps keep the filling from overflowing. Also, if the tops aren’t browning as you’d like, remove the foil during baking a bit earlier to allow for that golden crispy finish.
Are there any dietary considerations I should keep in mind?
Definitely! If you’re making these Mini Grilled Cheese Hawaiian Rolls for kids or guests with allergies, consider using lactose-free cheese or non-dairy alternatives. For those avoiding pork, turkey or beef bacon are excellent non-pork options! Also, ensure to double-check labels to avoid cross-contamination if someone has severe allergies.
Can I make these rolls ahead of time?
Very! Assemble the rolls up to 24 hours before baking them, storing them in the fridge unbaked. This makes it incredibly convenient for entertaining, as you can pop them in the oven right before guests arrive for freshly baked rolls without any last-minute fuss!
Mini Grilled Cheese Hawaiian Rolls for Ultimate Comfort Food
Ingredients
Equipment
Method
- Preheat the oven to 350°F (175°C). Gather your ingredients and prepare your baking sheet.
- Slice through the entire sheet of Hawaiian rolls horizontally.
- Layer your chosen cheese blend evenly over the bottom half of the rolls.
- Gently replace the top half of the rolls.
- Combine the melted butter, garlic powder, onion powder, and dried herbs in a small bowl. Brush generously over the top.
- Lightly press down on the assembled rolls to secure them.
- Cover with aluminum foil and bake for 12 minutes.
- Remove the foil and bake for an additional 6 minutes until golden brown.
- Optionally, brush more melted butter over the tops post-baking.
- Let cool slightly before slicing into individual portions and serve warm.
Leave a Reply