
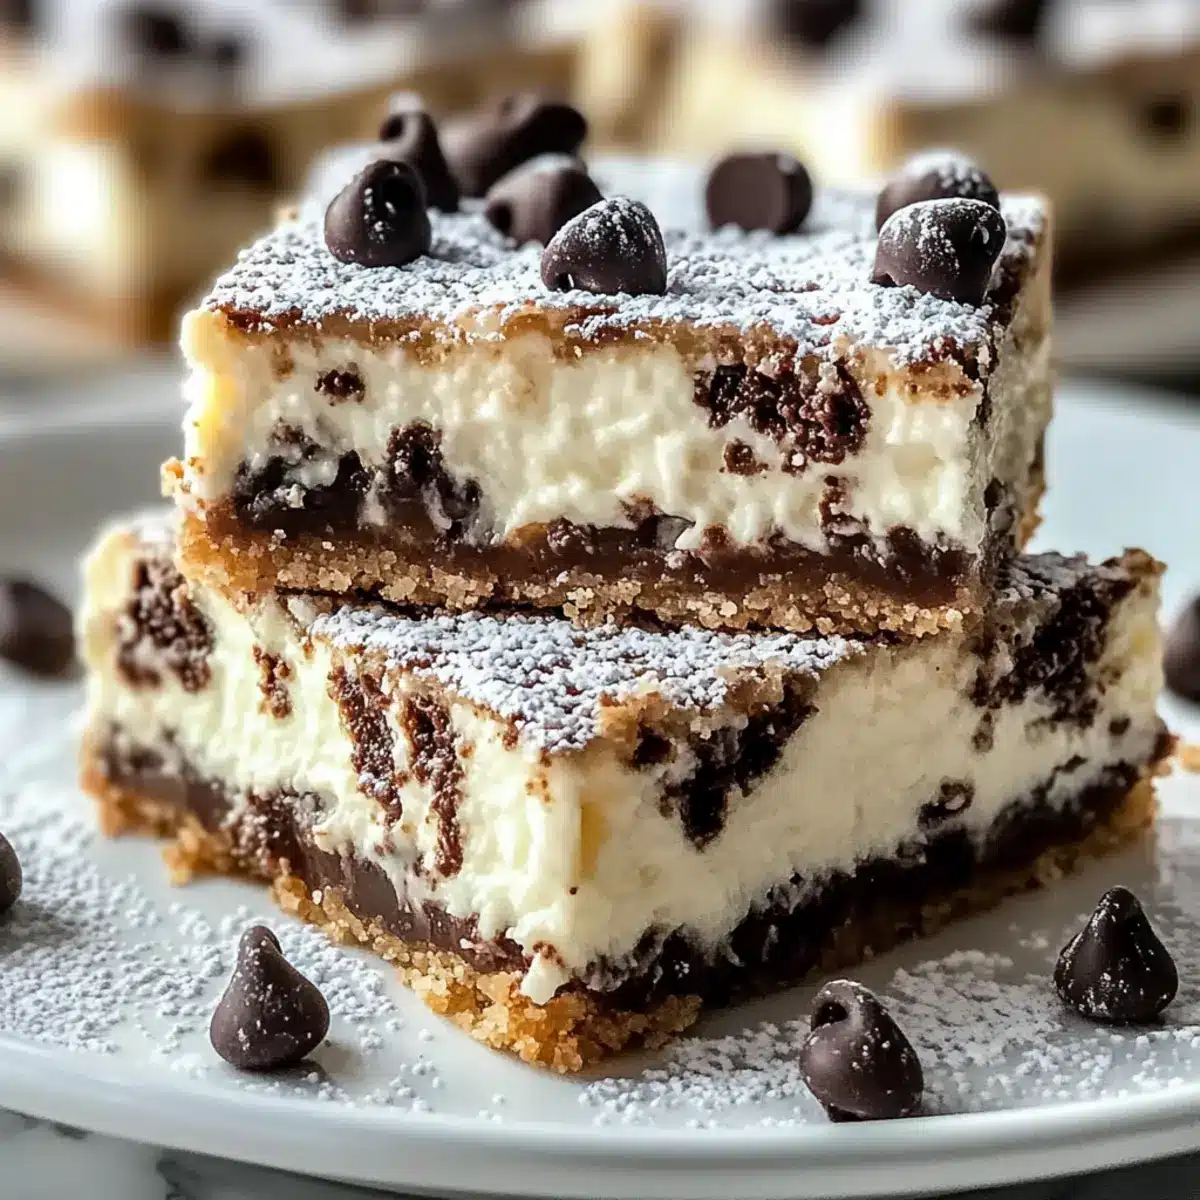
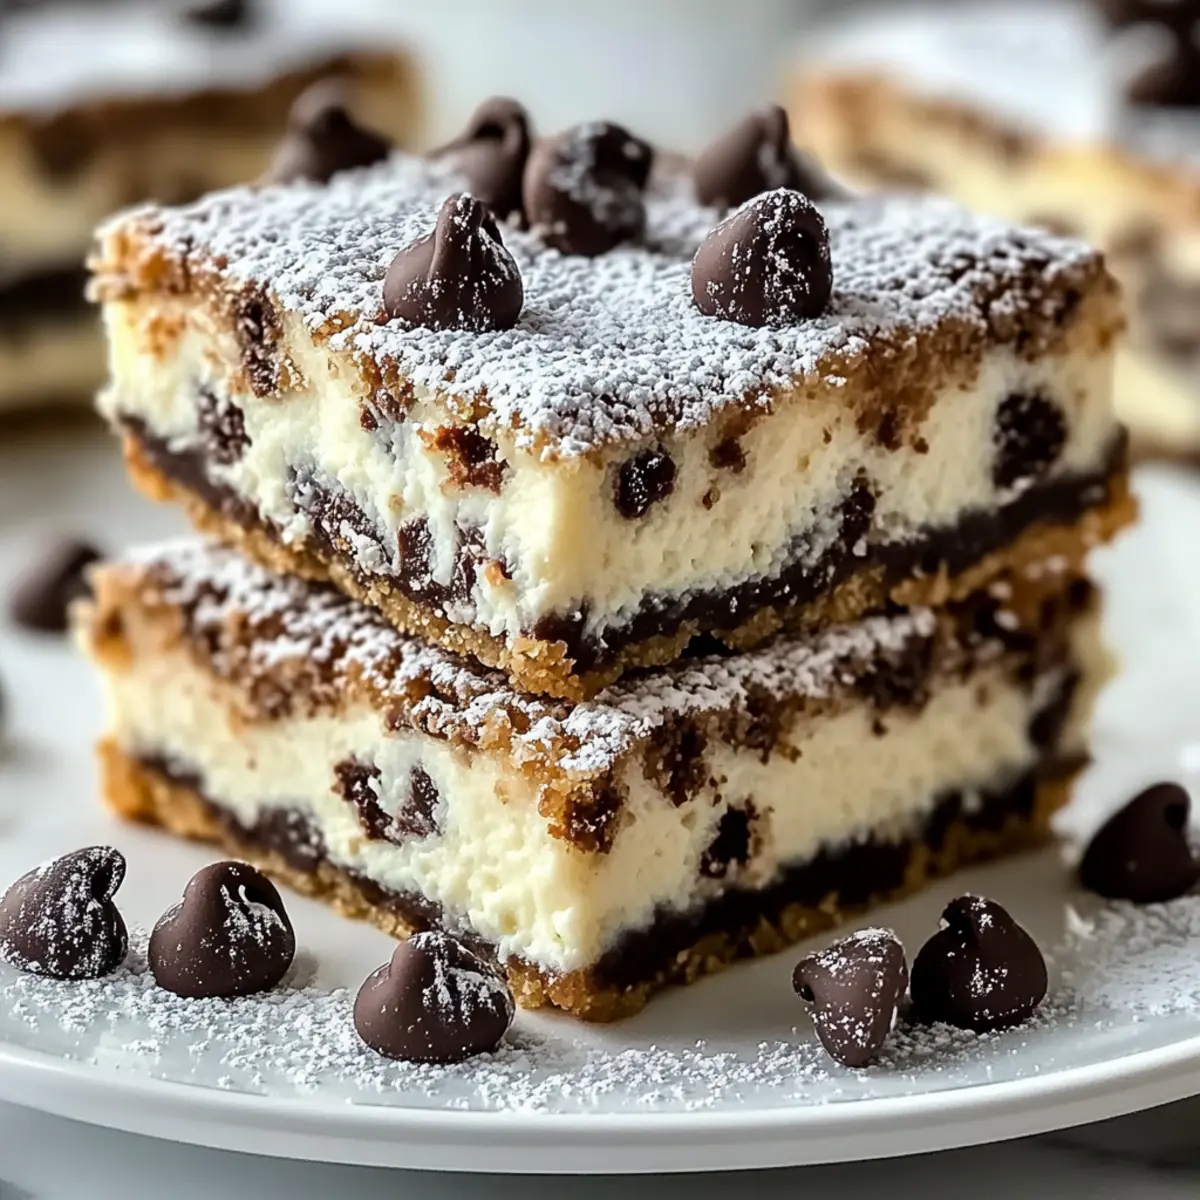
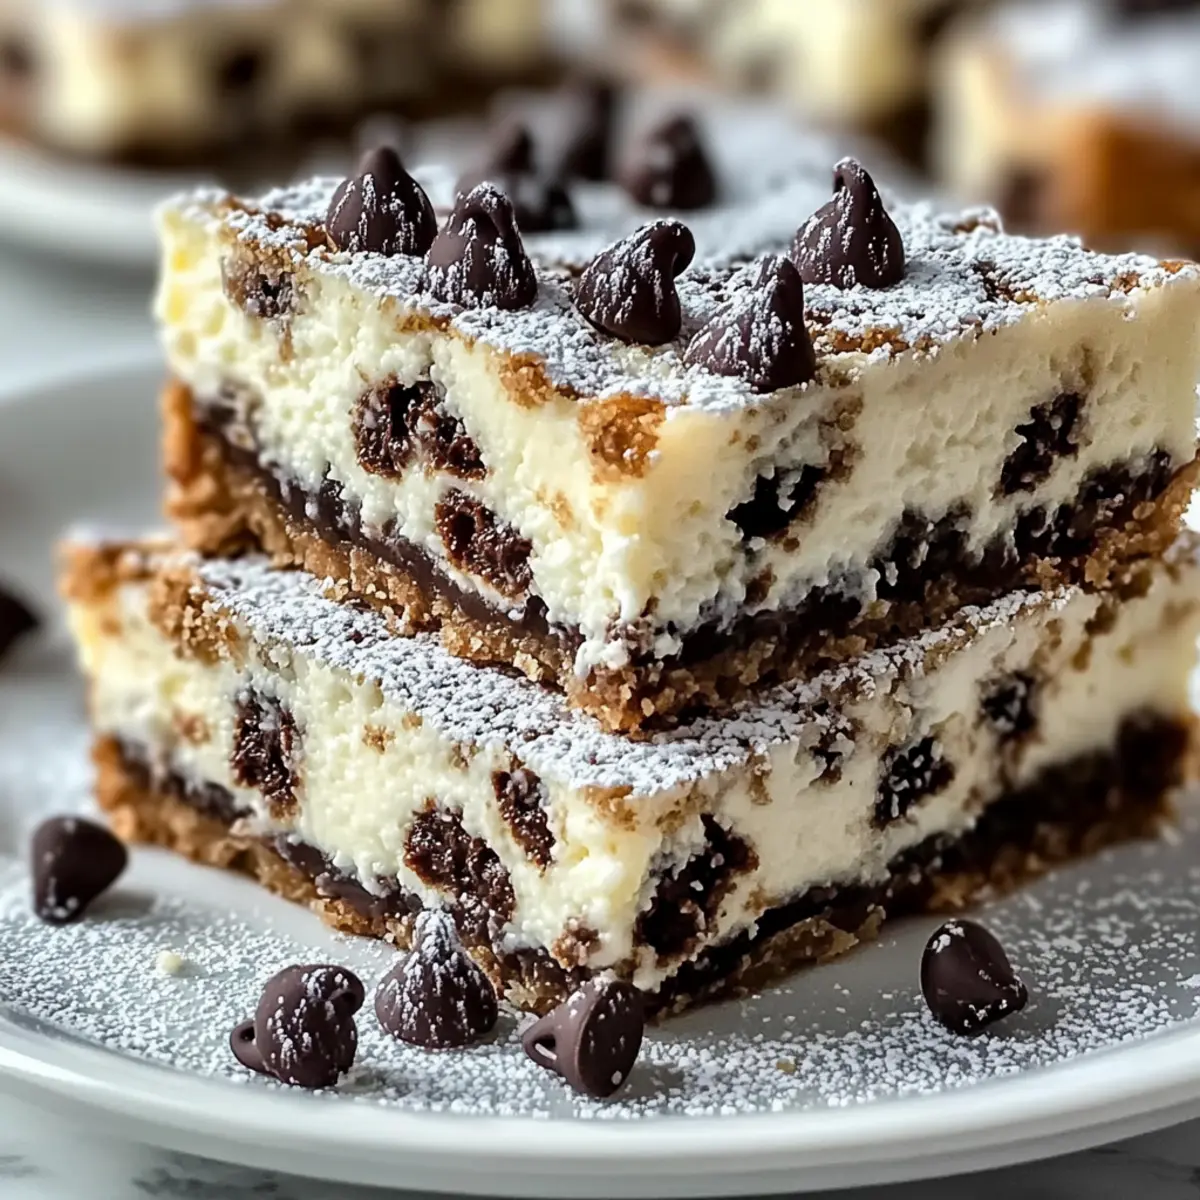
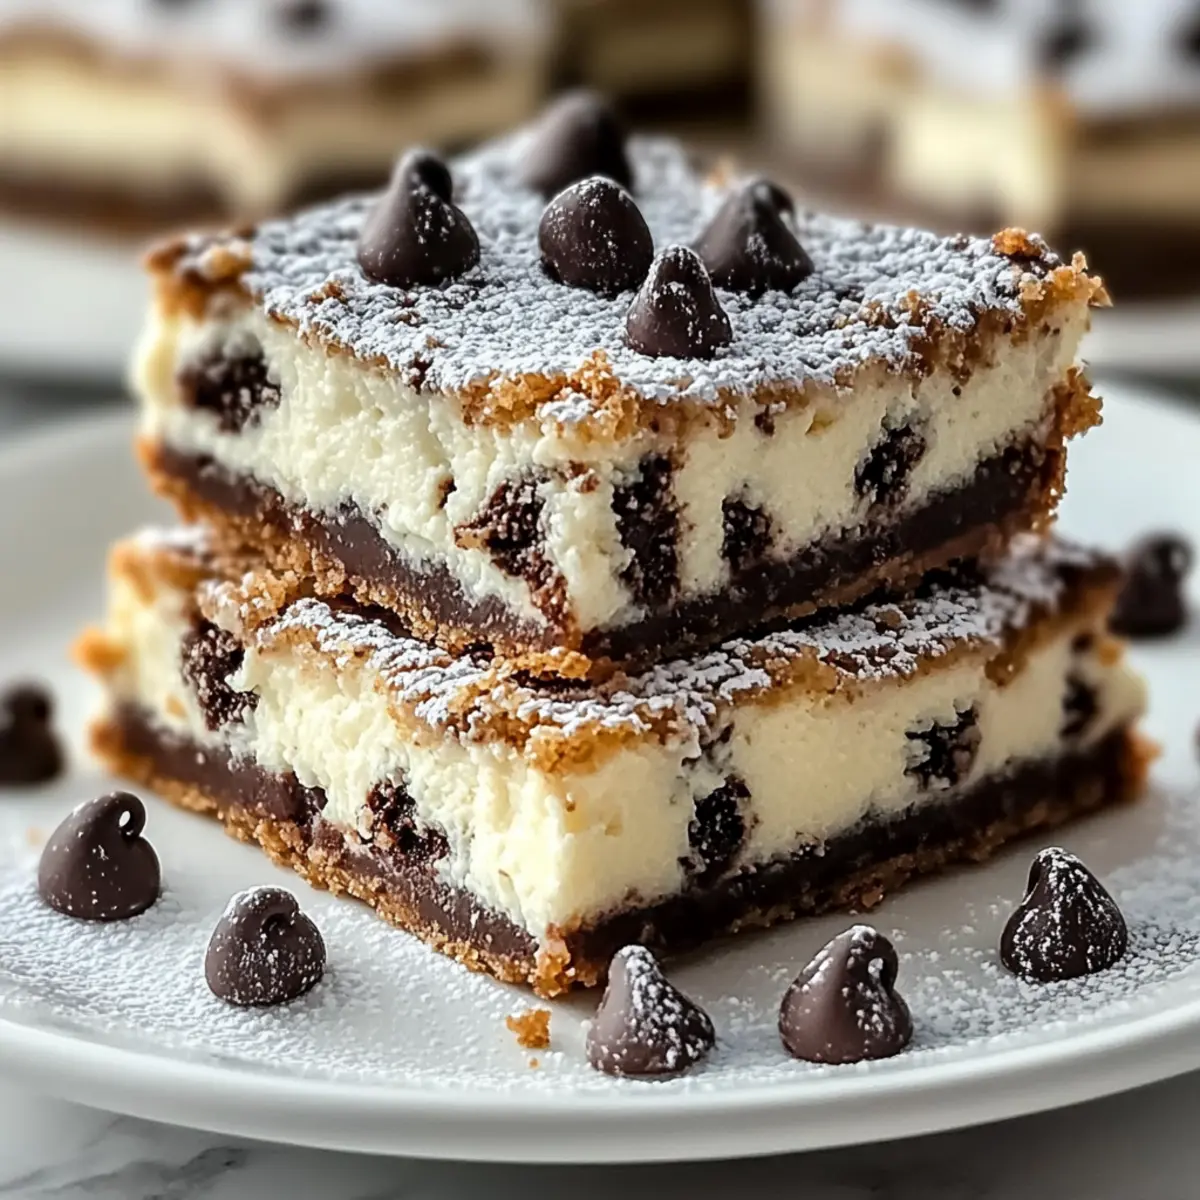
As I whisk together creamy ricotta and rich cream cheese, I can almost hear the call of my Italian grandmother’s kitchen, filled with laughter and baking aromas. These Cannoli Cheesecake Bars are a delightful fusion of old-world charm and modern convenience, making them the perfect crowd-pleaser for any occasion. Not only are they incredibly easy to whip up, but they can also be customized to fit any palate—from a nutty delight to a refreshing citrus burst. Imagine serving these decadent bars chilled, their flavors enhanced overnight, creating a comforting dessert that’s ideal for sharing. Curious how to bring this Italian twist to your own table? Let’s dive into the recipe!
Why Are These Cannoli Cheesecake Bars Perfect?
Crowd-Pleaser: These Cannoli Cheesecake Bars are a guaranteed hit at any gathering, providing a delightful twist on a classic Italian dessert!
Beginner-Friendly: With simple steps and easily accessible ingredients, home bakers of all skill levels can master this recipe effortlessly.
Customizable: Want a Chocolate Lovers’ version or maybe a Dairy-Free Delight? The variations are endless, catering to every taste preference.
Time-Saving: Prepare and chill in advance, making them a fantastic make-ahead option that frees you up for other festivities.
Rich Flavor: The combination of creamy ricotta, smooth cream cheese, and aromatic cinnamon creates a luscious dessert that’s hard to resist.
Looking for something equally delicious? Don’t forget to check out these Oatmeal Crumble Bars for a perfect complement to your dessert table!
Cannoli Cheesecake Bars Ingredients
For the Crust
• Graham Cracker Crumbs – Provides structure and sweetness for the crust; substitute with biscotti or vanilla wafers for a twist.
• Unsalted Butter – Binds the graham cracker crumbs together for a rich base; make sure it’s melted.
• Granulated Sugar – Enhances sweetness in the crust; you can reduce for a less sweet option.
For the Filling
• Cream Cheese – Creates a creamy texture and stability; ensure it’s softened for easy mixing.
• Ricotta Cheese – Contributes a light, creamy texture; drain well to avoid excess moisture for your Cannoli Cheesecake Bars.
• Powdered Sugar – Sweetens the filling while maintaining a smooth consistency; honey can serve as an alternative if preferred.
• Eggs – Provides structure to the filling; beat until pale yellow for achieving the best results.
• Vanilla Extract – Adds a warm flavor note; feel free to use almond extract for a different twist.
• Lemon or Orange Zest – Introduces refreshing citrus notes that balance out the sweetness.
• Cinnamon – Infuses warmth and depth into the filling, enhancing the overall flavor.
• Mini Chocolate Chips – Offers delightful pockets of sweetness; substitute with dark chocolate for a richer taste.
Optional Toppings
• Powdered Sugar (Optional) – Dust on top before serving for an elegant presentation.
• Crushed Pistachios (Optional) – Adds a crunchy texture and colorful visual appeal to your dessert.
Step‑by‑Step Instructions for Cannoli Cheesecake Bars
Step 1: Preheat the Oven
Begin by preheating your oven to 350°F (175°C). While the oven warms up, choose a greased 9×13-inch baking pan for your Cannoli Cheesecake Bars, ensuring it’s ready for the delicious crust you’re about to create.
Step 2: Make the Crust
In a mixing bowl, combine graham cracker crumbs, melted unsalted butter, and granulated sugar until evenly blended. Press this mixture firmly into the bottom of your prepared baking pan to form a sturdy base. Bake the crust in the preheated oven for 8 minutes. Once done, let it cool completely before adding the filling.
Step 3: Prepare the Filling
In a large mixing bowl, beat the softened cream cheese until smooth and creamy, ensuring there are no lumps. Gradually add in the well-drained ricotta cheese, powdered sugar, beaten eggs, vanilla extract, lemon or orange zest, and ground cinnamon, mixing until everything is fully incorporated and smooth. Gently fold in the mini chocolate chips for delightful bursts of sweetness in your filling.
Step 4: Bake the Filling
Pour the rich filling mixture over the cooled crust, spreading it evenly. Place it back in the oven and bake for 35-40 minutes. The Cannoli Cheesecake Bars are done when the center slightly jiggles but is set around the edges, creating a creamy texture. Once baked, allow the pan to cool on a wire rack for about 30 minutes.
Step 5: Chill the Bars
Cover the cooled pan with plastic wrap and refrigerate for at least 4 hours, or preferably overnight. This chilling time allows the flavors of the Cannoli Cheesecake Bars to deepen and the filling to set properly, achieving the ultimate creamy texture.
Step 6: Serve the Treats
When you’re ready to serve, carefully cut the chilled Cannoli Cheesecake Bars into squares. Dust the tops with powdered sugar for an elegant touch and sprinkle with crushed pistachios if desired for added crunch and color. Enjoy your delicious dessert!
Make Ahead Options
These Cannoli Cheesecake Bars are perfect for meal prep, allowing you to enjoy their rich flavors with less effort on busy days! You can prepare both the crust and filling up to 24 hours in advance. Simply bake the crust and let it cool completely before layering the filling on top. Cover the pan with plastic wrap and refrigerate overnight to let the flavors meld beautifully. When you’re ready to serve, simply slice the bars, dust with powdered sugar, and add any desired toppings. This make-ahead method ensures that your Cannoli Cheesecake Bars remain just as delicious and creamy, ready to impress your family or guests without the last-minute rush!
Cannoli Cheesecake Bars Variations
Discover how to give these delightful bars a personal twist that’ll excite your taste buds!
-
Chocolate Lovers: Add cocoa powder to the crust or drizzle with melted dark chocolate before serving for an indulgent chocolate experience.
Chocolate enhances the richness, making each bite even more decadent. -
Nutty Delight: Top with toasted pistachios, almonds, or hazelnuts for added crunch and flavor.
These nuts add a delightful texture contrast, elevating the dessert to new heights of deliciousness. -
Mini Versions: Use a muffin tin to create bite-sized portions—perfect for parties or quick treats!
Mini versions are delightful for those who want just a taste without the commitment of a larger bar. -
Holiday Twist: Mix in amaretto or rum extract for a festive flair that’s perfect for special occasions.
Adding a splash of your favorite liqueur can evoke the warmth of holiday gatherings. -
Berry Bliss: Top with fresh raspberries or strawberries to bring a refreshing fruity layer to the mix.
The tangy sweetness of berries beautifully complements the creamy filling, creating a fresh burst in every bite. -
Dairy-Free Delight: Substitute with dairy-free cream cheese and ricotta alternatives for a vegan-friendly option.
You won’t sacrifice flavor or texture, proving that everyone can enjoy these treats, regardless of diet. -
Citrus Burst: Swap the zest for lime and grapefruit for a zesty twist that brightens the flavors.
This refreshing change not only awakens your palate but also creates a seasonal feel to your dessert.
Looking for another delicious dessert? Try these delightful Oatmeal Crumble Bars that are sure to please!
How to Store and Freeze Cannoli Cheesecake Bars
Fridge: Store leftovers in an airtight container for up to 5 days. This keeps the Cannoli Cheesecake Bars fresh and ready for indulgent snacking!
Freezer: For longer storage, wrap pieces tightly in plastic wrap and foil, then freeze for up to 3 months. Thaw in the fridge overnight before serving for the best texture.
Reheating: If you prefer them slightly warmed, microwave each square for about 10-15 seconds—but be careful not to overheat, as you want to maintain that luscious creaminess!
Portioning: Consider cutting the bars into squares before freezing; this allows for easy portions whenever cravings strike!
Expert Tips for Cannoli Cheesecake Bars
-
Ricotta Drainage: Ensure your ricotta cheese is well-drained using cheesecloth for at least 30 minutes. This prevents a runny filling in your Cannoli Cheesecake Bars.
-
Chill Appropriately: The longer you chill the bars, the better the flavors meld. Aim for overnight refrigeration for the best texture and taste.
-
Testing Doneness: Look for a slight jiggle in the center while baking. Overbaking can lead to a dry filling; underbake slightly for creaminess.
-
Customization Galore: Don’t hesitate to experiment! Try different fillings or toppings—like nutty delights or citrus bursts—to truly personalize your Cannoli Cheesecake Bars.
-
Slicing Tips: For clean cuts, use a sharp knife and warm it under hot water before cutting the bars. This helps prevent them from crumbling.
What to Serve with Cannoli Cheesecake Bars
Creating a memorable meal isn’t just about the main attraction; it’s also about what surrounds it.
-
Fresh Berries: Juicy raspberries or strawberries add a refreshing contrast to the rich cheesecake bars, enhancing every bite. Their vibrant color and natural sweetness make for a visually appealing and delicious combination.
-
Espresso: A strong, aromatic shot of espresso complements the cheesecake bars perfectly, cutting through the creaminess and elevating the dessert experience. The deep flavors together create a beautiful Italian moment, perfect for sharing after a family dinner.
-
Gelato: A scoop of vanilla or pistachio gelato adds a creamy, cool element that balances the rich, decadent flavors of the Cannoli Cheesecake Bars and provides a delightful textural contrast.
-
Chocolate Drizzle: Add a flow of melted dark chocolate over the top of each serving for an indulgent touch. The bitterness of dark chocolate perfectly counteracts the sweetness of the bars, adding a gourmet flair.
-
Crushed Nuts: Lightly toasted pistachios or almonds sprinkled on top lend a delightful crunch and elevate the flavor profile. The nuttiness enhances the texture, making each bite a multi-sensory delight.
-
Mint Tea: A warm cup of mint tea provides a soothing finish to your meal, refreshing the palate after the rich dessert and enhancing the overall dining experience.
-
Lemon Sorbet: A zesty scoop of lemon sorbet offers a light, tangy contrast to the sweetness of the Cannoli Cheesecake Bars, cleansing the palate effortlessly.
-
Chocolate Covered Espresso Beans: These bite-sized delights can serve as both a sweet treat and a coffee booster after enjoying the bars. Their crunch and intense flavor make them an exciting addition to any dessert spread.
Cannoli Cheesecake Bars Recipe FAQs
How do I choose the best ricotta cheese for my recipe?
Absolutely! When selecting ricotta cheese for your Cannoli Cheesecake Bars, look for a brand that’s whole milk to ensure richness. A fresh, creamy texture is ideal, so avoid those with excess liquid. I recommend draining store-bought ricotta in cheesecloth for at least 30 minutes as a simple way to enhance its consistency.
How long can I store my Cannoli Cheesecake Bars?
You can store your leftover Cannoli Cheesecake Bars in an airtight container in the fridge for up to 5 days. This keeps them fresh while allowing the flavors to continue melding. Just make sure they are fully chilled before sealing the container to prevent condensation.
Can I freeze Cannoli Cheesecake Bars?
Very! To freeze your Cannoli Cheesecake Bars, it’s best to wrap them tightly in plastic wrap and then foil to prevent freezer burn. They can be stored in the freezer for up to 3 months. When you’re ready to enjoy them, simply transfer the bars to the fridge overnight to thaw for the best texture.
What should I do if my filling is too runny?
If you find your filling is too runny before refrigerating, don’t worry. A well-drained ricotta is key, so check for excess moisture. If needed, consider adding an extra tablespoon of cornstarch to help set the mixture. Make sure to let it chill adequately; a few additional hours might help it firm up.
Are these Cannoli Cheesecake Bars suitable for dietary restrictions?
Definitely! You can easily adapt this recipe for dietary needs. For a dairy-free option, substitute with dairy-free cream cheese and ricotta. There are also gluten-free options available for graham cracker crumbs, which would allow those with gluten sensitivities to enjoy these delicious bars.
What’s the best way to serve my Cannoli Cheesecake Bars?
When serving, cut the bars neatly and dust them with powdered sugar. I love adding crushed pistachios for an extra crunch and beautiful color contrast. You can also serve them alongside fresh berries or a drizzle of chocolate sauce for that extra touch of elegance!
Irresistible Cannoli Cheesecake Bars for Sweet Moments
Ingredients
Equipment
Method
- Preheat the oven to 350°F (175°C) and grease a 9x13-inch baking pan.
- In a bowl, combine graham cracker crumbs, melted butter, and sugar. Press into the pan. Bake for 8 minutes and cool.
- Beat cream cheese until smooth. Add ricotta, powdered sugar, eggs, vanilla, zest, and cinnamon. Mix until smooth. Fold in chocolate chips.
- Pour filling over cooled crust and bake for 35-40 minutes until set around edges. Cool on a wire rack for 30 minutes.
- Cover with plastic wrap and refrigerate for at least 4 hours or overnight.
- Cut into squares, dust with powdered sugar, and add pistachios if desired before serving.
Leave a Reply