
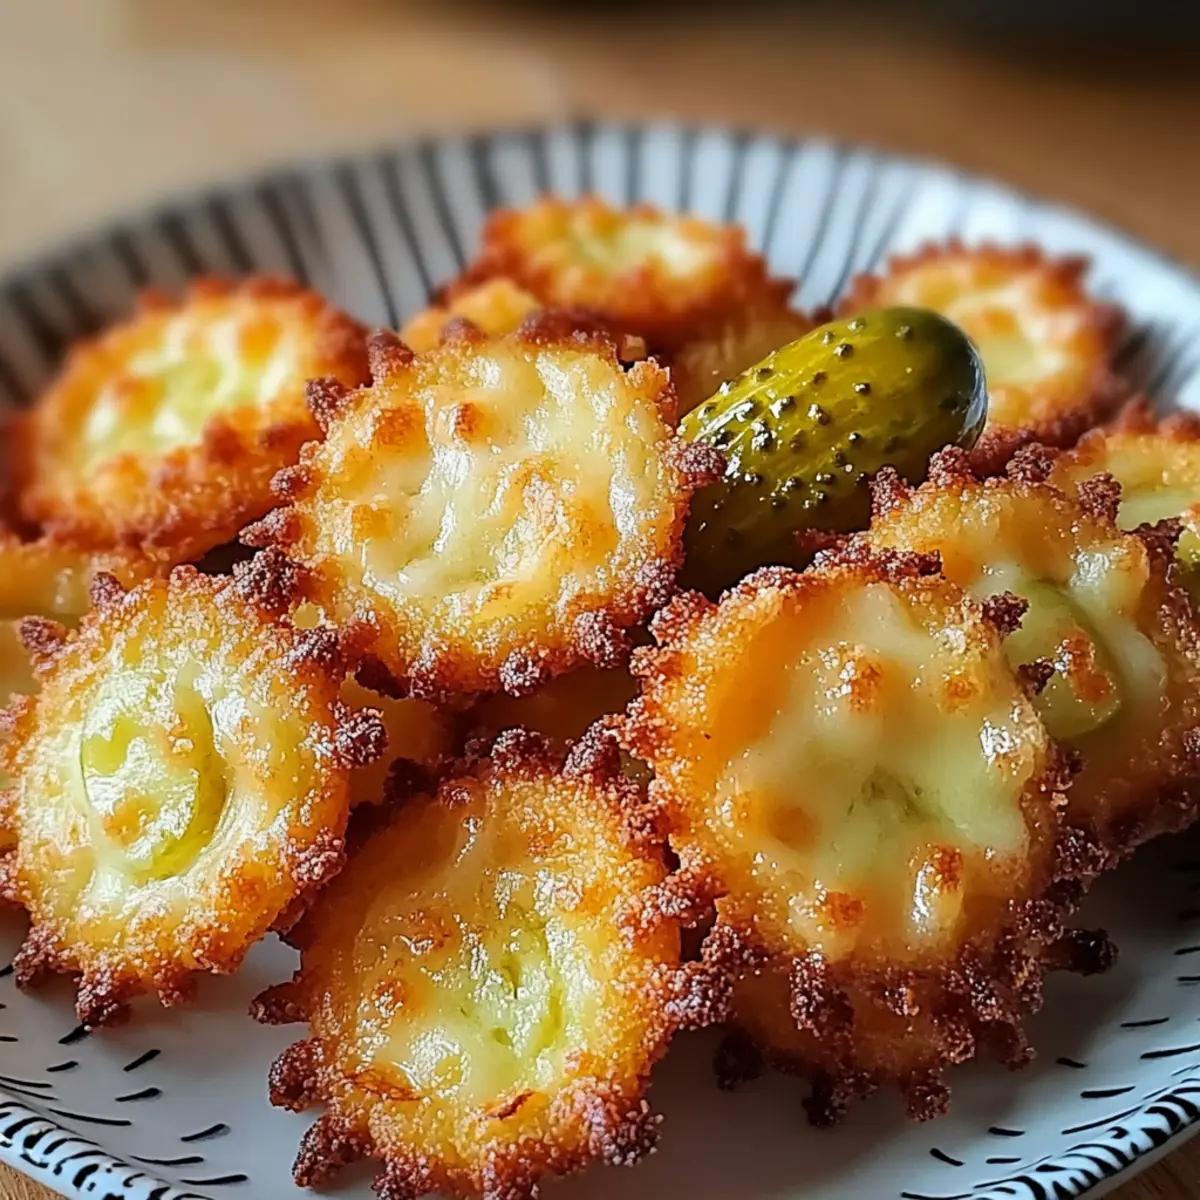
It’s amazing how a simple bite can transport you back to your childhood, isn’t it? These Crispy Pickle Cheese Bites bring that nostalgic comfort food experience right to your kitchen, blending the satisfying crunch of golden cheese with the zesty zing of pickles. Perfectly gluten-friendly and a breeze to prepare, this snack promises to be a hit with kids and adults alike at your next gathering or movie night. Plus, with endless variations—from spicy Pepper Jack to aromatic herbs—you can customize these bites to suit any palate. Are you ready to dive into a world of cheesy, tangy goodness? Let’s get cooking!
Why are these Pickle Cheese Bites irresistible?
Crunchy and Cheesy: Each bite offers a delightful crunch, with gooey cheese delivering a satisfying texture that keeps you coming back for more.
Quick to Make: With just a few simple ingredients, you can whip these up in under 15 minutes, making them an ideal choice for busy families or spontaneous gatherings.
Kid-Approved: Kids love the tangy pickle flavor wrapped in melted cheese, making them perfect for snacks or lunchboxes.
Customizable: Add a twist with different cheese varieties like Parmesan, or spice things up with crushed red pepper flakes for those who enjoy some heat.
Gluten-Friendly: Suitable for those on gluten-free diets, these bites prove that tasty snacks can cater to every dietary need. Try pairing them with a creamy ranch dressing or spicy mayo to elevate your serving experience!
Pickle Cheese Bites Ingredients
For the Batter
• Shredded Cheddar Cheese – Provides sharpness and flavor depth; use freshly shredded for the best melting experience.
• Shredded Mozzarella Cheese – Adds stretchiness and creaminess; prefer fresh for optimal meltability.
• Finely Chopped Dill Pickles – Offers tangy flavor and moisture; remember to pat dry to reduce moisture for maximum crispiness.
• Garlic Powder – Adds savory depth and aroma; substitute with onion powder if you want a different flavor profile.
• Breadcrumbs (Optional) – Contributes extra crunch; gluten-free breadcrumbs can be used for dietary needs.
For Baking
• Nonstick Spray/Parchment Paper – Prevents sticking during baking; parchment paper is preferred for easy clean-up.
Enjoy crafting your Pickle Cheese Bites, and don’t hesitate to experiment with flavors!
Step‑by‑Step Instructions for Crispy Pickle Cheese Bites
Step 1: Preheat the Oven
Begin by preheating your oven to 400°F (200°C). This ensures that when you place your Crispy Pickle Cheese Bites inside, they’ll bake evenly and achieve that golden, crunchy exterior. Prepare a baking sheet by lining it with parchment paper, which will not only help with cleanup but also prevent sticking.
Step 2: Mix the Ingredients
In a large mixing bowl, combine freshly shredded cheddar and mozzarella cheese with finely chopped dill pickles and garlic powder. Stir until the mixture is well blended. If you desire extra crunch, you can add breadcrumbs at this stage. Mixing with your hands can help ensure an even distribution of all ingredients for the perfect bite.
Step 3: Shape the Bites
Scoop out small portions of the cheese and pickle mixture using a tablespoon or your hands. Form flattened mounds, about 1-2 inches wide, and place them on the prepared baking sheet. Make sure to leave space between each mound to allow for expansion as they bake, ensuring that your Crispy Pickle Cheese Bites do not stick together.
Step 4: Bake to Perfection
Slide the baking sheet into the preheated oven and bake the bites for 6-8 minutes. Keep an eye on them; they’re ready when the cheese is melted and the edges turn a beautiful golden brown. This is when the delightful transformation happens, turning your cheesy mixture into crispy, snackable bites.
Step 5: Cool for Crispiness
Once baked, remove the baking sheet from the oven carefully. Let the Crispy Pickle Cheese Bites cool on the sheet for 2-3 minutes. This cooling period is crucial, as it allows them to set and enhances their crispiness, making each bite even more satisfying when you finally dig in.
Step 6: Serve and Enjoy
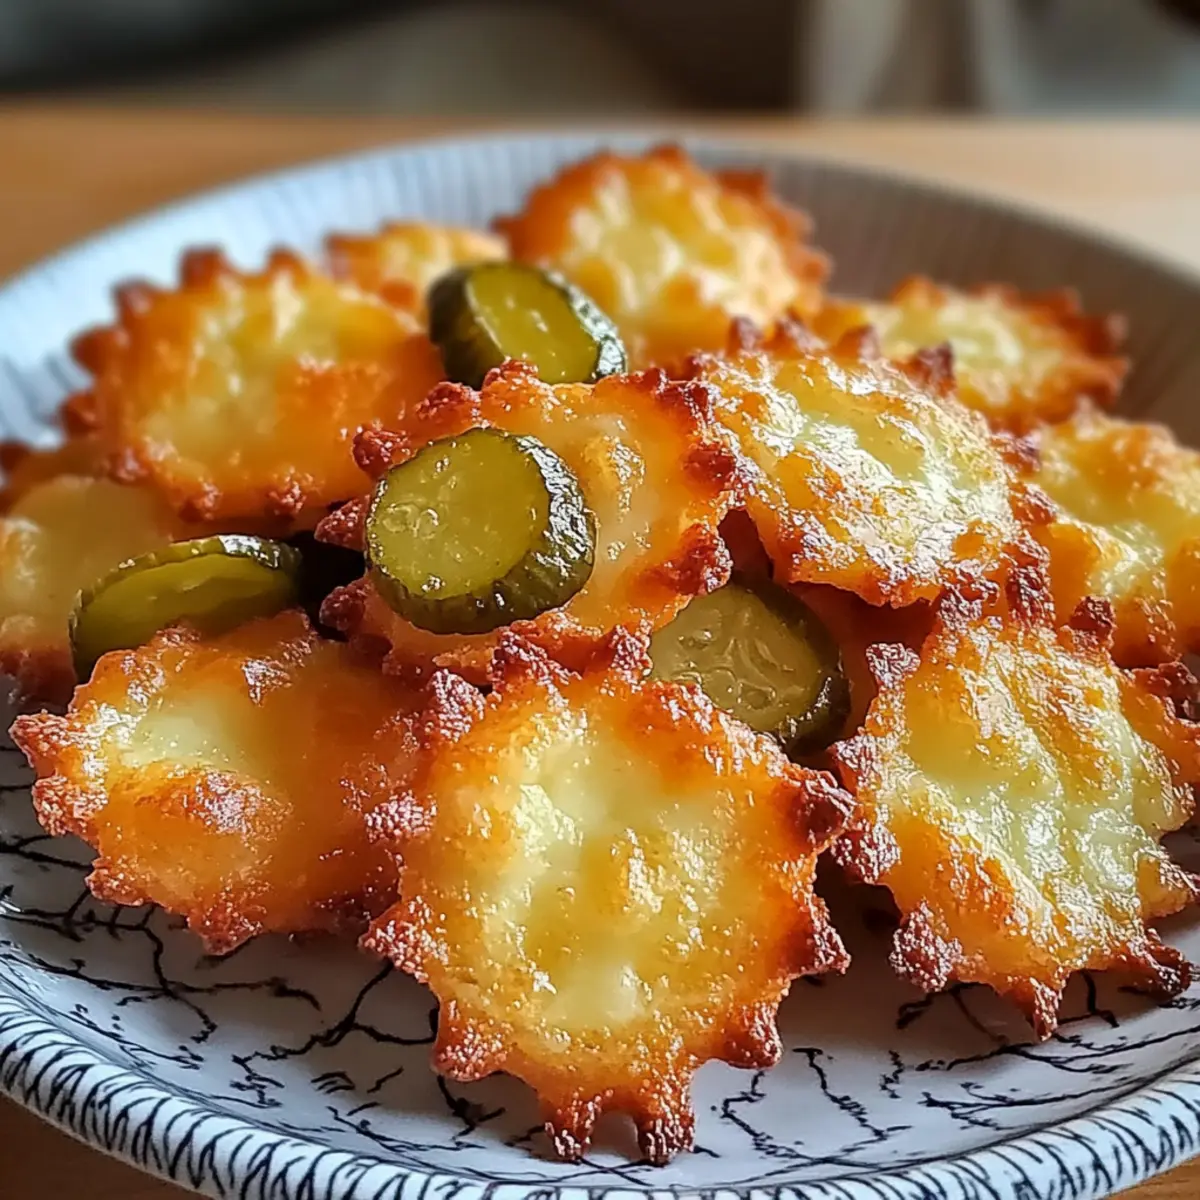
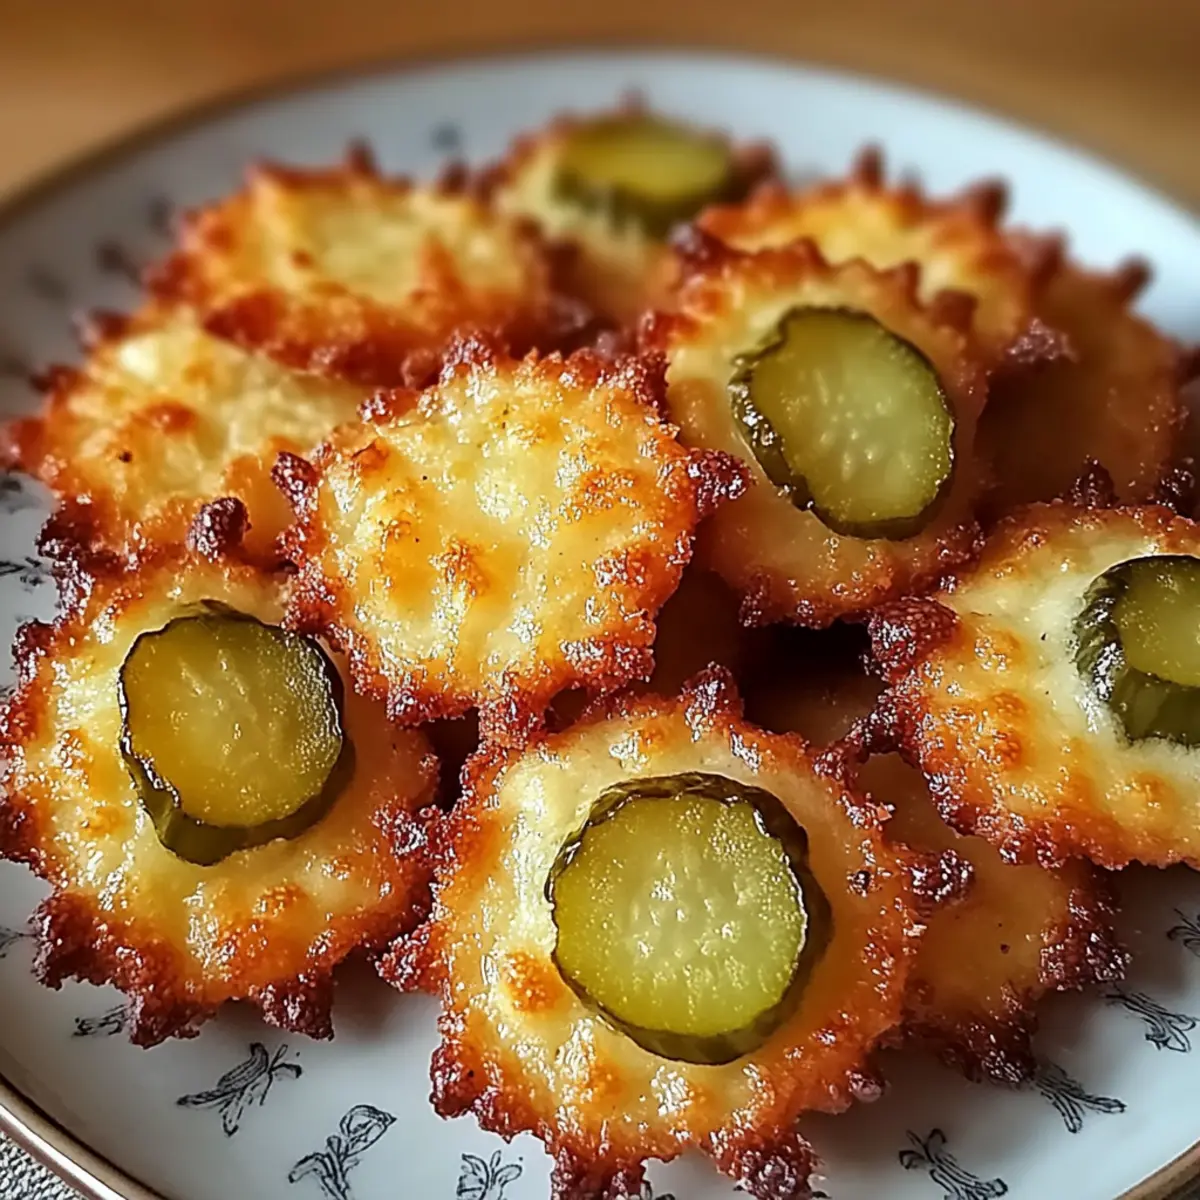
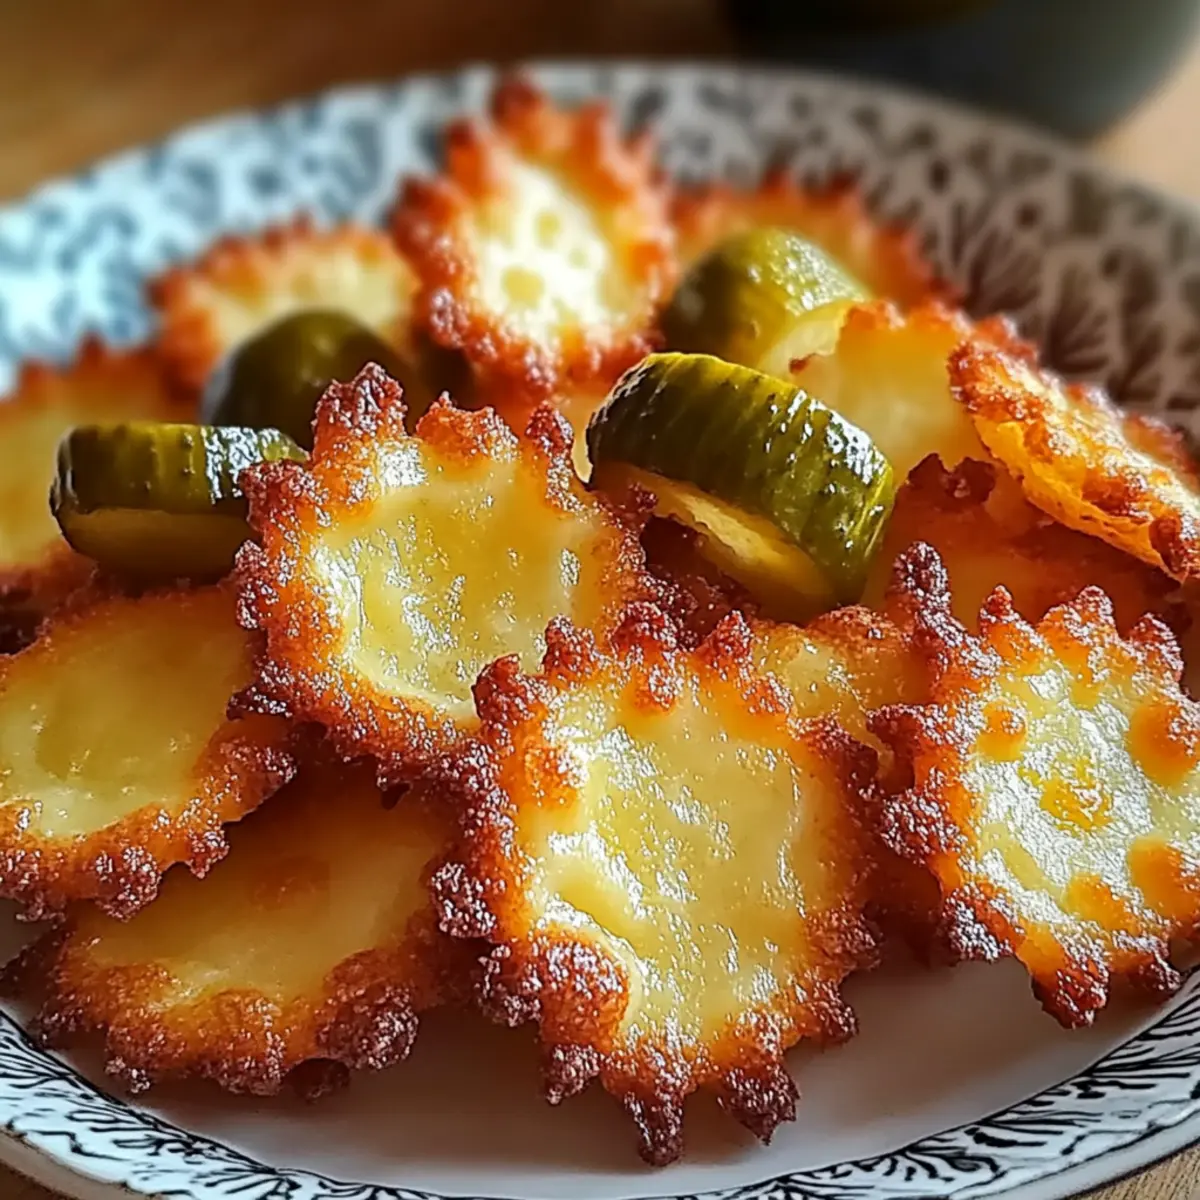
After cooling, serve your Crispy Pickle Cheese Bites warm. They pair beautifully with dips like ranch dressing, spicy mayo, or even a few extra pickle slices. Make sure to share them with family and friends, as they’re sure to become a favorite at any gathering or movie night!
Expert Tips for Pickle Cheese Bites
-
Pat Pickles Dry: Ensure that you pat your chopped dill pickles dry before mixing. Excess moisture can lead to less crispy bites.
-
Chill the Mixture: Chill the pickle and cheese mixture for about 10 minutes before baking. This helps the bites maintain their shape during cooking.
-
Check Cooking Time: Air fryers can vary in cooking time. Begin checking your bites around the 6-minute mark to prevent burning, as they cook quickly.
-
Serve Fresh: For the best experience, serve your Pickle Cheese Bites immediately. They are at their crispiest right out of the oven; they may soften if left for too long.
-
Experiment with Cheese: Don’t hesitate to swap out the cheeses! Using different varieties can enhance the flavor of your Pickle Cheese Bites and make them uniquely yours.
Make Ahead Options
These Crispy Pickle Cheese Bites are fantastic for meal prep, saving you precious time on busy evenings! You can prepare the cheese and pickle mixture up to 24 hours in advance; just store it in an airtight container in the refrigerator. For optimal crispiness, pat dry the pickles well before mixing to remove excess moisture. When you’re ready to bake, form the mixture into mounds on a lined baking sheet and bake as instructed—no need to thaw if you’ve prepped them ahead! You’ll end up with the same delightfully crispy and cheesy bites, perfect for quick snacking or entertaining guests with minimal effort.
How to Store and Freeze Pickle Cheese Bites
Fridge: Store any leftover Pickle Cheese Bites in an airtight container in the fridge for up to 3 days to maintain freshness and flavor.
Freezer: For longer storage, flash freeze cooled bites on a baking sheet before transferring to airtight containers or freezer bags. They can be frozen for up to 2 months.
Reheating: When ready to enjoy, reheat your bites in the oven at 375°F (190°C) for about 10-12 minutes until heated through and crispy.
Pickle Cheese Bites Variations
Feel free to explore these delicious twists to make your Pickle Cheese Bites uniquely yours. Each variation brings a different flavor explosion to your plate!
-
Spicy Twist: Add crushed red pepper flakes to the mixture for a zesty kick that adds warmth without overpowering the pickle flavor. Think of it as a delightful surprise that makes each bite sizzle!
-
Herb-Infused: Incorporate dried herbs such as dill or oregano to enhance the savory taste. These aromatic additions will create a harmonious balance that complements the tangy pickles.
-
Cheesy Combo: Experiment with different cheeses like Pepper Jack for a spicy flair or Parmesan for a rich, nutty flavor. Each cheese brings its character, elevating your snack experience.
-
Low-Carb Option: Swap out breadcrumbs for ground almonds for a low-carb version that still provides a satisfying crunch. This is perfect for those watching their carbohydrate intake without sacrificing taste.
-
Mini Bites: Roll the mixture into smaller balls instead of flattened mounds for bite-sized snacking. Ideal for entertaining, these little treasures are perfect for dipping and sharing!
-
Veggie Boost: Mix in some finely chopped jalapeños or red bell peppers for added freshness and texture. These veggies not only brighten the flavor but also contribute vibrant color!
-
Sweet & Savory: Drizzle with a touch of honey or a sprinkle of brown sugar before baking for a sweet contrast to the salty pickles. This sweet-savory combination can dazzle your taste buds!
In case you’re looking for more delicious inspiration, don’t forget to check out Crispy Mashed Potato Cheese Puffs or Smashed Carrots Bites for even more delightful snack options! Enjoy experimenting!
What to Serve with Crispy Pickle Cheese Bites
Serving these delightful snacks with complementary sides will create a complete and satisfying meal experience for everyone around the table.
-
Creamy Ranch Dressing: The cool, creamy flavor of ranch dressing perfectly balances the tangy bites, elevating every crunch to new heights.
-
Spicy Mayo: For an extra kick, spicy mayo adds a tangy heat that beautifully contrasts with the cheesy goodness of the bites.
-
Vegetable Platter: A colorful assortment of fresh veggies provides a crunchy contrast and a refreshing balance to the savory bites. Consider pairing with carrots, celery, and cherry tomatoes!
-
Tomato Soup: This warm, comforting classic is a perfect dipping partner. The mild acidity of tomato soup enhances the flavors while adding a cozy touch.
-
Crispy Onion Rings: For an indulgent treat, serve alongside crispy onion rings. Their crunchy texture complements the cheesy bites beautifully, creating a satisfying snack duo.
-
Potato Wedges: Seasoned and baked until golden, potato wedges add a hearty touch to your meal, providing a satisfying starchy counterpoint to the tangy and cheesy flavors.
-
Cucumber Salad: A light and refreshing cucumber salad introduces a crisp texture and a hint of brightness that pairs wonderfully with the richness of the bites.
-
Beverages: Pair with a chilled sparkling lemonade or a light beer to have a refreshing drink that cuts through the richness and complements the flavors of the bites.
Crispy Pickle Cheese Bites Recipe FAQs
How do I choose the best pickles for my recipe?
Absolutely! For the best pickle experience, opt for dill pickles as they provide the perfect tangy flavor. Look for pickles that are firm and bright in color, avoiding any that show dark spots or feel mushy. If possible, choose whole pickles and chop them yourself to ensure freshness.
What is the best way to store leftover Pickle Cheese Bites?
Leftover Pickle Cheese Bites can be stored in an airtight container in the refrigerator for up to 3 days. Make sure they’re completely cooled before sealing to maintain their texture. If you’d like to keep them fresh for longer, consider freezing them.
Can I freeze the Pickle Cheese Bites?
Certainly! To freeze, start by flash freezing the cooled bites. Spread them out on a baking sheet in a single layer and place them in the freezer for about 1-2 hours. Once frozen, transfer them to an airtight container or freezer bag. They can be stored for up to 2 months. When ready to indulge again, reheat in the oven at 375°F (190°C) for about 10-12 minutes until heated through and crispy!
How can I prevent my Pickle Cheese Bites from being soggy?
Very important! To avoid sogginess, make sure to pat the dill pickles dry with paper towels before mixing them in. Excess moisture is the enemy of crispiness! Additionally, chilling the mixture for 10 minutes before baking really helps to maintain structure.
Are these Pickle Cheese Bites suitable for gluten-free diets?
Yes! These Crispy Pickle Cheese Bites are gluten-friendly if you use gluten-free breadcrumbs. Always double-check that your other ingredients, like processed cheeses, are labeled gluten-free as well. They’re a great snack option that caters to dietary restrictions without compromising on taste!
Crispy Pickle Cheese Bites That Everyone Will Love
Ingredients
Equipment
Method
- Preheat your oven to 400°F (200°C) and line a baking sheet with parchment paper.
- In a large mixing bowl, combine cheddar cheese, mozzarella cheese, chopped dill pickles, and garlic powder. Mix well and add breadcrumbs if desired.
- Scoop out small portions of the mixture and form flattened mounds on the baking sheet, leaving space between them.
- Bake in the preheated oven for 6-8 minutes until the cheese is melted and the edges are golden brown.
- Remove from the oven and let cool for 2-3 minutes before serving.
- Serve warm with dips like ranch dressing or spicy mayo.
Leave a Reply