
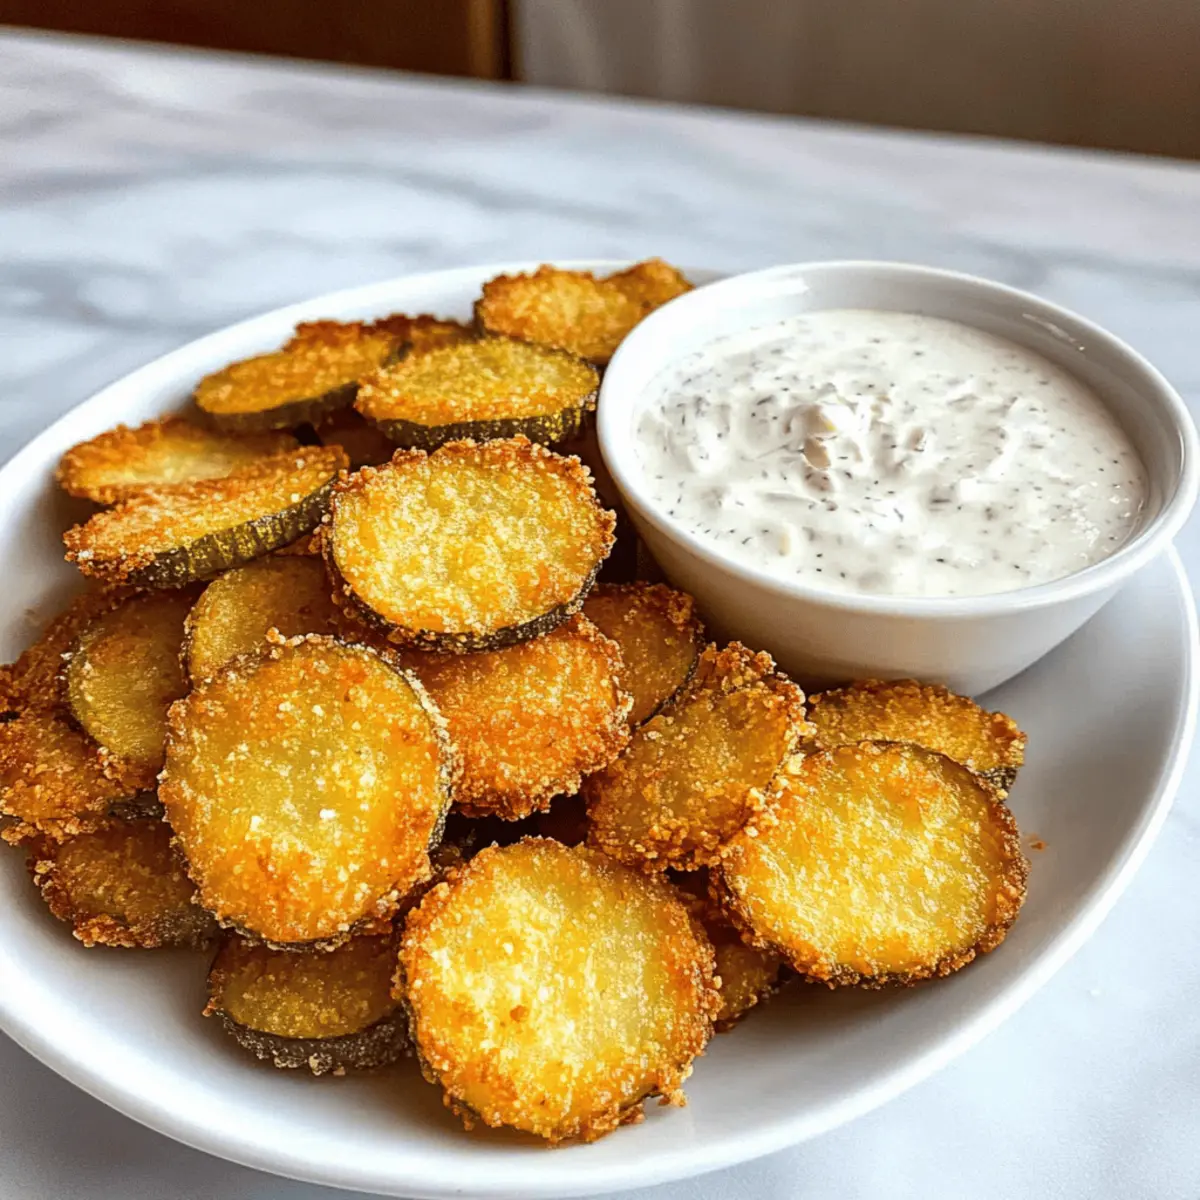
As I reached for what I thought was a boring snack, I had an epiphany—the perfect pickles were waiting in my pantry. These Air Fryer Fried Pickles transformed my mundane moment into a crispy, tangy delight that truly pleased my taste buds! Perfect for those evenings when you crave something crunchy and addictive, this recipe offers a low-guilt indulgence that’s quicker to make than you might think. With just a few ingredients, you’ll whip up a satisfying appetizer that pairs beautifully with a creamy ranch dip or whatever sauce you fancy. Are you ready to elevate your snacking game and surprise your guests with these easy-to-make fried pickles? Let’s dive in!
Why are these pickles irresistible?
Crispy texture is achieved effortlessly in the air fryer, giving you that crunch without the guilt. Flavor explosion with every bite, thanks to the perfect blend of spices and tangy pickles. Quick and easy to make, these fried pickles come together in no time, perfect for impromptu gatherings or movie nights! Versatile dipping options let you tailor the experience to your taste, be it creamy ranch or spicy aioli. Plus, the recipe is a crowd-pleaser, ensuring everyone will be grabbing for seconds! For more delicious snack ideas, check out my Country Fried Pork and Country Fried Pork recipes.
Air Fryer Fried Pickles Ingredients
For the Fried Pickles
- Sliced Pickles – Choose dill or your favorite pickles for that satisfying tang.
- Eggs – Large eggs help bind the breadcrumbs, ensuring a crispy coating.
- Flour – Provides a base for the egg wash; gluten-free flour works well too.
- Hot Sauce – Adds a zesty kick to the egg wash; sub with sriracha for extra spice.
- Salt – Enhances overall flavor; feel free to adjust to your liking.
- Black Pepper – Freshly ground black pepper brings a little warmth to the mix.
- Panko Breadcrumbs – For that extra crunch; regular breadcrumbs can substitute if needed.
For the Creamy Dip
- Sour Cream – Forms the base of the dip for a creamy texture; Greek yogurt is a great substitute.
- Mayonnaise – Adds richness; consider using light mayonnaise for a healthier twist.
- Minced Onions – Provides a bit of crunch and flavor; finer chopping helps it blend better.
- Garlic – Fresh minced garlic gives the dip a wonderful aromatic touch.
- Dried Dill – An optional herb for added flavor depth; fresh dill can be swapped in if available.
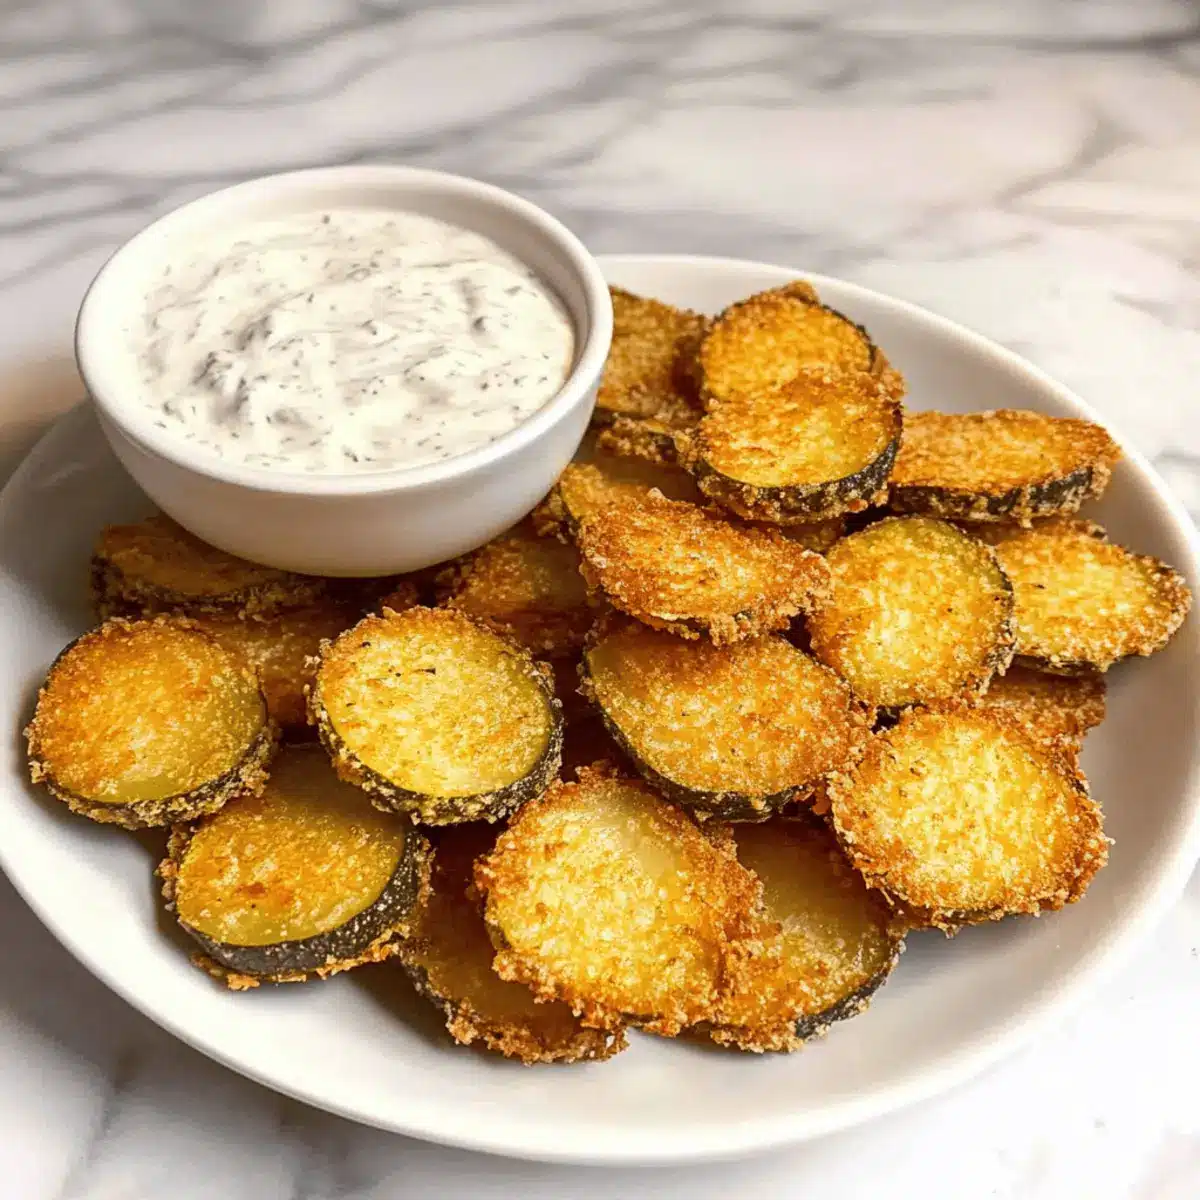
Get ready to create mouthwatering Air Fryer Fried Pickles that are crispy, tangy, and utterly irresistible!
Step‑by‑Step Instructions for Air Fryer Fried Pickles
Step 1: Prepare Pickles
Begin by laying your sliced pickles on a layer of paper towels. This step helps absorb excess moisture, ensuring a crispier result when you cook your Air Fryer Fried Pickles. Let them sit for about 10 minutes while you prepare the egg wash and other ingredients to maximize crunch.
Step 2: Make Egg Wash
In a shallow dish, whisk together two large eggs, a few tablespoons of flour, a splash of hot sauce, and season with salt and black pepper. The mixture should be smooth and well-combined, creating a binding agent for the pickles. This egg wash will adhere beautifully, preparing the pickles for that golden-brown crust later.
Step 3: Set Up Breading Station
Pour panko breadcrumbs into a separate dish and spread them evenly to create a breading station. The panko will provide that sought-after crispy texture for your Air Fryer Fried Pickles. Arrange your stations strategically with the egg wash on one side and the breadcrumbs on the other, ready for next steps!
Step 4: Bread Pickles
Dredge each pickle slice in the egg wash, ensuring they are well-coated but allowing any excess to drip off. Then, roll them in the panko breadcrumbs, pressing gently to ensure an even coating. This double-breading process enhances the texture, giving you that satisfying crunch in every bite of your fried pickles.
Step 5: Preheat Air Fryer
Set your air fryer to 400°F and allow it to preheat for about 5 minutes. Preheating is crucial as it ensures that your Air Fryer Fried Pickles cook evenly and achieve that perfect golden-brown color. A properly heated fryer will help the breading crisp up beautifully.
Step 6: Air Fry Pickles
Place the breaded pickles in a single layer in the air fryer basket. Lightly spray them with cooking oil to promote browning. Cook for 5-7 minutes, then flip each pickle, spray again, and air-fry for an additional 5-7 minutes until they are golden and crispy, watching closely to avoid overcooking.
Step 7: Prepare Creamy Dip
While your Air Fryer Fried Pickles are cooking, combine all the dip ingredients in a small bowl. Mix sour cream, mayonnaise, minced onions, garlic, and dried dill until smooth and well-mixed. This creamy dip will perfectly complement the crunchy pickles and balance their tangy flavor.
Storage Tips for Air Fryer Fried Pickles
Fridge: Store leftover Air Fryer Fried Pickles in an airtight container for up to 2 days. This helps maintain their flavor and freshness.
Freezer: For longer storage, freeze the fried pickles in a single layer on a baking sheet, then transfer to an airtight container for up to 3 months.
Reheating: To restore their crispy texture, reheat pickles in the air fryer at 350°F for about 3-5 minutes. This will help them regain that delicious crunch!
Tip: For best results, avoid stacking the pickles in storage to keep them from getting soggy.
Expert Tips for Air Fryer Fried Pickles
-
Dry Thoroughly: Make sure to dry the pickles on paper towels before breading; this step is crucial for enhancing the crispiness of your Air Fryer Fried Pickles.
-
Batch Cooking: Avoid overcrowding the air fryer basket. Air needs room to circulate for even cooking. Fry in batches if necessary for the best results.
-
Customize Heat: Adjust the amount of hot sauce in the egg wash to suit your taste. If you prefer milder flavors, you can start with less and add more if desired.
-
Watch for Doneness: Keep an eye on the pickles as they air-fry. Cooking times may vary based on your air fryer model, so check for that beautiful golden color.
-
Creative Dips: Experiment with different dipping sauces! Mix it up with spicy aioli or buffalo sauce for a fun twist alongside your creamy dip.
What to Serve with Crispy Air Fryer Fried Pickles?
Impressing your guests with these crispy snacks is easier when you pair them with delicious side dishes and drinks.
- Creamy Ranch Dip: A classic pairing that complements the tanginess of the pickles with its cool and creamy texture. Perfect for dipping!
- Spicy Aioli: This bold sauce adds a kick, enhancing the flavor profile of your fried pickles while providing an exciting contrast.
- Fresh Vegetable Platter: Crisp veggies like carrots and celery add a refreshing crunch, balancing out the richness of the fried pickles beautifully.
- Beer-Battered Onion Rings: For a fuller appetizer spread, these crispy rings share the same crunch and are a match made in snack heaven.
- Crunchy Coleslaw: A tangy coleslaw offers a vibrant, fresh contrast to the fried pickles, making every bite a tasty celebration of flavors.
- Homemade Potato Chips: Thin, crispy chips are an ideal side, adding extra crunchiness and a satisfying salty element that enhances your snacking experience.
- Sparkling Water with Lime: Keep it light and refreshing! The citrusy drink helps cleanse the palate in between bites, making your gathering more enjoyable.
- Mini Burgers or Sliders: Serve little sandwiches alongside for a fun twist—these savory bites complement the tangy air fryer fried pickles perfectly!
Make Ahead Options
These Air Fryer Fried Pickles are perfect for meal prep enthusiasts! You can slice and bread the pickles up to 24 hours in advance, keeping them in a single layer on a parchment-lined baking sheet, covered tightly with plastic wrap to prevent sogginess. You can also prepare your creamy dip up to 3 days ahead—just store it in an airtight container in the refrigerator for the best flavor. When you’re ready to cook, simply preheat your air fryer and toss the pickles in, cooking them for 5-7 minutes on each side for that golden crunch. This way, you’ll enjoy crispy, tangy Air Fryer Fried Pickles with minimal effort when hunger strikes!
Air Fryer Fried Pickles Variations
Feel free to get creative and make this recipe your own with these delightful twists!
-
Gluten-Free: Substitute regular flour and breadcrumbs with gluten-free options for a tasty, crispy experience suitable for all!
-
Spicy Jalapeños: Swap pickles for jalapeño slices for a fiery kick. A great snack for those who love a little heat!
-
Cheesy Delight: Use mozzarella sticks alongside pickles. The melted cheese inside adds a gooey texture that’s simply irresistible!
-
Sweet Potato Coating: Replace breadcrumbs with crushed sweet potato chips for a unique, sweet, and salty twist that adds crunch.
-
Buffalo Twist: Incorporate buffalo sauce into the egg wash for zesty flavor. Pair with a creamy blue cheese dip for the ultimate snack!
-
Flavor Boost: Mix in different spices like smoked paprika, onion powder, or Italian seasoning to the breadcrumbs for an extra flavor kick.
-
Air Fryer Veggies: Try out other sliced vegetables like zucchini or eggplant for crispy veggie bites that everyone can enjoy.
With these variations, your Air Fryer Fried Pickles can cater to any craving or dietary preference! For an additional tasty treat, consider making my Country Fried Pork or try these crispy and tender Country Fried Pork bites.
Air Fryer Fried Pickles Recipe FAQs
What type of pickles should I use for this recipe?
I recommend using dill pickles for that classic tangy flavor, but feel free to choose your favorite variety! If you have a penchant for sweet pickles, they can offer an interesting twist, too. Just keep in mind that the flavor profile will change depending on the type chosen.
How do I store leftover Air Fryer Fried Pickles?
Store any leftovers in an airtight container in the refrigerator for up to 2 days. This helps maintain their flavor. If you want to keep them longer, freezing is a great option.
Can I freeze Air Fryer Fried Pickles?
Absolutely! To freeze, first place the fried pickles in a single layer on a baking sheet. Freeze until solid, about 1-2 hours, then transfer them to an airtight container or freezer bag. They can be stored for up to 3 months. When you’re ready to enjoy them again, just reheat in the air fryer at 350°F for about 3-5 minutes for that crispy texture.
What if my Air Fryer Fried Pickles are not crispy enough?
If your fried pickles aren’t crisping up as much as you’d like, here are a few troubleshooting tips: First, make sure the pickles are thoroughly dried before breading. Excess moisture can prevent them from getting crispy. Also, avoid overcrowding the air fryer basket; air needs space to circulate. Cooking them in batches can help achieve optimal crispiness!
Are there any dietary considerations I should be aware of?
Yes! For those with gluten sensitivities, you can easily substitute all-purpose flour with a gluten-free flour blend to make this recipe friendly for gluten-free diets. If you’re catering to specific allergies, ensure that any mayo or sour cream used is free from potential allergens. Always consider the ingredients in your hot sauce as well!
Can I use different dipping sauces with my Air Fryer Fried Pickles?
Very! The beauty of these crispy delights is their versatility. While the creamy ranch dip is a classic favorite, you can mix it up with spicy aioli, buffalo sauce, or even a honey mustard. Experimenting with different dips can add a whole new spice to your air fryer fried pickles experience!
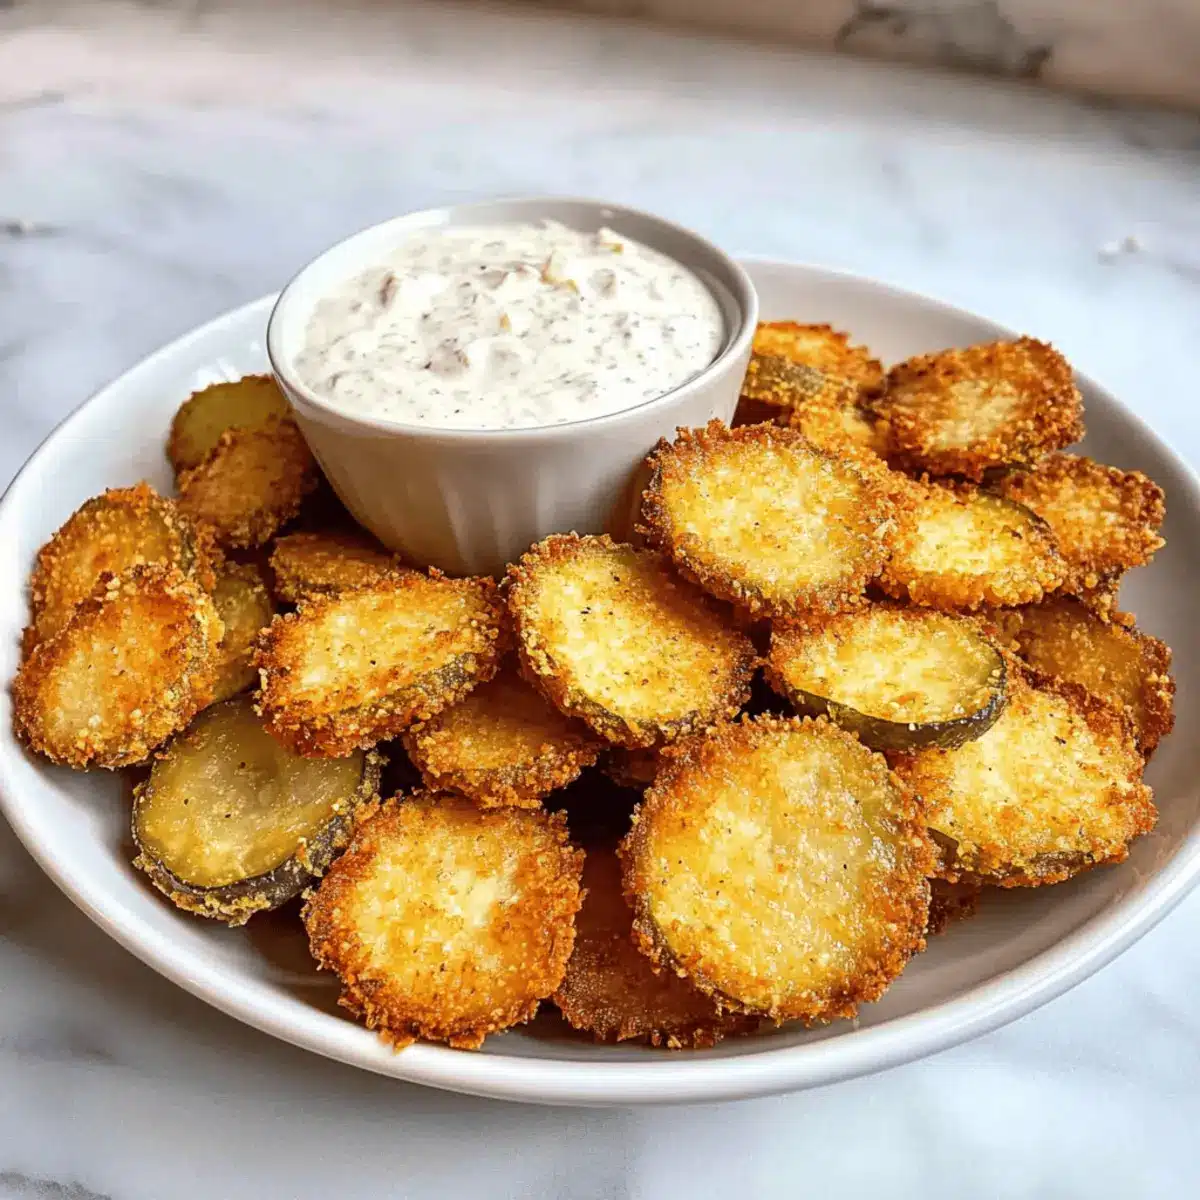
Crispy Air Fryer Fried Pickles for Guilt-Free Snacking
Ingredients
Equipment
Method
- Lay sliced pickles on paper towels to absorb moisture for 10 minutes.
- Whisk together eggs, flour, hot sauce, salt, and pepper in a shallow dish.
- Pour panko breadcrumbs into a separate dish to create a breading station.
- Dredge pickles in egg wash, then roll in panko, pressing gently.
- Preheat air fryer to 400°F for about 5 minutes.
- Place breaded pickles in air fryer basket and spray with cooking oil, cook for 5-7 minutes, flip, and cook another 5-7 minutes until golden.
- Combine all dip ingredients in a bowl and mix until smooth.
Leave a Reply