
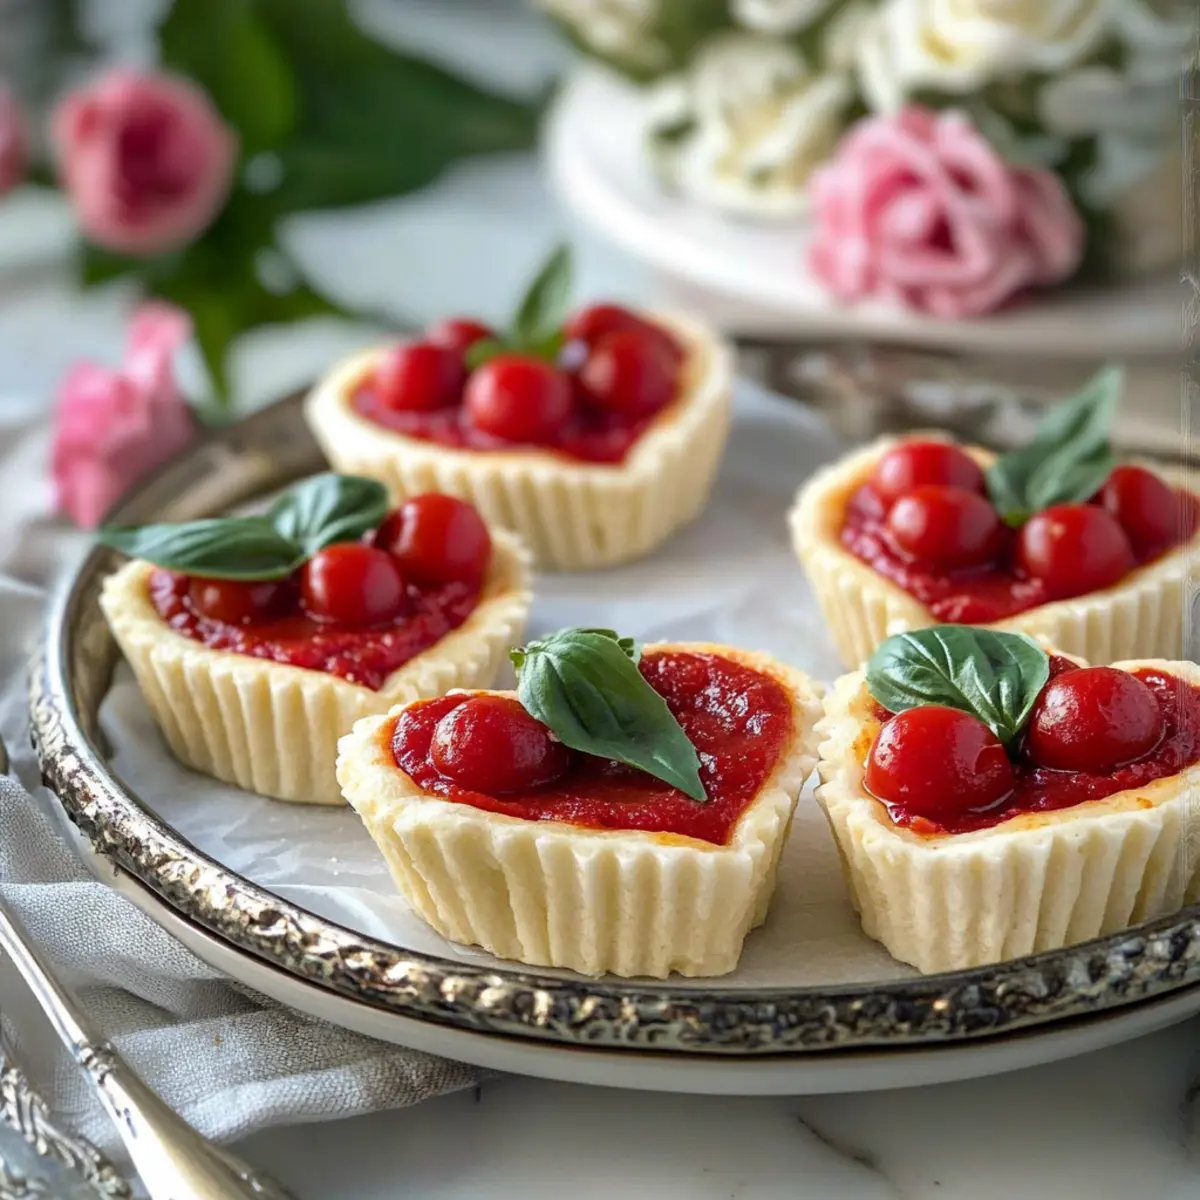
As I was scrolling through my fondest culinary memories, the sight of delicate heart-shaped mini cheesecakes tugged at my heartstrings. Mother’s Day is the perfect moment to infuse extra love into our meals, creating an experience that is both delightful and visually stunning. These heart-shaped creations are not only whimsical but also incredibly easy to make, ensuring that anyone—regardless of cooking skill—can whip them up with joy. Imagine crafting a sweet treat that’s both a feast for the eyes and a delicious finale to your special day. With endless customization options, these cheesecakes can cater to every palate, making them perfect for family gatherings or gatherings filled with laughter and love! So, are you ready to sweeten the celebration with these delightful treats?
Why Choose Heart-Shaped Mini Cheesecakes?
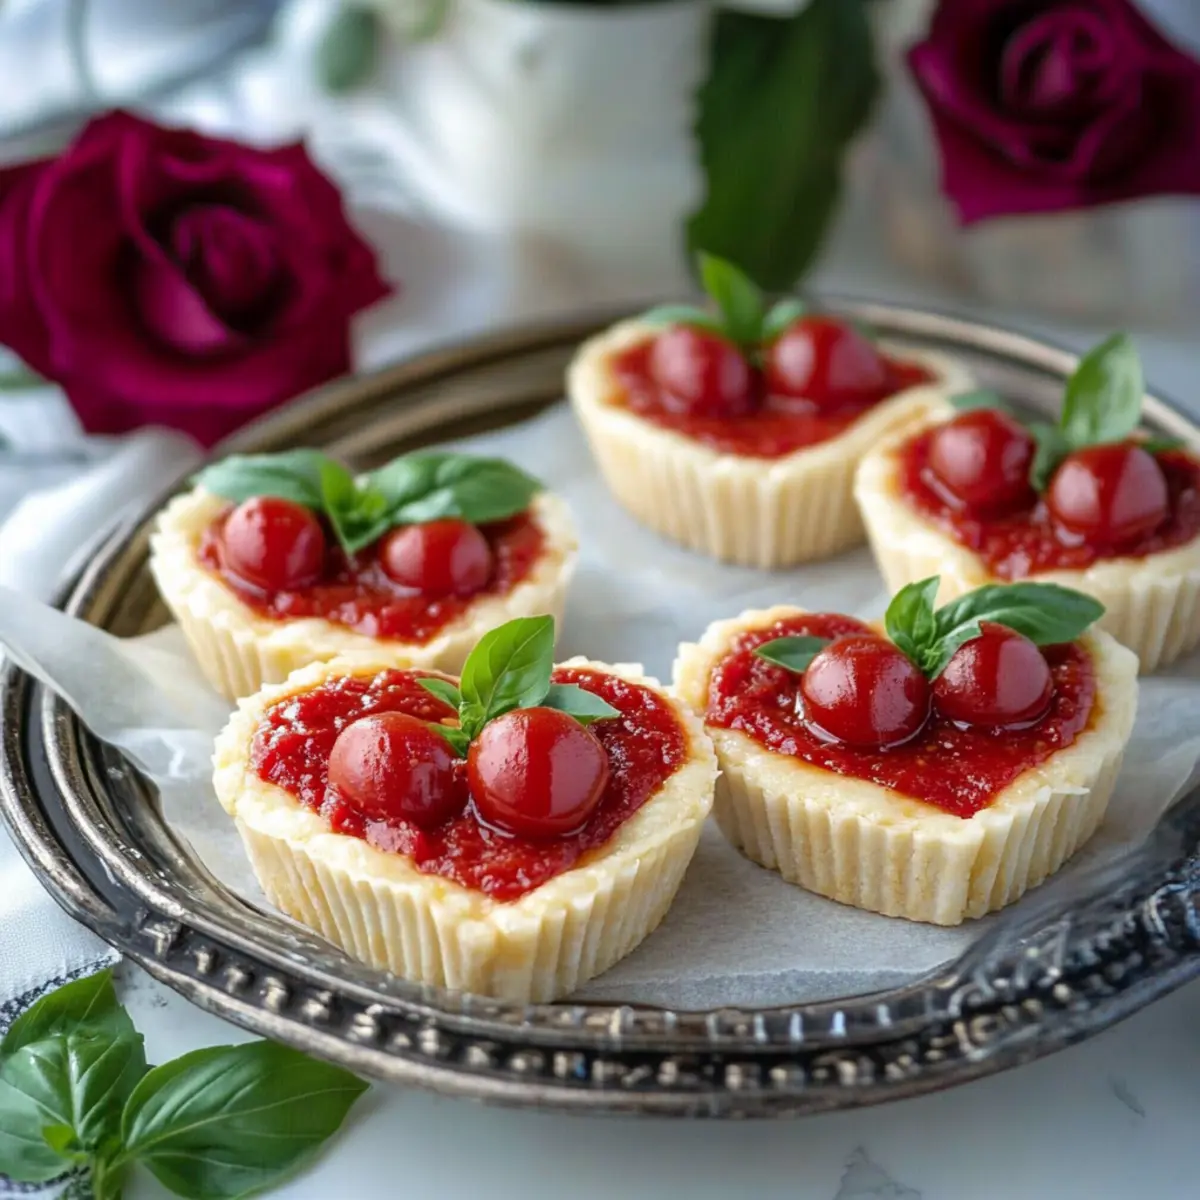
Irresistible Charm: These mini cheesecakes are not just treats; they are adorable heart-shaped wonders that instantly brighten up any table!
Easy to Make: With simple ingredients and straightforward instructions, anyone can create these stunning desserts, making them perfect for culinary beginners.
Customizable Flavors: From classic vanilla to decadent chocolate or fruity strawberry, you can tailor these cheesecakes to suit your family’s taste preferences.
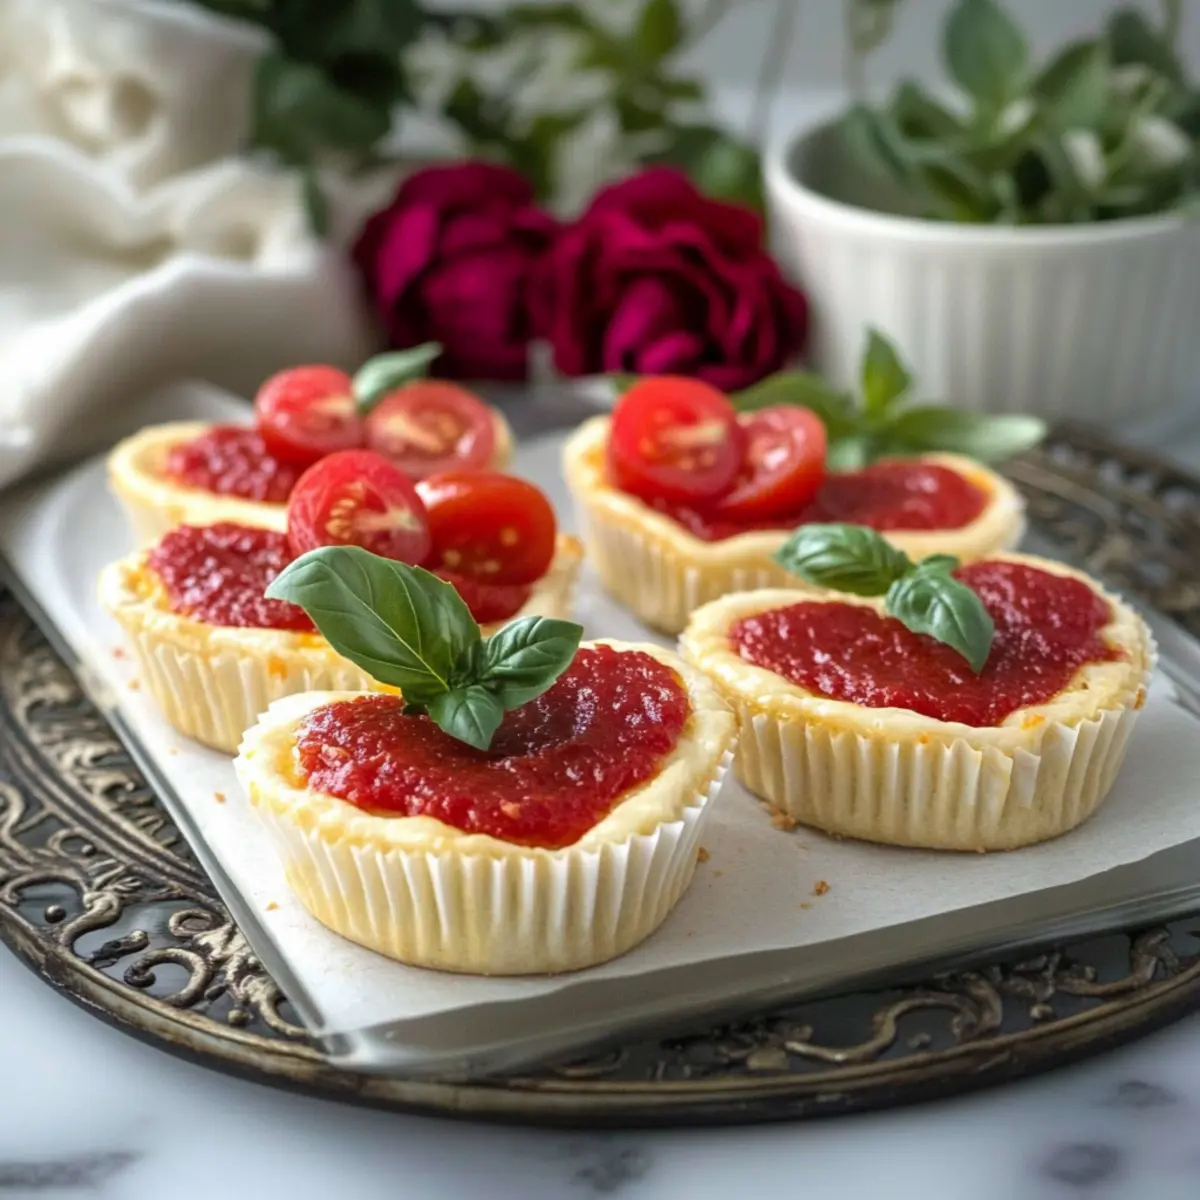
Perfect for Gatherings: Whether for a family brunch or a cheerful tea party, these desserts bring an element of fun and celebration to any occasion!
Visual Appeal: Their delightful shape and luscious toppings make them a feast for the eyes, ensuring that they become the star of your Mother’s Day dessert spread.
Make sure to check out our other heart-shaped treats, like Heart-Shaped Sugar Cookies and Heart-Shaped Pizzas, to create a full themed course for your celebration!
Heart-Shaped Mini Cheesecake Ingredients
• Perfect for a Sweet Mother’s Day Treat!
For the Cheesecake Base
- Cream Cheese – The star ingredient for a rich and creamy texture; be sure to soften it for easy mixing.
- Granulated Sugar – Sweetens the cheesecake; consider using coconut sugar for a natural alternative.
- Vanilla Extract – Adds aromatic flavor; pure extract works best for the most delightful taste.
- Eggs – Provide structure and richness; for a vegan option, try substituting with flax eggs.
- Graham Cracker Crumbs – Forms a delicious base; you can also use crushed almonds for a gluten-free option.
- Butter – Binds the crust together; melted coconut oil can be used as a substitute for a dairy-free version.
For the Toppings
- Fresh Berries – Adds a burst of flavor and color; choose ripe strawberries or blueberries for that sweet garnish.
- Whipped Cream – Lightly sweetens and complements the cheesecakes; use coconut cream for a vegan alternative.
- Chocolate Shavings – For an elegant finish; dark chocolate pairs beautifully with the sweetness of the cheesecake.
These heart-shaped mini cheesecakes will surely spread love and joy on Mother’s Day!
Step‑by‑Step Instructions for Heart-Shaped Mini Cheesecakes
Step 1: Prepare the Crust
Begin by preheating your oven to 350°F (175°C). In a mixing bowl, combine crushed graham cracker crumbs and melted butter until the texture resembles wet sand. Use a heart-shaped muffin tin to press about a tablespoon of this mixture firmly into each cavity, ensuring even coverage. Bake the crusts for 5-7 minutes until lightly golden; this will give your heart-shaped mini cheesecakes a deliciously crispy base.
Step 2: Make the Cheesecake Filling
While the crust is baking, grab another mixing bowl and beat softened cream cheese with granulated sugar and vanilla extract until smooth and creamy. This should take about 3-5 minutes on medium speed, ensuring no lumps remain. Once combined, add the eggs one at a time, mixing gently until just incorporated. Avoid over-mixing to keep your heart-shaped mini cheesecakes light and fluffy.
Step 3: Fill the Heart Molds
Once the crusts are done baking and cooled slightly, carefully pour the creamy cheesecake mixture into each heart-shaped cavity, filling them about three-quarters full. Use a spatula to smooth the top of each, ensuring a neat appearance. Place the filled muffin tin back in the oven and bake for 15-20 minutes until the edges are set but the centers are slightly jiggly, indicating a soft texture.
Step 4: Cool and Chill
Remove the heart-shaped mini cheesecakes from the oven and let them cool in the pan for about 10 minutes. Then gently transfer them to a wire rack to cool completely at room temperature. After they have cooled, cover them with plastic wrap and chill in the refrigerator for at least 2 hours, allowing the flavors to meld and the texture to set perfectly.
Step 5: Add Toppings
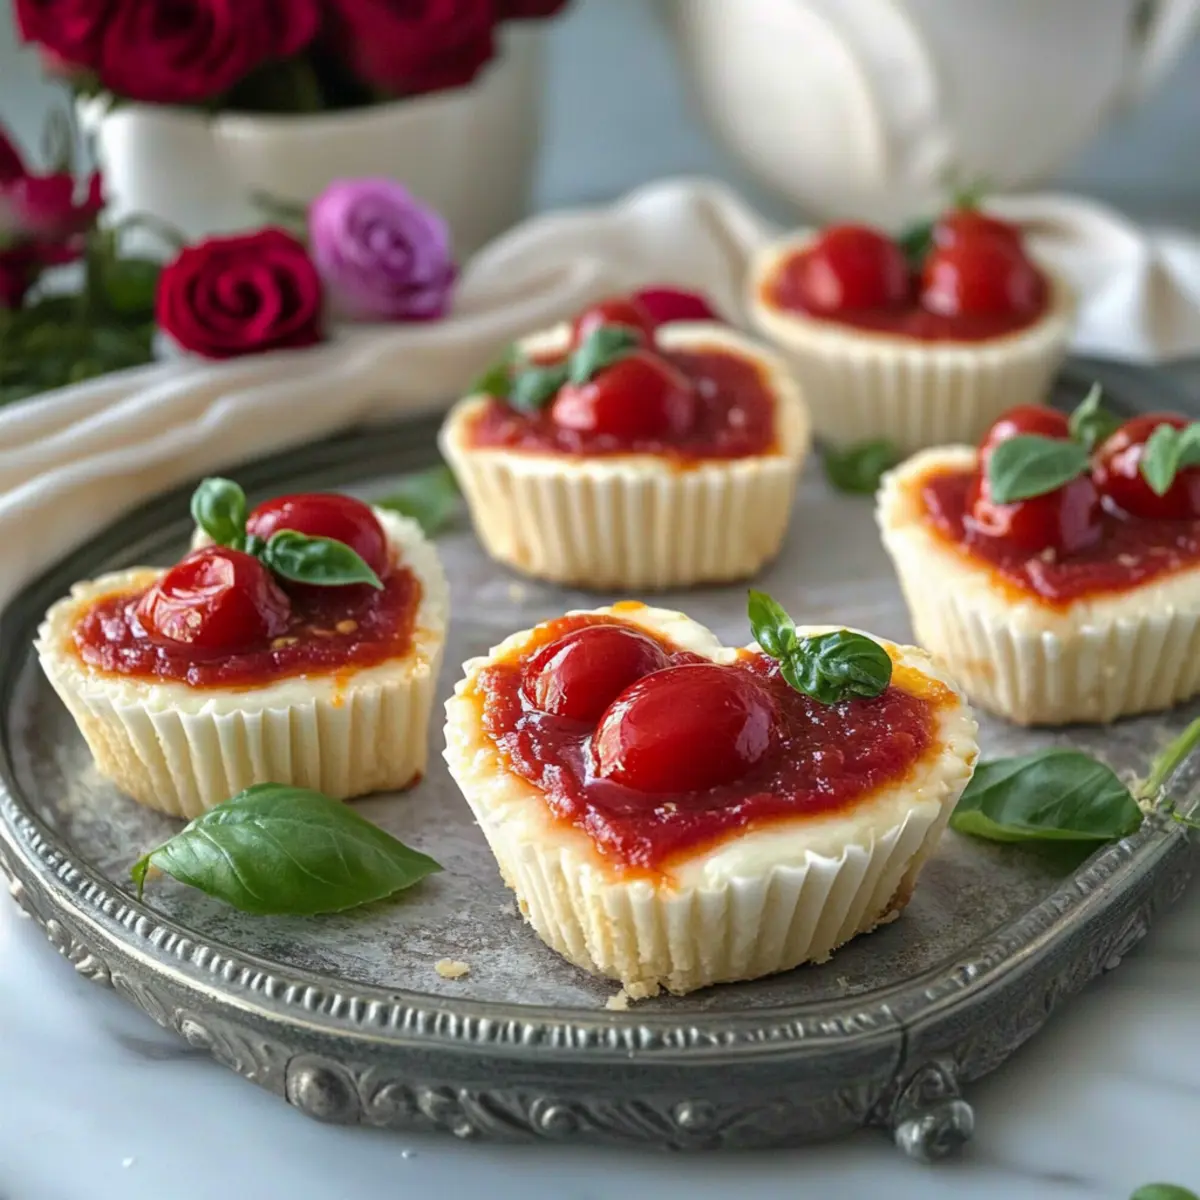
Once your heart-shaped mini cheesecakes are chilled and firm, it’s time to get creative! Top each cheesecake with a generous dollop of whipped cream, fresh berries like strawberries or blueberries, and a sprinkle of chocolate shavings for added elegance. You can place a heart-shaped berry at the center for an extra touch that enhances their appeal, creating a visually stunning dessert for Mother’s Day.
Step 6: Serve and Enjoy
When ready to serve, carefully remove the mini cheesecakes from the muffin tin by gently loosening the edges with a knife. Place them on a decorative platter to showcase their adorable shape. These heart-shaped mini cheesecakes are now ready for your family’s celebration, providing a sweet and heartfelt ending to your special Mother’s Day meal!
Expert Tips for Heart-Shaped Mini Cheesecakes
-
Chill the Cheese: Always start with softened cream cheese for a smooth filling; ensure it’s at room temperature to avoid lumps.
-
Avoid Overmixing: Mix gently when adding eggs to keep the texture light and fluffy in your heart-shaped mini cheesecakes.
-
Perfect Cooling: Let cheesecakes cool slowly in the pan first, then refrigerate. This helps them set perfectly and prevents cracks.
-
Diverse Toppings: Don’t shy away from experimenting with different toppings; try crushed nuts or caramel sauce for unique flavors!
-
Use Silicone Molds: If possible, use silicone heart molds for easier release and minimal sticking, ensuring your cheesecakes hold their shape.
-
Quantity Control: Adjust portion sizes by using smaller or larger molds for varying dessert sizes, accommodating different appetites and preferences.
Make Ahead Options
These Heart-Shaped Mini Cheesecakes are perfect for meal prep enthusiasts! You can prepare the cheesecake base and crust up to 24 hours in advance. Simply bake the crusts and cool them, then store them in an airtight container at room temperature. For the filling, mix the cream cheese, sugar, and eggs (without baking), and refrigerate it until you’re ready to fill the crusts. When you’re ready to serve, pour the filling into the crusts and bake, allowing them to cool before chilling. This method ensures your cheesecakes maintain their creamy texture and delightful flavor, giving you more time to focus on celebrating with your loved ones!
What to Serve with Heart-Shaped Mini Cheesecakes?
Indulging in these heart-shaped mini cheesecakes sets the stage for a delightful lunch or dinner that honors Mom with love and flavor.
-
Fresh Fruit Salad: A medley of seasonal fruits adds a refreshing burst to your meal. It’s light and complements the sweetness of the cheesecakes perfectly. The colorful hues also enhance your table’s visual appeal!
-
Sparkling Lemonade: This zesty drink offers a refreshing contrast to the rich cheesecakes, cleansing the palate with every sip. Bright and bubbly, it’s a fun way to celebrate the special occasion together.
-
Chocolate-Dipped Strawberries: Flirty and sweet, these bites echo the cheesecakes’ flavors while adding a touch of sophistication. Plus, who can resist the romantic allure of strawberries coated in chocolate?
-
Mini Caprese Skewers: Fresh mozzarella, cherry tomatoes, and basil drizzled with balsamic glaze create biting bliss. Their savory nature provides a delightful balance to the sweetness, ensuring a well-rounded experience.
-
Whipped Cream Topping: Consider serving extra whipped cream on the side for those who want an extra layer of decadence. It’s always a hit with guests, providing customizable indulgence atop the mini cheesecakes.
-
Lavender Shortbread Cookies: A touch of floral notes makes these cookies a delightful pairing. They bring a crunchy texture to the mix, complementing the creamy cheesecakes in both taste and presentation.
Make every bite of your Mother’s Day meal filled with charm and love, lifting spirits and creating lasting memories!
Heart-Shaped Mini Cheesecakes: Variations & Substitutions
Feel free to get creative with these mini cheesecakes, enhancing flavors and textures for a uniquely delicious experience!
-
Gluten-Free Crust: Use crushed gluten-free cookies or almond flour instead of graham crackers. Your mini cheesecakes can easily cater to gluten-sensitive guests.
-
Dairy-Free Option: Substitute cream cheese with vegan cream cheese or tofu for a dairy-free delight. You’ll still get that creamy texture with a twist!
-
Flavor Boost: Add a layer of fruit puree—raspberry or passionfruit—under the cheesecake filling for a zesty surprise. It’s an exciting way to uplift the classic cheesecake texture.
-
Chocolate Swirls: Mix in a tablespoon of cocoa powder or melted chocolate into the cheesecake batter for a rich chocolate version. Chocolate lovers will adore every bite!
-
Different Toppings: Try using caramel sauce and sea salt for a salty-sweet combination, or toasted coconut for an exotic twist. Each topping brings a new flavor profile and visual appeal.
-
Sweetener Alternatives: Swap out granulated sugar for maple syrup or honey, adjusting the amount to taste. This adds a delightful, natural sweetness to your heart-shaped treats.
-
Mini Fruit Tarts: For a fun twist, fold diced fruits such as mango or kiwi into the cheesecake filling before baking. These small bursts of flavor perfectly complement the creamy base.
-
Cheesecake Bites: Make bite-sized versions by using smaller molds. It’s an adorable way to serve these at gatherings like tea parties or dessert stations.
Try these variations to elevate your heart-shaped mini cheesecakes, and don’t forget to explore our Heart-Shaped Sugar Cookies and Heart-Shaped Pizzas for a delightful themed spread!
Storage Tips for Heart-Shaped Mini Cheesecakes
-
Fridge: Store leftover mini cheesecakes covered in an airtight container in the fridge for up to 5 days. This keeps them fresh and preserves their delightful flavor.
-
Freezer: For longer storage, freeze heart-shaped mini cheesecakes for up to 3 months. Place them in a single layer in a freezer-safe container, separating layers with parchment paper.
-
Thawing: When ready to enjoy, thaw cheesecakes in the fridge overnight to maintain their creamy texture. Avoid microwaving, as it can alter the consistency.
-
Reheating: If desired, serve them cold or let them sit at room temperature for about 30 minutes before serving to enhance their flavor—great for your Mother’s Day celebration!
Heart-Shaped Mini Cheesecakes Recipe FAQs
What type of cream cheese should I use?
I recommend using full-fat cream cheese for a rich and creamy texture. Make sure it’s softened to room temperature before mixing, as this will help prevent lumps and ensure a smooth filling for your heart-shaped mini cheesecakes.
How long can I store the heart-shaped mini cheesecakes?
You can store leftover mini cheesecakes in an airtight container in the fridge for up to 5 days. This keeps them fresh and delicious for a short time. If you want them to last longer, they can also be frozen for up to 3 months.
What is the best way to freeze heart-shaped mini cheesecakes?
Absolutely! To freeze your mini cheesecakes, first let them cool completely after baking. Then, place them in a single layer in a freezer-safe container, making sure to separate each layer with parchment paper to prevent sticking. When ready to enjoy, thaw them in the fridge overnight for the best texture.
Can I make these mini cheesecakes ahead of time?
Yes, you can definitely prepare these heart-shaped mini cheesecakes a day or two in advance! Simply complete the chilling step after baking, and store them covered in the fridge until you’re ready to adorn them with toppings. This makes them ready to serve on Mother’s Day without extra fuss!
What if my crust is too crumbly?
If your crust mixture feels too dry and crumbly to hold together, try adding a bit more melted butter, incorporating a teaspoon at a time until the mixture sticks together when pressed. This should give you a perfect crust that holds up beautifully once baked.
Can I use different flavors for the cheesecake filling?
Very! You can absolutely customize the flavors of these heart-shaped mini cheesecakes! Experiment with different extracts like almond or lemon, or fold in fruit purees to create delicious variations. Just be mindful of the liquid content, keeping it balanced for the best texture!
These Heart-Shaped Mini Cheesecakes are not just a delightful treat but also a perfect way to express your love this Mother’s Day! Enjoy making them!
Heart-Shaped Mini Cheesecakes for a Sweet Mother's Day Treat
Ingredients
Equipment
Method
- Preheat oven to 350°F (175°C). Combine graham cracker crumbs and melted butter until it resembles wet sand. Press into heart-shaped muffin tin and bake for 5-7 minutes.
- In another bowl, beat cream cheese, sugar, and vanilla until smooth. Add eggs one at a time, mixing gently.
- Carefully pour cheesecake mixture into cooled crusts, filling three-quarters full. Bake for 15-20 minutes until edges are set.
- Cool in pan for 10 minutes, then chill in the refrigerator for at least 2 hours.
- Top with whipped cream, fresh berries, and chocolate shavings before serving.
- Gently remove cheesecakes from tin and place on a decorative platter to serve.
Leave a Reply