
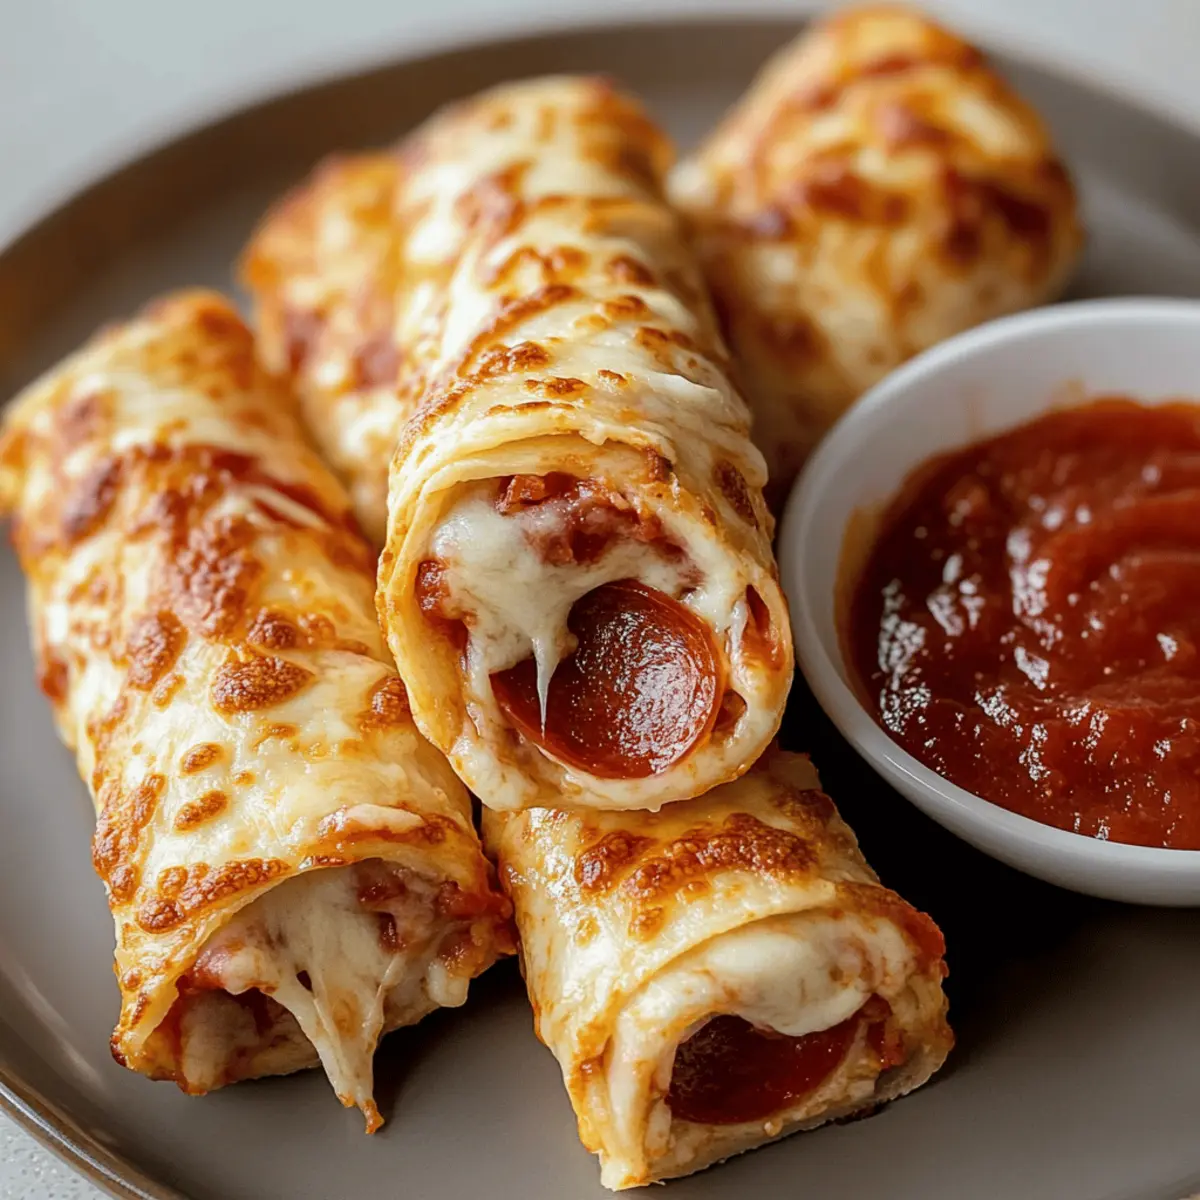
As I watched the clock tick down to game time, a mini crisis struck—what to serve for the perfect snack? That’s when I whipped up these Cheesy Pepperoni Pizza Roll-Ups. In just 11 minutes, I transformed simple ingredients into a finger-licking treat that satisfied everyone’s cravings. With the gooeyness of melted mozzarella, savory pepperoni, and a crispy low-carb wrap, these roll-ups are not just a quick snack; they’re a delightful way to enjoy a comforting pizza flavor without the guilt. And the best part? You can easily customize them with your favorite veggies or spices to suit any taste! Ready to learn how to create this mouthwatering snack that’ll steal the show? Let’s roll!
Why are these roll-ups a game changer?
Quick Preparation: These Cheesy Pepperoni Pizza Roll-Ups come together in just 11 minutes, making them an ideal choice for spontaneous snack attacks or unexpected guests.
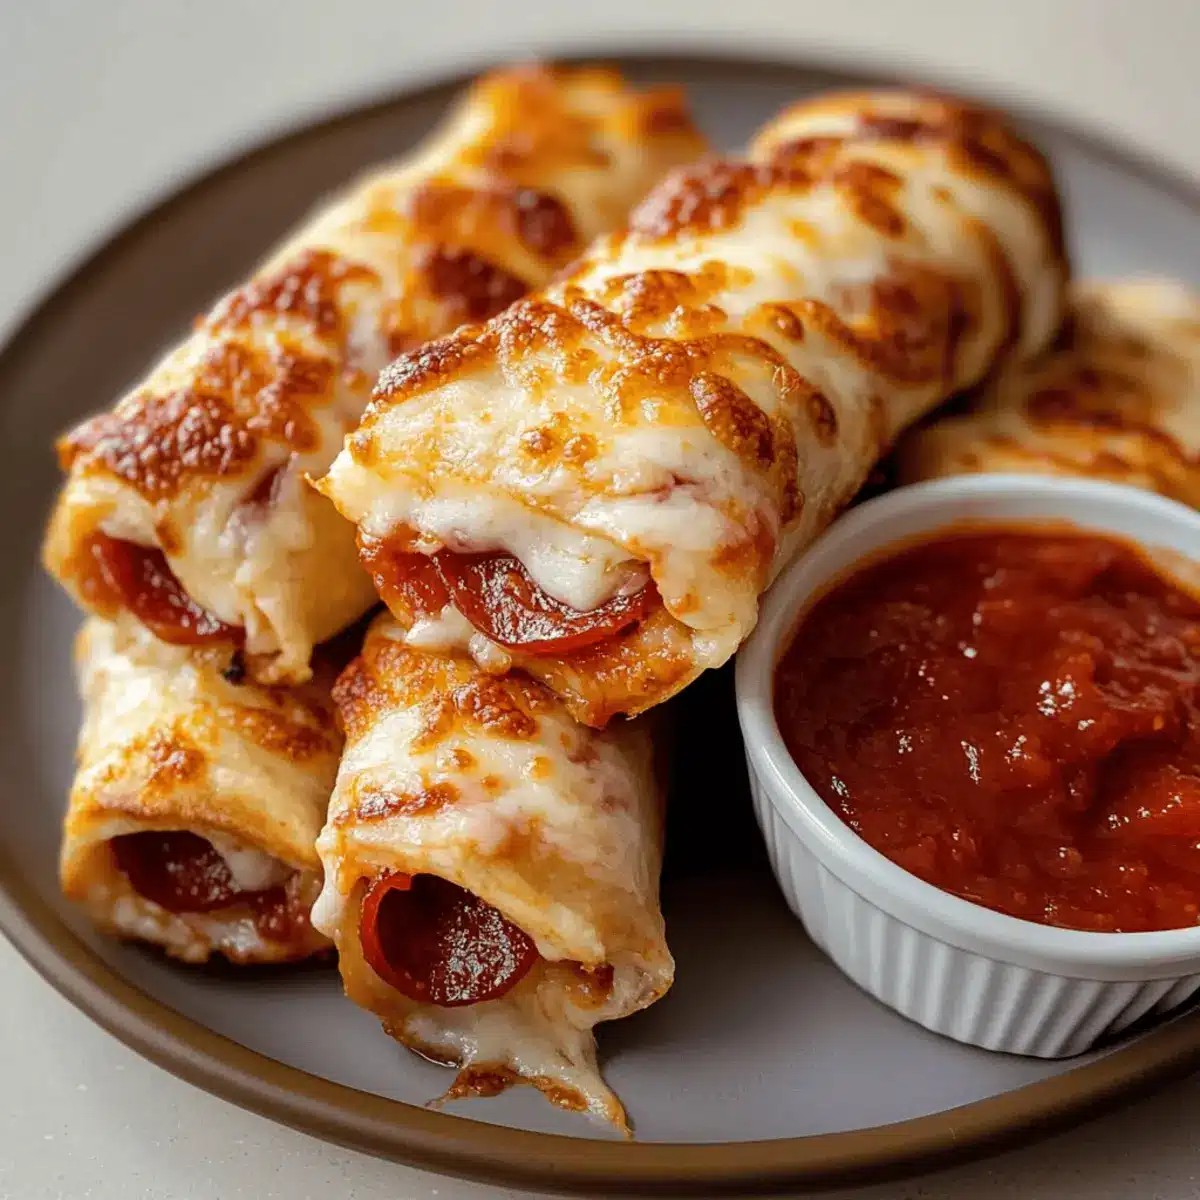
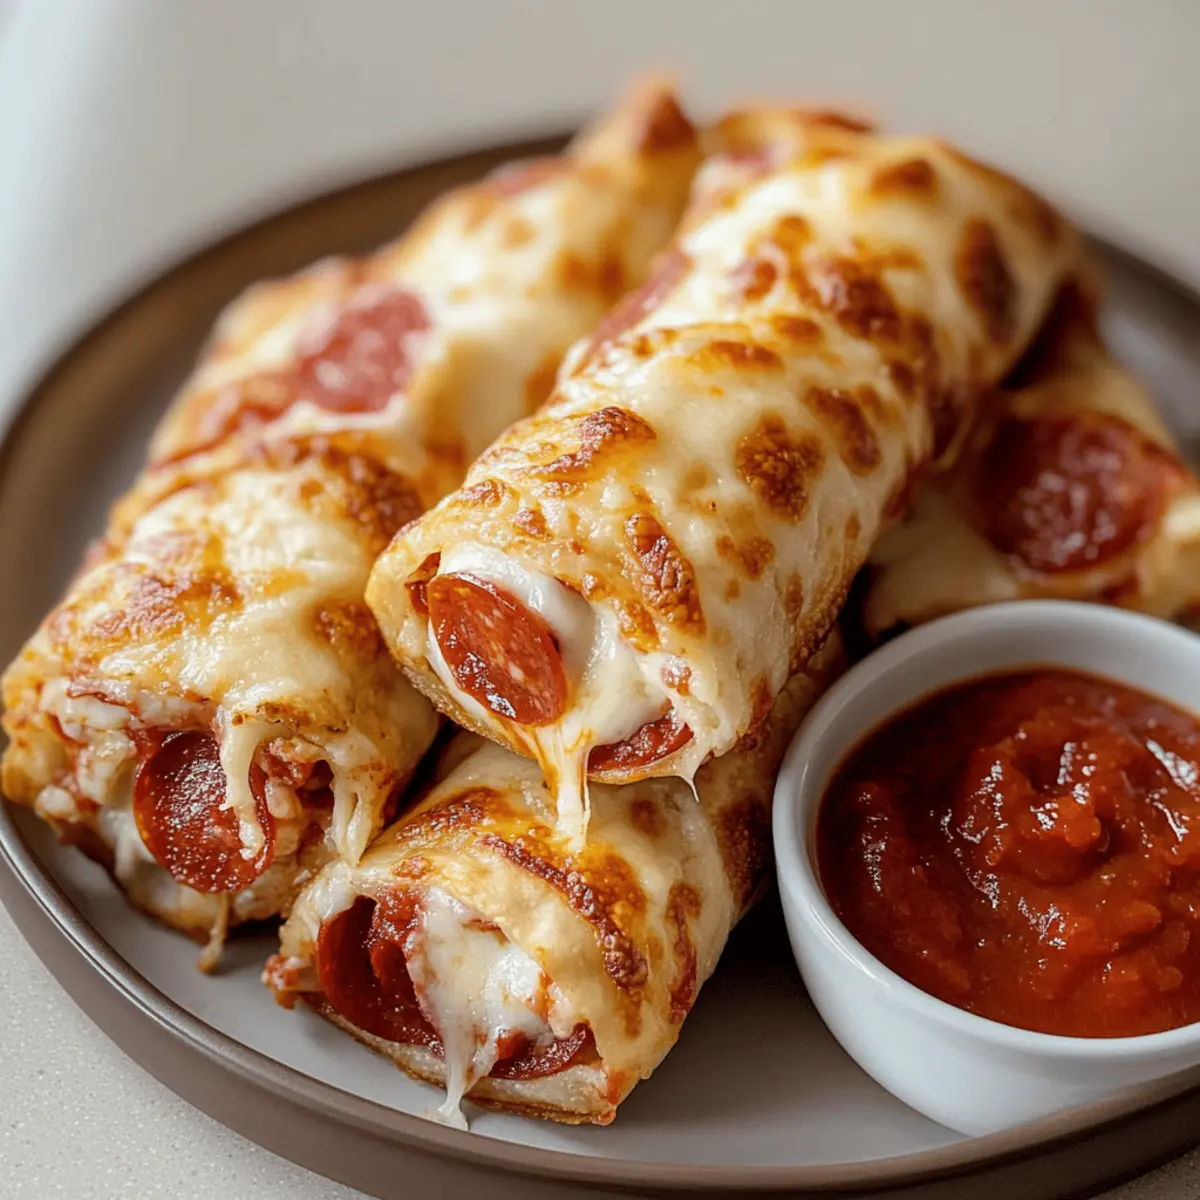
Flavor Explosion: The combination of melty mozzarella and spicy pepperoni delivers pizza goodness in every bite, all wrapped in a satisfying crispy tortilla.
Customizable Delight: Feel free to mix things up! Add your favorite veggies or swap the pepperoni for turkey slices for a healthier twist.
Low-Carb Love: Perfectly tailored for keto enthusiasts, these roll-ups keep the carbs low while maximizing flavor. You’ll crave them again and again!
Crowd Pleaser: Whether it’s a family game night or a movie marathon, these roll-ups are sure to impress your guests. Pair them with a side of marinara for an extra zing!
Elevate your snack game today and discover more tasty ideas like Tortilla Pizza Rolls or Hot Honey Pepperoni for your next get-together.
Ingredients for Cheesy Pepperoni Pizza Roll-Ups
• Perfect for a quick, low-carb snack!
For the Roll-Ups
- Low-Carb Tortillas – Essential for structure; choose Mission’s carb-smart tortillas for the best results.
- Marinara Sauce – Provides a tasty flavor layer; evenly spread 2 tablespoons per tortilla to avoid sogginess.
- Shredded Mozzarella Cheese – The star of the show for cheesiness; freshly shredded melts beautifully.
- Pepperoni – Adds savory delight; opt for less oily slices or hot pepperoni for a spicy kick.
- Olive Oil – Used to brush the exterior; helps create a golden, crispy crust when baked.
Get ready to roll up these cheesy delights!
Step‑by‑Step Instructions for Cheesy Pepperoni Pizza Roll Ups
Step 1: Preheat the Oven
Begin by preheating your oven to 375°F (190°C). This ensures that your Cheesy Pepperoni Pizza Roll Ups will cook evenly and develop a lovely golden crust. A hot oven is crucial for achieving that crispy exterior!
Step 2: Prepare the Tortillas
Lay your low-carb tortillas flat on a clean surface. Carefully spread approximately 2 tablespoons of marinara sauce on each tortilla, leaving about a half-inch border around the edges to prevent any sauce from spilling out during the roll-up process.
Step 3: Add Cheese
Sprinkle a generous amount of freshly shredded mozzarella cheese over the marinara sauce. Ensure an even layer across the tortilla to maximize the cheesy goodness. The cheese is the star of the show, helping to create that melty, delicious texture you’re craving in these roll ups.
Step 4: Layer Pepperoni
Next, arrange the pepperoni slices evenly on top of the cheese. Distributing them evenly avoids any dry spots and allows the flavors to meld perfectly. Feel free to adjust the amount of pepperoni to suit your taste, whether you like it mild or prefer an extra spicy kick!
Step 5: Roll the Tortillas
Carefully roll the tortillas tightly from one end to the other, ensuring that all the fillings stay secure inside. The tighter the roll, the better the Cheesy Pepperoni Pizza Roll Ups will hold together during baking.
Step 6: Brush with Olive Oil
Once the tortillas are rolled, use a pastry brush to lightly coat the exterior with olive oil. This step not only enhances the flavor but also helps achieve that crispy, golden texture you desire after baking.
Step 7: Bake the Roll Ups
Place the roll ups seam-side down on a baking sheet lined with parchment paper. Bake them in your preheated oven for 10-12 minutes. They are ready when they turn golden brown and the cheese starts bubbling out, filling your kitchen with mouthwatering aromas.
Step 8: Cool and Slice
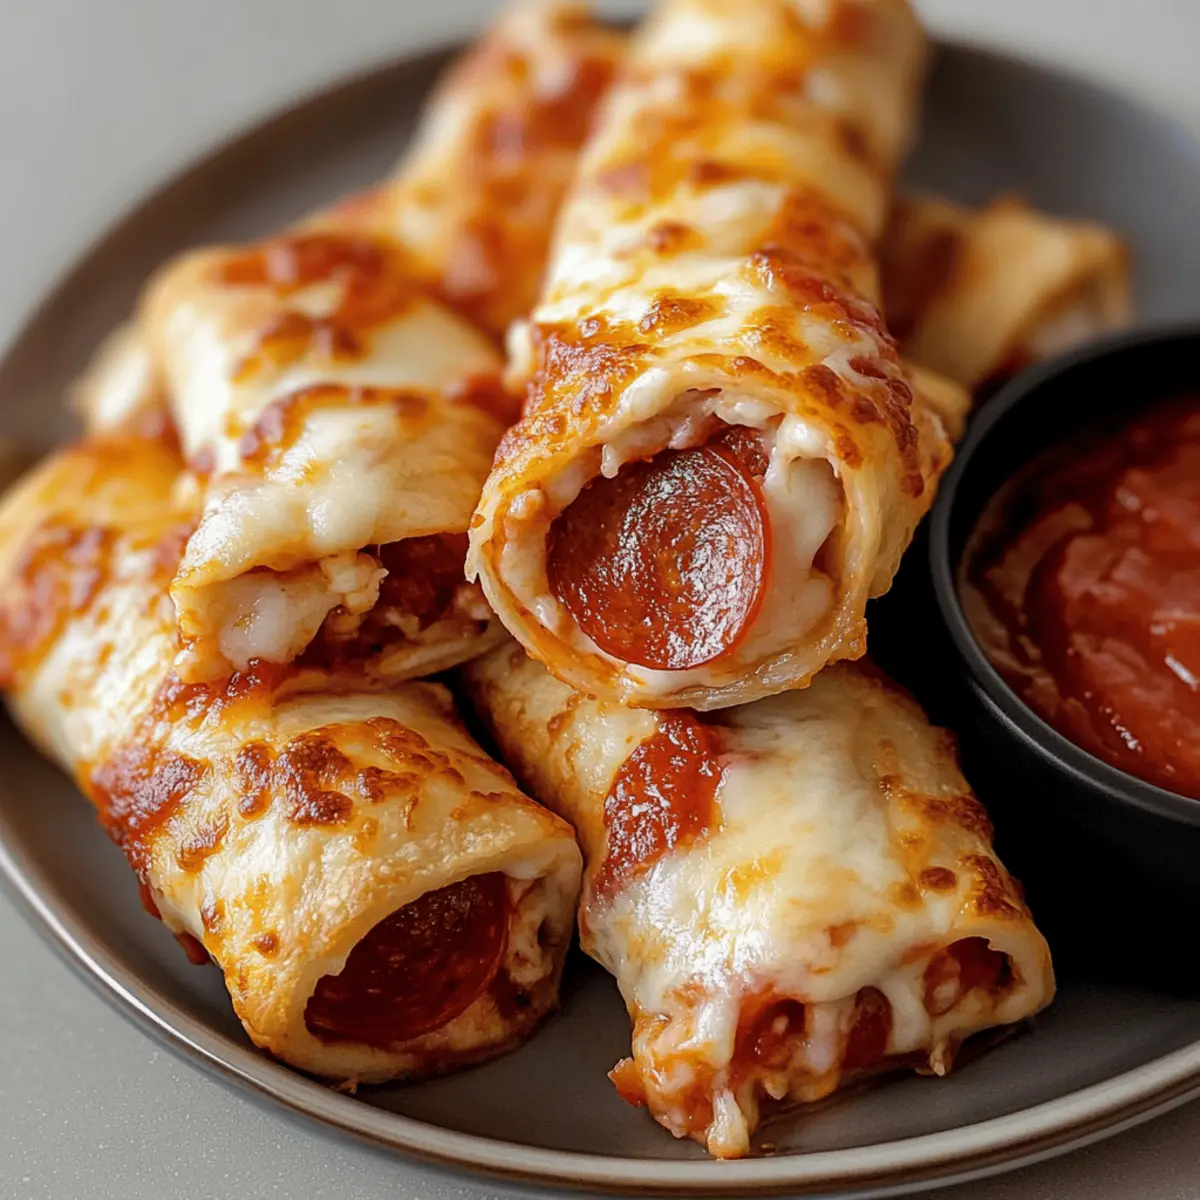
After baking, remove the Cheesy Pepperoni Pizza Roll Ups from the oven and allow them to cool for a couple of minutes. This helps the cheese set a bit, making it easier to slice. Once cool, slice them into bite-sized pieces for serving!
Step 9: Serve and Enjoy
Serve your Cheesy Pepperoni Pizza Roll Ups warm with a side of marinara sauce for dipping. These delightful snacks are perfect for sharing and indulging during family gatherings or cozy movie nights, elevating your snack game to delicious new heights!
How to Store and Freeze Cheesy Pepperoni Pizza Roll-Ups
Fridge: Store leftover Cheesy Pepperoni Pizza Roll-Ups in an airtight container for up to 3 days. This keeps them fresh while preventing sogginess.
Freezer: For longer storage, freeze the roll-ups in a single layer on a baking sheet until firm, then transfer to an airtight container or freezer bag, storing for up to 2 months.
Reheating: To reheat, place frozen roll-ups in a preheated 350°F oven for 10-15 minutes until warmed through and crispy again. Enjoy as the perfect quick snack anytime!
Expert Tips for Cheesy Pepperoni Pizza Roll-Ups
-
Perfect Sauce Spread: Ensure the marinara is spread evenly, leaving a half-inch border to prevent sogginess and ensure a clean roll-up.
-
Cheese Choice Matters: Opt for freshly shredded mozzarella; it melts beautifully and enhances the cheesy experience in your roll-ups.
-
Tortilla Texture: Use Mission’s low-carb tortillas for sturdiness; avoid overly oily pepperoni to keep the roll-ups from becoming soggy.
-
Crispy Finish: For an extra crispy texture, place the roll-ups on a wire rack during baking to allow air circulation around them.
-
Air Frying Adjustment: If using an air fryer, cook at 375°F for 6-8 minutes, flipping halfway through for a perfectly crispy finish on your cheesy pepperoni pizza roll-ups.
What to Serve with Cheesy Pepperoni Pizza Roll-Ups
Delight your guests with enticing sides that will elevate your pizza roll experience to new heights!
-
Fresh Salad: A crisp garden salad with a tangy vinaigrette balances the rich flavors of the roll-ups, adding a refreshing crunch.
-
Garlic Breadsticks: Soft, warm breadsticks served with marinara make for a hearty, comforting duo that everyone loves.
-
Veggie Platter: A colorful assortment of sliced cucumbers, carrots, and bell peppers provides a crunchy, healthy option alongside the cheesy goodness.
-
Buffalo Wings: Spicy buffalo wings bring an exciting kick to your meal. This duo is perfect for the ultimate game day snack spread!
-
Coleslaw: Creamy coleslaw offers a contrasting texture and coolness that beautifully complements the roll-ups’ warmth.
-
Craft Beer: A chilled craft beer with hoppy notes enhances the flavor of the pepperoni, making your snack time even more enjoyable.
-
Chocolate Mug Cake: End on a sweet note with a warm chocolate mug cake—rich, indulgent, and ready in minutes for a delightful dessert after savory bites!
Make Ahead Options
These Cheesy Pepperoni Pizza Roll-Ups are a fantastic choice for meal prep! You can prepare them up to 24 hours in advance by assembling the roll-ups and storing them in an airtight container in the fridge. To maintain their quality, avoid brushing them with olive oil until you’re ready to bake, which helps keep that crispy exterior intact. When you’re ready to enjoy your roll-ups, simply preheat the oven to 375°F (190°C), brush the prepared roll-ups with olive oil, and bake for 10-12 minutes until they’re golden brown and the cheese is bubbly. This way, you’ll have a quick, satisfying snack ready with minimal effort!
Cheesy Pepperoni Pizza Roll-Ups Variations
Feel free to get creative with these roll-ups; the possibilities are mouthwatering and yours to explore!
-
Veggie-Packed: Add bell peppers or olives for a nutritious crunch, just be sure to pat them dry beforehand to prevent sogginess. You can elevate the flavor profile and enjoy extra color in every bite!
-
Gluten-Free: Substitute almond flour tortillas for a gluten-free option. This swap keeps the roll-ups just as satisfying while catering to dietary needs. You may need to adjust the baking time slightly, but the deliciousness remains!
-
Spicy Twist: Swap regular pepperoni for spicy hot pepperoni or even chorizo to kick up the heat. You’ll find that each bite delivers an extra fiery punch, making your snack time exciting and bold.
-
Cheesy Overload: Mix in some cheddar or pepper jack cheese with the mozzarella for an extra cheesy adventure. This combination yields even more gooey goodness and a delightful flavor surprise that cheese lovers will adore.
-
Herb Infusion: Sprinkle fresh herbs like basil or oregano over the marinara sauce for aromatic notes. Adding this fresh element can transport you straight to Italy!
-
BBQ Flavor: Replace the marinara with barbecue sauce and use grilled chicken instead of pepperoni for a smoky twist. Trust me, this flavorful take brings a whole new character to your movie night snacks!
-
Sweet and Savory: Drizzle a little honey over the filling before rolling for a sweet contrast that pairs perfectly with spicy pepperoni. It can create a delightful balance that dances on your taste buds!
-
Tortilla Choices: Explore other low-carb tortillas—spinach or cauliflower tortillas can introduce new flavors and colors to the dish. Just be aware that different brands may require slight adjustments in cooking time.
Elevate your snacking game and check out ideas like Crab Alfredo Roll or Cheesy Chicken Crescent to keep the excitement alive!
Cheesy Pepperoni Pizza Roll-Ups Recipe FAQs
How do I select the best low-carb tortillas?
Absolutely, when choosing low-carb tortillas, I recommend looking for brands like Mission’s Carb Smart as they offer great texture and flavor. Check the packaging for a low net carb count, and ensure there are no dark spots or odd smells, which can indicate they’re past their prime. Fresh tortillas will make for a superior roll-up!
What’s the best way to store leftover roll-ups?
After enjoying your Cheesy Pepperoni Pizza Roll-Ups, store any leftovers in an airtight container in the refrigerator for up to 3 days. Make sure they are cooled completely before sealing the container to prevent moisture buildup, which can make them soggy.
Can I freeze the roll-ups for later?
Absolutely! To freeze your Cheesy Pepperoni Pizza Roll-Ups, allow them to cool completely first. Then, arrange them in a single layer on a baking sheet and freeze until firm. Afterward, transfer them to an airtight container or a freezer bag, and they’ll stay fresh for up to 2 months. When ready to enjoy, simply reheat in a preheated 350°F oven for 10-15 minutes.
What should I do if my roll-ups turn out soggy?
If your roll-ups end up soggy, it might be due to too much sauce or moisture from the ingredients. To fix this next time, make sure to spread the marinara sauce evenly and stick to around 2 tablespoons per tortilla. Additionally, you can pat any veggies dry before adding them, and consider elevating the roll-ups on a wire rack while baking to help them crisp up.
Are these roll-ups suitable for gluten-free diets?
Yes! You can easily make Cheesy Pepperoni Pizza Roll-Ups gluten-free by substituting traditional tortillas with almond flour tortillas or any gluten-free wrap of your choice. Just keep an eye on the baking time, as gluten-free options can vary in thickness and cook faster.
Can my pets enjoy these roll-ups too?
While the Cheesy Pepperoni Pizza Roll-Ups are delicious for us humans, it’s best not to share them with pets. The ingredients, such as cheese and pepperoni, can be problematic for many animals. Always consult your veterinarian on pet-safe treats!
Savory Cheesy Pepperoni Pizza Roll Ups for Quick Snacks
Ingredients
Equipment
Method
- Preheat the Oven to 375°F (190°C).
- Lay low-carb tortillas flat and spread 2 tablespoons of marinara sauce on each.
- Sprinkle shredded mozzarella cheese evenly over the marinara sauce.
- Layer pepperoni slices evenly on top of the cheese.
- Roll the tortillas tightly from one end to the other.
- Brush the exterior of the rolled tortillas with olive oil.
- Place roll-ups seam-side down on a baking sheet lined with parchment paper and bake for 10-12 minutes.
- Remove from oven, let cool for a few minutes, then slice into bite-sized pieces.
- Serve warm with a side of marinara sauce for dipping.
Leave a Reply