
As I caught the inviting scent of baked chocolate wafting through my kitchen, I could hardly wait to dig into my latest creation—Chewy Gluten-Free Chocolate Chip Cookie Bars. These dreamy bars meld all the classic flavors we adore, yet they’re incredibly easy to whip up, making them perfect for any gathering or a sweet treat after dinner. With their deliciously chewy texture and the option for healthier substitutes like coconut sugar and almond flour, you can indulge without the guilt. Imagine treating loved ones to homemade goodness that’s gluten-free and lower in sugar, all while showcasing your culinary prowess. Ready to make this delectable dessert that will leave everyone asking for seconds? Let’s dive in!

Why Choose These Cookie Bars?
Simplicity at Its Finest: Creating these bars requires minimal effort, making them perfect for any home chef.
Chewy Delight: With their irresistibly chewy texture, they deliver that classic cookie experience in a convenient bar form.
Healthier Indulgence: Enjoy a guilt-free treat with gluten-free options and lower sugar alternatives, like using coconut sugar instead of regular sugar.
Customizable Flavors: Feel free to mix things up! Experiment with nutty flavors by swapping in different chocolate chips or adding nuts for texture.
Quick Treat: Prepare these delicious bars in no time—they make an impressive dessert that’s ready to serve in just 30 minutes! If you’re looking for more delightful ideas, check out Coconut Shrimp Sweet or Fish Tacos Lime to complement your meal!
Chocolate Chip Cookie Bar Ingredients
For the Batter
- Almond Flour – Provides a gluten-free base and nutty flavor; can substitute with oat flour for a different taste.
- Coconut Sugar – Adds sweetness with a lower glycemic index; substitute with brown sugar for a more traditional flavor.
- Baking Soda – Acts as a leavening agent for slight rise; ensure it’s fresh for the best results.
- Eggs – Bind the mixture together and contribute to the chewy texture; use flax eggs for a vegan option.
- Dark Chocolate Chips – Enhance the rich chocolate flavor; can replace with dairy-free chips for a vegan twist.
- Butter – Provides richness; substitute with coconut oil for a dairy-free alternative.
For the Topping (optional)
- Sea Salt Flakes – A sprinkle on top enhances the flavors and adds a delightful crunch.
- Chopped Nuts – Can add extra texture and flavor; feel free to use walnuts or pecans.
These Chocolate Chip Cookie Bars are a scrumptious blend of flavors, with the option for healthier substitutions that still satisfy your sweet tooth!
Step‑by‑Step Instructions for Chewy Gluten-Free Chocolate Chip Cookie Bars
Step 1: Preheat the Oven
Begin by preheating your oven to 350°F (175°C). While it heats, take a moment to line an 8×8-inch baking pan with parchment paper to ensure easy removal of your delicious Chewy Gluten-Free Chocolate Chip Cookie Bars once baked.
Step 2: Mix the Dry Ingredients
In a large mixing bowl, combine 2 cups of almond flour with 3/4 cup of coconut sugar and 1 teaspoon of baking soda. Use a whisk to blend the ingredients thoroughly. The mixture should be uniform and lump-free, setting a solid foundation for the chewy bars you’re about to create.
Step 3: Prepare the Wet Ingredients
In a separate bowl, crack 2 large eggs and whisk them together with 1/2 cup of melted butter until smooth. This creamy mixture will help bind your dry ingredients together, which is essential for achieving that irresistibly chewy texture in your cookie bars.
Step 4: Combine Wet and Dry Ingredients
Pour the egg and butter mixture into the bowl of dry ingredients, mixing gently until just combined. Be careful not to overmix, as this can affect the texture. Next, fold in 1 cup of dark chocolate chips, ensuring they’re evenly distributed throughout the batter for a chocolatey delight in every bite.
Step 5: Pour and Spread the Batter
Transfer the cookie bar batter into your prepared baking pan, using a spatula to spread it out evenly. Make sure it reaches all corners of the pan so each bar bakes uniformly. The batter should be thick and slightly resistant as you spread it into a smooth layer.
Step 6: Bake the Cookie Bars
Place the prepared pan into your preheated oven and bake for 20-25 minutes. Keep an eye out for the edges turning lightly golden and a toothpick inserted in the center coming out clean or with a few moist crumbs. This ensures your Chewy Gluten-Free Chocolate Chip Cookie Bars remain delightfully soft inside.
Step 7: Cool the Bars
Once baked, remove the pan from the oven and let it cool for about 10 minutes on a wire rack. This step allows the bars to set properly. After cooling slightly, carefully lift the bars from the pan using the parchment paper and let them cool completely on the rack before cutting.
Step 8: Slice and Serve
Once the cookie bars have cooled, use a sharp knife to cut them into squares or rectangles. These chewy delights are perfect to serve immediately or can be stored in an airtight container for your next sweet craving. Enjoy your delicious homemade treat!
Storage Tips for Chocolate Chip Cookie Bars
Room Temperature: Store cookie bars in an airtight container at room temperature for up to 5 days to maintain their chewy texture and flavor.
Fridge: If you prefer a chilled treat, refrigerate the bars in an airtight container for up to 7 days. The cool temperature enhances the chocolate flavor.
Freezer: For longer storage, freeze the bars wrapped tightly in plastic wrap or placed in an airtight container for up to 3 months. Thaw at room temperature before enjoying.
Reheating: To restore freshness, warm individual bars in the microwave for about 10-15 seconds, allowing the chocolate chips to melt slightly for that comforting, gooey goodness.
Make Ahead Options
These Chewy Gluten-Free Chocolate Chip Cookie Bars are perfect for those busy weeknights when time is tight! You can mix the dry ingredients (2 cups almond flour, 3/4 cup coconut sugar, and 1 teaspoon baking soda) and store them in an airtight container for up to 3 days. Meanwhile, whisk the wet ingredients (2 eggs and 1/2 cup melted butter) and store them in the fridge for up to 24 hours. When you’re ready to bake, simply combine the dry and wet mixtures, fold in the chocolate chips, and proceed with baking as directed. This way, you’ll enjoy delightful homemade cookie bars without the stress, all while savoring that luscious, chewy texture just like freshly baked!
What to Serve with Chewy Gluten-Free Chocolate Chip Cookie Bars
There’s nothing quite like a warm dessert that invites you to create a complete meal experience filled with joy and flavor.
- Vanilla Ice Cream: A classic pairing, its creaminess complements the chewy texture of the bars, creating a decadent treat.
- Fresh Berries: The tartness of raspberries or strawberries provides a refreshing contrast to the sweetness of the cookie bars.
- Coconut Whipped Cream: Light and airy, this subtly sweet topping enhances the coconut notes in the bars without overwhelming them.
- Nutty Granola: A sprinkle of granola adds crunch and texture, making each bite of the cookie bars even more delightful.
- Iced Coffee: Pairing these bars with a chilled coffee not only refreshes but also highlights the chocolatey goodness with a rich flavor profile.
- Milk or Plant-based Milk: A glass of classic milk or almond milk brings nostalgia and balances out the sweetness, making each bite melt in your mouth.
- Chocolate Dipping Sauce: For those extra indulgent moments, a drizzle of warm chocolate sauce elevates the dessert experience.
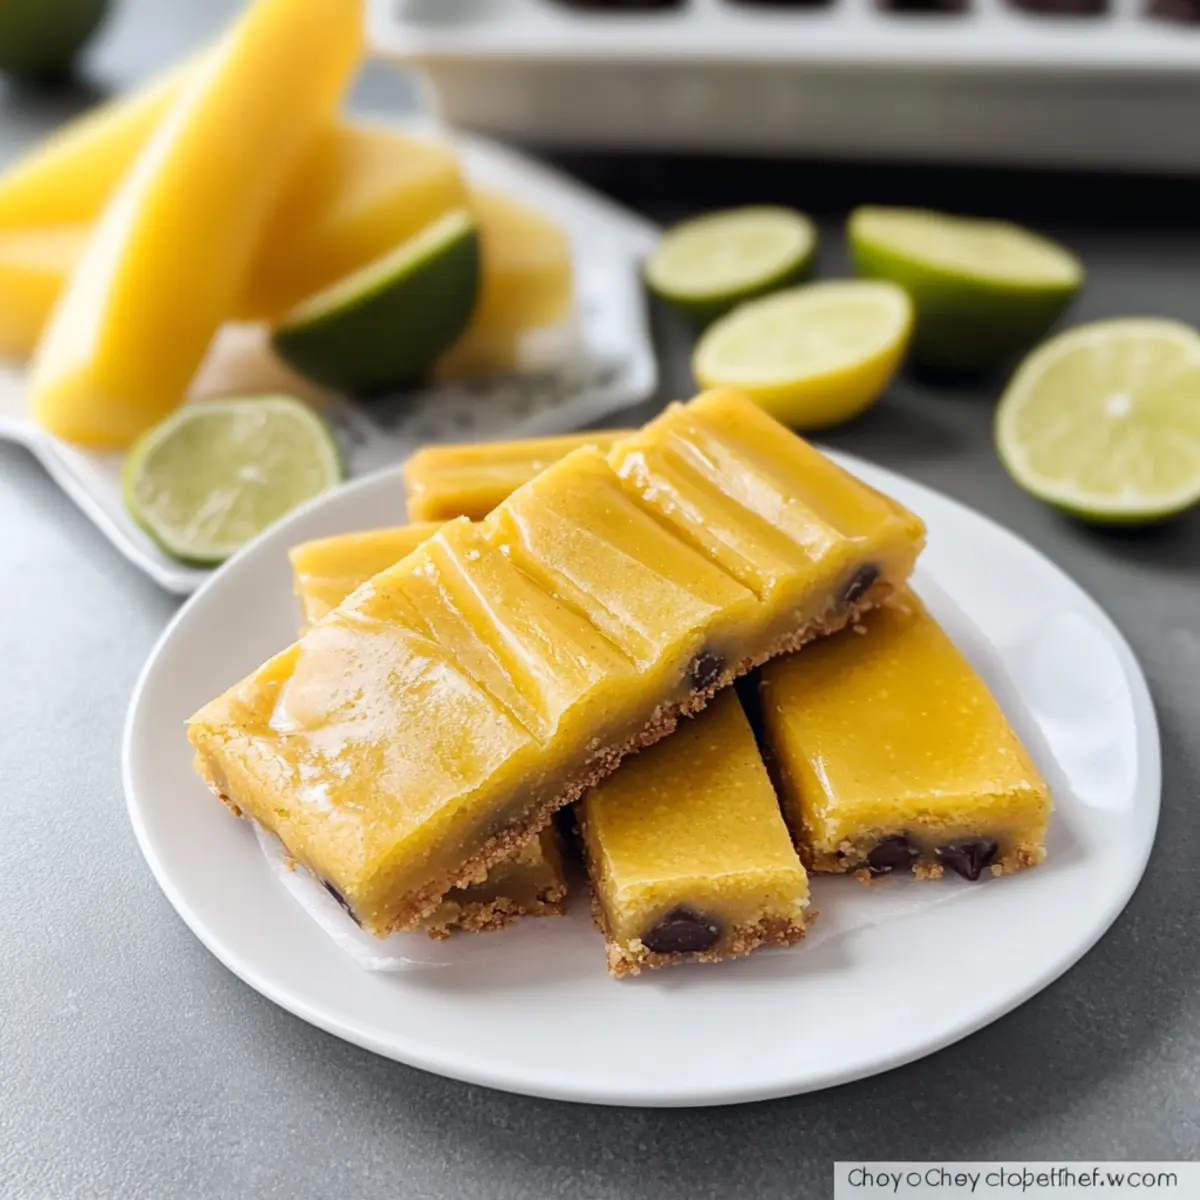
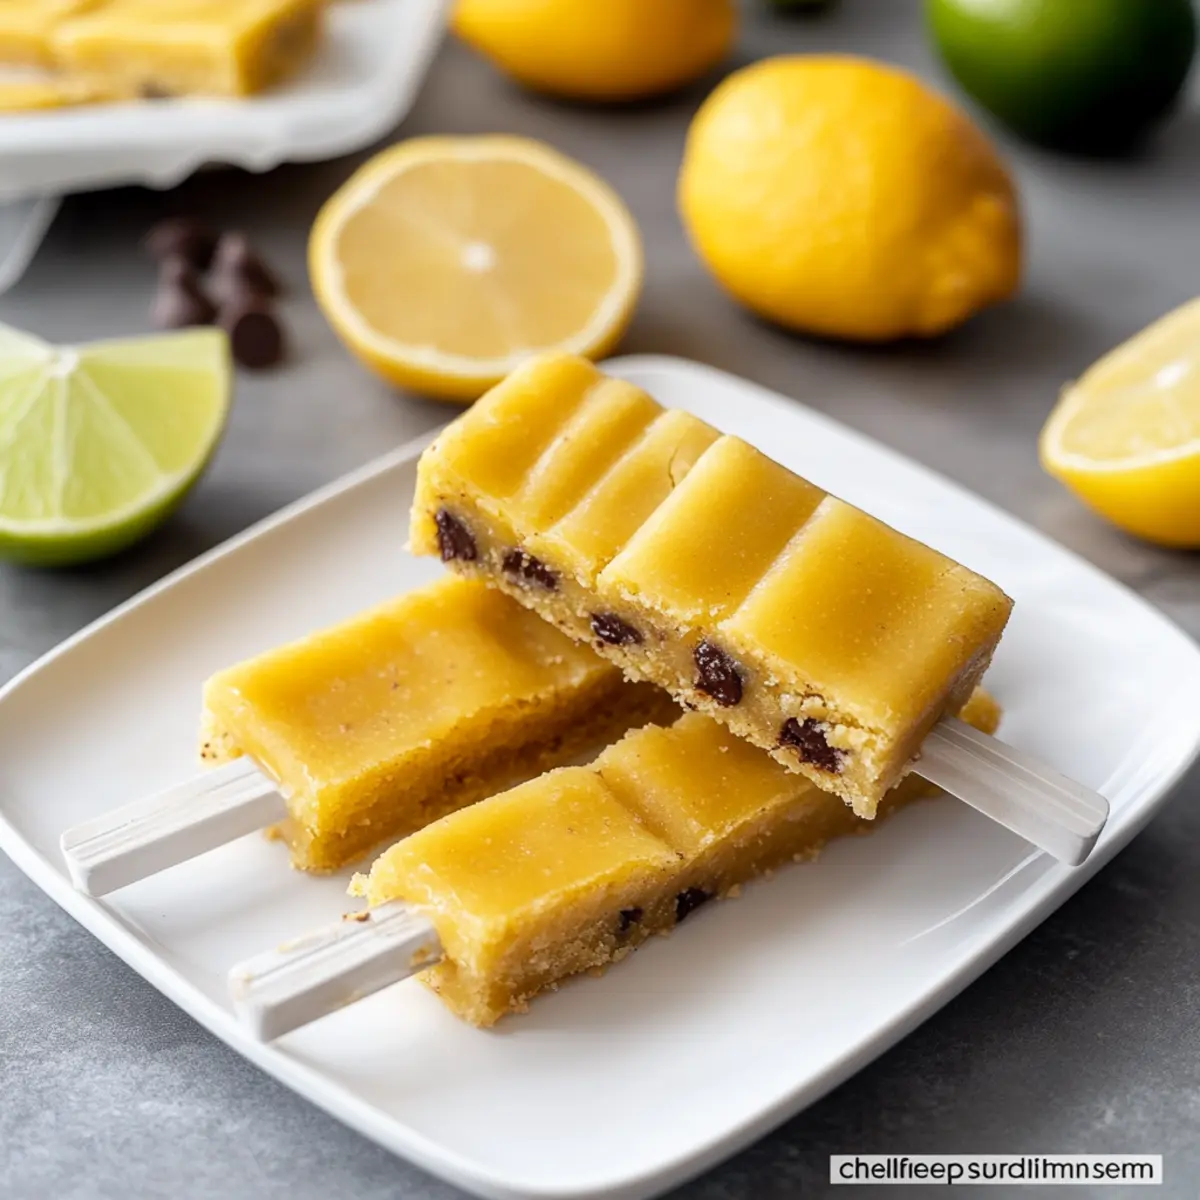
- Mango Coconut Lime Popsicles: A fun and fruity sidekick, these popsicles offer a vibrant, tropical twist that will brighten your summer gatherings.
- Brown Sugar Cinnamon Muffins: Their spiced sweetness can enhance the overall dessert table while adding warmth and comfort.
No matter your choice, these ideas will transform your cookie bars into the star of a splendid dessert spread!
Expert Tips for Chewy Gluten-Free Cookie Bars
Even Baking: Ensure even baking by spreading the batter uniformly in the pan; this prevents uneven cook times and tough edges.
Watch the Timer: Do not overbake; keep an eye on the bars around the 20-minute mark. They should be soft in the center for that chewy texture.
Ingredient Freshness: Use fresh baking soda for best results. If it’s stale, the bars may not rise properly, leading to a denser texture.
Mix-In Variety: Mix-ins can elevate your cookie bars; consider adding nuts or dried fruits for added flavor and nutrition.
Cooling Time: Allow the cookie bars to cool before cutting. This helps them firm up and makes for cleaner slices.
Variations & Substitutions for Chocolate Chip Cookie Bars
Feel free to let your creativity shine by customizing these cookie bars to fit your taste and dietary needs!
-
Gluten-Free: Substitute almond flour with coconut flour for a different flavor, but remember to use less since coconut flour absorbs more moisture.
-
Lower Sugar: Swap out coconut sugar for a natural sweetener like stevia to cut down on sugar while maintaining sweetness.
-
Vegan Option: Use flax eggs (1 tbsp ground flaxseed + 3 tbsp water) to replace regular eggs, making this treat completely plant-based.
-
Nuts Galore: Toss in some chopped walnuts or pecans for an added crunch and rich flavor that complements the chocolate beautifully.
-
Flavor Boost: Enhance the flavor by adding a teaspoon of vanilla extract to the wet mix; it adds warmth and depth to each bite.
-
Chocolate Twist: Replace dark chocolate chips with white chocolate or butterscotch chips for a delightful twist that’ll surprise your guests.
-
Coconut Lover: Incorporate shredded coconut into the batter for a tropical flair that enhances the sweetness and texture—perfect for summer parties!
For even more delicious ideas, check out Coconut Shrimp Sweet or Chili Lime Flank to complement your dessert!
Chewy Gluten-Free Chocolate Chip Cookie Bars Recipe FAQs
How do I choose the right almond flour?
Absolutely! Look for ultra-fine almond flour to ensure a smooth texture in your cookie bars. You might notice that some brands have a coarser grind which can affect the final chewiness. Also, check the packaging date to ensure freshness as old almond flour can have a rancid taste.
What is the best way to store leftovers?
Very! Store your cookie bars in an airtight container at room temperature for about 5 days. If you want them to last longer, pop them into the fridge, where they’ll stay fresh for up to a week. Just remember to let them come back to room temperature before serving for that perfect chewy texture!
Can I freeze the cookie bars?
Absolutely! To freeze your cookie bars, wrap them tightly in plastic wrap or place them in an airtight container. They can be stored in the freezer for up to 3 months. When you’re ready to enjoy, let them thaw at room temperature for a couple of hours or microwave for 10-15 seconds for a warm, gooey dessert.
What if my cookie bars turn out too dry?
Oh no, that can happen sometimes! If your bars are dry, it could be due to overbaking or too much almond flour. To troubleshoot, always keep an eye on the baking time, especially after the 20-minute mark. If you overbake, they can lose their lovely chewiness. For the next batch, try measuring your ingredients by weight for more accuracy and ensure the center remains soft when you take them out.
Are these cookie bars suitable for people with nut allergies?
The more the merrier! Unfortunately, these specific cookie bars aren’t suitable for those with nut allergies due to the almond flour. However, you can experiment with oat flour (if gluten-free certified) or sunflower seed flour as alternatives. Just keep in mind, the flavor and texture may vary slightly, but it could still lead to a delightful treat!
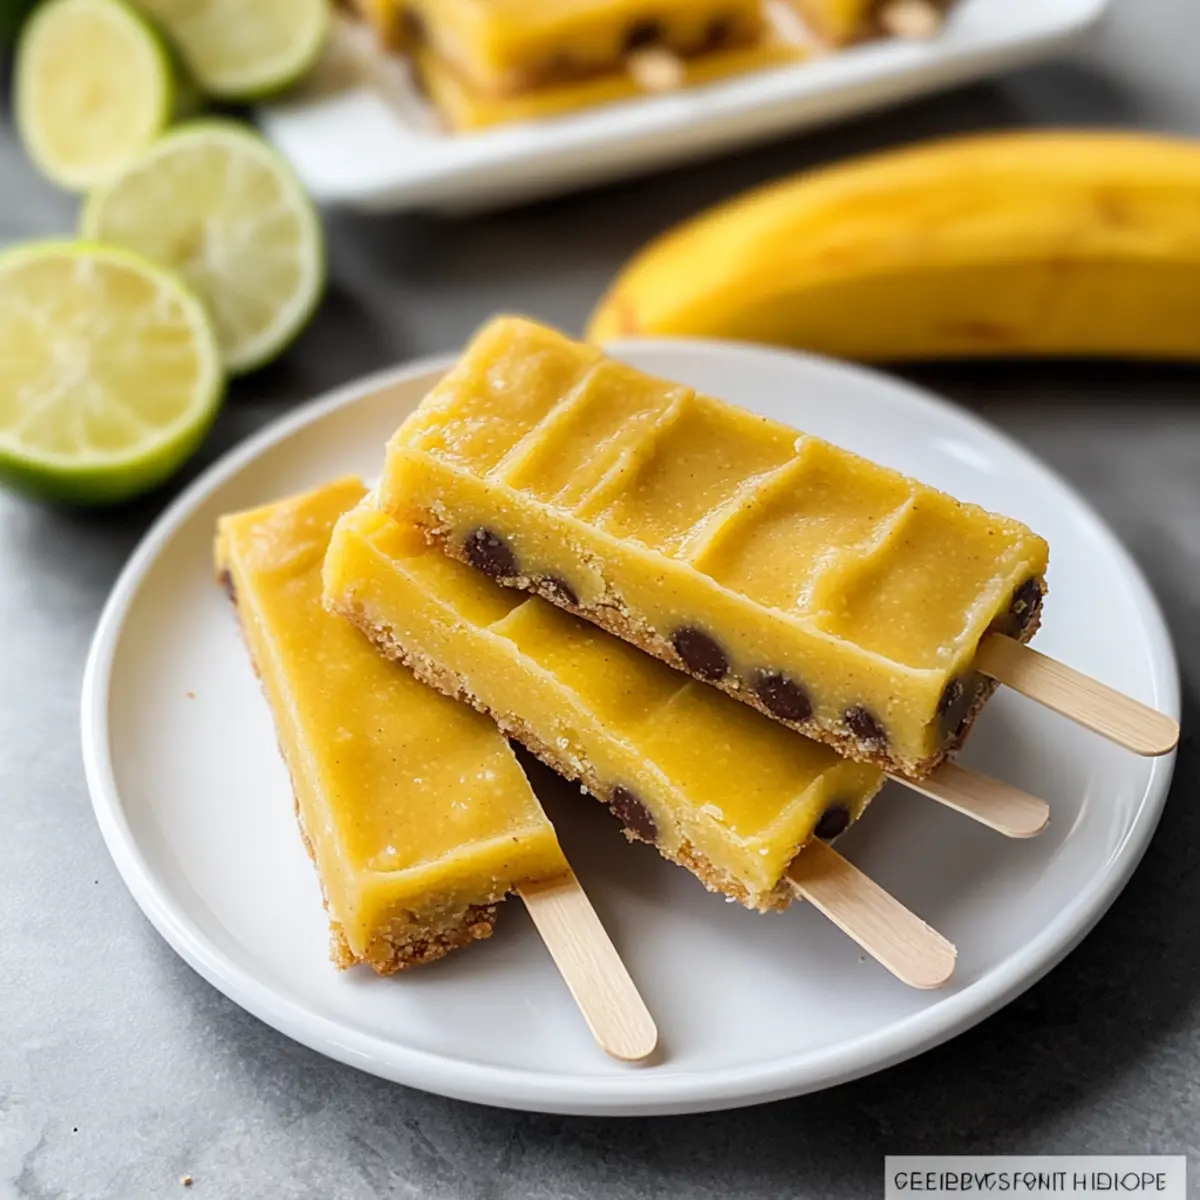
Delightful Homemade Mango Coconut Lime Popsicles for Summer Bliss
Ingredients
Equipment
Method
- Blend mango chunks, coconut milk, lime juice, and honey in a blender until smooth.
- Pour the mixture into popsicle molds.
- Insert sticks and freeze for at least 4 hours or until solid.
- To remove, run warm water over the outside of the mold.
- Enjoy your refreshing homemade popsicles!
Leave a Reply