
As the sun begins to set and a warm breeze flows through my kitchen, I can’t help but feel the excitement of whipping up a batch of Key Lime Cheesecake Bars. Forget the hassle of sweetened condensed milk—this recipe gives you a creamy, tangy delight with just eight simple ingredients. These bars are not only a showstopper for gatherings but also a breeze to make, making them the perfect treat for those busy weeknights. With a crunchy graham cracker crust complementing the smooth cheesecake filling, every bite transports you straight to a sun-soaked beach. Whether it’s a family gathering or just a sweet escape after dinner, these bars are guaranteed to impress. Ready to dive into this refreshing dessert? Let’s get started!
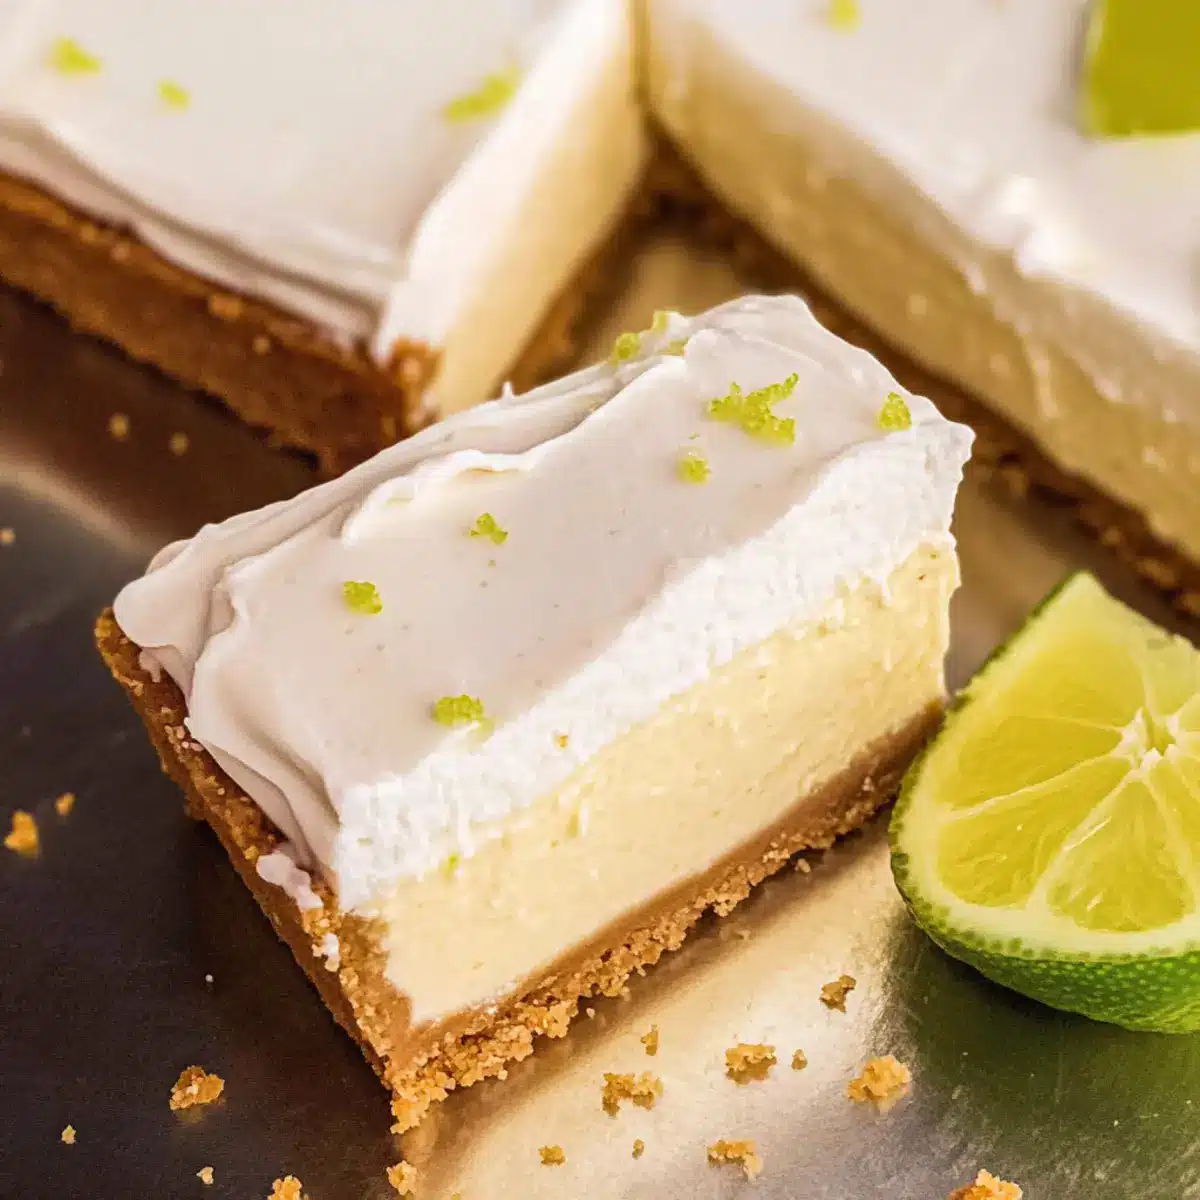
Why are Key Lime Cheesecake Bars amazing?
Fresh, Zesty Flavor: The combination of key lime juice and cream cheese creates a refreshing and tangy experience that’s simply unforgettable.
Simple Ingredients: With just eight pantry staples, you’ll have everything you need to create this delicious dessert without breaking the bank.
No Sweetened Condensed Milk: This unique recipe skips the heavy sweet stuff, offering a lighter take on traditional cheesecake bars.
Perfect for Any Occasion: Whether it’s a summer picnic, a festive potluck, or a cozy family dinner, these bars will shine on any dessert table.
Make-Ahead Friendly: Ideal for busy schedules, you can whip these up in advance, chill, and serve whenever you’re ready. Plus, they store beautifully for up to five days!
Crowd-Pleasing Delight: Your friends and family will rave about these creamy bars, making them a guaranteed hit at any gathering!
Key Lime Cheesecake Bars Ingredients
For the Crust
• Graham Cracker Crumbs – Provides a sweet and buttery crust; substitute with gluten-free cracker crumbs for a gluten-free option.
• Granulated Sugar – Adds sweetness to both the crust and filling; can be replaced by coconut sugar for a deeper flavor.
• Butter – Acts as a binding agent for the crust; use dairy-free alternatives if needed.
For the Filling
• Cream Cheese – Creates a rich and creamy texture in the filling; for a lighter version, use Neufchâtel cheese.
• Key Lime Juice – Offers a bright and tangy flavor essential to Key Lime Cheesecake Bars; bottled key lime juice or a mix of lemon and lime juice can work in a pinch.
• Sour Cream – Adds creaminess and a subtle tang; can be substituted with Greek yogurt.
• Eggs – Provide structure and stability to the filling; for a vegan alternative, incorporate flax eggs or a commercial egg replacer.
For the Topping
• Stabilized Whipped Cream – A topping that balances the dense filling; traditional whipped cream can be a simpler option.
Step‑by‑Step Instructions for Key Lime Cheesecake Bars
Step 1: Preheat and Prepare the Pan
Start by preheating your oven to 350°F (175°C). While it’s heating, line a 9×13-inch baking pan with parchment paper, leaving some overhang for easy removal later. This step sets the foundation for your Key Lime Cheesecake Bars, ensuring a quick release after baking.
Step 2: Make the Crust
In a food processor, combine the graham cracker crumbs, melted butter, and granulated sugar. Pulse until the mixture resembles wet sand. Firmly press this mixture into the bottom of your prepared pan. Place it in the oven and bake for 8-12 minutes or until golden brown. This creates a crunchy base that perfectly complements the creamy filling.
Step 3: Lower the Oven Temperature
Once the crust is out of the oven, reduce the temperature to 325°F (162°C). This lower heat will help cook the filling evenly, resulting in a luscious texture for your Key Lime Cheesecake Bars. Allow the crust to cool slightly as you prepare the filling.
Step 4: Prepare the Filling
In a large mixing bowl, use an electric mixer to beat the cream cheese and granulated sugar together until smooth and creamy, about 2-3 minutes. Add in the fresh key lime juice, sour cream, and lime zest, mixing well until fully incorporated. This step creates a rich filling packed with zesty flavor.
Step 5: Incorporate the Eggs
From here, add the eggs one at a time to your cream cheese mixture, mixing on low just until incorporated after each addition. Be careful not to overmix; you want to avoid incorporating too much air, which can cause cracks in your finished Key Lime Cheesecake Bars.
Step 6: Bake the Filling
Carefully pour the cream cheese filling over the pre-baked crust, smoothing the top with a spatula. Place the pan back in the oven and bake for 40-42 minutes, or until the edges are set and the center has a slight jiggle. This step ensures a creamy yet stable filling.
Step 7: Cool and Chill
Once done, remove the pan from the oven and let it cool at room temperature for about one hour. Afterward, cover it and refrigerate for at least 6 hours, or preferably overnight. This allows the flavors to meld and the bars to firm up, making them easier to cut.
Step 8: Add the Topping and Serve
Before serving your decadent Key Lime Cheesecake Bars, prepare your stabilized whipped cream. Spread it evenly over the chilled bars. Garnish with lime zest and lime wedges as desired. This finishing touch will elevate your dessert, giving it a refreshing pop of color and flavor.
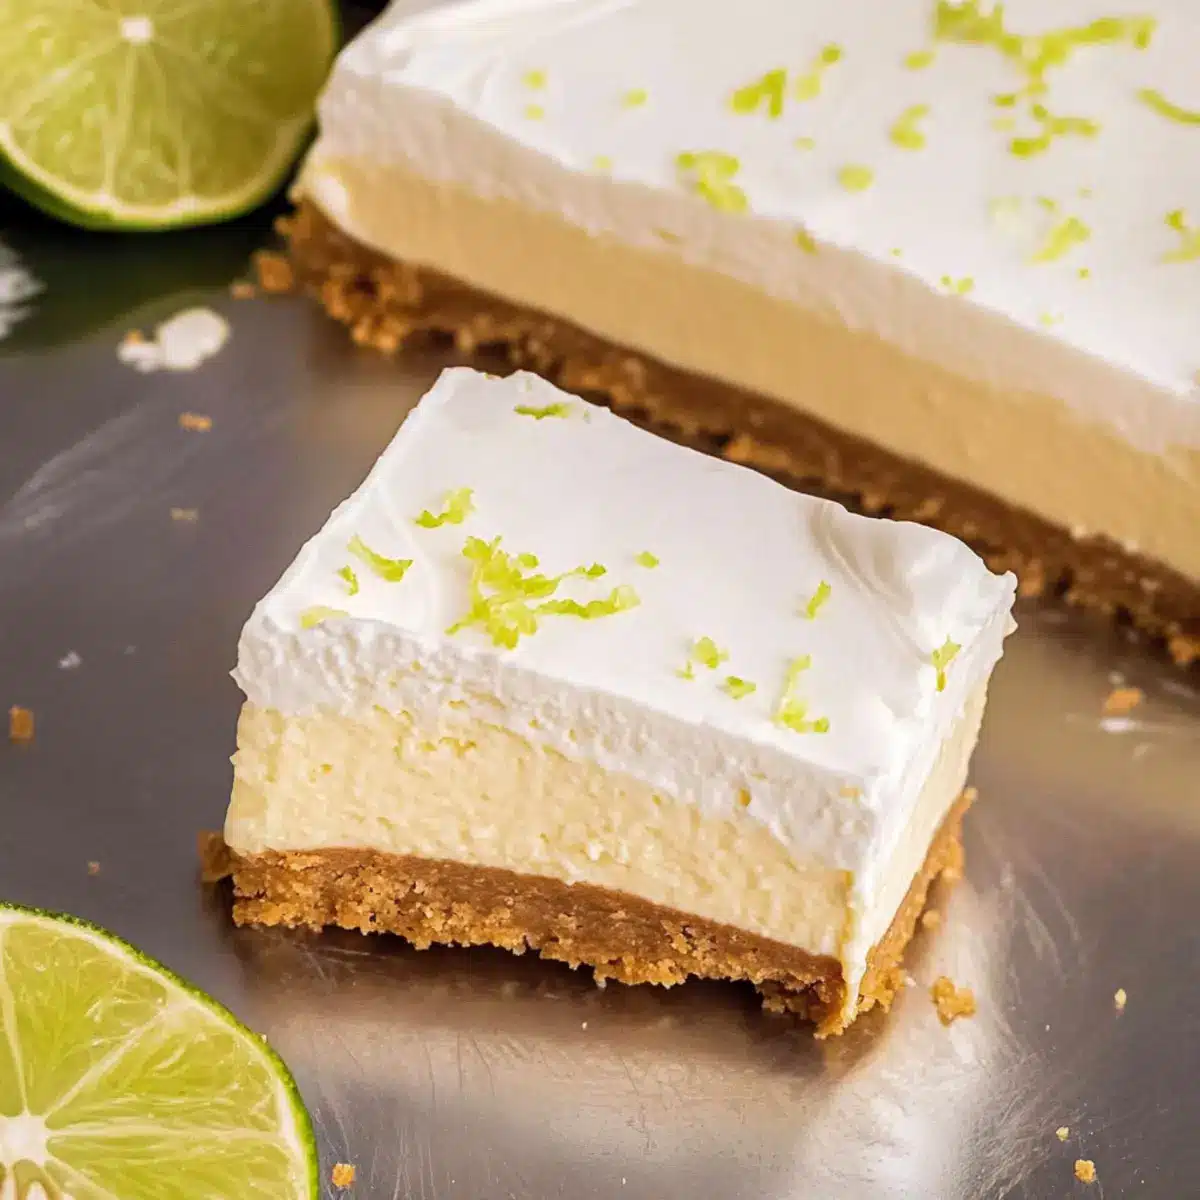
How to Store and Freeze Key Lime Cheesecake Bars
Fridge: Keep your Key Lime Cheesecake Bars in an airtight container in the refrigerator for up to 5 days. This ensures they remain fresh and maintain their creamy texture.
Freezer: You can also freeze these bars for up to 3 months. Wrap them tightly in plastic wrap and then aluminum foil to prevent freezer burn. Thaw in the fridge before serving.
Reheating: Since these cheesecake bars are best served chilled, there’s no need to reheat. Simply cut into squares after thawing and add your whipped cream topping before enjoying.
Transporting: When taking these delightful bars on the go, it’s best to keep them in the original baking pan to avoid any mishaps or messy edges.
Expert Tips for Key Lime Cheesecake Bars
-
Use Fresh Juice: For the best flavor, always opt for fresh key lime juice; it’s worth the extra effort compared to bottled alternatives.
-
Chill Thoroughly: Don’t skip the chilling time! Ensuring the bars chill for at least 6 hours helps them set properly, making them easier to cut and serve.
-
Avoid Overmixing: When incorporating eggs into the filling, mix just until combined to prevent too much air, which can lead to cracks in your Key Lime Cheesecake Bars.
-
Let Cool First: After baking, allow the bars to cool at room temperature before refrigerating. This prevents condensation from forming, which can affect texture.
-
Plan for Topping: If you’re making these ahead, wait to add the stabilized whipped cream until right before serving to keep it fresh and fluffy.
Make Ahead Options
These Key Lime Cheesecake Bars are perfect for busy home cooks looking to save time! You can prepare the crust up to 48 hours in advance by pressing it into the pan and storing it covered at room temperature. For the filling, whip it up a day ahead (24 hours) and keep it in the refrigerator until you’re ready to pour it over the crust. When you’re ready to bake, simply combine and follow the baking instructions. To maintain quality, be sure to chill the bars for at least 6 hours or overnight after baking, which allows the flavors to meld beautifully. Before serving, top with stabilized whipped cream to achieve that fresh, delightful presentation, offering your family a restaurant-quality dessert with minimal effort!
Key Lime Cheesecake Bars Variations
Feel free to let your creativity shine and customize your Key Lime Cheesecake Bars as you like!
-
Gluten-Free Crust: Substitute graham cracker crumbs with gluten-free cracker crumbs for a delightful gluten-free version. Enjoy the same buttery crunch without missing a beat!
-
Coconut Sugar: Use coconut sugar instead of granulated sugar for a deeper, caramel-like flavor. It adds an extra layer of richness to the crust and filling.
-
Dairy-Free Option: Swap regular butter and cream cheese with dairy-free alternatives to create a completely dairy-free treat. Perfect for those with lactose intolerance or a dairy-free diet!
-
Fruit Topping: Top your bars with fresh berries or a vibrant fruit coulis to add a refreshing twist. The tartness complements the key lime beautifully, bringing extra color and flavor.
-
Add Zest: Boost the citrus flavor by incorporating lime zest into the filling. It enhances the overall zing and freshness, making every bite a burst of sunshine!
-
Chocolate Crust: For chocolate lovers, experiment with a chocolate cookie crust instead of graham crackers. The combination of chocolate and lime is surprisingly delightful!
-
Spicy Kick: If you crave a bit of heat, sprinkle a pinch of cayenne pepper into your filling. This unexpected twist adds a subtle kick that will surprise your taste buds.
-
Citrus Medley: Mix lemon and orange juice with the key lime juice for a citrus medley that brightens the filling, making it even more refreshing.
And if you’re intrigued by more flavor possibilities, you might want to check out our delicious Cilantro Lime Steak for a zesty experience! Plus, for a delightful dessert feast, try our Oatmeal Crumble Bars next!
What to Serve with Key Lime Cheesecake Bars
There’s nothing quite like pairing a sweet treat with delightful accompaniments to elevate your dessert experience.
-
Fresh Berries: Strawberries, blueberries, or raspberries add a pop of color and vibrant flavor that beautifully balances the tangy cheesecake.
-
Coconut Whipped Cream: Light and airy, coconut whipped cream offers a tropical flair that harmonizes with the key lime’s zestiness.
-
Mint Salad: A light salad featuring fresh mint leaves and a squeeze of lime creates a refreshing contrast, providing a burst of freshness on your plate.
-
Lime Sorbet: This frosty delight enhances the key lime flavor while adding a creamy yet icy texture. It’s a fabulous palate cleanser too!
-
Iced Tea or Lemonade: A glass of sweetened iced tea or a refreshing glass of lemonade with mint will quench your thirst perfectly while enjoying these bars.
-
Chocolate Drizzle: For those who appreciate a touch of decadence, a drizzle of dark chocolate adds a delightful richness that complements the tartness of the key lime.
-
Shortbread Cookies: The buttery flavor of shortbread cookies pairs nicely with the tangy cheesecake bars, inviting a comforting crunch alongside the creamy filling.
-
Margarita Mocktail: A non-alcoholic margarita featuring lime, agave, and club soda provides a festive drink that aligns perfectly with the dessert’s flavors for a fun gathering.
Just imagine spreading a vibrant table filled with these delightful pairings, making your dessert experience even more memorable!
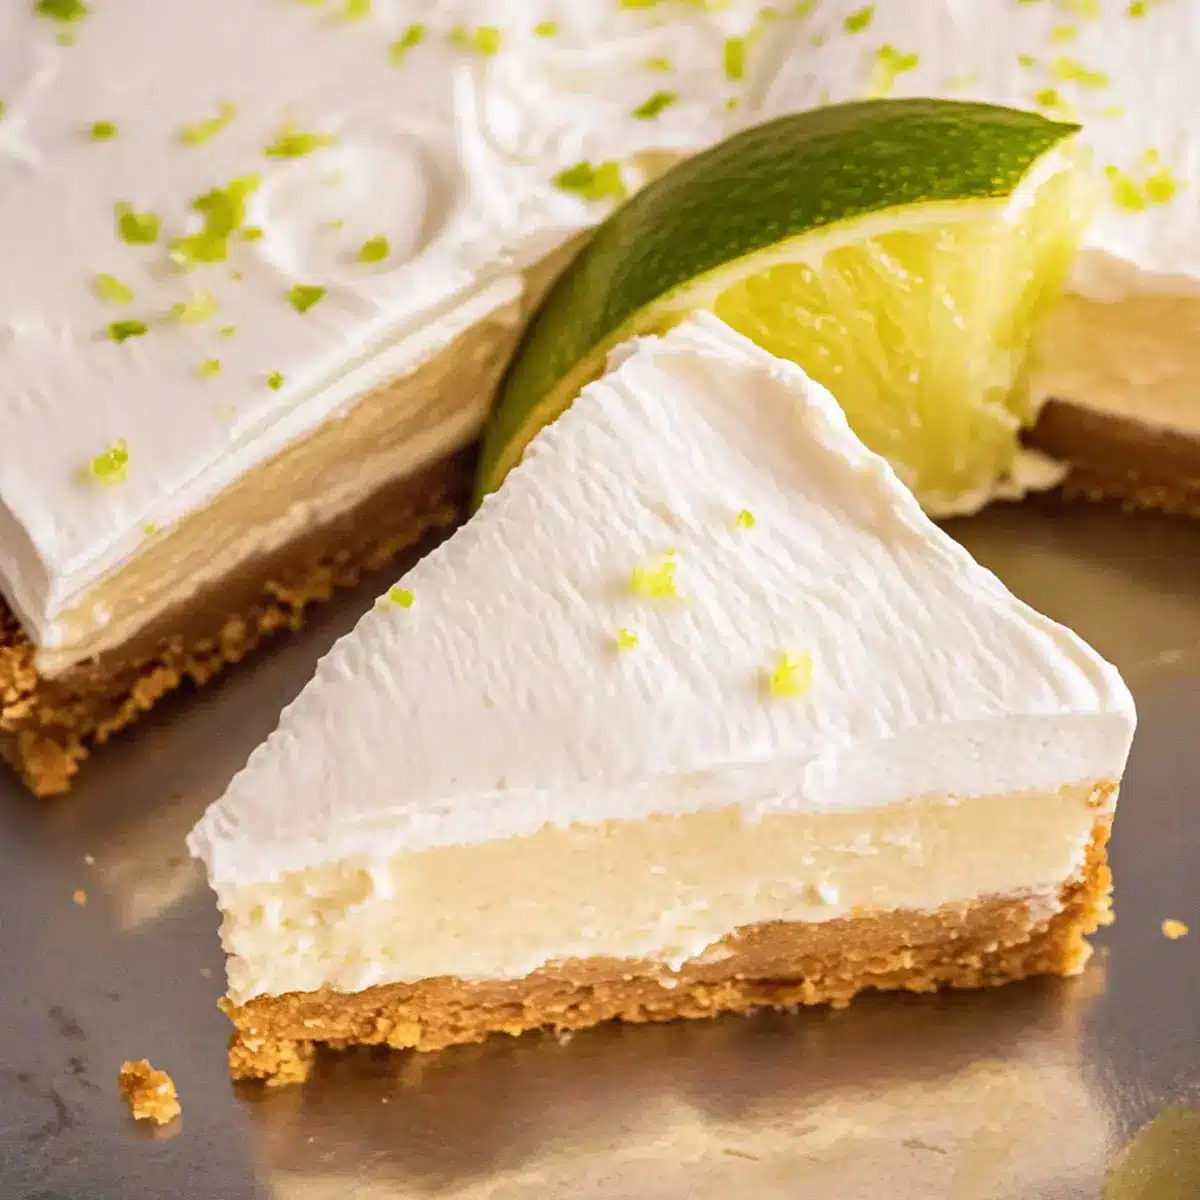
Key Lime Cheesecake Bars Recipe FAQs
What type of key limes should I use?
I recommend using fresh key limes for the best flavor, as they offer a vibrant and zesty taste that’s unparalleled. If fresh key limes aren’t available, bottled key lime juice is an acceptable substitute, though the flavor may be slightly less bright.
How should I store my Key Lime Cheesecake Bars?
Store your Key Lime Cheesecake Bars in an airtight container in the refrigerator for up to 5 days. This helps maintain their creamy texture and refreshing flavor. Remember to cover them tightly to avoid any absorption of other odors in the fridge.
Can I freeze Key Lime Cheesecake Bars, and how?
Absolutely! To freeze your Key Lime Cheesecake Bars, first, let them cool completely in the refrigerator. Then, wrap them tightly in plastic wrap followed by aluminum foil to prevent freezer burn. They can be stored in the freezer for up to 3 months. When you’re ready to enjoy, transfer them to the fridge to thaw overnight.
What should I do if my cheesecake bars crack?
Cracks can happen if the filling is overmixed or baked at too high a temperature. To avoid this, mix the eggs into the batter on low speed and ensure your oven temperature is correct. If cracks do appear, don’t worry! You can cover them with whipped cream or a fruit topping before serving to make them look beautiful.
Are these bars suitable for those with dietary restrictions?
Yes! This recipe can be adapted to suit various dietary needs. For a gluten-free version, use gluten-free graham cracker crumbs in the crust. If you’re looking for a dairy-free option, substitute cream cheese with a vegan alternative and use dairy-free butter. For a vegan version, you can opt for a flax egg instead of regular eggs!
How long do the bars need to chill before serving?
It’s vital to let the bars chill for at least 6 hours, or even better, overnight. This ensures that they set properly, making them easier to cut into neat squares. The chilling time allows the flavors to meld beautifully, providing that rich, creamy texture you’ll love!
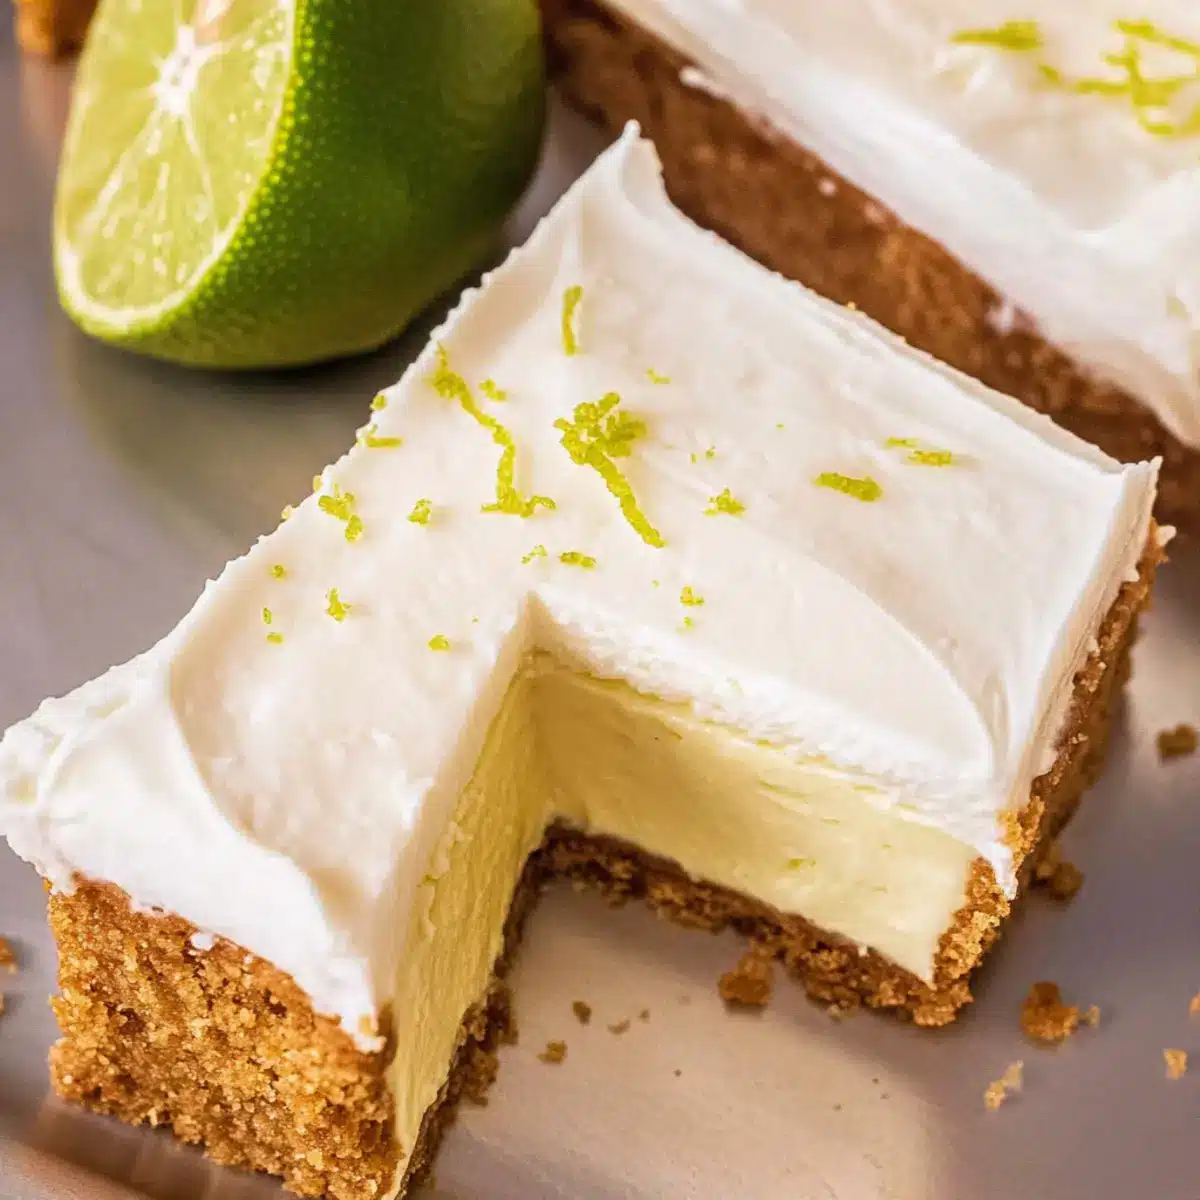
Irresistibly Creamy Key Lime Cheesecake Bars You’ll Love
Ingredients
Equipment
Method
- Preheat your oven to 350°F (175°C) and prepare a 9x13-inch baking pan lined with parchment paper.
- In a food processor, combine the graham cracker crumbs, melted butter, and granulated sugar. Press into the prepared pan and bake for 8-12 minutes.
- Reduce the oven temperature to 325°F (162°C) and let the crust cool slightly.
- In a mixing bowl, beat cream cheese and sugar together until smooth, add lime juice and sour cream, mixing well.
- Incorporate the eggs one at a time, mixing on low until just combined.
- Pour the cream cheese filling over the crust and bake for 40-42 minutes or until edges are set.
- Let the bars cool at room temperature for one hour, then refrigerate for at least 6 hours.
- Before serving, top with stabilized whipped cream and garnish with lime zest and wedges.
Leave a Reply