
As I prepared myself for another busy week, the fridge seemed to whisper secrets of the comforting meal just waiting to be discovered—Kimchi Cheese Ramen. This delight combines the fiery kick of spicy kimchi with the gooey joy of melted cheese, making it a go-to dish that’s quick to whip up and oh-so-satisfying. In just 10-15 minutes, you can transform simple instant noodles into a spicy, cheesy hug that warms the soul. Plus, it’s easily adaptable for any diet, whether you’re vegan, gluten-free, or just looking to indulge. So, are you ready to dive into a bowl of cozy goodness that’s perfect for any night of the week?
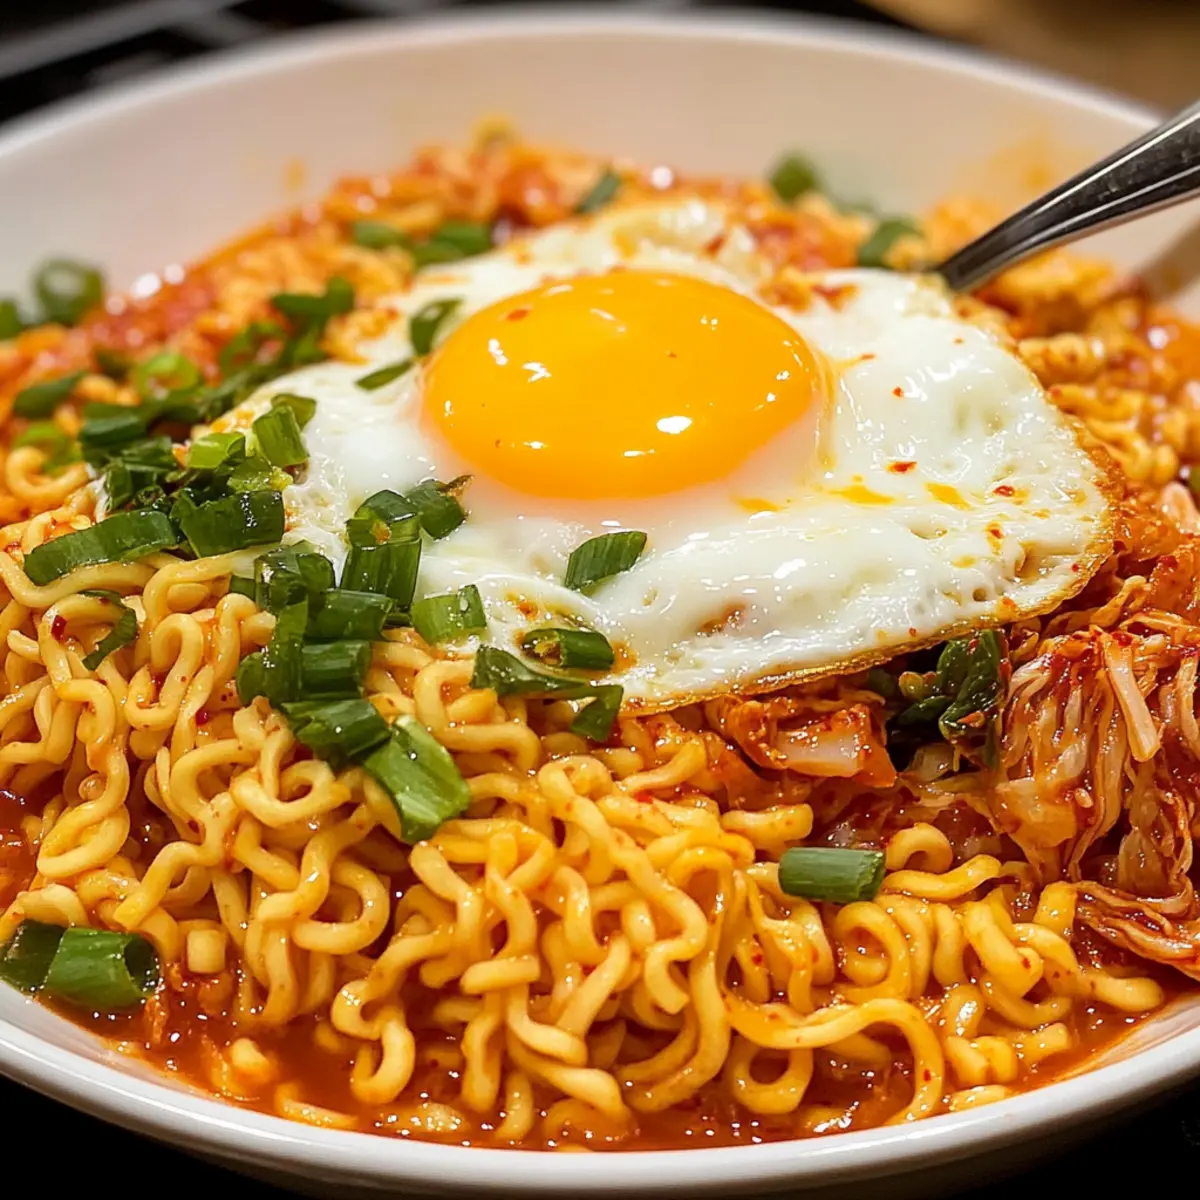
Why is Kimchi Cheese Ramen a Must-Try?
Quick and Easy: With just 10-15 minutes needed, this dish is perfect for a busy weeknight meal.
Spicy and Cheesy Bliss: The combination of kimchi’s heat and melted cheese creates a unique flavor explosion in every bite.
Diet-Friendly Options: Easily adapt this recipe for vegan or gluten-free diets without compromising on taste; simply swap out a few ingredients!
Satisfying Comfort Food: This ramen serves as a delightful cozy hug in a bowl, ideal for chilly evenings or when you’re craving something warm.
Versatile Ingredients: Mix in your favorite vegetables or protein for a personalized touch, ensuring this meal suits everyone’s palate.
So whether you’re feeling adventurous or just need a quick fix, this Kimchi Cheese Ramen will satisfy like no other dish! For more comforting recipes, check out my delicious Cheeseburger Soup Comfort or try some scrumptious Cinnamon Cottage Cheese for dessert.
Kimchi Cheese Ramen Ingredients
For the Ramen
- Instant Ramen Noodles – A quick-cooking base, you can substitute with gluten-free ramen or rice noodles for a gluten-free option.
- Kimchi – Brings a spicy tang; choose napa cabbage kimchi or switch with pickled vegetables if needed.
- Cheddar Cheese – Melts perfectly for a creamy finish; alternatives include mozzarella, gouda, or vegan cheese for a dairy-free dish.
- Egg – Optional but recommended; fry sunny-side up for a delightful topping. You can use tofu or avocado for a vegan variation.
For the Broth
- Gochujang – Adds a spicy kick to the broth; adjust the quantity if you prefer less heat.
- Soy Sauce – Enhances the umami flavor; opt for low-sodium soy sauce for a healthier choice.
For Garnishing
- Green Onions (optional) – Freshness in every bite; swap with chives or omit if preferred.
- Sesame Oil (optional) – Provides a nutty final touch; feel free to leave it out for a lighter option.
With these ingredients, you’re just moments away from savoring a bowl of comforting Kimchi Cheese Ramen!
Step‑by‑Step Instructions for Kimchi Cheese Ramen
Step 1: Prepare Broth
In a medium-sized pot, bring 2 cups of water or broth to a rolling boil over medium-high heat. Once boiling, add in the chopped kimchi and kimchi juice, along with gochujang and soy sauce. Allow the mixture to simmer for about 2 minutes, letting the flavors meld together, and you’ll see the broth take on a vivid color.
Step 2: Cook Noodles
Stir in the instant ramen noodles into the simmering broth, ensuring they’re fully submerged. Cook the noodles according to the package instructions, usually around 3-4 minutes. Stir occasionally to prevent any noodles from clumping together, and watch for them to become tender yet slightly firm to the bite, a perfect texture for Kimchi Cheese Ramen.
Step 3: Fry Egg
While the noodles are cooking, take a separate pan and heat a little oil over medium heat. Crack an egg into the pan and fry it sunny-side up, allowing the white to cook through while keeping the yolk runny, which will add richness to your ramen. This should take about 2-3 minutes; once done, set it aside on a plate.
Step 4: Melt Cheese
As the noodles near the end of their cooking time, reduce the heat to low. Sprinkle a generous amount of shredded cheddar cheese over the noodles. Immediately cover the pot with a lid, allowing the cheese to steam for 1-2 minutes until it’s beautifully melted and gooey, creating a luscious topping for your Kimchi Cheese Ramen.
Step 5: Serve
Carefully transfer the ramen into a bowl with a ladle, ensuring you scoop up some of the flavorful broth and kimchi. Top the ramen with the perfectly fried egg, adding a drizzle of sesame oil for that nutty touch. Garnish with chopped green onions and a sprinkle of red pepper flakes for an extra kick, and get ready to indulge in your warm bowl of comfort!
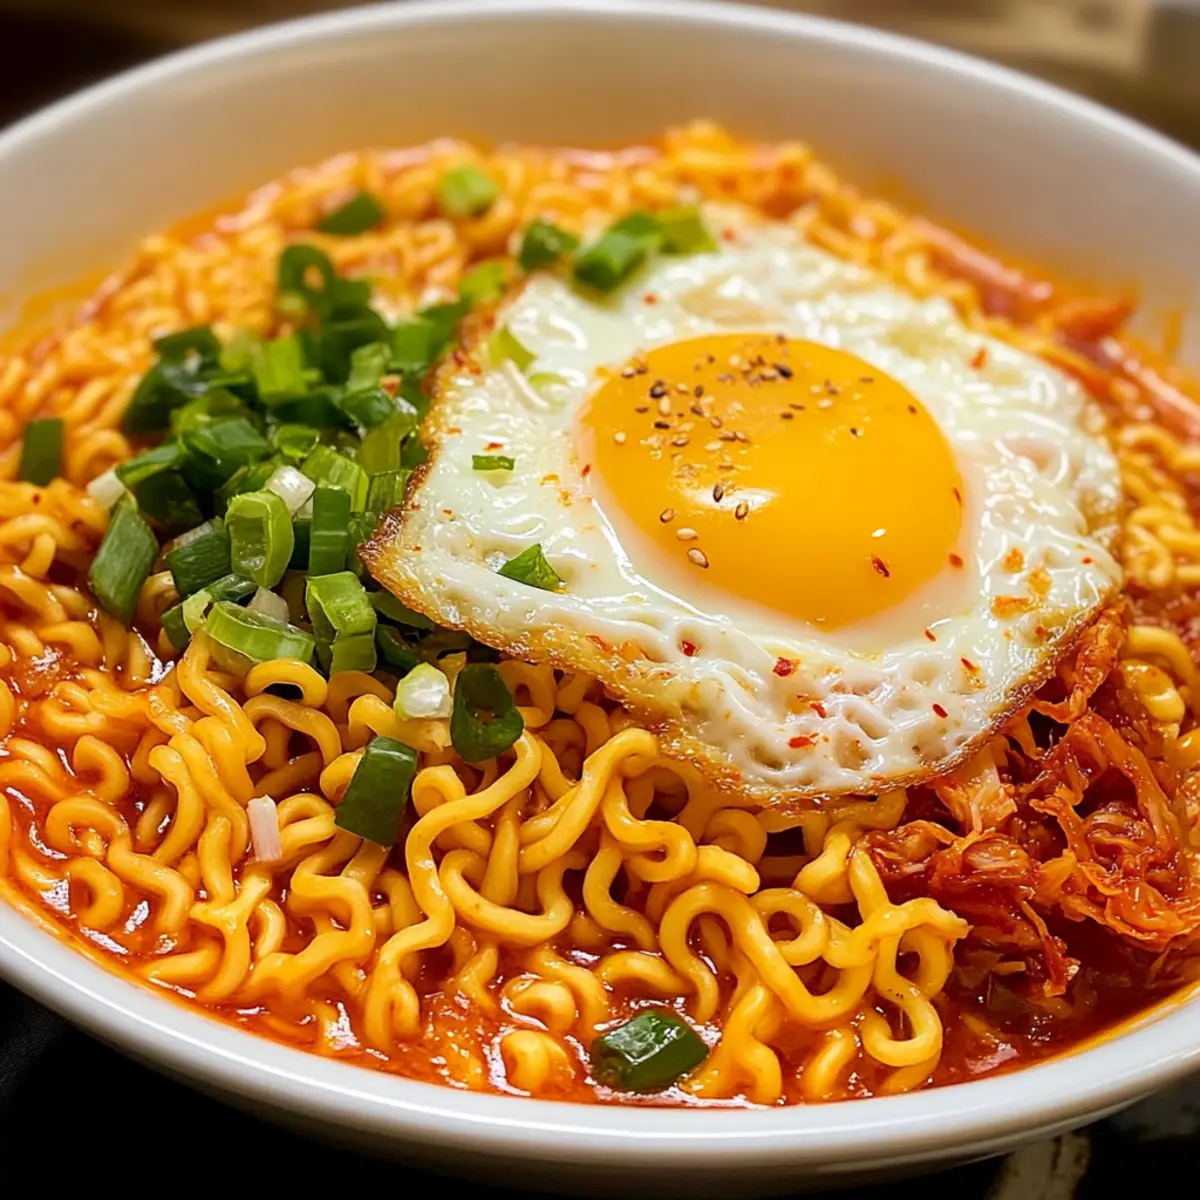
What to Serve with Kimchi Cheese Ramen
Elevate your meal experience with delightful pairings that complement the spicy and cheesy goodness of your bowl.
-
Crispy Garlic Bread: Pairs wonderfully with ramen, offering a crunchy texture that contrasts the creamy noodles and adds a savory touch.
-
Asian Salad: A light and refreshing mix of crunchy vegetables dressed in sesame vinaigrette provides a bright contrast to the rich ramen.
-
Steamed Broccoli: The nutty flavor and slight bitterness balance the heat of the kimchi, making for a nutritious and delicious addition.
-
Spicy Kimchi Pancakes: Keep the kimchi love alive by serving these crispy, savory pancakes as a unique side, enhancing the overall flavor profile.
-
Pickled Vegetables: A small side of tangy pickles will cut through the richness of the dish, adding a refreshing palate cleanser.
-
Cold Soba Noodles: These chilled noodles tossed in a soy-sesame dressing create a lovely contrast to your ramen while retaining the Asian flavor theme.
-
Ginger Tea: A warm cup of ginger tea complements the spice in the ramen, providing a comforting beverage as you enjoy your meal.
Invite warmth and variety to your dining experience by exploring these delightful pairings with your Kimchi Cheese Ramen!
Expert Tips for Kimchi Cheese Ramen
-
Perfect Cheese Melting: Add the cheese towards the end of cooking, covering the pot to steam it gently for a creamy texture. Avoid adding it too early to prevent clumping.
-
Noodle Texture Matters: Watch the noodles closely; cook them just until tender but firm. Overcooking leads to a mushy Kimchi Cheese Ramen. Stir occasionally to keep them from sticking.
-
Adjust Spice Levels: If you’re sensitive to heat, start with less gochujang and taste before adding more. Kimchi varies in spiciness, so it’s best to taste along the way!
-
Low-Sodium Options: Use low-sodium soy sauce and broth to maintain flavor without excessive saltiness. Adjust the seasoning after tasting to find your perfect balance.
-
Egg Substitutions: For a vegan version, swap the egg for silken tofu or creamy avocado. This adds a similar richness without the eggs.
-
Fresh Garnish: Don’t skip the green onions! They add a fresh pop and balance the richness of the cheese, enhancing your Kimchi Cheese Ramen.
Storage Tips for Kimchi Cheese Ramen
- Fridge: Store leftovers in an airtight container in the fridge for up to 2 days. Reheat gently on the stovetop with a splash of broth or water to revive the creamy texture.
- Freezer: For longer storage, freeze the broth and toppings separately in airtight bags. The ramen noodles should be cooked fresh; consume within 3 months for best quality.
- Reheating: When reheating, avoid boiling to maintain the cheese’s creaminess. Add a little broth to loosen the noodles if they have thickened. Enjoy your Kimchi Cheese Ramen just the way you like it!
- Room Temperature: It’s best to keep this dish out of room temperature for too long. Aim to consume leftovers within 2 hours of cooking if left outside to prevent spoilage.
Kimchi Cheese Ramen Variations
Embrace the chance to make this dish uniquely yours with delightful twists and substitutions!
-
Dairy-Free: Swap cheddar cheese for a creamy vegan cheese or nutritional yeast for a nutty flavor. Enjoy a guilt-free comfort!
-
Protein Boost: Add shredded chicken, shrimp, or firm tofu to infuse your ramen with extra heartiness. This customizable touch elevates the dish further!
-
Veggie Lovers: Toss in fresh spinach, sliced mushrooms, or bok choy during the noodle cooking phase for an added nutrition boost. Picture a rainbow of color with every bite.
-
Gluten-Free: Use gluten-free ramen or rice noodles instead of instant ramen to make this dish suitable for gluten-sensitive diners. Warmth and comfort awaits everyone at your table!
-
Extra Spicy: For those who crave heat, boost the gochujang or add sliced fresh chilis to the broth. Let your taste buds dance!
-
Umami Flavor: Try adding a splash of miso paste or a sprinkle of dashi powder for an umami-packed experience. Each spoonful becomes a journey of savory goodness.
-
Crispy Toppings: Top with fried shallots or crispy seaweed for a delightful crunch that contrasts perfectly with the creamy cheese. It’s not just a meal; it’s an experience!
-
Fresh Herb Twist: Add fresh basil or cilantro as a final touch to brighten up the flavors. A hint of herbaceous aroma elevates this cozy dish to gourmet levels!
Feel free to explore these variations and make this Kimchi Cheese Ramen a signature dish that is all your own. For more comforting meal ideas, check out my flavorful Mashed Potato Cheese or try a hearty Fiery Chicken Ramen for another spicy twist!
Make Ahead Options
These Kimchi Cheese Ramen are a fantastic choice for meal prep, allowing you to enjoy a comforting bowl on busy nights with minimal effort! You can prepare the kimchi broth (steps 1 and 2) up to 24 hours in advance; just refrigerate it in an airtight container after cooling. Additionally, you can cook the noodles, but it’s best to store them separately to maintain their texture. When ready to serve, simply reheat the broth and noodles together, then follow steps 4 and 5 to add the cheese and top with a fried egg. This way, your delicious Kimchi Cheese Ramen will be just as satisfying and flavorful as if made fresh!
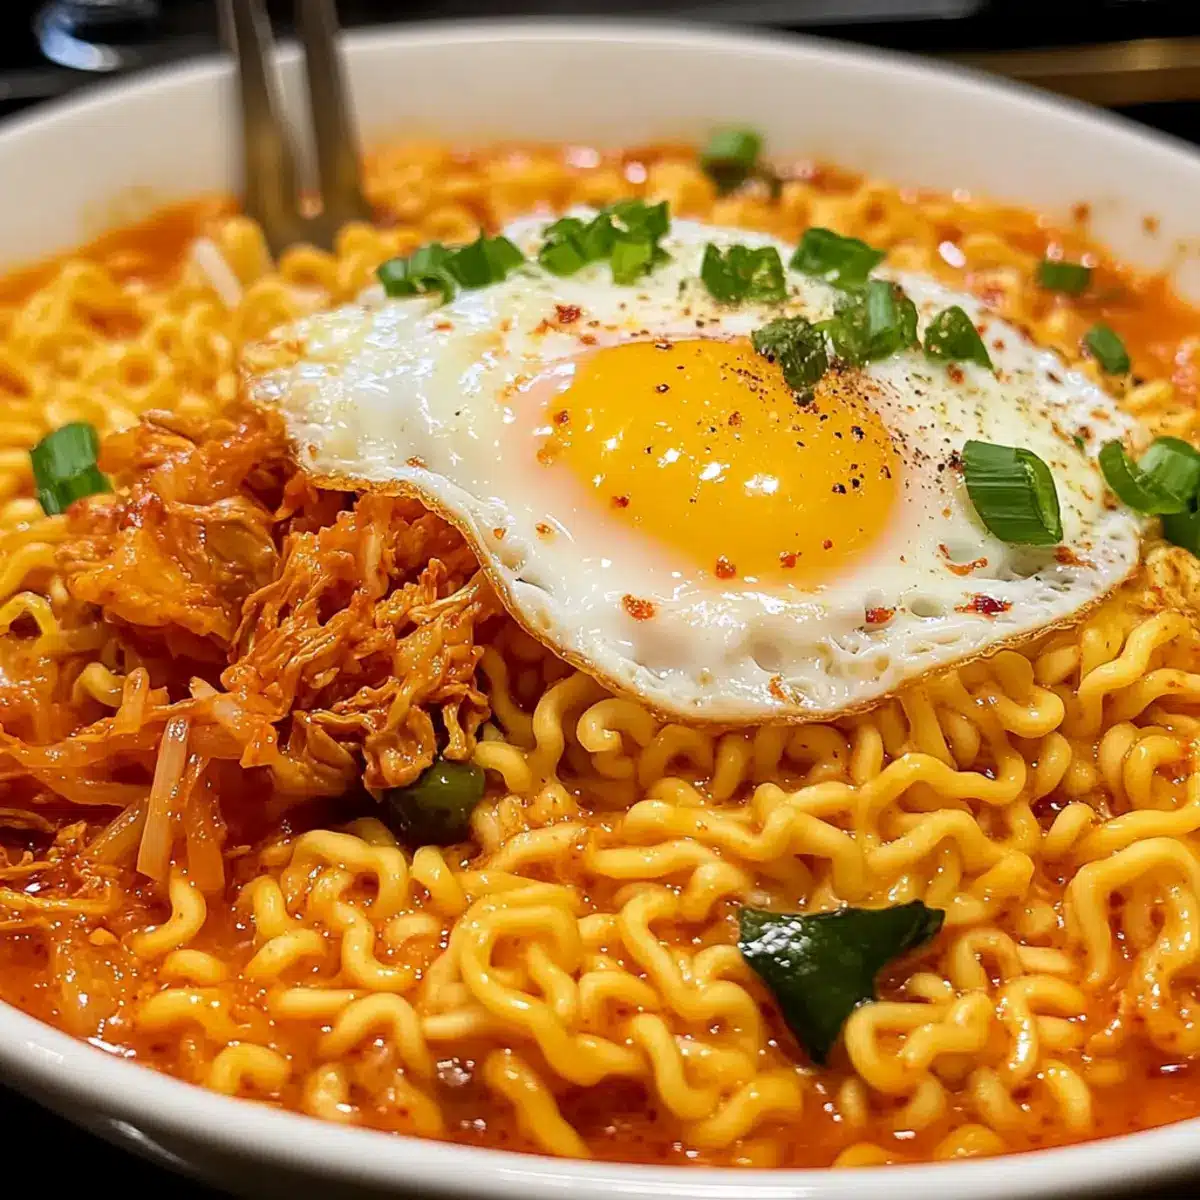
Kimchi Cheese Ramen Recipe FAQs
What type of kimchi should I use for Kimchi Cheese Ramen?
Absolutely! You can use any type of kimchi you prefer, but napa cabbage kimchi is a classic choice. Look for kimchi with vibrant color and a spicy aroma. If you’re not a fan of kimchi, you can also substitute it with pickled vegetables for a similar tangy flavor.
How long can I store leftover Kimchi Cheese Ramen?
Very! Leftovers can be stored in an airtight container in the fridge for up to 2 days. When you’re ready to enjoy it again, simply reheat gently on the stovetop, adding a splash of broth or water to restore its creamy goodness.
Can I freeze Kimchi Cheese Ramen?
Absolutely! However, I recommend freezing the broth and kimchi separately from the noodles, as cooked noodles don’t freeze well. Store the broth in airtight bags for up to 3 months. When you’re ready to enjoy, thaw the broth and cook fresh noodles to combine.
What if my noodles become mushy? How can I fix them?
Great question! To avoid mushy noodles, watch them closely while cooking. For a perfect Al Dente texture, they should be tender but still slightly firm. If they happen to become mushy, a quick trick is to drain them and give them a rinse under cold water to halt the cooking process.
Is this Kimchi Cheese Ramen safe for my dietary needs?
Absolutely! If you’re looking for vegan options, you can substitute the cheese with vegan cheese and the egg with tofu or avocado. For gluten-free options, simply swap the instant ramen noodles for gluten-free ramen or rice noodles. Always check the labels on all packaged ingredients to ensure they align with your dietary requirements.
Can I add other ingredients to my Kimchi Cheese Ramen?
Very! This recipe is versatile, and you can easily mix in your favorite vegetables like spinach, bok choy, or mushrooms for added nutrition. Feel free to experiment and create a version that suits your palate; the more, the merrier!
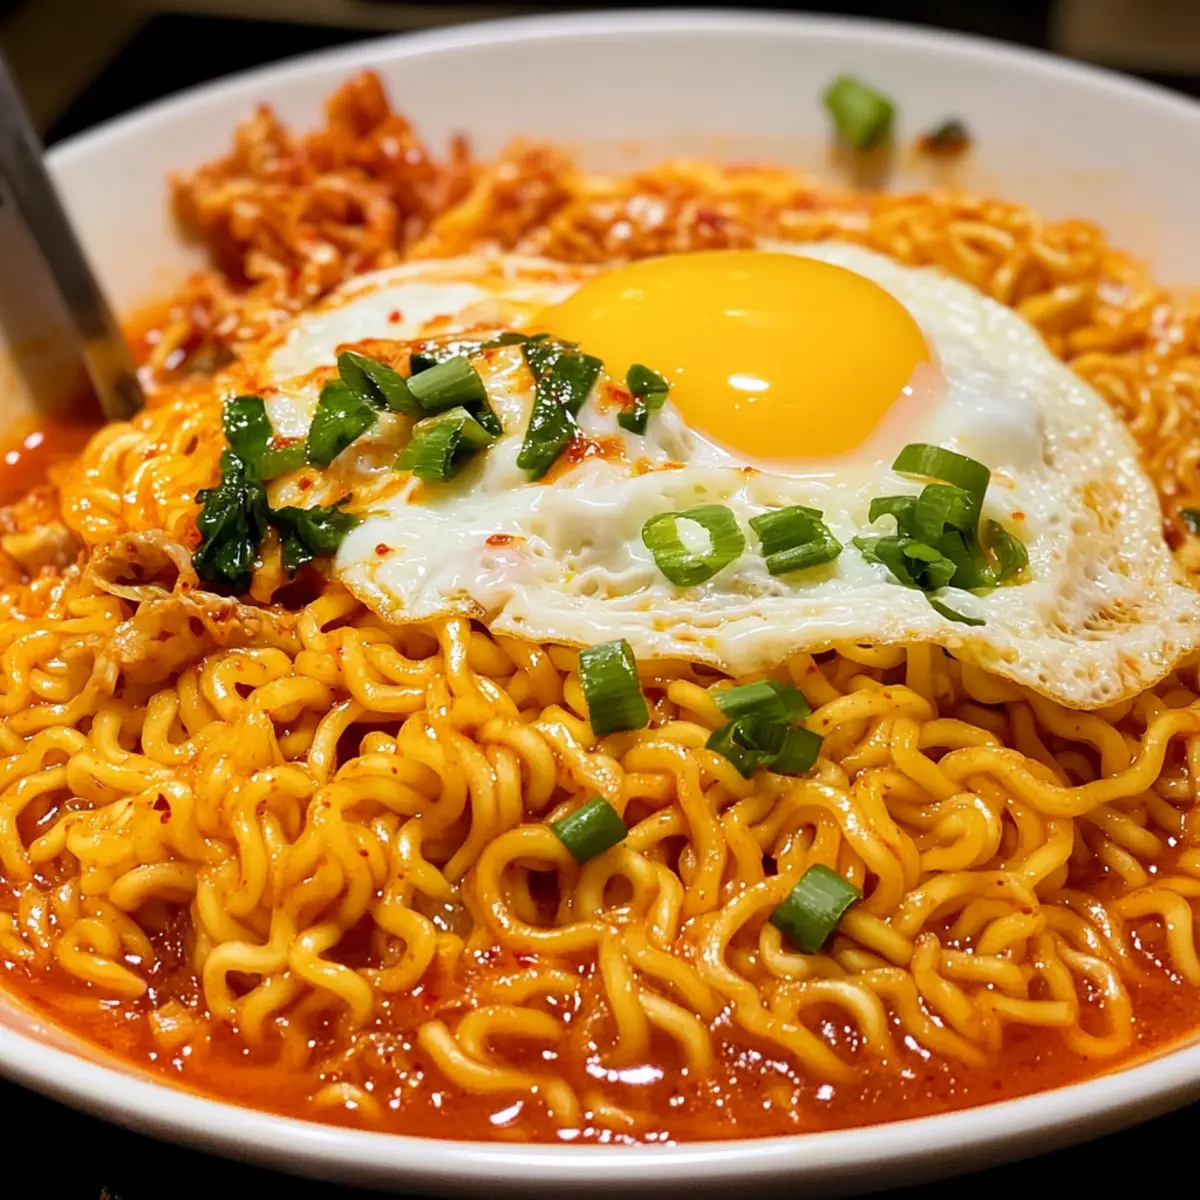
Kimchi Cheese Ramen: Cozy Comfort Food Ready in a Flash
Ingredients
Equipment
Method
- In a medium-sized pot, bring 2 cups of water or broth to a rolling boil over medium-high heat.
- Add the chopped kimchi and kimchi juice, along with gochujang and soy sauce. Simmer for about 2 minutes.
- Stir in the instant ramen noodles and cook according to package instructions, usually around 3-4 minutes.
- While the noodles cook, heat oil in a separate pan and fry an egg sunny-side up.
- Once noodles are done, reduce heat, sprinkle cheddar cheese over noodles, and cover to steam for 1-2 minutes.
- Transfer ramen into a bowl, top with the fried egg, drizzle with sesame oil, and garnish with green onions.
Leave a Reply