
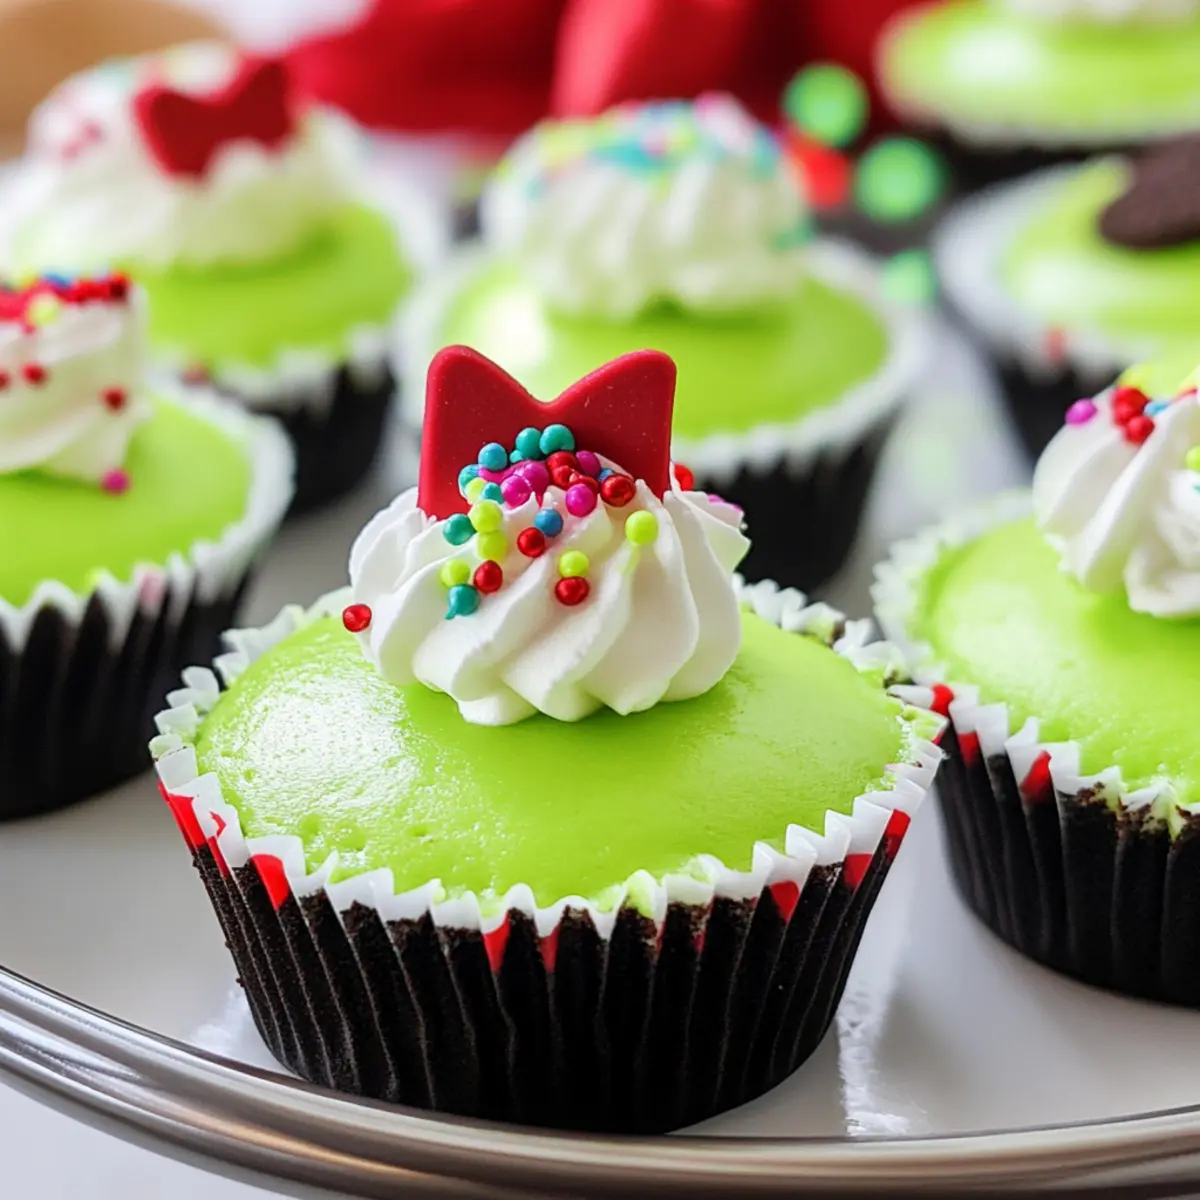
Amidst the whirlwind of holiday prep, I stumbled upon a jaw-dropper: Grinch Mini Cheesecakes that are not only gorgeous but downright scrumptious! These vibrant, neon green delights make for the perfect festive dessert, stealing the spotlight at any gathering. With their silky, creamy filling and a chewy Oreo crust, they’re a treat that promises to enchant both little ones and grown-ups alike. Best of all, they come together in a snap, so you can spend more time mingling with friends and family instead of fretting in the kitchen. Ready to add a whimsical twist to your holiday celebrations? Let’s dive in and make some magic together!
Why will you love Grinch Mini Cheesecakes?
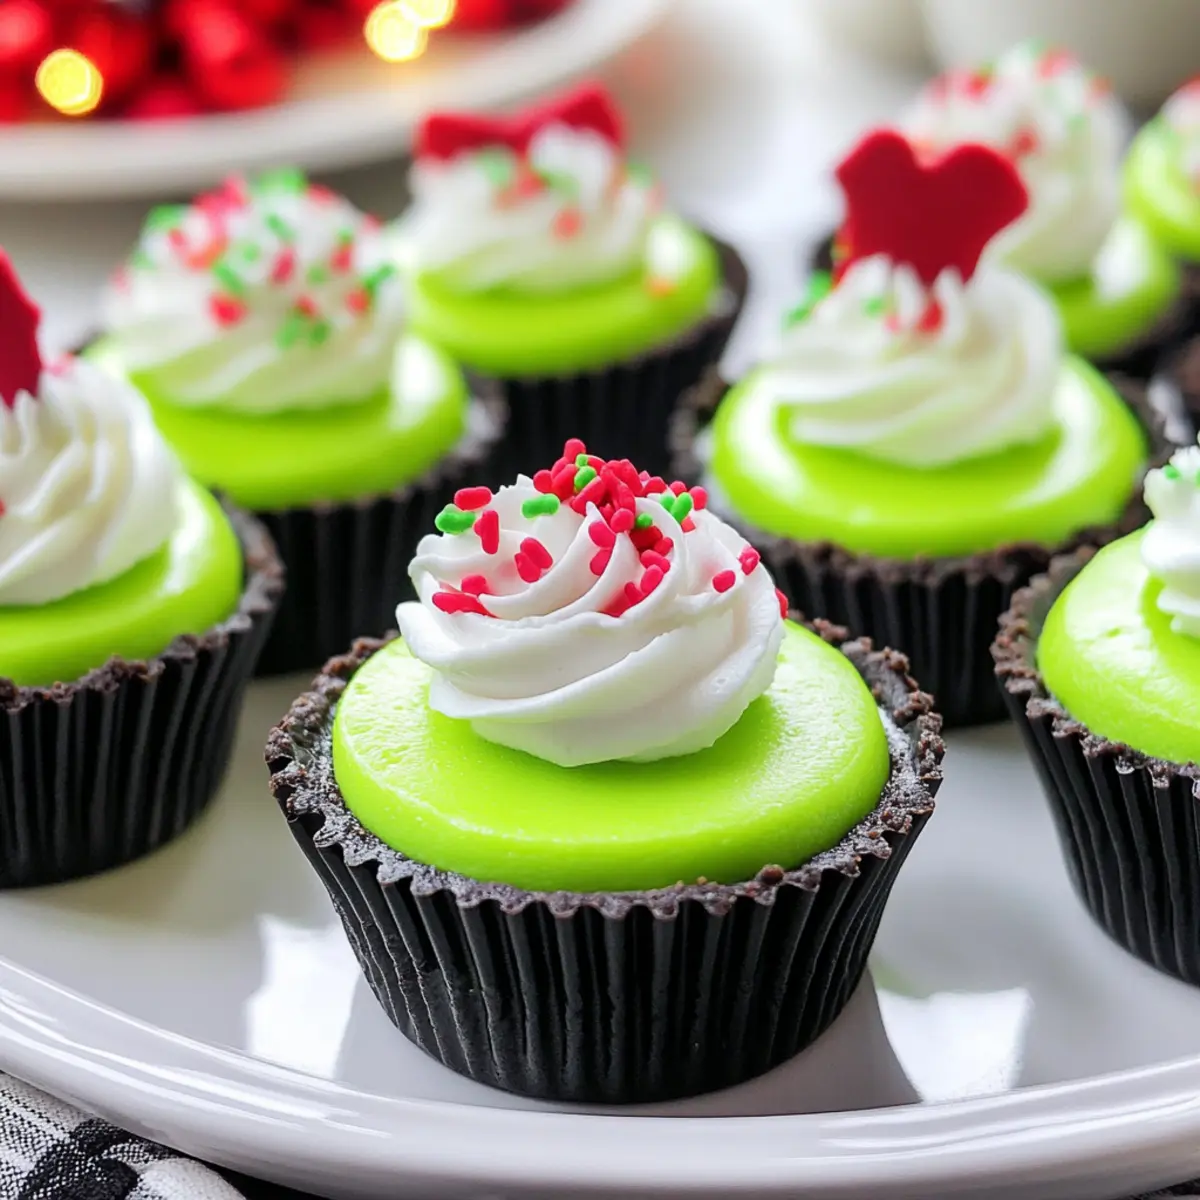
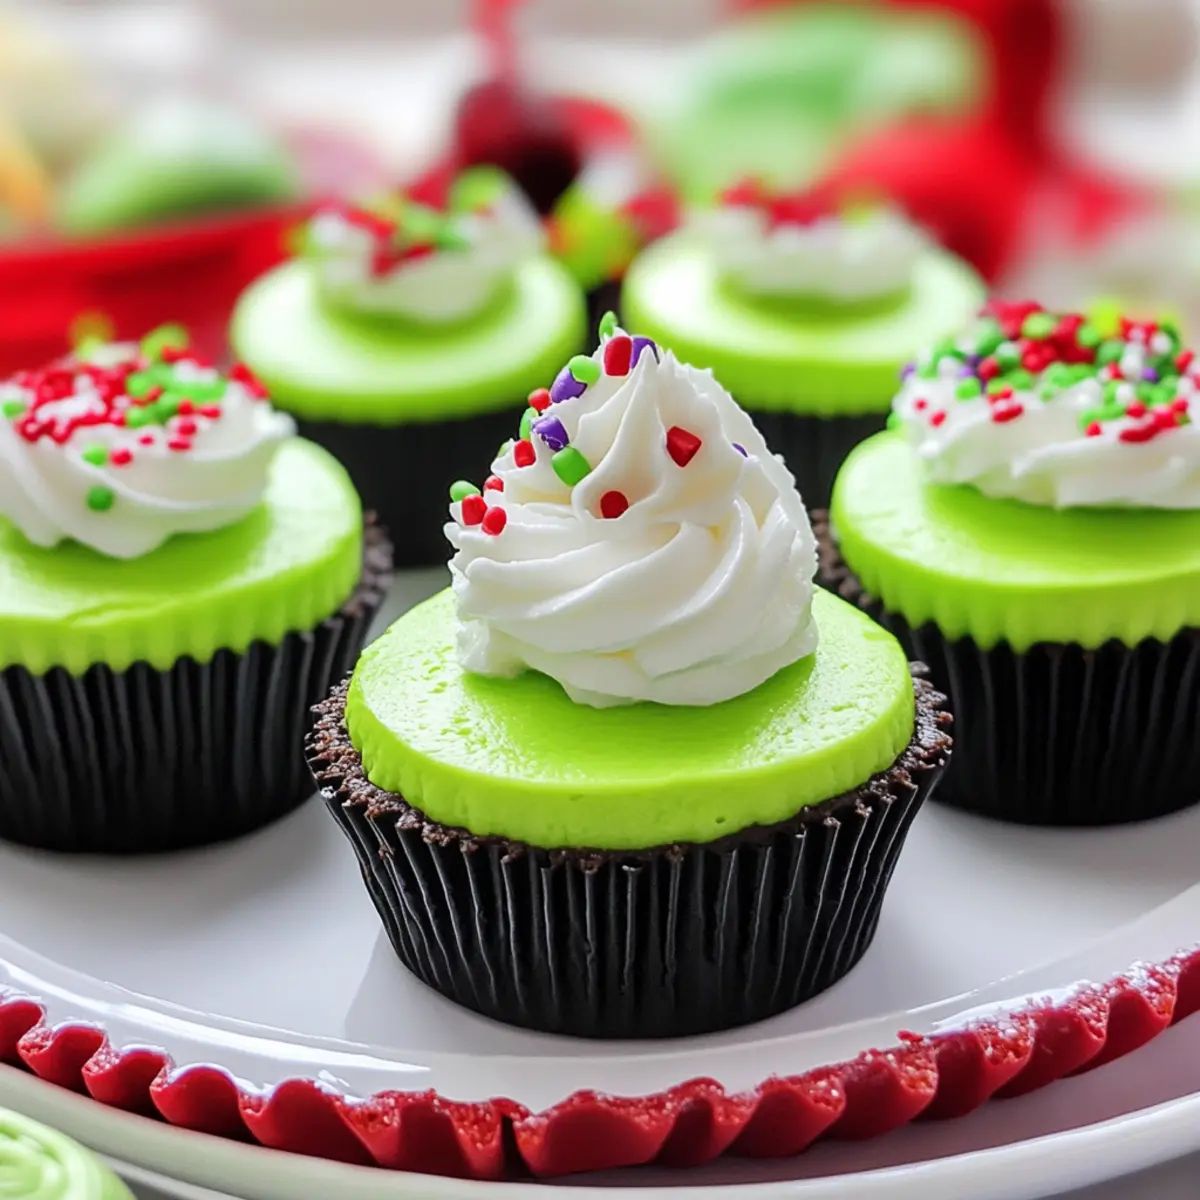
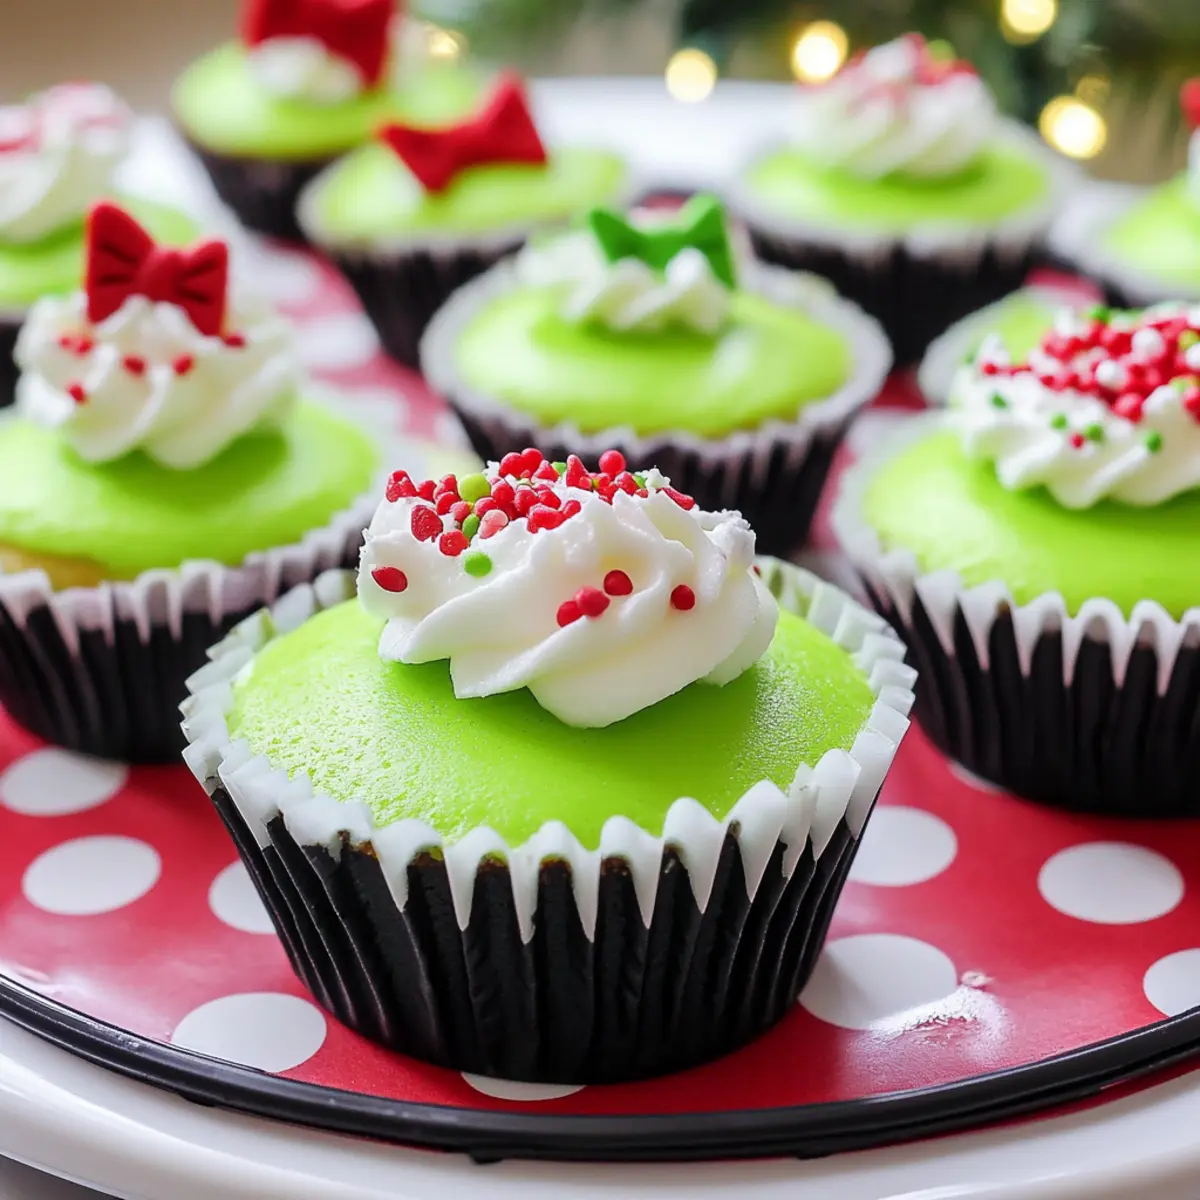
Festive Presentation: These strikingly green mini cheesecakes are sure to be a showstopper at any holiday party, instantly capturing the spirit of the season.
Deliciously Creamy: With a smooth, velvety texture and rich flavor, every bite offers pure indulgence—perfect for satisfying your sweet tooth.
Effortless Preparation: Made with simple ingredients, you’ll whip these up in no time, leaving you with plenty of moments to enjoy with family.
Kid-Friendly Fun: Both children and adults will delight in their playful appearance, making them a hit at any holiday gathering.
Thoughtful Variations: Customize with toppings like crushed candy canes or switch the crust to your favorite cookies for a unique twist! Need more dessert ideas? Check out our holiday treat collection for inspiration!
Grinch Mini Cheesecakes Ingredients
For the Cheesecake Filling
• Cream Cheese – Provides richness and creaminess; make sure it’s softened for easier mixing.
• Sugar – Adds sweetness to the cheesecake filling; can substitute with a sugar alternative for lower-calorie options.
• Eggs – Bind the ingredients together and provide structure; ensure they are at room temperature for even mixing.
• Vanilla Extract – Enhances the flavor profile with a warm vanilla note; use pure extract for the best flavor.
• Neon Green Food Coloring – Used to achieve the iconic Grinch color; substitute with natural coloring if preferred.
For the Crust
• Oreo Crumbs – Serve as the base crust, adding chocolate flavor and texture; can substitute with graham cracker crumbs for a different taste.
• Butter – Acts as a binding agent for the crust; melted for easy mixing.
Get ready to spread some holiday cheer with these delightful Grinch Mini Cheesecakes!
Step-by-Step Instructions for Grinch Mini Cheesecakes
Step 1: Preheat and Prepare
Preheat your oven to 350°F (175°C) and prepare a cupcake pan by lining it with festive cupcake liners. This will help ensure an easy release of the Grinch Mini Cheesecakes once baked. Familiarize yourself with your oven settings, as even small variations can impact baking time and texture.
Step 2: Make the Crust
In a food processor, pulse about 10-11 Oreo cookies until they are finely crumbled. Melt some butter and add it to the crumbs, mixing until well combined. The mixture should be moist yet crumbly, perfect for forming the delicious base for your Grinch Mini Cheesecakes.
Step 3: Form the Base
Evenly press the Oreo and butter mixture into the bottom of each cupcake liner, forming a sturdy crust. Use the back of a measuring cup or your fingers to ensure an even layer. This crunchy base will complement the creamy filling, adding texture and flavor to your festive dessert.
Step 4: Prepare the Filling
In a mixing bowl, beat together the softened cream cheese and sugar until you achieve a smooth, creamy texture. This should take about 2-3 minutes, with no lumps remaining. Incorporate the eggs one at a time, mixing thoroughly after each addition, and then stir in the vanilla extract for added flavor.
Step 5: Add the Grinch Color
Once your filling is smooth, blend in the neon green food coloring while mixing until you reach your desired vibrant Grinch hue. This playful color will ensure your Grinch Mini Cheesecakes pop on any holiday dessert table, enchanting guests of all ages with their festive charm.
Step 6: Fill the Liners
Spoon roughly 1/4 cup of the vibrant cheesecake filling into each liner, ensuring they are filled to just below the top. This will give your mini cheesecakes some space to rise slightly while baking, maintaining a perfect shape that looks as delightful as it tastes.
Step 7: Bake to Perfection
Place the cupcake pan in the preheated oven and bake for 15-17 minutes. Watch for the centers to remain slightly jiggly; this indicates a creamy texture inside your Grinch Mini Cheesecakes. Be careful not to overbake, as they should retain that signature smoothness.
Step 8: Cool Down
After baking, remove the pan from the oven and allow the mini cheesecakes to cool completely in the pan. This cooling time is essential for setting their structure and ensures they won’t crack. Once cooled, transfer the pan to the refrigerator to chill for at least 2 hours, letting the flavors meld together.
Step 9: Serve with Style
When ready to serve, carefully peel the liners away from the chilled Grinch Mini Cheesecakes. Top with a dollop of whipped cream and colorful sprinkles for an extra festive touch. Present these delightful treats at your holiday gathering and watch them disappear as everyone enjoys this cheerful dessert!
Expert Tips for Grinch Mini Cheesecakes
• Soften Cream Cheese: Make sure your cream cheese is perfectly softened to avoid lumps in the filling. Plan ahead and leave it at room temperature for about 30 minutes.
• Avoid Overbaking: Keep an eye on your cheesecakes as they bake. They should be slightly jiggly in the center to maintain that creamy texture.
• Use Quality Ingredients: Opt for high-quality vanilla extract and neon food coloring to enhance flavor and color. These small details make a significant difference in your Grinch Mini Cheesecakes.
• Cool Completely: Allow your cheesecakes to cool in the pan before refrigerating. This step is crucial for the structure, ensuring they set perfectly without cracking.
• Customization Options: Don’t hesitate to experiment! Try adding crushed candy canes or different flavored extracts like lemon to create your own spin on these festive Grinch Mini Cheesecakes.
What to Serve with Grinch Mini Cheesecakes
Every festive gathering deserves a spread that delights the senses and complements your festive desserts!
- Hot Cocoa: A cozy cup of rich, creamy hot cocoa brings warmth and indulgence, perfect for balancing the cheesecake’s sweetness.
- Festive Fruit Salad: Bright, fresh fruits like pomegranate and kiwi add a refreshing contrast, cleansing the palate and enhancing the dessert’s vibrant colors.
- Peppermint Bark: Crunchy and chocolatey with a refreshing mint twist, it pairs beautifully, echoing the holiday vibes of the Grinch Mini Cheesecakes.
- Spicy Gingerbread Cookies: The warm spices in gingerbread will deepen the festive flavors, creating a delightful contrast to the cheesecake’s creamy texture.
- Vanilla Ice Cream: A scoop of velvety vanilla ice cream offers a classic pairing, its smoothness melting in harmony with the rich cheesecake.
- Christmas Punch: Serve a fruity, bubbly Christmas punch to elevate the party atmosphere while providing a light, refreshing drink option alongside the desserts.
Storage Tips for Grinch Mini Cheesecakes
Fridge: Store your Grinch Mini Cheesecakes in an airtight container for up to 3 days. This helps maintain their creamy texture and flavors while keeping them fresh!
Freezer: For longer storage, these mini cheesecakes can be frozen for up to 2 months. Wrap each cheesecake tightly in plastic wrap, followed by aluminum foil, to prevent freezer burn.
Thawing: To enjoy frozen Grinch Mini Cheesecakes, transfer them to the fridge and let them thaw overnight before serving. Avoid quick-thaw methods, as they can affect texture.
Reheating: These delights are best served chilled, so there’s no need for reheating—just remove from the fridge and let them shine at your next festive gathering!
Grinch Mini Cheesecakes Variations
Have fun customizing your Grinch Mini Cheesecakes with these delightful twists to suit your taste buds!
-
Gluten-Free: Use gluten-free cookie crumbs in place of Oreos for a compatible base that everyone can enjoy. Your gluten-sensitive friends will appreciate it!
-
Natural Colors: Swap neon food coloring for natural alternatives like spirulina or matcha for a more subtle hue without sacrificing vibrancy. This tweak keeps it a bit more wholesome!
-
Minty Fresh: Crushed peppermint candies can be sprinkled on top for a festive peppermint crunch, giving each bite an extra burst of holiday cheer. It’s a delightful flavor pairing!
-
Fruit-Infused: Add fruit purees, like raspberry or strawberry, to the cheesecake filling for a fresh twist and a pretty swirl effect. This will elevate both the flavor and presentation!
-
Nutty Base: Replace the Oreo crust with crushed nuts like almonds or pecans mixed with a little coconut oil for a nutty, wholesome flavor that adds a delightful crunch.
-
Cheesecake Flavors: Experiment with flavored extracts, such as almond or lemon, to give the filling a personalized twist—perfect for those who love a unique cheesecake experience.
-
Chocolate Lover’s Delight: Incorporate some melted chocolate into your filling or top the cheesecakes with chocolate ganache for a rich and indulgent treat. Ideal for the chocolate enthusiasts in your life!
-
Spice It Up: Add a pinch of cinnamon or nutmeg to the filling for a warm spice note, creating a comforting flavor reminiscent of holiday baking traditions. It’s a beautiful and surprising touch!
For more festive inspiration, check out our holiday treat collection where you’ll find plenty of ideas to brighten up your celebrations!
Make Ahead Options
These delightful Grinch Mini Cheesecakes are perfect for busy home cooks looking to save time during the holiday rush! You can prepare the crust and filling up to 24 hours in advance. Simply create the Oreo crust and press it into the liners, then store them in the refrigerator. For the filling, mix all the ingredients and refrigerate it separately. When you’re ready to bake, spoon the chilled filling into the crusts and bake as directed. This method ensures that your mini cheesecakes remain just as delicious while letting you enjoy the holiday festivities without stress. Just top them with whipped cream and colorful sprinkles before serving, and you’ll have a stunning dessert that’s ready in no time!
Grinch Mini Cheesecakes Recipe FAQs
How do I select ripe ingredients for the cheesecake?
Absolutely! When choosing your cream cheese, go for a brand that states it’s “full-fat” on the package for optimal creaminess. Look for eggs that are clean and uncracked—this ensures they’re fresh. For the neon green food coloring, I recommend using gel-based coloring for the most vibrant results without altering the flavor.
How should I store Grinch Mini Cheesecakes?
Very! Store your Grinch Mini Cheesecakes in an airtight container in the refrigerator for up to 3 days. This method helps keep their creamy texture intact while also preserving their delightful flavor. If you want to prep ahead, these can be made a day in advance for convenience.
Can I freeze Grinch Mini Cheesecakes?
Yes, you can! For freezing, wrap each mini cheesecake tightly in plastic wrap and then cover with aluminum foil to prevent freezer burn. They’ll stay fresh for up to 2 months. When you’re ready to enjoy them, simply transfer them to the fridge the night before serving to thaw gently without compromising texture.
What should I do if my cheesecakes are cracked after baking?
If you find your cheesecakes have cracked, don’t worry—it happens to the best of us! Ensure you’ve baked them at the proper temperature and kept a close eye on them as they cook. A slight jiggle in the center is key. If they do crack upon cooling, you can cover them beautifully with whipped cream or colorful sprinkles for a festive disguise!
Are there any dietary considerations I should be aware of?
Definitely! These Grinch Mini Cheesecakes are vegetarian-friendly, but if you have allergies or dietary restrictions, there are easy swaps you can make. Use gluten-free cookies for the crust, substitute the sugar with alternatives for a low-calorie option, and consider a dairy-free cream cheese if needed. They can be tailored to fit a variety of dietary preferences!
How can I tell if my cream cheese has gone bad?
Good question! Always check for visible cues. If you see dark spots all over or notice an off smell, it’s best to toss it. Fresh cream cheese should be smooth and creamy with a mild, slightly tangy flavor. For the best results, it’s wise to check the expiration date before you start baking.
Deliciously Cute Grinch Mini Cheesecakes for Festive Fun
Ingredients
Equipment
Method
- Preheat oven to 350°F (175°C) and line a cupcake pan with festive cupcake liners.
- In a food processor, pulse Oreo cookies until finely crumbled. Melt butter and mix with crumbs until combined.
- Press the Oreo and butter mixture into the bottom of each cupcake liner.
- In a mixing bowl, beat cream cheese and sugar until smooth. Add eggs one at a time, mixing well after each.
- Stir in vanilla extract and mix in neon green food coloring until you achieve the desired color.
- Spoon roughly 1/4 cup of the cheesecake filling into each liner.
- Bake for 15-17 minutes until centers are slightly jiggly.
- Allow to cool completely in the pan and then refrigerate for at least 2 hours.
- Peel away cupcake liners and serve topped with whipped cream and colorful sprinkles.
Leave a Reply