
As the aromas of sizzling beef fill the air, I can’t help but think of my first encounter with Beef Yakiniku. This Japanese grilled beef dish is more than just a meal; it’s an experience that transports you straight to Japan with every bite. The beauty of this recipe lies not only in its rich, savory-sweet flavor but also in its quick preparation—perfect for those busy weeknights when you crave something homemade yet simple. Made with thinly sliced steak marinated in a delightful soy-based sauce, it serves as a high-protein dinner option that’s both satisfying and crowd-pleasing. What’s your favorite twist to elevate beef dishes at home? Let’s get cooking!
Why Is Beef Yakiniku So Irresistible?
Savory Sweetness: This dish marries sweet and savory flavors perfectly, creating a taste sensation that keeps you coming back for more.
Quick and Easy: Prep time is minimal! This flavorful meal can be on your table in under 30 minutes.
High Protein Delight: With tender, grilled beef, this recipe is a protein-packed option to power your day.
Versatile Additions: Feeling adventurous? Mix in some vibrant veggies like bell peppers or broccoli for a colorful stir-fry twist.
Gluten-Free Adaptability: Easily swap in tamari instead of soy sauce to cater to gluten-free needs without sacrificing flavor.
Crowd-Pleasing Appeal: Beef Yakiniku is perfect for family dinners or gatherings—everyone will love this comforting dish! Serve it with a side of rice and check out these ideas for a complete meal: Crock Pot Beef or pair it with Garlic Butter Beef.
Beef Yakiniku Ingredients
• Discover the key components to create this irresistible dish!
For the Marinade
- Low-sodium Light Soy Sauce (80 ml / ⅓ cup) – Adds umami and saltiness; for a gluten-free version, use tamari instead.
- Gochujang (½ tbsp) – Provides sweetness and a kick of heat; substitute with sriracha or spicy chili paste if necessary.
- Mirin (1 tbsp) – Sweet rice wine that enhances flavor; can be replaced with sweet sherry if you’re in a pinch.
- Minced Ginger (2 tsp) – Adds a fresh, spicy aroma and taste; fresh ginger is ideal, but ground ginger works too.
- Garlic Powder (½ tsp) / Garlic Paste (1 tsp) – Contributes a robust flavor; fresh garlic offers a more intense taste.
- Light Brown Sugar (4 tbsp) – Balances flavors with sweetness; coconut sugar can be a lower glycemic substitute.
For the Beef
- Flank or Skirt Steak – The main protein; slice very thinly against the grain for maximum tenderness, or opt for sirloin or ribeye as a substitution.
For Cooking
- Neutral Oil (1 tbsp) – Choose a high smoking point oil like avocado or rapeseed for cooking.
- Sesame Oil (1 tbsp) – Provides a lovely nutty flavor and richness; ensure it’s pure sesame oil for authenticity.
Assembling the right ingredients will set you on the path to crafting an unforgettable Beef Yakiniku experience!
Step‑by‑Step Instructions for Beef Yakiniku
Step 1: Prepare the Marinade
In a large bowl, whisk together 80 ml of low-sodium light soy sauce, ½ tablespoon of gochujang, 1 tablespoon of mirin, 2 teaspoons of minced ginger, ½ teaspoon of garlic powder (or 1 teaspoon of garlic paste), 1 tablespoon each of sesame and neutral oil, and 4 tablespoons of light brown sugar. This savory-sweet marinade will elevate your Beef Yakiniku, creating a deliciously rich flavor base.
Step 2: Marinate the Steak
Carefully add your thinly sliced flank or skirt steak to the marinade, making sure each piece is fully coated. Cover the bowl with plastic wrap and refrigerate for at least 2 hours, allowing the flavors to meld. The beef should absorb the marinade’s essence, which will enhance the taste when grilled to perfection.
Step 3: Preheat the Pan
While the beef is marinating, preheat your oven to a low setting to warm a serving bowl for later. Next, place a wok over high heat, letting it heat up until it starts to smoke. This high temperature is crucial for achieving that beautiful caramelization on your Beef Yakiniku, providing an irresistible sear.
Step 4: Cook the Steak
Remove half of the marinated beef from the bowl, shaking off excess marinade before adding it to the hot wok. Cook without stirring for about 3 minutes until it begins to caramelize. After that, stir the beef and let it cook for an additional 2-3 minutes until browned. Once done, transfer the beef to the warm bowl and repeat this process with the remaining beef to maintain even cooking.
Step 5: Garnish and Serve
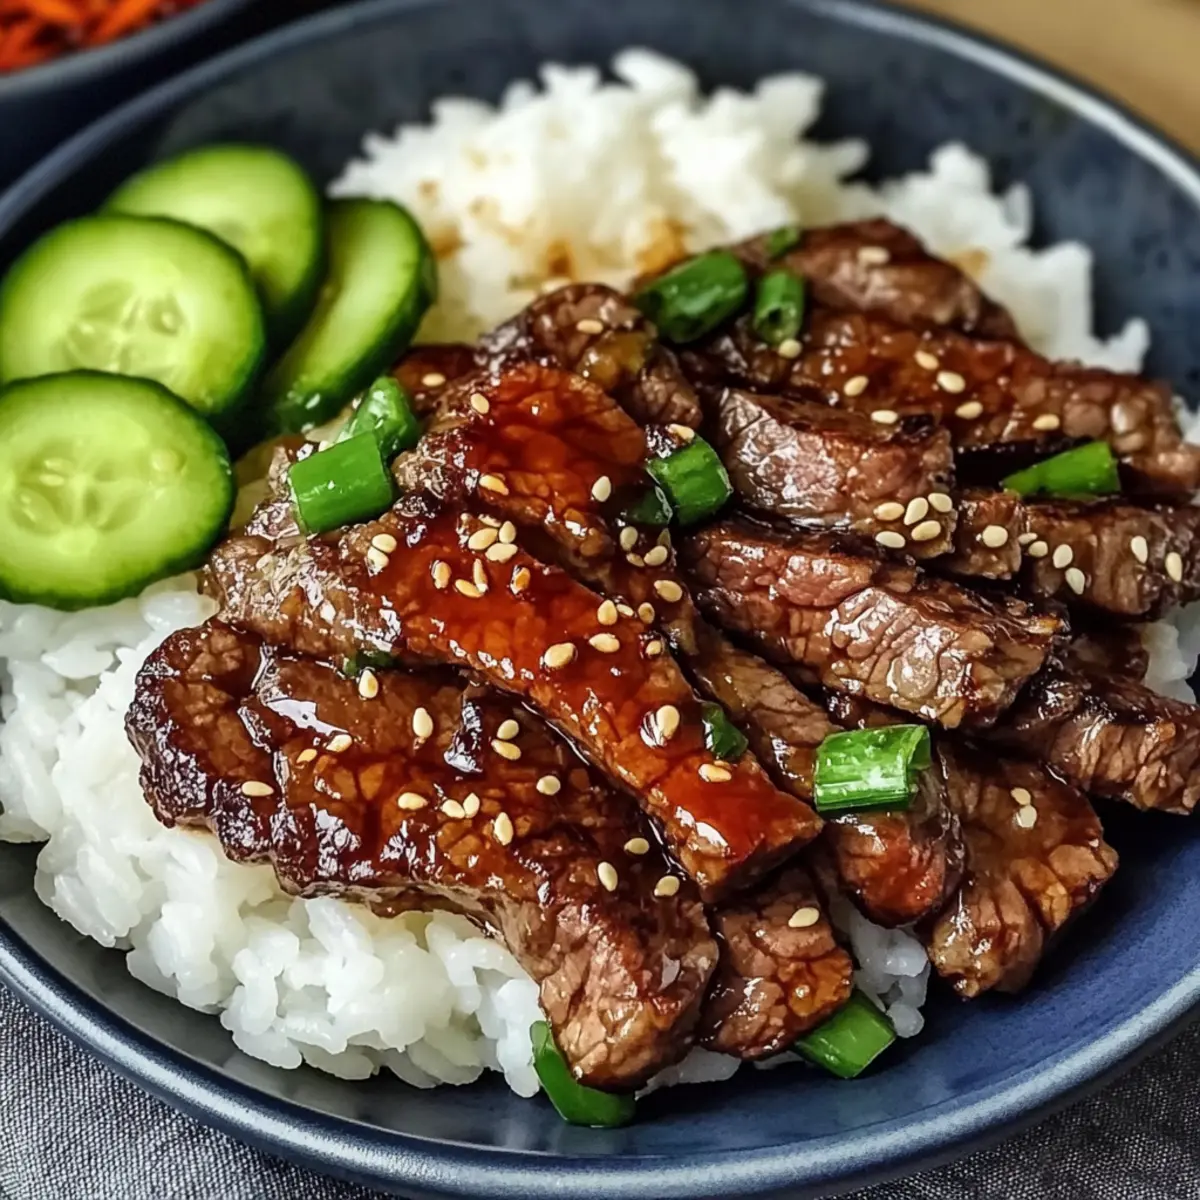
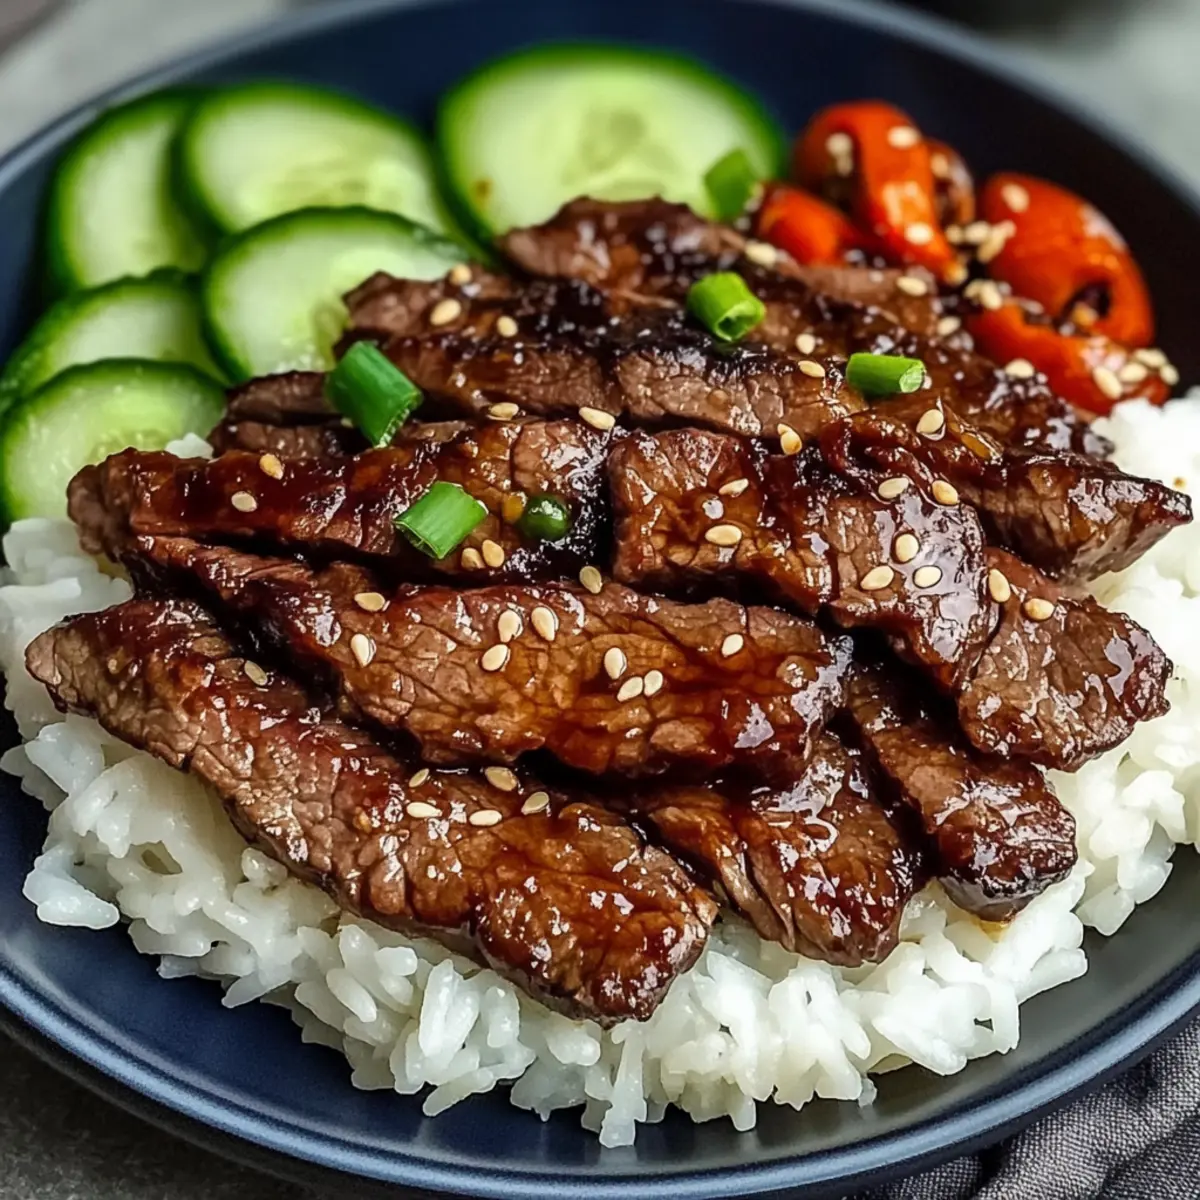
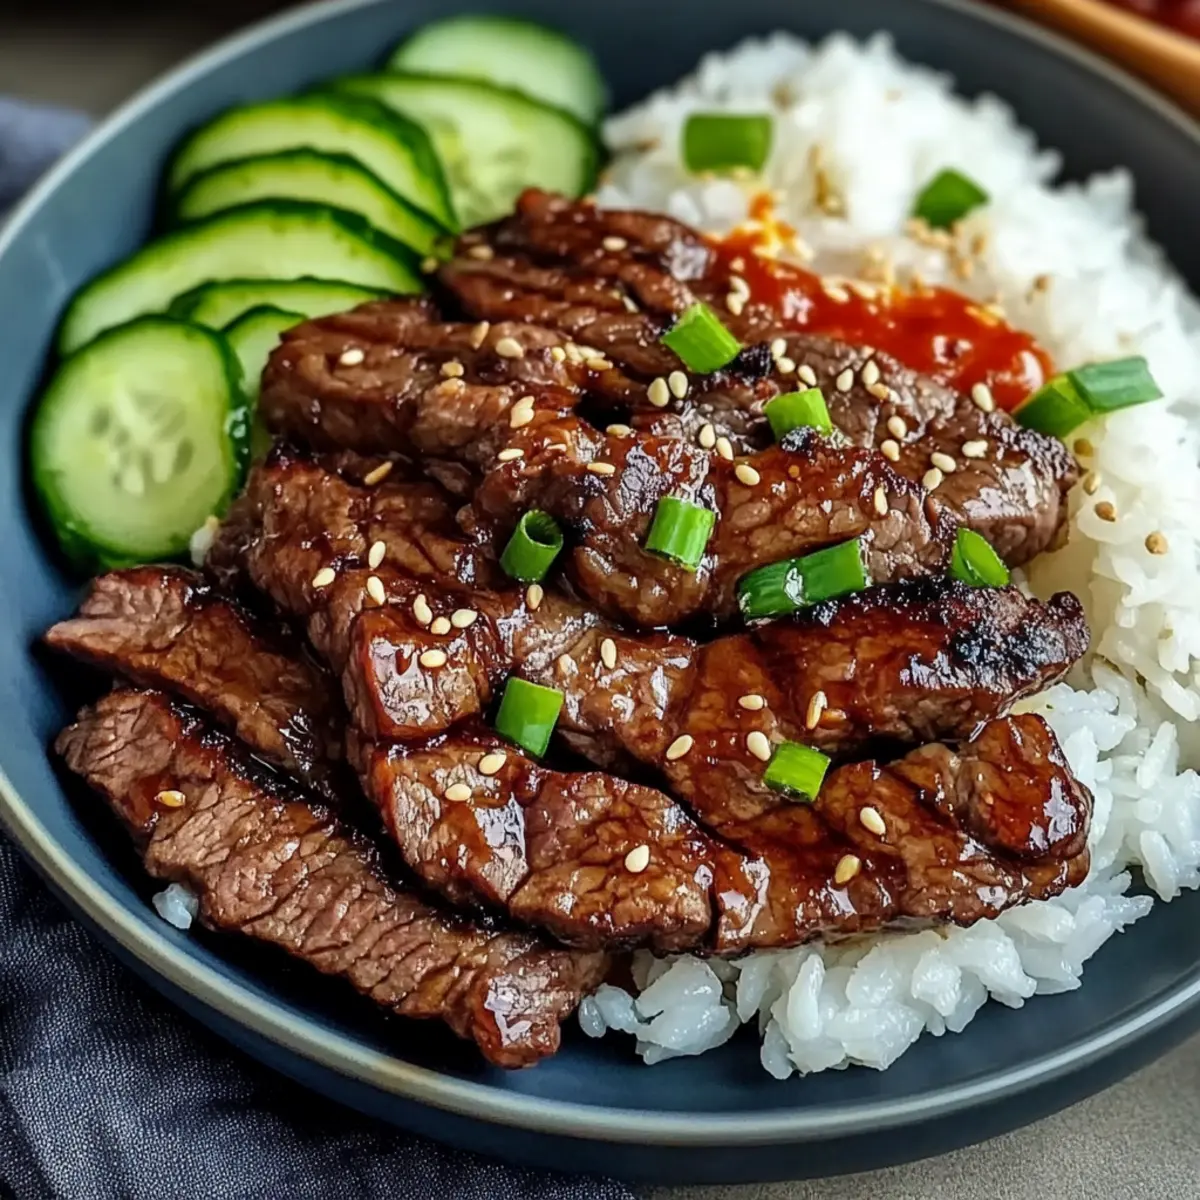
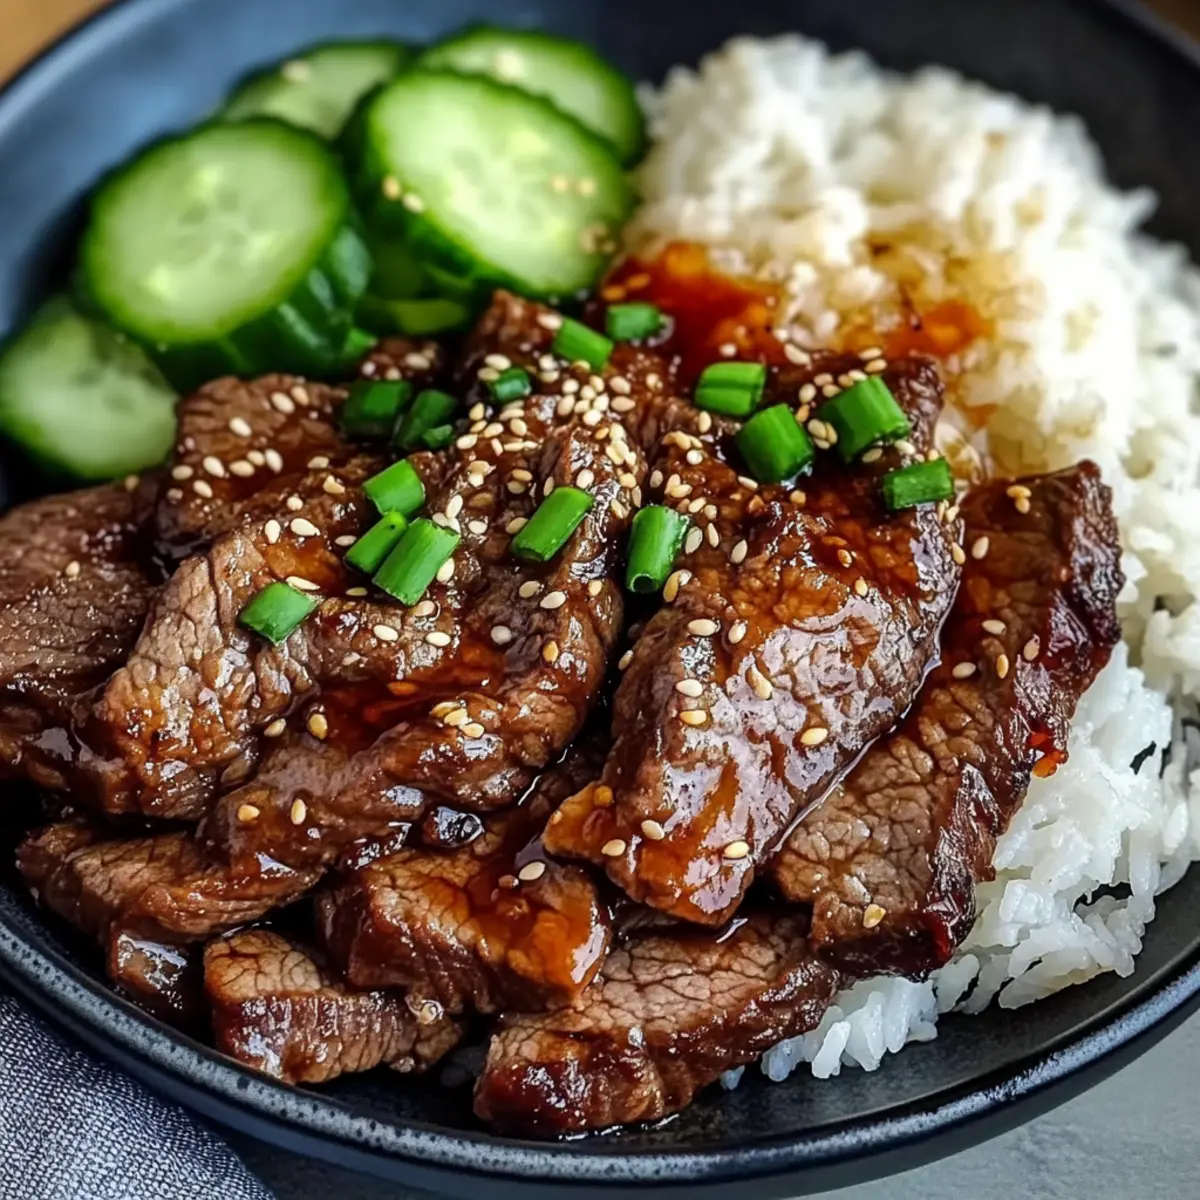
After all the beef has been cooked, sprinkle generously with sesame seeds for an extra crunch and flavor boost. Serve immediately alongside boiled rice and a refreshing salad of chopped cucumbers and tomatoes. Enjoy the delicious balance of flavors that your homemade Beef Yakiniku brings to your dining table!
Expert Tips for Beef Yakiniku
-
Slice Against the Grain: Slice the beef thinly against the grain for maximum tenderness. This small adjustment will ensure a melt-in-your-mouth experience.
-
Marinate Longer for Flavor: Let the beef marinate for at least 2 hours, or up to 24 hours if you can. The longer it sits, the richer the flavor becomes.
-
High Heat Is Key: Always ensure your cooking surface is super hot before adding the beef. This helps achieve that lovely caramelized crust without steaming the meat.
-
Batch Cooking: Avoid overcrowding the pan; cook in two batches for optimal browning. Overcrowding can lead to uneven cooking and a less desirable texture.
-
Play with Substitutions: If you’re out of an ingredient, don’t fret! Use sriracha instead of gochujang or tamari for a gluten-free version without losing the essence of Beef Yakiniku.
-
Fresh Ingredients Matter: Use fresh ginger and garlic for a more vibrant flavor. Quality ingredients will make a noticeable difference in the overall dish.
Beef Yakiniku Variations & Substitutions
Embrace the opportunity to tailor Beef Yakiniku to your taste buds and dietary needs—each twist makes it uniquely yours!
- Dairy-Free: This recipe is already dairy-free; if needed, ensure your sauces do not contain dairy ingredients.
- Gluten-Free: Substitute regular soy sauce with tamari or coconut aminos for a gluten-friendly adaptation that retains all the flavor.
- Spicy Kick: Replace gochujang with sriracha, chili paste, or even fresh jalapeños to amp up the heat and add a fun twist!
- Vegetable Boost: Toss in sliced bell peppers, onions, or mushrooms to sauté alongside the beef, enhancing both flavor and nutrition for a delicious veggie-packed meal.
- Pre-Sliced Convenience: Use pre-sliced stir-fry beef from the grocery store to save time on prep without sacrificing quality. This way, you can get dinner on the table even quicker!
- Sweet Alternatives: Swap light brown sugar for coconut sugar or honey to tweak the sweetness to your liking, creating a unique taste profile to the marinade.
- Asian Fusion: Experiment with different sauces, like teriyaki or hoisin, to give this dish a new cultural flair while keeping its delicious spirit intact.
- Sizzling Heat: If you like it spicy, add red pepper flakes or chili powder in the marinade for an extra layer of warmth.
For other delightful beef recipes, consider trying out Chilli Beef Flavor or a cozy Garlic Butter Beef as a perfect weeknight dinner alternative! Enjoy customizing your Beef Yakiniku!
How to Store and Freeze Beef Yakiniku
Fridge: Store any leftover Beef Yakiniku in an airtight container for up to 3 days. This will help maintain its flavor and moisture.
Freezer: Freeze the cooked Beef Yakiniku in an airtight container for up to 3 months. Thaw in the refrigerator overnight before reheating.
Reheating: Gently reheat in a pan over medium heat until warmed through. To prevent drying out, add a splash of water or broth during warming.
Make-Ahead: Marinate the beef for up to 24 hours before cooking for enhanced flavors. This prep tip ensures your Beef Yakiniku is ready to enjoy whenever you are!
What to Serve with Quick and Flavorful Beef Yakiniku
Accompany your cooking adventure with delightful side dishes that complement the vibrant flavors of this Japanese-inspired beef dish.
-
Steamed Jasmine Rice: A classic pairing, the fluffy texture of jasmine rice absorbs the savory marinade, enhancing every bite of beef.
-
Refreshing Cucumber Salad: Crisp cucumbers tossed with rice vinegar and sesame seeds offer a cool contrast to the warm, umami-rich beef, brightening the meal.
-
Stir-Fried Vegetables: Colorful bell peppers, broccoli, and snap peas sautéed with garlic add vibrancy and fiber, creating a balanced plate that’s both delicious and healthy.
-
Kimchi: This spicy, fermented cabbage dish introduces a punchy flavor and crunch that beautifully counterpoints the richness of Beef Yakiniku.
-
Miso Soup: A warm bowl of miso soup brings a soothing element to your dining experience while providing umami that aligns perfectly with beef.
-
Sake or Japanese Beer: For a splendid drink option, try serving with sake or a chilled Japanese beer to enhance the authentic dining experience with your beef dish.
Make Ahead Options
Beef Yakiniku is a fantastic option for meal prep, allowing you to savor its delicious flavors without the last-minute rush! You can marinate the beef up to 24 hours ahead, which enhances its savory depth while saving you time on busy weeknights. Simply whisk together the marinade ingredients, add the thinly sliced beef, and refrigerate it. To maintain quality, ensure the beef is tightly covered to prevent any unwanted odors in the fridge. When it’s time to cook, just heat your wok and grill the marinated beef as instructed. You’ll enjoy the same tender, flavorful results with minimal effort—perfect for effortless weeknight dinners!
Beef Yakiniku Recipe FAQs
How do I choose the right cut of beef for Beef Yakiniku?
Selecting the perfect beef cut is essential for a tender Yakiniku. I recommend using flank or skirt steak, sliced thinly against the grain to maximize tenderness. If you’re looking for alternatives, sirloin or ribeye also work beautifully. Just ensure whatever cut you choose is well marbled for a juicy result.
How should I store leftover Beef Yakiniku?
Absolutely! Store any leftovers in an airtight container in the refrigerator for up to 3 days. This will help retain the dish’s amazing flavors and moisture. When you’re ready to enjoy the leftovers, just pop them in the microwave or reheat gently in a pan!
Can I freeze Beef Yakiniku? How?
Yes, you can freeze Beef Yakiniku! To do this, allow the cooked beef to cool completely. Then, place it in an airtight container or a heavy-duty freezer bag, removing as much air as possible. It can be frozen for up to 3 months. Thaw it overnight in the refrigerator before reheating it gently over medium heat to preserve the flavors.
What if my beef isn’t browning properly during cooking?
No worries! If your beef isn’t caramelizing as expected, it might be due to overcrowding in the pan. Cooking in batches allows enough space for each piece to sear properly, achieving that beautiful crust. Additionally, ensure your pan is hot enough before adding the beef; a sizzling sound is a great indicator!
Is there a gluten-free version of Beef Yakiniku?
Very much so! To accommodate gluten-free diets, simply substitute low-sodium light soy sauce with tamari or coconut aminos. These alternatives will provide that savory depth without the gluten, ensuring everyone can enjoy this delicious dish!
How long should I marinate the beef for optimal flavor?
For the best results, I recommend marinating the beef for at least 2 hours, but if you can, let it sit for up to 24 hours. This extended time allows the flavors to deeply penetrate the meat, making for a richer and more flavorful Beef Yakiniku.
Savory Beef Yakiniku: Quick Japanese Delight at Home
Ingredients
Equipment
Method
- In a large bowl, whisk together the marinade ingredients.
- Add the thinly sliced flank or skirt steak to the marinade and coat well. Cover and refrigerate for at least 2 hours.
- Preheat a wok over high heat until it starts to smoke.
- Remove half of the marinated beef, shake off excess marinade, and add to the hot wok. Cook for about 3 minutes without stirring.
- Stir the beef and cook for an additional 2-3 minutes until browned. Transfer to a warm bowl and repeat with the remaining beef.
- Sprinkle with sesame seeds, serve immediately with boiled rice and salad.
Leave a Reply