
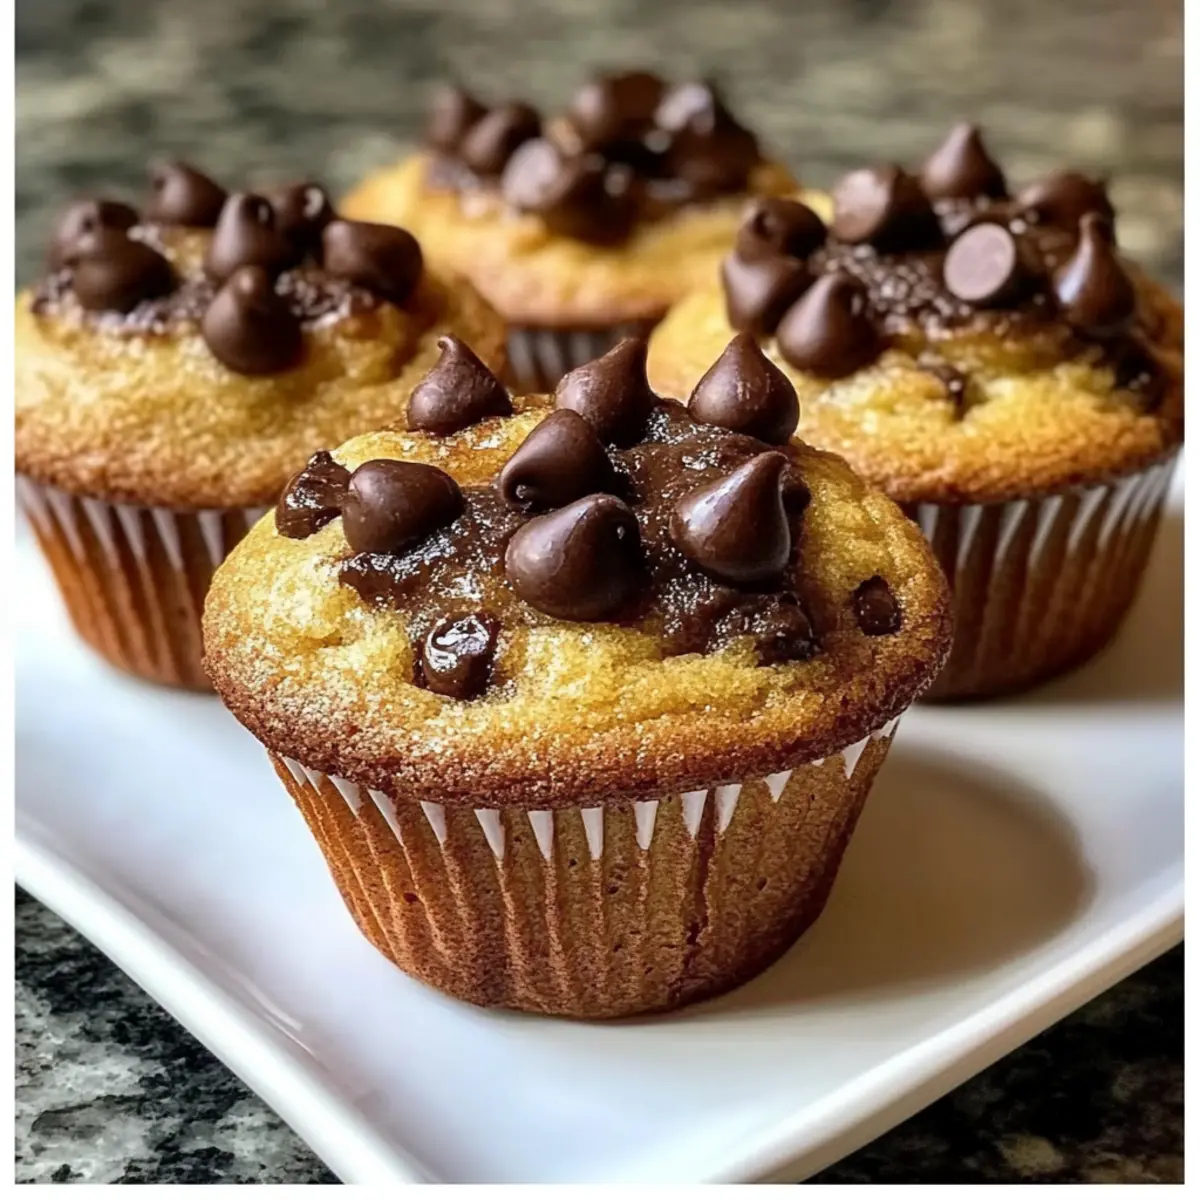
As the fragrant aroma of warm brown butter fills the air, you might find yourself reaching for a spoon just to sneak a taste. That’s how irresistibly tempting these Brown Butter Chocolate Chip Cookie Cupcakes are! Combining the chewy goodness of a classic cookie with the fluffy delight of a cupcake, these treats create the ultimate dessert experience. What’s even better is that they’re quick to whip up, making them a perfect choice for last-minute gatherings or a cozy night in. Plus, each bite delivers a comforting balance of nutty flavors and gooey chocolate that will leave you wanting more. Ready to dive into this delicious fusion? Let’s get baking!
Why Are These Cupcakes So Special?
Irresistible Flavor: The combination of rich brown butter and semi-sweet chocolate creates a depth of flavor that’s simply extraordinary.
Easy to Make: This recipe requires minimal effort, making it perfect for both seasoned bakers and beginners alike.
Texture Triumph: Enjoy the delightful contrast of fluffy tops and chewy cookie-like edges in each bite.
Versatile Treat: Customize with different chocolate types or toss in some nuts for a unique twist!
Crowd Pleaser: These cupcakes are sure to impress at any gathering, just like my Moist Chocolate Chip banana bread, making them an instant favorite!
Brown Butter Chocolate Chip Cookie Cupcake Ingredients
For the Batter
- Unsalted Butter – Adds richness and flavor; use salted if unsalted isn’t available.
- Brown Sugar – Sweetness and moisture enhance chewiness; can substitute with granulated sugar, but the flavor will differ.
- Granulated Sugar – Sweetness to balance flavors; if replacing, use brown sugar for added moisture.
- Large Eggs – Provides structure and moisture; room temperature eggs work best for even mixing.
- Vanilla Extract – Enhances flavor; pure vanilla is recommended for the best results.
- Salt – Balances sweetness; keep as is unless using salted butter.
- Baking Soda – Acts as a leavening agent; no substitutes—ensure it’s fresh for effectiveness.
- Cornstarch – Ensures a tender crumb; can be omitted, but the texture will change.
- All-Purpose Flour – Provides structure; a gluten-free blend can be used for a gluten-free option.
- Semisweet Chocolate Chips – Adds delightful sweetness and chocolate flavor; dark or milk chocolate can be substituted based on preference.
For Serving
- Whipped Cream – A light, fluffy contrast to the cupcakes; serve a dollop on top for extra indulgence.
- Vanilla Ice Cream – The perfect accompaniment for warmth and creaminess; serve a scoop alongside for a delightful treat!
These Brown Butter Chocolate Chip Cookie Cupcakes promise to be a crowd favorite, blending textures and flavors that make every bite a delightful experience!
Step‑by‑Step Instructions for Brown Butter Chocolate Chip Cookie Cupcakes
Step 1: Preheat and Prepare
Begin by preheating your oven to 350°F (175°C). While the oven heats, line a 12-cup muffin tin with paper liners to ensure easy removal of your Brown Butter Chocolate Chip Cookie Cupcakes after baking. This step is crucial for keeping your cupcakes intact and ready for serving.
Step 2: Brown the Butter
In a medium saucepan over medium heat, melt ½ cup of unsalted butter. Stir continually for about 5–7 minutes, watching as the butter transforms from a pale yellow to a lovely golden brown with nutty flecks. Remove it from the heat as soon as it develops a fragrant aroma and is bubbling lightly; this brown butter will add incredible depth of flavor.
Step 3: Mix Sugars with Butter
In a large mixing bowl, combine the browned butter with ½ cup brown sugar and ¼ cup granulated sugar. Use a whisk to blend until smooth and creamy, which should take about 1-2 minutes. The mixture should appear glossy and slightly thick, ensuring that the sugars are well incorporated and ready to support the structure of your cupcakes.
Step 4: Incorporate Eggs and Vanilla
Add two large eggs to your sugar and butter mixture, one at a time. Beat well after each addition until fully combined, followed by 1 teaspoon of pure vanilla extract. This blend should become more uniform and slightly lighter in color, which enhances both the flavor and texture of your Brown Butter Chocolate Chip Cookie Cupcakes.
Step 5: Combine Dry Ingredients
In a separate bowl, whisk together 1 ½ cups all-purpose flour, ½ teaspoon baking soda, ¼ teaspoon salt, and 1 tablespoon cornstarch. This mixture ensures your cupcakes will rise perfectly and maintain the desired tender crumb. Once blended, gradually incorporate it into the wet ingredients, mixing just until the flour disappears; be careful not to overmix.
Step 6: Fold in Chocolate Chips
Gently fold in 1 cup of semisweet chocolate chips with a spatula. This process should be done delicately to avoid deflating your batter while ensuring that every cupcake gets a generous portion of chocolatey goodness. If desired, reserve a few chocolate chips for topping before moving to the next step.
Step 7: Fill the Muffin Tin
Using a scoop or spoon, carefully fill each muffin liner about two-thirds full with your batter. This height allows enough space for the cupcakes to rise beautifully without overflowing. Take care to distribute the batter evenly among the cups to ensure uniform baking.
Step 8: Bake the Cupcakes
Place the muffin tin in the preheated oven and bake for 12–15 minutes. Watch closely as the edges turn golden brown, and a toothpick inserted into the center should come out clean or with a few moist crumbs for the perfect texture of your Brown Butter Chocolate Chip Cookie Cupcakes.
Step 9: Cool and Transfer
Once baked, remove the muffin tin from the oven and allow the cupcakes to cool in the tin for about 5 minutes. This step helps them set and makes transferring easier. Afterward, gently transfer the cupcakes to a wire rack to cool completely, enhancing their texture and flavor as they cool.
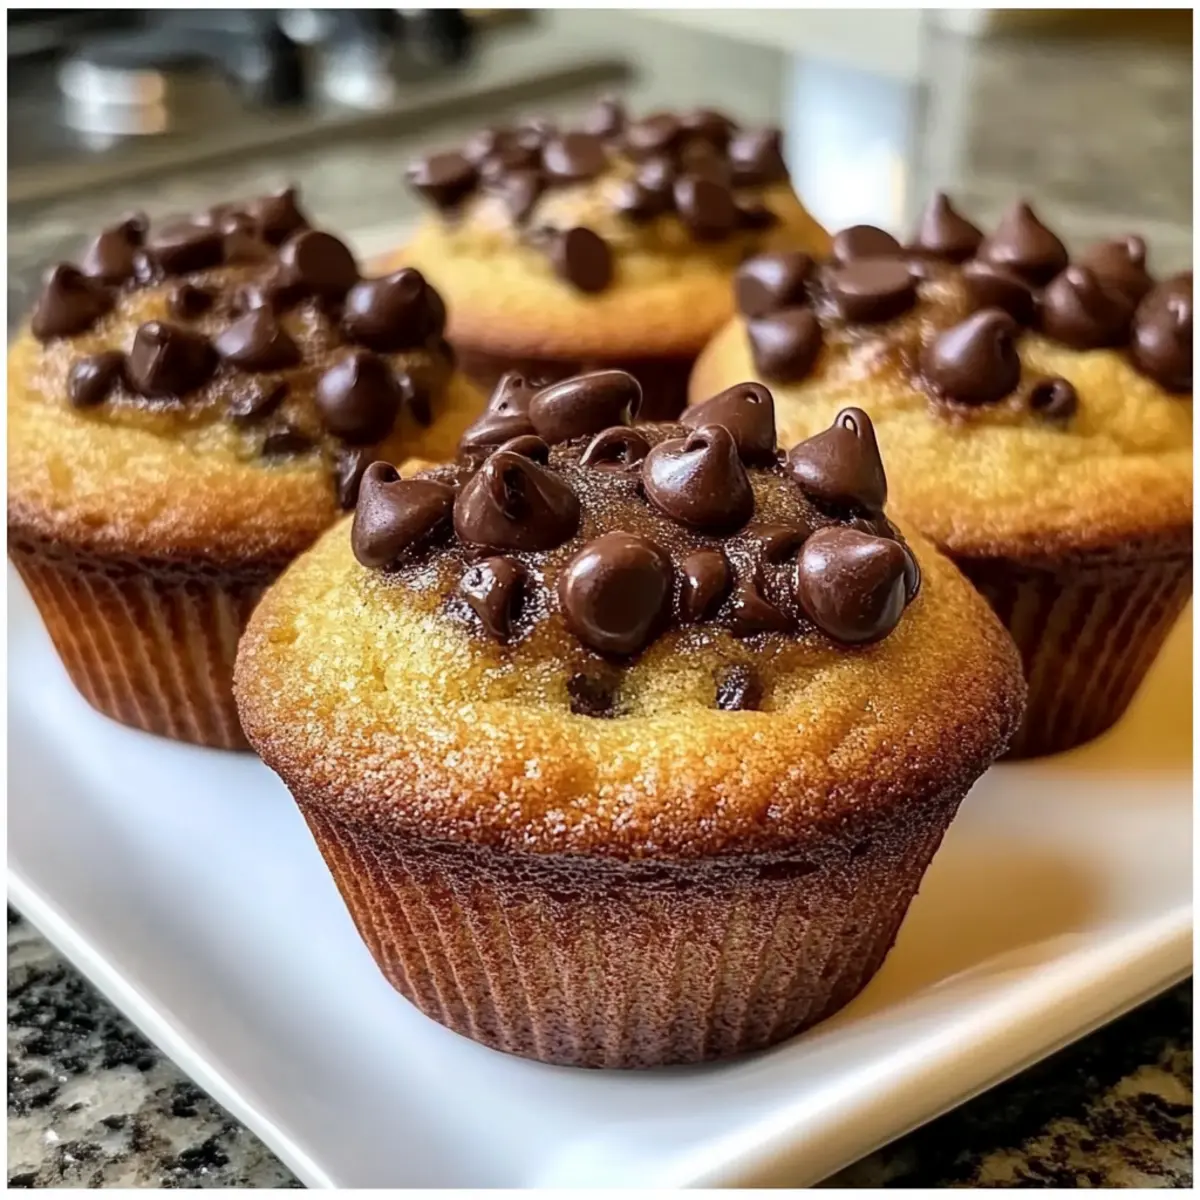
How to Store and Freeze Brown Butter Chocolate Chip Cookie Cupcakes
Room Temperature: Keep the cupcakes in an airtight container at room temperature for up to 3 days to maintain their delicious freshness and prevent them from drying out.
Fridge: If you need to store them a bit longer, place your cupcakes in the fridge in an airtight container for up to 5 days; just be ready to enjoy them cold or gently reheat them.
Freezer: For longer storage, these Brown Butter Chocolate Chip Cookie Cupcakes can be frozen for up to 3 months. Wrap each cupcake tightly in plastic wrap and then place them in a freezer-safe container.
Reheating: When you’re ready to enjoy them again, simply thaw in the fridge overnight, or reheat in the microwave for about 10-15 seconds for a warm, gooey treat!
Brown Butter Chocolate Chip Cookie Cupcake Variations
Feel free to customize these delectable cupcakes to suit your taste and dietary preferences!
-
Dark Chocolate: Swap in dark chocolate chips for a richer, more intense chocolate flavor that enhances the nutty notes from the brown butter. Each bite will be a decadent delight!
-
Nutty Addition: Mix in chopped walnuts or pecans for delightful crunch and flavor. The surprising texture adds a lovely contrast to the soft cupcake and gooey chocolate.
-
Fruity Twist: Toss in some dried cranberries or cherries for a fruity burst that pairs beautifully with chocolate. The fruity notes brighten the rich flavors, creating a refreshing twist.
-
Spiced Up: Add a pinch of cinnamon or a dash of espresso powder to the batter to elevate the flavor. These spices can elevate the overall taste, creating a cozy, comforting aroma.
-
Gluten-Free: Substitute all-purpose flour with a gluten-free flour blend to accommodate gluten-free diets. Your cupcakes will still be delightful and just as enjoyable!
-
Different Extracts: Experiment with almond or hazelnut extract instead of vanilla for a surprising flavor profile. This can bring a new level of sophistication to your cupcake experience.
-
Stuffed Treats: Try stuffing the cupcakes with a dollop of peanut butter or Nutella before baking for a delicious surprise inside. The melted chocolate centers create a heavenly finish!
-
Ice Cream Topping: For an indulgent, sundae-inspired experience, top your warm cupcakes with scoops of vanilla ice cream or a drizzle of caramel sauce. This pairing makes dessert completely irresistible!
With such a variety of options, you can create your own spin on these cupcakes, just like my popular Moist Chocolate Chip banana bread that offers a delightful twist too! Explore these variations and make every batch uniquely yours!
Tips for the Best Brown Butter Chocolate Chip Cookie Cupcakes
-
Watch the Butter: Keep a close eye on the butter while browning to avoid burnt bits; it should have a nutty fragrance and golden color before removing from heat.
-
Don’t Overmix: Gently combine the dry and wet ingredients just until incorporated; overmixing can lead to dense cupcakes instead of light and fluffy ones.
-
Even Cooking: Use a cookie scoop to fill muffin liners evenly; this ensures your Brown Butter Chocolate Chip Cookie Cupcakes bake uniformly.
-
Rotating the Pan: Halfway through baking, rotate the muffin tin to achieve consistent browning and a perfectly baked treat.
-
Cooling Time: Allow the cupcakes to cool in the tin for at least 5 minutes before transferring to a wire rack; this helps maintain their shape and texture.
Make Ahead Options
These Brown Butter Chocolate Chip Cookie Cupcakes are perfect for meal prep enthusiasts! You can prepare the batter and refrigerate it up to 24 hours in advance. To do this, simply mix all your ingredients until just combined, cover the bowl with plastic wrap, and store it in the fridge. This helps enhance the flavors while maintaining the quality of the cupcakes. When you’re ready to bake, scoop the chilled batter into the lined muffin tin and bake as directed, adding a couple of extra minutes if needed. With these make ahead options, you can enjoy fresh, warm cupcakes even on your busiest days!
What to Serve with Brown Butter Chocolate Chip Cookie Cupcakes?
Elevate your dessert experience by pairing these irresistible treats with complementary flavors and textures that will leave you truly satisfied.
-
Whipped Cream: A dollop of this light and airy topping adds a delightful contrast and enhances the sweetness of each bite.
-
Vanilla Ice Cream: Serve a scoop alongside for a creamy contrast that complements the warm flavors of the cupcakes beautifully.
-
Chocolate Ganache: Drizzle over the cupcakes for an extra layer of indulgence that intensifies the rich chocolate experience.
-
Fresh Strawberries: The tartness of ripe strawberries brightens up the dessert and adds a refreshing touch on warm days.
-
Salted Caramel Sauce: Drizzling this over your cupcakes creates a sweet and salty symphony that will have your taste buds dancing.
-
Coffee: A cup of freshly brewed coffee pairs elegantly with the nutty flavors, balancing the sweetness perfectly while enhancing the chocolate.
-
Milk: An all-time classic, a glass of cold milk brings back childhood memories and softens the richness of each cupcake.
-
Nutty Biscotti: Crispy biscotti offer a contrasting crunch, inviting you to savor the textural elements while enjoying your dessert.
-
Chocolate Chip Cookie Ice Cream Sandwich: For a playful twist, sandwich scoops of ice cream between two cookies and relive a childhood favorite in a delightful way!
-
Mini Fruit Tarts: Adding a fraction of light and fruity tartness offers a bright counterpoint, refreshing the palate after each cupcake.
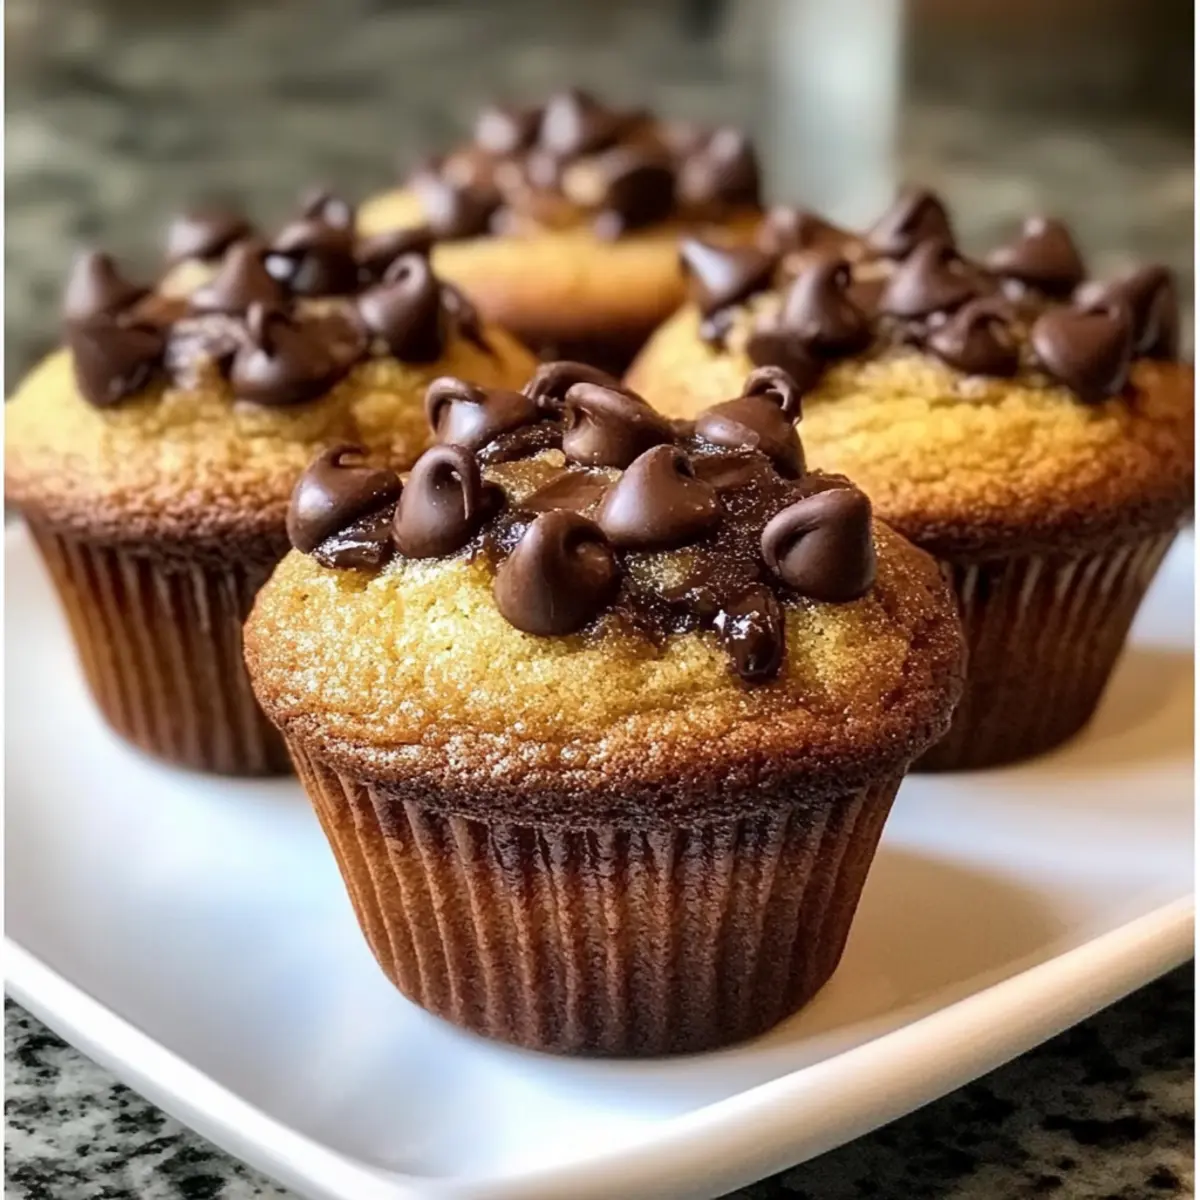
Brown Butter Chocolate Chip Cookie Cupcakes Recipe FAQs
How do I choose the best butter for this recipe?
Opt for unsalted butter to have precise control over the saltiness of your cupcakes. If you only have salted butter, you can reduce or omit the added salt in the recipe. When browning, aim for butter that turns golden brown with a nutty aroma—this will enhance the flavor of your Brown Butter Chocolate Chip Cookie Cupcakes significantly!
What’s the best way to store the cupcakes?
Store your Brown Butter Chocolate Chip Cookie Cupcakes in an airtight container at room temperature for up to 3 days. If you want them to last longer, you can refrigerate them for up to 5 days, but keep them tightly sealed to retain moisture. Just remember to bring them back to room temperature or warm them slightly in the microwave before enjoying!
Can I freeze these cupcakes?
Absolutely! To freeze your Brown Butter Chocolate Chip Cookie Cupcakes, wrap each cupcake tightly in plastic wrap and place them in a freezer-safe container. They will keep well for up to 3 months. When you’re ready to indulge, let them thaw in the fridge overnight or reheat them in the microwave for about 10-15 seconds. It’s like having a fresh treat come back to life!
What if my batter looks lumpy?
It’s normal for the batter to be slightly lumpy after combining wet and dry ingredients. This usually happens if you’ve mixed too vigorously. Just remember, the more you stir, the tougher your cupcakes can become. Always fold gently, mixing until the flour has disappeared but still leaving some lumps for a tender texture.
Can I make these cupcakes gluten-free?
Definitely! You can substitute the all-purpose flour with a gluten-free blend specifically designed for baking. Just make sure to check that the blend contains a binder like xanthan gum to ensure proper structure. The flavor and texture will remain delightfully similar, allowing everyone to enjoy these tasty Brown Butter Chocolate Chip Cookie Cupcakes!
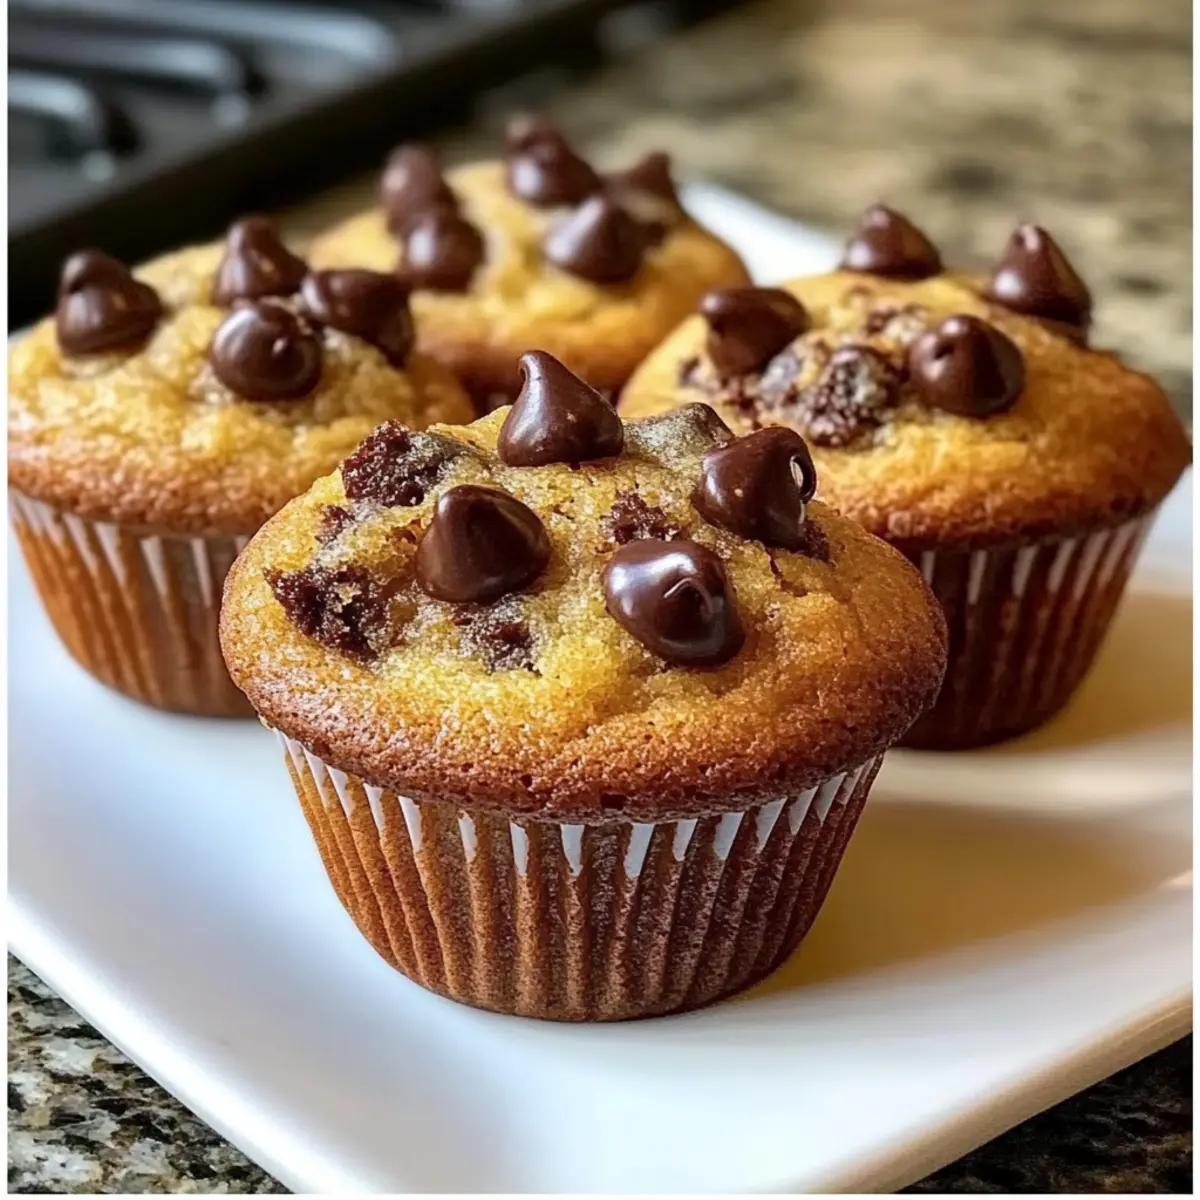
Brown Butter Chocolate Chip Cookie Cupcakes You'll Love
Ingredients
Equipment
Method
- Preheat the oven to 350°F (175°C) and line a 12-cup muffin tin with paper liners.
- Brown the butter in a saucepan over medium heat, stirring continually until golden brown, about 5–7 minutes.
- Combine the browned butter with brown sugar and granulated sugar in a mixing bowl, whisk until smooth and creamy.
- Incorporate eggs one at a time, beating well, then add vanilla extract.
- In a separate bowl, whisk together flour, baking soda, salt, and cornstarch, then gradually mix into the wet ingredients.
- Fold in semisweet chocolate chips gently, reserving a few for topping if desired.
- Fill muffin liners about two-thirds full with the batter.
- Bake in the preheated oven for 12–15 minutes, until the edges are golden brown and a toothpick comes out clean.
- Cool in the tin for 5 minutes, then transfer to a wire rack to cool completely.
Leave a Reply