
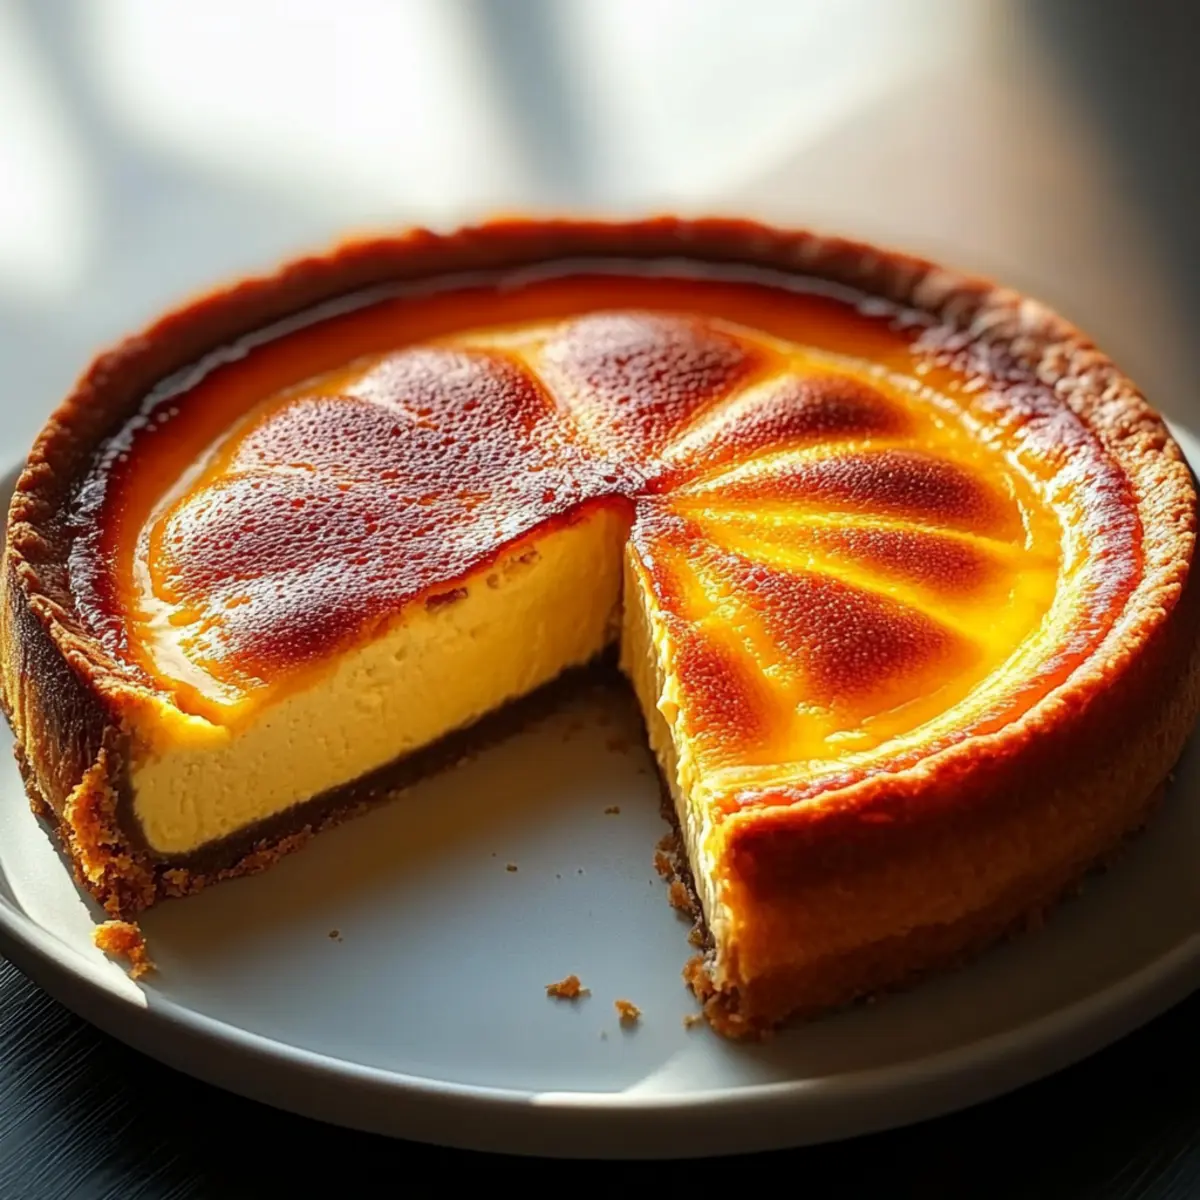
The warm aroma of caramelized sugar and cream cheese wafting from the oven is enough to make anyone’s mouth water. I stumbled upon the concept of the Easy Burnt Basque Cheesecake during a culinary adventure in Spain, its irresistible melty center and crispy edges quickly capturing my heart. This cheesecake is not only incredibly easy to whip up but also makes for an impressive showstopper at any gathering. You’ll love how it can be made ahead of time, making dessert preparation as stress-free as possible. Plus, it’s perfect for freezing, allowing you to savor its creamy indulgence whenever the mood strikes. Are you ready to dive into this delightful dessert that will surely become a staple in your kitchen?
Why is Burnt Basque Cheesecake a Must-Try?
Irresistible flavor combinations grace this cheesecake, with its caramelized edges meeting a luscious, creamy center that melts in your mouth. Easy to prepare, even beginner bakers can impress their guests with minimal fuss. Make-ahead convenience allows you to whip it up in advance, saving time on busy days. Versatile variations let you customize flavors, from citrus zest to almond extract. Crowd-pleasing appeal makes it a hit at any gathering, ensuring everyone goes back for seconds! Don’t miss out on serving this gorgeous dessert alongside some fresh fruit or chocolate ganache for an elegant finish!
Burnt Basque Cheesecake Ingredients
For the Cheesecake
• Cream Cheese – ensures a rich, creamy texture; soften before mixing for best results.
• Sugar – sweetens and aids in caramelization; substitute with Stevia for a lower-calorie option.
• Eggs – bind the ingredients together; use large eggs for optimal results.
• Heavy Cream – adds a decadent creaminess; opt for full-fat coconut milk for a dairy-free twist.
• Vanilla Extract – enhances flavor with its sweet aroma; almond extract can be a delightful substitute.
• All-Purpose Flour (optional) – provides slight structure; omit for a gluten-free version.
Serving Suggestions
• Fresh Fruit – pairs perfectly for a fresh contrast; berries or citrus add a vibrant touch.
• Chocolate Ganache – drizzled on top for an elegant finish; rich chocolate complements the creamy cheesecake beautifully.
Step‑by‑Step Instructions for Easy Burnt Basque Cheesecake
Step 1: Prepare the Oven and Pan
Begin by preheating your oven to 400°F (200°C). While the oven heats, take a loaf pan and line it with parchment paper, allowing the edges to overhang. This will make it easy to lift the cheesecake out later. Ensure the lining is tight so that the batter doesn’t seep under the parchment, setting up the foundation for your glorious Burnt Basque Cheesecake.
Step 2: Mix Ingredients
In a mixing bowl, combine softened cream cheese and sugar. Use an electric mixer to beat them together on medium speed until the mixture is smooth and fluffy, free of lumps. Gradually add in the eggs, one at a time, blending well after each addition. Next, fold in the heavy cream and vanilla extract until the batter is well-incorporated, creating that rich, creamy texture we adore in a Burnt Basque Cheesecake.
Step 3: Add Flour (if using)
If you’re using all-purpose flour, gently fold it into the cheesecake batter at this stage. It’s crucial to mix until just combined; overmixing can lead to a dense texture. The flour helps to maintain a balance in the cheesecake’s structure while still letting that luscious creaminess shine through. Do not fret if you decide to skip the flour; the cheesecake will still be divine!
Step 4: Bake
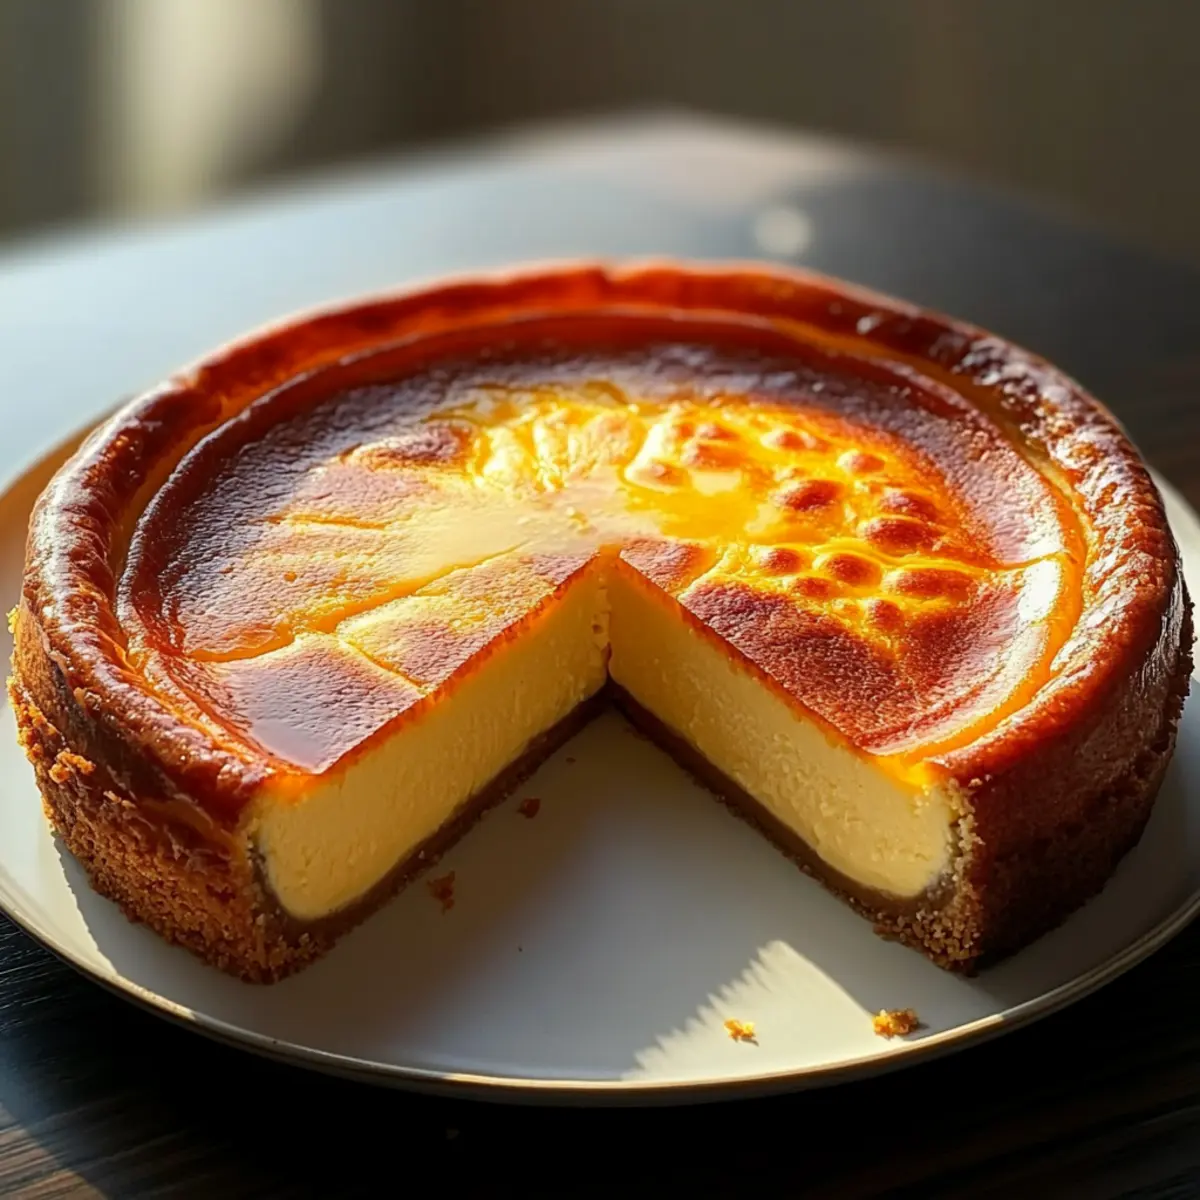
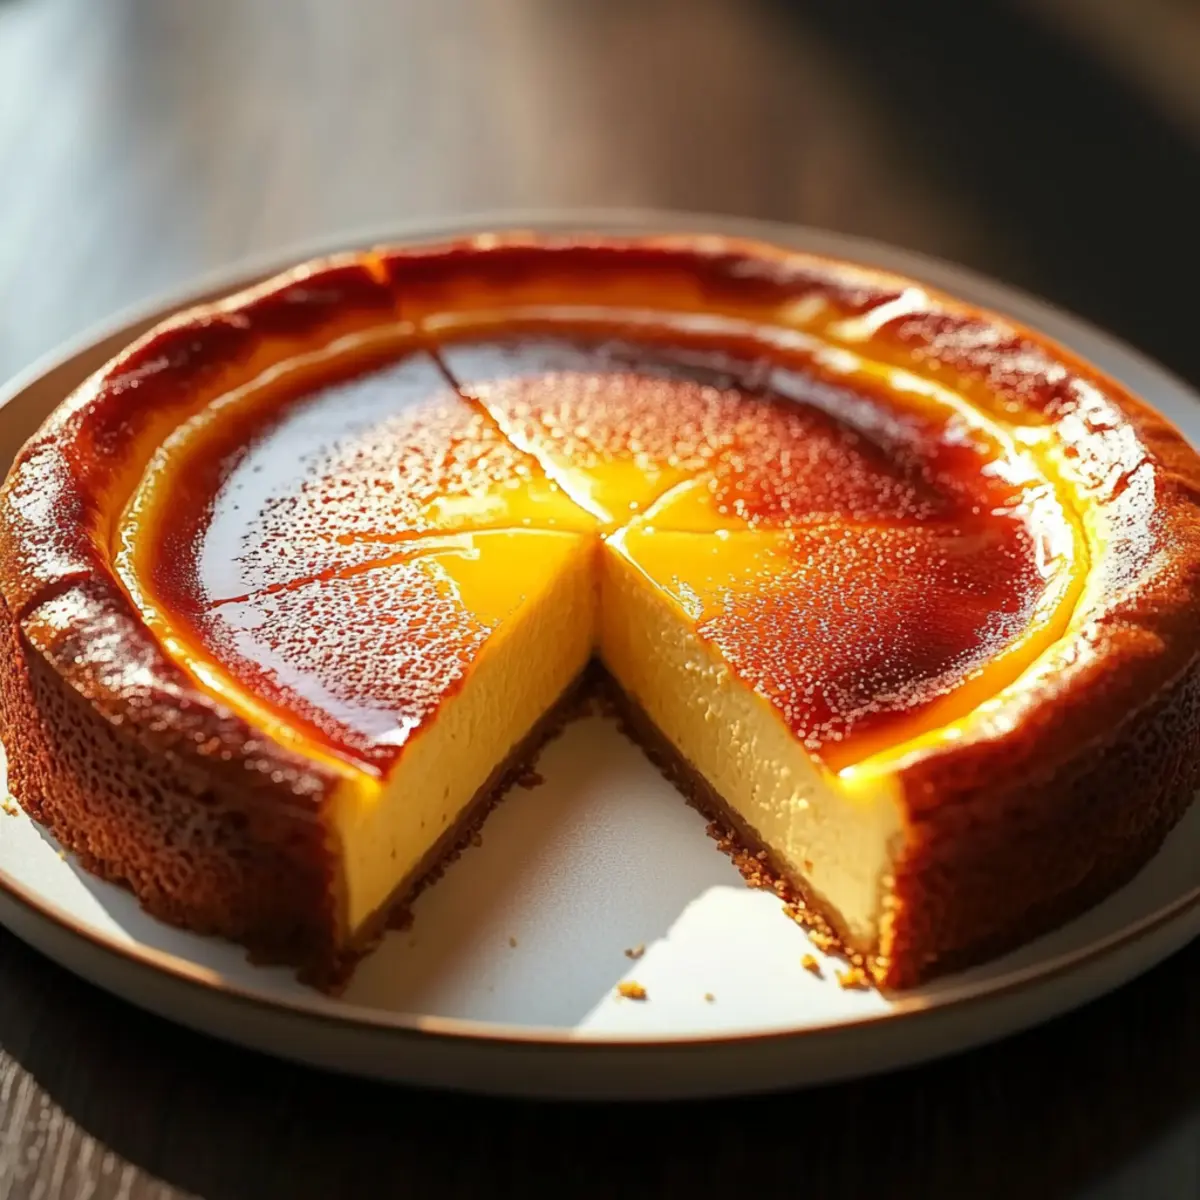
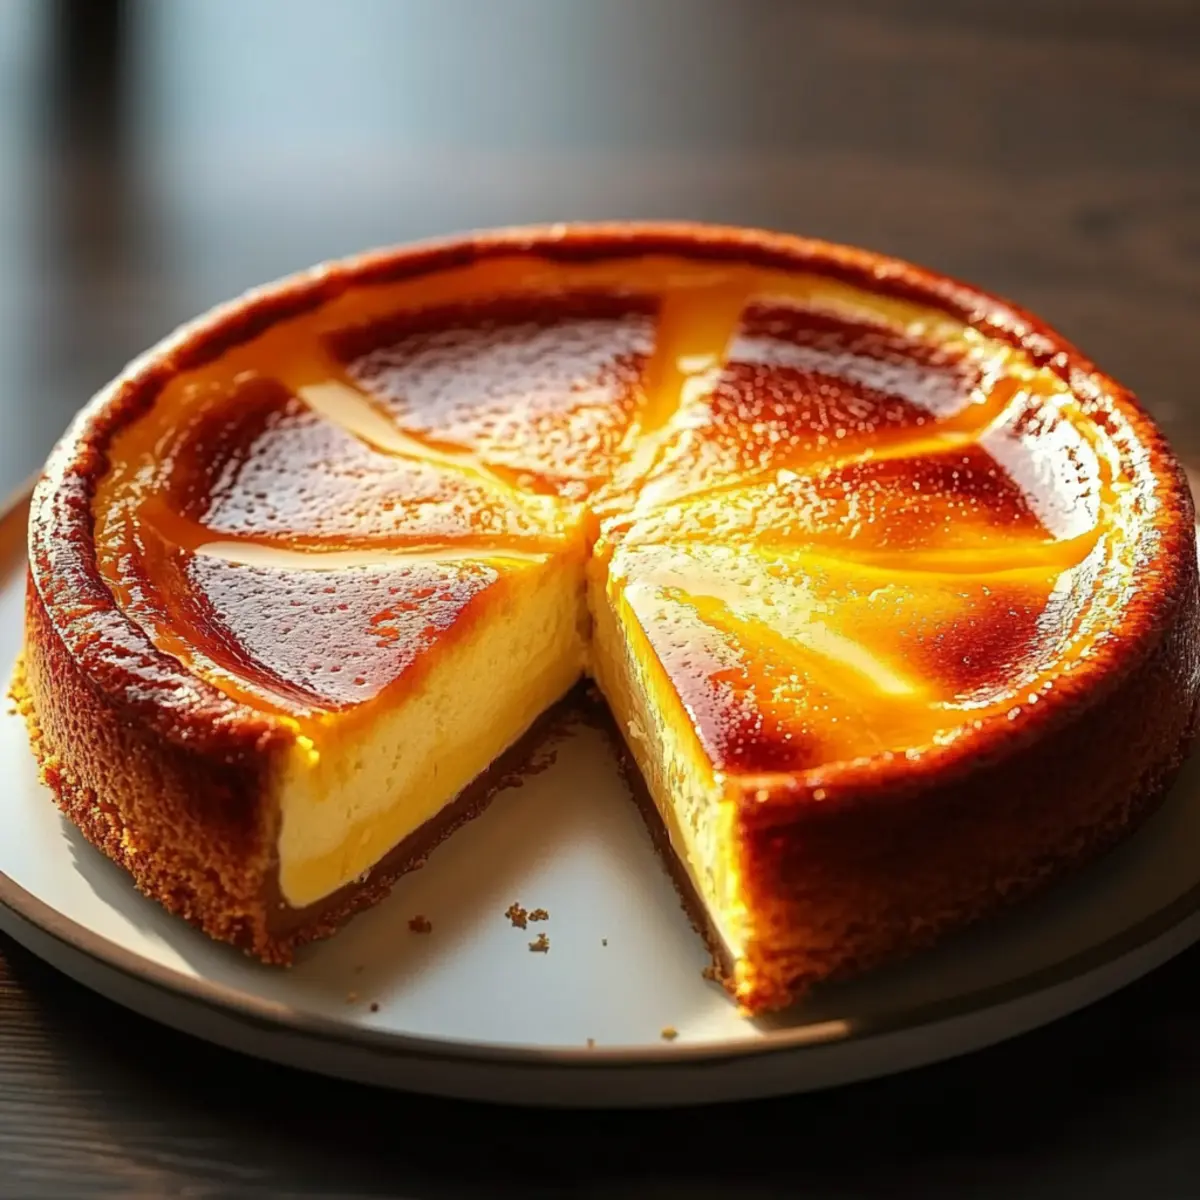
Pour the cheesecake batter into the prepared loaf pan and spread it evenly. Place it in the preheated oven and bake for 25 to 30 minutes. You’ll know it’s done when the top is beautifully caramelized and deeply golden, while the center remains slightly jiggly. This light wobble is a sign of the creamy richness that makes the Easy Burnt Basque Cheesecake so delightful.
Step 5: Cool
After baking, take the cheesecake out of the oven and allow it to cool in the pan for about 15 to 20 minutes. The edges will continue to set while cooling. Carefully use the parchment overhang to lift the cheesecake out of the pan, placing it on a wire rack to let it cool completely. This step ensures that your cheesecake maintains its shape and texture as it cools.
Step 6: Chill
Once the cheesecake has cooled to room temperature, transfer it to the refrigerator. Chill it for at least 1 hour before serving. This essential step not only helps the flavors meld together, but it also enhances the creamy texture, resulting in a heavenly Easy Burnt Basque Cheesecake that will impress everyone at your gathering.
What to Serve with Easy Burnt Basque Cheesecake
Elevate your dessert experience with delightful accompaniments that balance the rich, creamy nature of this cheesecake.
-
Fresh Berries: The tartness of raspberries or strawberries cuts through the richness, adding a refreshing contrast to each bite. Their vibrant color also enhances the dessert’s visual appeal.
-
Chocolate Ganache: A drizzle of silky chocolate ganache adds an indulgent touch. The deep, rich chocolate flavor perfectly complements the cheesecake’s caramel notes.
-
Whipped Cream: Light and airy, whipped cream brings a luscious yet fluffy texture to the cheesecake, enhancing its creaminess without overpowering its flavor.
-
Citrus Zest: A sprinkle of lemon or orange zest brightens the plate, offering a zesty punch that cuts through the sweetness. This adds a fragrant element that elevates the entire dessert experience.
-
Coffee or Espresso: A warm cup of coffee or a shot of espresso provides a lovely bitter balance to the sweetness of the cake, making it a perfect pairing for coffee lovers.
-
Spiced Nuts: Roasted spiced nuts introduce a delightful crunch and warming spices, adding depth and texture that contrasts the cheesecake’s softness.
These delightful pairings will turn your Easy Burnt Basque Cheesecake into a celebration of flavors and textures, making every bite a truly memorable experience.
Expert Tips for Burnt Basque Cheesecake
- Room Temperature Ingredients: Ensure your cream cheese is at room temperature to avoid lumps in the batter, leading to a smoother texture in your Burnt Basque Cheesecake.
- Keep an Eye on Baking: Watch the cheesecake closely while it bakes; a slight jiggle in the center indicates it’s ready. Overbaking can result in a dry dessert.
- Quality Bakeware: Using a high-quality loaf pan ensures even baking and easy removal of your cheesecake. Consider investing in a non-stick option for best results.
- Chilling Time Matters: Allow the cheesecake to cool at room temperature before refrigerating. This prevents condensation from forming on the surface, maintaining its perfect texture.
- Flour Flexibility: If you opt to use flour, be cautious not to overmix. Gently fold until combined to keep your Burnt Basque Cheesecake light and creamy.
How to Store and Freeze Burnt Basque Cheesecake
Fridge: Store your Burnt Basque Cheesecake in an airtight container for up to 5 days to maintain its creamy texture and rich flavor.
Freezer: You can freeze the cheesecake for up to 1 month. Wrap it tightly in plastic wrap and then in aluminum foil to prevent freezer burn.
Thawing: When you’re ready to enjoy, simply transfer the cheesecake to the fridge for a few hours or overnight to thaw gently.
Reheating: For a slightly warm experience, place individual slices in the microwave for about 10-15 seconds—but be cautious not to overheat!
Burnt Basque Cheesecake Variations
Feel free to explore these creative twists to make this delightful cheesecake your own and surprise your taste buds!
- Dairy-Free: Swap heavy cream for full-fat coconut milk for an equally creamy, vegan-friendly dessert.
- Lower-Calorie: Use Stevia instead of sugar for a guilt-free indulgence without compromising on flavor.
- Citrus Zest: Add a teaspoon of lemon or orange zest to the batter for a refreshing, zesty kick that brightens the cheesecake.
- Liqueur Infusion: Incorporate a splash of your favorite liqueur, like Grand Marnier or Amaretto, to elevate the flavors and add sophistication.
- Chocolatey Twist: Mix in cocoa powder or fold in chocolate chips to the batter for a deliciously rich chocolate version of the cheesecake.
- Nutty Variation: Top with crushed pistachios or almonds for a crunchy texture that complements the creamy filling beautifully.
- Spiced Delight: Add a pinch of cinnamon or nutmeg for a warm, cozy flavor that makes every bite comforting.
- Fruit Topping: Serve with a luscious fruit compote or fresh berries on top for a vibrant and colorful presentation. Topping it with fresh fruit beautifully contrasts the rich cheesecake and adds a touch of natural sweetness.
Experimenting with these variations not only enhances your culinary journey but also makes this cheesecake an ever-evolving favorite!
Make Ahead Options
These Easy Burnt Basque Cheesecakes are perfect for meal prep! You can mix the batter and pour it into the prepared loaf pan up to 24 hours in advance, then cover it tightly with plastic wrap and refrigerate. This allows the flavors to develop beautifully. When ready to bake, simply remove it from the fridge and place it in your preheated oven, following the existing baking instructions. If you prefer even more time-saving benefits, you can bake the cheesecake up to 3 days ahead and store it in an airtight container in the fridge. Just be sure to let it cool completely before refrigerating to avoid condensation, ensuring your Burnt Basque Cheesecake is just as delicious when served!
Easy Burnt Basque Cheesecake Recipe FAQs
What type of cream cheese should I use?
For the best results, I recommend using full-fat cream cheese, as it provides a creamy texture and rich flavor in your Burnt Basque Cheesecake. Make sure it’s softened to room temperature for easy mixing, which helps avoid lumps in the final batter.
How should I store my Burnt Basque Cheesecake?
Store your Burnt Basque Cheesecake in an airtight container in the refrigerator for up to 5 days. This will keep the cheesecake fresh while maintaining its creamy texture. If you have leftovers, it’s a perfect treat to enjoy throughout the week!
Can I freeze the Burnt Basque Cheesecake?
Absolutely! You can freeze your cheesecake for up to 1 month. To do this, wrap it tightly in plastic wrap followed by aluminum foil to prevent freezer burn. This way, you can enjoy this delicious dessert even later!
How do I thaw the cheesecake properly?
To thaw your frozen Burnt Basque Cheesecake, simply transfer it from the freezer to the fridge for several hours or overnight. This gentle process ensures that the texture remains creamy without any loss of flavor. Avoid thawing at room temperature as it may affect the cheesecake’s consistency.
What should I do if my cheesecake cracks?
If your cheesecake cracks during baking, don’t stress! This can happen if it’s overbaked or if the oven temperature is too high. For future attempts, ensure you watch it closely and bake until the top is golden and the center is slightly jiggly. Cracks can also be covered with a drizzle of chocolate ganache or fruit compote for a beautiful presentation.
Is this recipe suitable for those with food allergies?
If you’re preparing the Burnt Basque Cheesecake for someone with allergies, consider the following modifications: substitute cream cheese with a dairy-free option, such as cashew cream, and use egg replacer for a vegan version. Just be sure to check all ingredient labels for potential allergens!
Irresistible Burnt Basque Cheesecake with Creamy Delight
Ingredients
Equipment
Method
- Preheat your oven to 400°F (200°C) and line a loaf pan with parchment paper, allowing the edges to overhang.
- In a mixing bowl, combine softened cream cheese and sugar. Beat until smooth and fluffy. Gradually add eggs, blending well after each addition. Fold in heavy cream and vanilla extract.
- If using flour, gently fold it into the batter until just combined.
- Pour the cheesecake batter into the prepared pan and bake for 25 to 30 minutes, until the top is golden and the center is slightly jiggly.
- Let the cheesecake cool in the pan for 15 to 20 minutes. Lift it out using the parchment paper and cool completely on a wire rack.
- Chill the cheesecake in the refrigerator for at least 1 hour before serving.
Leave a Reply