
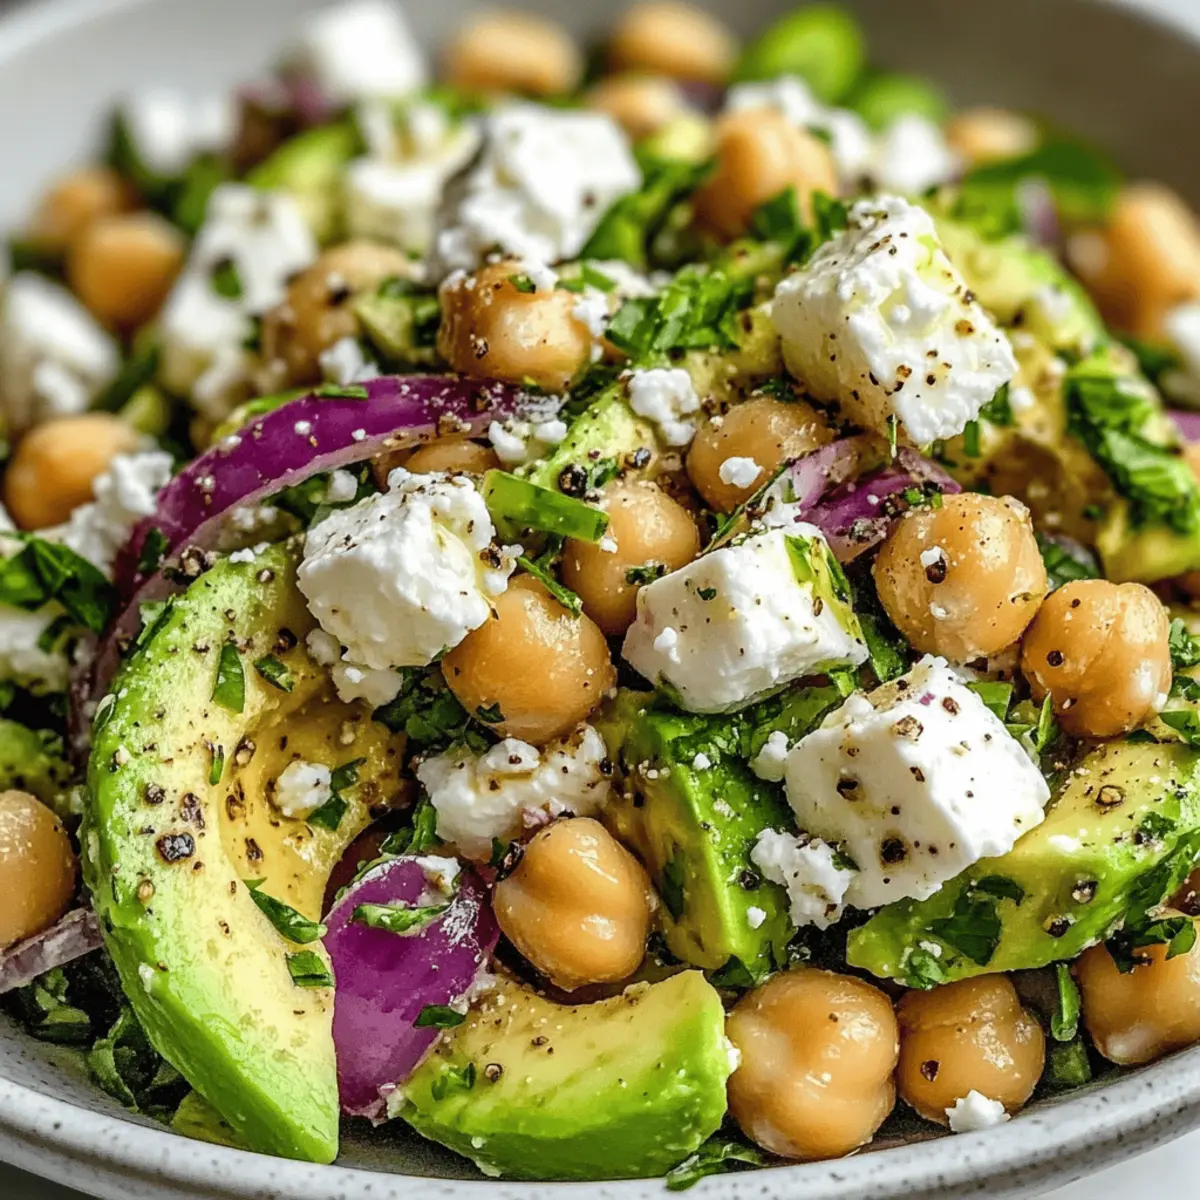
As I stood in my kitchen, a vibrant rainbow of ingredients greeted me—an irresistible invitation for a fresh meal. Enter the Chickpea Feta Avocado Salad, a delightful combination of creamy avocado, tangy feta, and hearty chickpeas that brings the Mediterranean right to your table. This dish is not only a feast for the eyes but also a quick and healthy choice, perfect for those days when you crave something light yet satisfying. With just a handful of ingredients, you can whip up a satisfying lunch or a colorful side that even the pickiest eaters will adore. So why settle for fast food when you can create this vibrant salad in minutes? Ready to discover how to elevate your everyday meals effortlessly?
Why is this salad so special?
Bursting with vibrant flavors, this Chickpea Feta Avocado Salad is an explosion of freshness! Quick to prepare, it’s perfect for those hectic weeknights or a leisurely lunch. Healthy and gluten-free, it caters to various dietary preferences without compromising on taste. Pair it with a refreshing Cucumber Salad Bacon or serve it alongside some Avocado Shrimp Ceviche for a complete Mediterranean experience. Plus, it’s endlessly customizable—feel free to add seasonal veggies to fit your cravings!
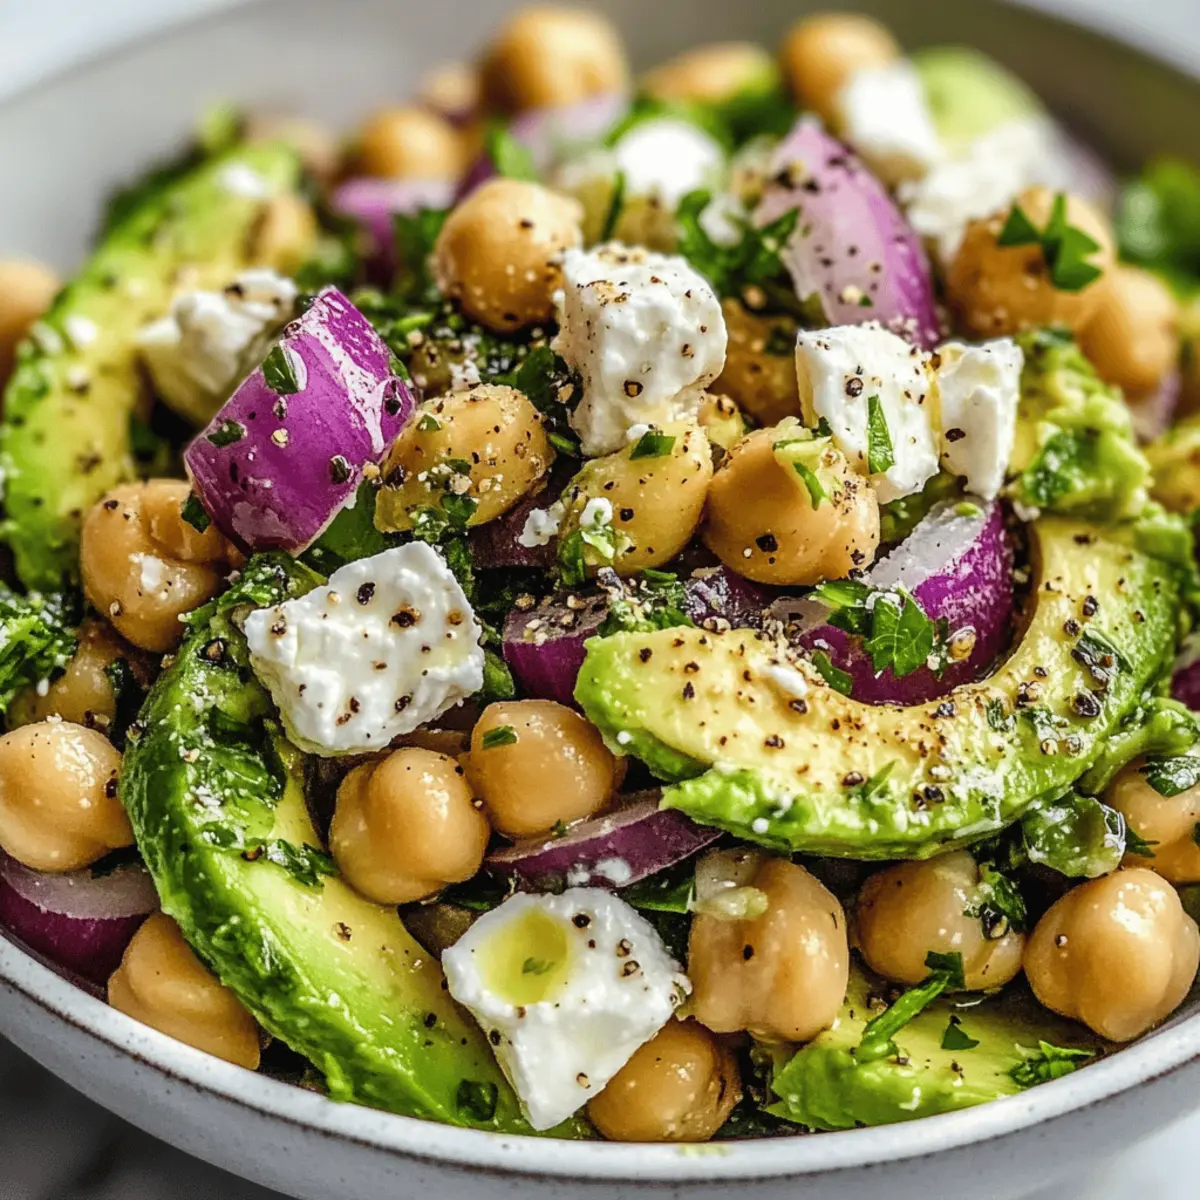
Chickpea Feta Avocado Salad Ingredients
For the Salad
• Chickpeas – Packed with protein and offers a hearty base; remember to rinse them to reduce sodium.
• Avocado – Provides creaminess and healthy fats; use ripe but firm to avoid mushiness, and toss with lemon juice to prevent browning.
• Feta Cheese – Adds a salty, tangy flavor; choose a good quality feta that isn’t too dry for the best taste.
• Red Onion – Gives a sharp bite and crunch; slice thinly for even distribution throughout the salad.
• Fresh Parsley – Introduces freshness and vibrancy; freshly chopped is the way to go for optimal flavor.
• Fresh Mint – Complements other ingredients with a refreshing note; use fresh for the best impact, or dried at half the amount.
For the Dressing
• Olive Oil – Provides richness and helps bind the salad; opt for high-quality oil for the best flavor.
• Lemon Juice – Freshly squeezed enhances brightness and is essential for balancing the dressing’s flavors.
• Garlic – Adds depth and aromatic goodness; mince finely for even incorporation into the dressing.
• Dried Oregano – Offers a classic Mediterranean herb flavor; if using fresh, a teaspoon of dried will do in a pinch.
• Salt & Pepper – Essential for seasoning to taste.
Enjoy crafting this colorful Chickpea Feta Avocado Salad that delights both the eyes and the palate!
Step‑by‑Step Instructions for Chickpea Feta Avocado Salad
Step 1: Rinse the Chickpeas
Start by draining a can of chickpeas in a colander, then give them a good rinse under cold running water for about 30 seconds. This helps reduce sodium content and enhances freshness. Allow the chickpeas to sit for a moment while you prepare the rest of your ingredients, letting excess water drain off.
Step 2: Chop the Vegetables
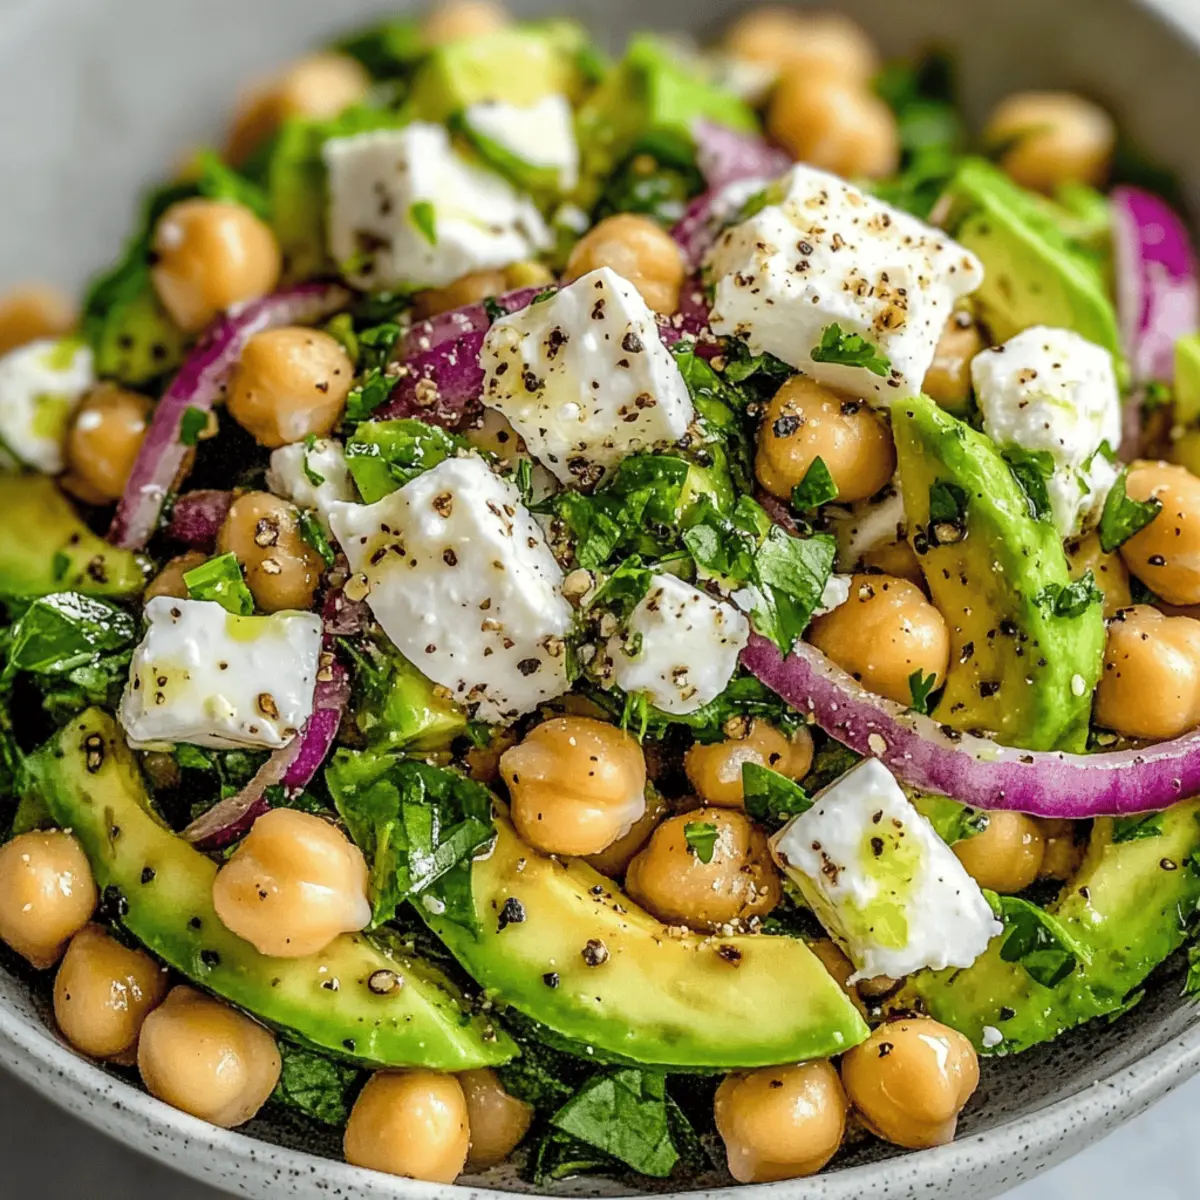
In a large mixing bowl, combine diced avocado, chopped fresh parsley, and sliced red onion. Ensure the avocado is ripe yet firm for the best texture. Aim for even-sized pieces to maintain a visually appealing salad. Toss these ingredients gently, taking care not to mash the avocado as you mix.
Step 3: Crumble the Feta
Next, add crumbled feta cheese to the salad mixture in your bowl, providing a salty and tangy flavor that complements the other ingredients beautifully. Use a fork to crumble the feta directly into the mix, ensuring every forkful of your Chickpea Feta Avocado Salad is bursting with flavor.
Step 4: Prepare the Dressing
In a separate small bowl, whisk together a generous drizzle of olive oil, freshly squeezed lemon juice, minced garlic, dried oregano, salt, and pepper. Spend about 1-2 minutes vigorously whisking to blend the dressing until it’s well combined, creating a smooth, aromatic dressing that will elevate the salad’s flavors.
Step 5: Dress the Salad
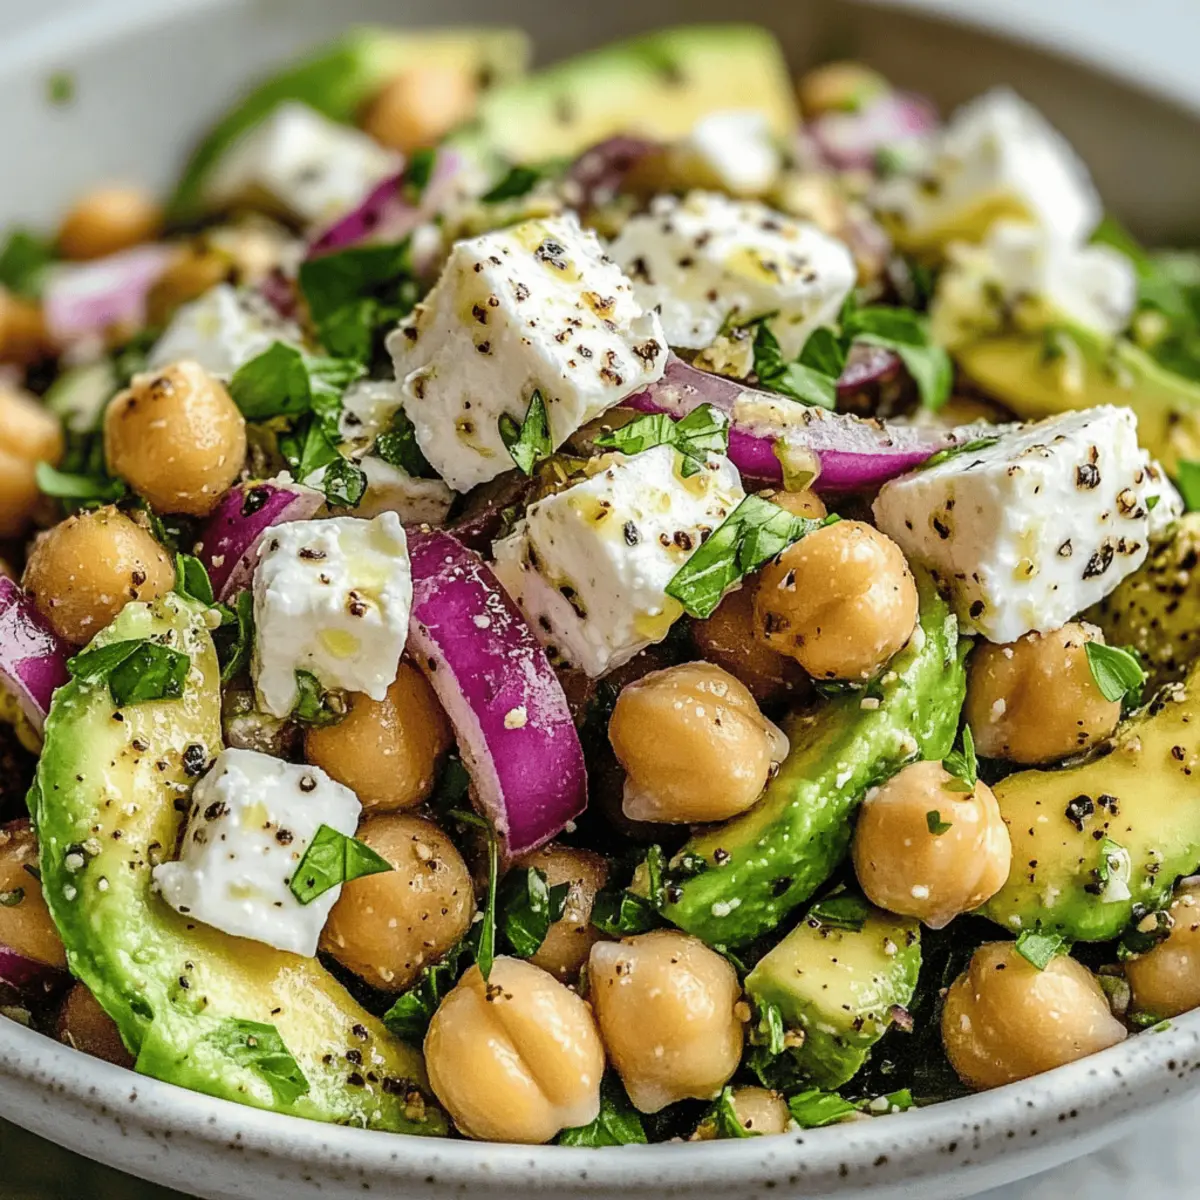
Pour the prepared dressing over the salad mixture and gently toss to ensure all ingredients are evenly coated. Be cautious not to mash the avocado during this process, as you want each component to remain intact and contribute to the vibrant look of the Chickpea Feta Avocado Salad.
Step 6: Serve or Chill
Now it’s time to enjoy your creation! Serve the salad immediately for optimal freshness, or if you prefer, cover the bowl with plastic wrap and chill it in the refrigerator for about 15-20 minutes to allow the flavors to meld. This lovely salad is perfect for a light lunch or as a delicious side dish at dinner.
What to Serve with Chickpea Feta Avocado Salad
To elevate your Chickpea Feta Avocado Salad into a delightful meal, consider these complementary dishes that add flavor and versatility to your table.
- Grilled Lemon Chicken: Juicy chicken marinated in lemon enhances the salad’s freshness while adding protein, making for a complete meal.
- Quinoa Pilaf: This nutty, fluffy side provides a hearty contrast to the creamy salad and is rich in nutrients, keeping it all healthy.
- Roasted Vegetable Medley: A mix of seasonal veggies adds earthy sweetness and a charred depth that beautifully balances the tangy vibes of the salad.
- Stuffed Pita Pockets: Fill warm pita breads with hummus and fresh veggies for a satisfying handheld option that embraces Mediterranean flavors wonderfully.
- Mint Lemonade: This refreshing drink complements the salad’s ingredients and offers a cool, revitalizing effect on a warm day.
- Chocolate Dipped Strawberries: For a sweet finish, these decadent treats provide a delightful contrast while keeping things simple and elegant.
Each pairing brings unique textures and flavors that play beautifully to the vibrant and fresh notes of your Chickpea Feta Avocado Salad. Enjoy crafting a delightful dining experience!
Expert Tips for Chickpea Feta Avocado Salad
-
Choose Ripe Avocados: Make sure to select avocados that are ripe but still firm to the touch; this prevents them from becoming mushy in the salad.
-
Rinse Chickpeas Well: Always rinse your chickpeas thoroughly under cold water to lower the sodium content and boost freshness, enhancing the overall flavor of your Chickpea Feta Avocado Salad.
-
Timing is Key: Add the avocado right before serving to maintain its texture; tossing it with lemon juice immediately after dicing will help prevent browning.
-
Customize with Veggies: Feel free to add other vegetables, such as bell peppers or cucumbers, for variety; just ensure they’re cut into similar-sized pieces for a beautiful presentation.
-
Don’t Skip the Dressing: Whisk your dressing well to combine all ingredients seamlessly; a good dressing enhances the vibrant flavors of this salad, making every bite delightful.
How to Store and Freeze Chickpea Feta Avocado Salad
Fridge: Store leftover Chickpea Feta Avocado Salad in an airtight container for up to 1 day. To maintain freshness, keep the avocado uncut until serving.
Freezer: While it’s best enjoyed fresh, you can freeze the chickpeas and feta separately in airtight containers for up to 3 months, but avoid freezing the salad as a whole to keep the textures.
Reheating: If you’ve stored the chickpeas or feta, simply thaw them in the fridge overnight, and blend them back into your salad for a fresh flavor.
Chickpea Feta Avocado Salad Variations
Feel free to get creative with your Chickpea Feta Avocado Salad—it’s all about celebrating flavors your way!
- Spinach Addition: Mix in fresh spinach for a burst of color and extra nutrients, transforming your salad into a leafy green delight.
- Tomato Twist: Substitute diced tomatoes for a juicy, sweet element that enhances the Mediterranean vibe and adds a touch of acidity.
- Creamy Yogurt: For a creamy twist, add a dollop of plain yogurt—it complements the flavors beautifully and creates a richer texture.
- Edamame Swap: Substitute chickpeas with cooked edamame for a protein-packed variation, featuring a delightfully different texture that’ll surprise your taste buds!
- Roasted Peppers: Toss in roasted red peppers for a smoky depth—this ingredient elevates your salad to new flavorful heights.
- Cucumber Crunch: Add diced cucumbers for a refreshing crunch that balances out the creaminess of the avocado and feta. It’s an irresistible combo!
- Herb Explosion: Experiment with herbs like dill or basil, which add additional layers of flavor that transform your salad into a fragrant escape to the Mediterranean.
- Heat It Up: Sprinkle in some red pepper flakes or diced jalapeños for a spicy kick. This twist adds heat and excitement, perfect for those who crave bold flavors!
Once you start customizing, you might even enjoy serving it alongside a refreshing Cucumber Salad Bacon or a vibrant Corn Pasta Salad. The possibilities are endless, just like the creativity in your kitchen!
Make Ahead Options
These Chickpea Feta Avocado Salad preparations are perfect for busy home cooks seeking to save time! You can wash and chop the fresh vegetables, excluding the avocado, and store them in an airtight container for up to 3 days in the refrigerator. Additionally, prepare the dressing in advance; it can be whisked together and refrigerated for up to 48 hours to deepen the flavors. To maintain the quality of your salad, keep the diced avocado separate and toss it with lemon juice to prevent browning until you’re ready to serve. When the time comes, simply combine everything in a bowl, drizzle with the dressing, and you’ll have a fresh, delicious meal ready in no time!
Chickpea Feta Avocado Salad Recipe FAQs
How do I choose ripe avocados for this salad?
Absolutely! When selecting avocados, look for ones that are slightly soft when squeezed but not mushy. A ripe avocado should yield to gentle pressure. If you find one with dark spots all over, it’s likely overripe. Tossing your diced avocado with lemon juice right after cutting will help prevent browning and maintain its beautiful green color in the salad.
How should I store leftovers of the Chickpea Feta Avocado Salad?
Very! Store any leftover salad in an airtight container in the refrigerator for up to 1 day. To keep the avocado fresh, it’s best to leave it uncut until right before serving. If you know you’ll have leftovers, you might even consider keeping the salad ingredients separate from the avocado.
Can I freeze the Chickpea Feta Avocado Salad?
Of course! While it’s not recommended to freeze the entire salad since the avocado will become mushy, you can freeze the chickpeas and feta cheese separately. Place them in airtight containers and freeze for up to 3 months. When you’re ready to enjoy them again, simply thaw them in the fridge overnight and mix them into a fresh salad for a quick meal.
What should I do if my salad is too salty or tangy?
If your Chickpea Feta Avocado Salad turns out too salty or tangy, don’t worry! Add a little more diced avocado or some chopped cucumber to help balance the flavors. You can also include a few extra chickpeas to dilute the saltiness. Taste as you go to find that perfect balance!
Are there any dietary considerations I should keep in mind with this salad?
Certainly! This Chickpea Feta Avocado Salad is gluten-free and suited for many diets. However, if you or anyone you’re serving has dairy allergies, you can easily substitute feta with a plant-based cheese. Always double-check your ingredient labels as some products may contain allergens!
Can I make variations of this salad?
Absolutely! The beauty of this salad is its versatility. You can easily transform it by adding ingredients like spinach for extra greens, or tomatoes for a fresh twist. Feel free to incorporate seasonal vegetables that you enjoy to customize the flavors to your liking. The more the merrier when it comes to fresh ingredients!
Chickpea Feta Avocado Salad: A Fresh Mediterranean Twist
Ingredients
Equipment
Method
- Rinse the chickpeas in a colander for about 30 seconds and let them drain.
- In a mixing bowl, combine diced avocado, chopped parsley, and sliced red onion.
- Crumble feta cheese into the mixture using a fork.
- Whisk together olive oil, lemon juice, minced garlic, oregano, salt, and pepper in a small bowl.
- Pour the dressing over the salad and toss gently to coat.
- Serve immediately or chill in the refrigerator for 15-20 minutes before serving.
Leave a Reply