
As I rummaged through my childhood memories, I stumbled upon the sweet aroma of Chocolate Lava Cakes, a dessert that reminds me of Mother’s Day celebrations filled with laughter and love. These elegant little indulgences are not only easy to whip up but also serve as a delightful surprise for anyone who digs in, with a rich and gooey center waiting to be discovered. Just the thought of cutting into one brings back warm feelings of family gatherings, cozy kitchens, and heartfelt hugs. Who wouldn’t want to spoil their mom with these charming treats? Join me as we explore a variety of Mother’s Day desserts, perfect for making this special day even sweeter. What flavor combination do you think would capture your mom’s heart?
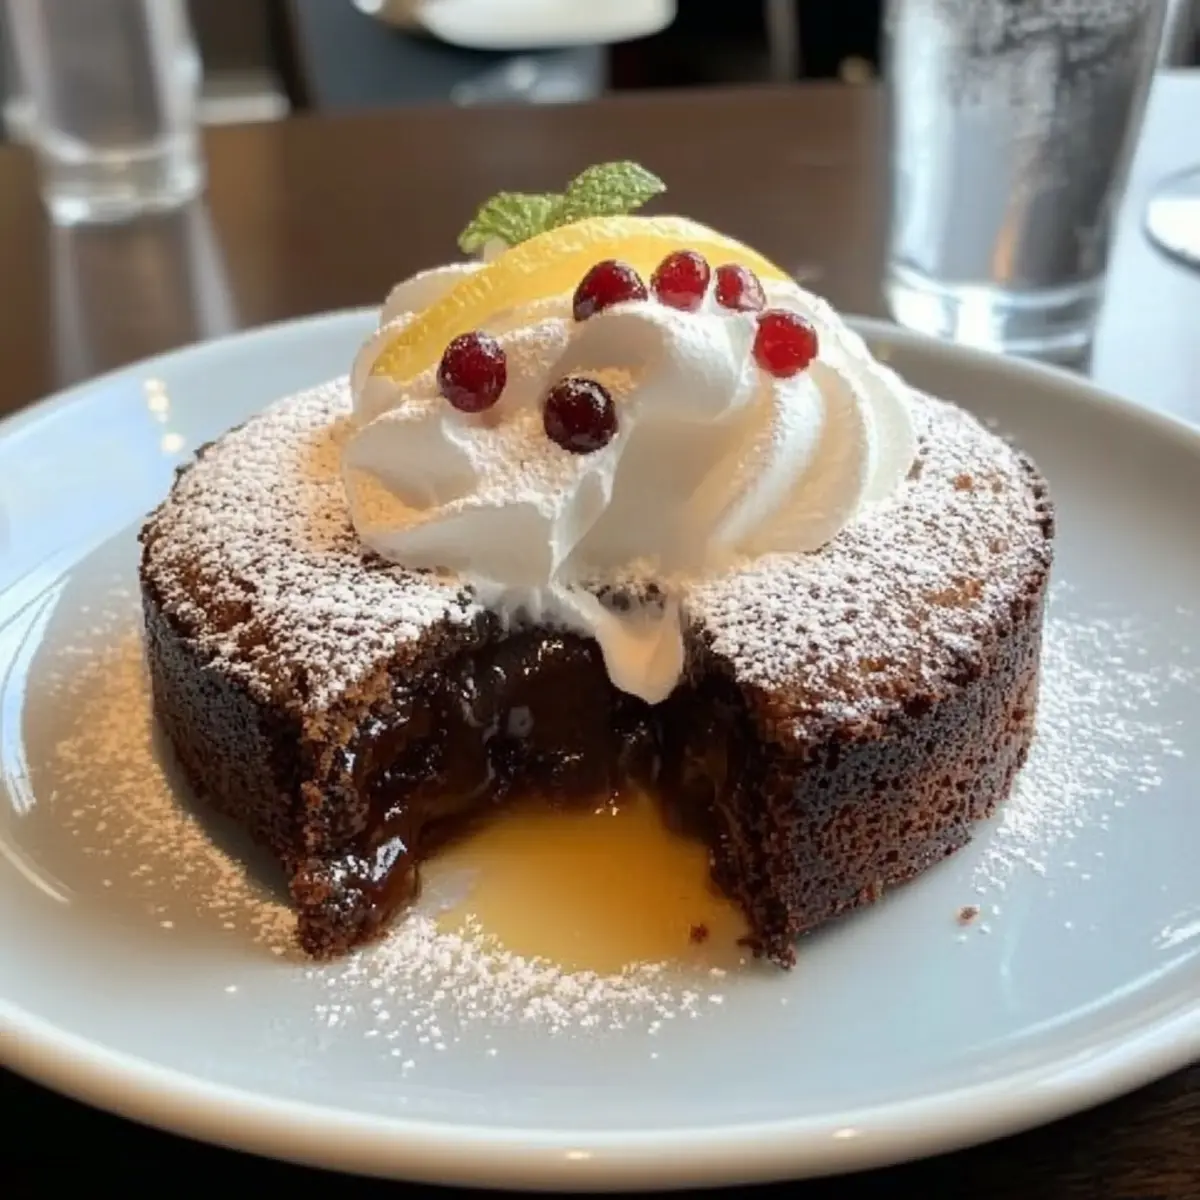
Why Are Chocolate Lava Cakes So Irresistible?
Decadent chocolate goodness: These warm, gooey treats are the epitome of indulgence, with each bite melting in your mouth and igniting nostalgia.
Easy to make: Even novice bakers can whip these up in no time, perfect for a last-minute dessert that impresses!
Crowd-pleaser: Whether it’s Mother’s Day or a simple family dinner, everyone will be clamoring for seconds.
Customizable: Experiment with flavors—add a dash of sea salt, or swap dark chocolate for a sweeter profile. You might also explore delightful variations like Chocolate-Dipped Strawberries or even Decadent Chocolate Chip Cookies to complement your feast.
Memory-making: They evoke heartwarming childhood memories and create new ones as you enjoy them with loved ones.
Elegant presentation: Serve them with a scoop of vanilla ice cream or fresh berries for a stunning display that looks as good as it tastes!
Chocolate Lava Cakes Ingredients
Indulge in the rich and gooey goodness!
For the Batter
• Dark Chocolate – enhances the dessert’s richness; choose high-quality chocolate for the best flavor.
• Unsalted Butter – adds creaminess; allow it to soften for easier mixing.
• Granulated Sugar – balances the bitterness; feel free to reduce for a less sweet option.
• Eggs – provide structure and help create that luscious molten center; use room temperature for better texture.
• Egg Yolks – enrich the batter; don’t skip them for the best results.
• All-Purpose Flour – thickens the batter; can be substituted with gluten-free flour for a variation.
• Vanilla Extract – adds warmth and depth; opt for pure extract for superior flavor.
• Sea Salt – enhances flavors; a sprinkle on top before baking elevates the taste.
For Serving
• Powdered Sugar – dust on top for an elegant finish; also adds a touch of sweetness.
• Vanilla Ice Cream – serves as a cool contrast to the hot lava cake; consider dairy-free options if needed.
• Fresh Berries – add a tart note and visual appeal; seasonal fruits offer the best flavor.
These Chocolate Lava Cakes are not only a delightful centerpiece for your Mother’s Day dessert table but will also evoke cherished memories together. Enjoy!
Step‑by‑Step Instructions for Chocolate Lava Cakes
Step 1: Prepare the Ramekins
Begin by preheating your oven to 425°F (220°C). While the oven warms up, generously butter four ramekins and dust them with cocoa powder to prevent sticking. This small but crucial step ensures your Chocolate Lava Cakes slide out effortlessly once they’ve baked. Place the prepared ramekins on a baking sheet for easier handling.
Step 2: Melt Chocolate and Butter
In a microwave-safe bowl, combine 6 ounces of dark chocolate and ½ cup of unsalted butter. Microwave in 30-second intervals, stirring in between until completely melted and smooth. Allow the mixture to cool slightly before proceeding, as you want a warm but not hot blend for the batter. This rich chocolate base is the heart of your delicious lava cakes.
Step 3: Mix Sugar and Eggs
In a separate bowl, whisk together ½ cup of granulated sugar, 2 whole eggs, and 2 egg yolks until the mixture is thick and pale. This should take about 2-3 minutes. The airy texture helps create that wonderful molten center that makes Chocolate Lava Cakes so irresistible. Add in 1 teaspoon of vanilla extract during this mixing to enhance the cake’s flavor.
Step 4: Combine Mixtures
Gently fold the melted chocolate mixture into the egg mixture using a spatula until just combined. Take your time here; you want to preserve the airiness created in the eggs. Sift in ¼ cup of all-purpose flour and a pinch of sea salt, folding until there are no visible flour streaks. The batter should be glossy and rich, setting the stage for the indulgent centers that await.
Step 5: Fill the Ramekins
Carefully pour the batter into each prepared ramekin, filling them about ¾ full. This allows enough space for the cakes to rise beautifully during baking while ensuring that molten core remains intact. Avoid overfilling; you want the Chocolate Lava Cakes to maintain their signature gooeyness as they bake.
Step 6: Bake the Cakes
Now, bake your Chocolate Lava Cakes in the preheated oven for approximately 12-14 minutes. They should look firm around the edges but still jiggle slightly in the center when you gently shake the baking sheet. Keep an eye on them; baking times can vary slightly based on your oven, and this is key to achieving that molten center.
Step 7: Cool and Serve
Once baked, remove the ramekins from the oven and allow them to cool for about 1 minute. Carefully run a knife around the edges to loosen the cakes, then invert them onto dessert plates. Dust with powdered sugar and serve immediately alongside a scoop of vanilla ice cream and fresh berries for contrast. Your special Chocolate Lava Cakes are ready to melt hearts!
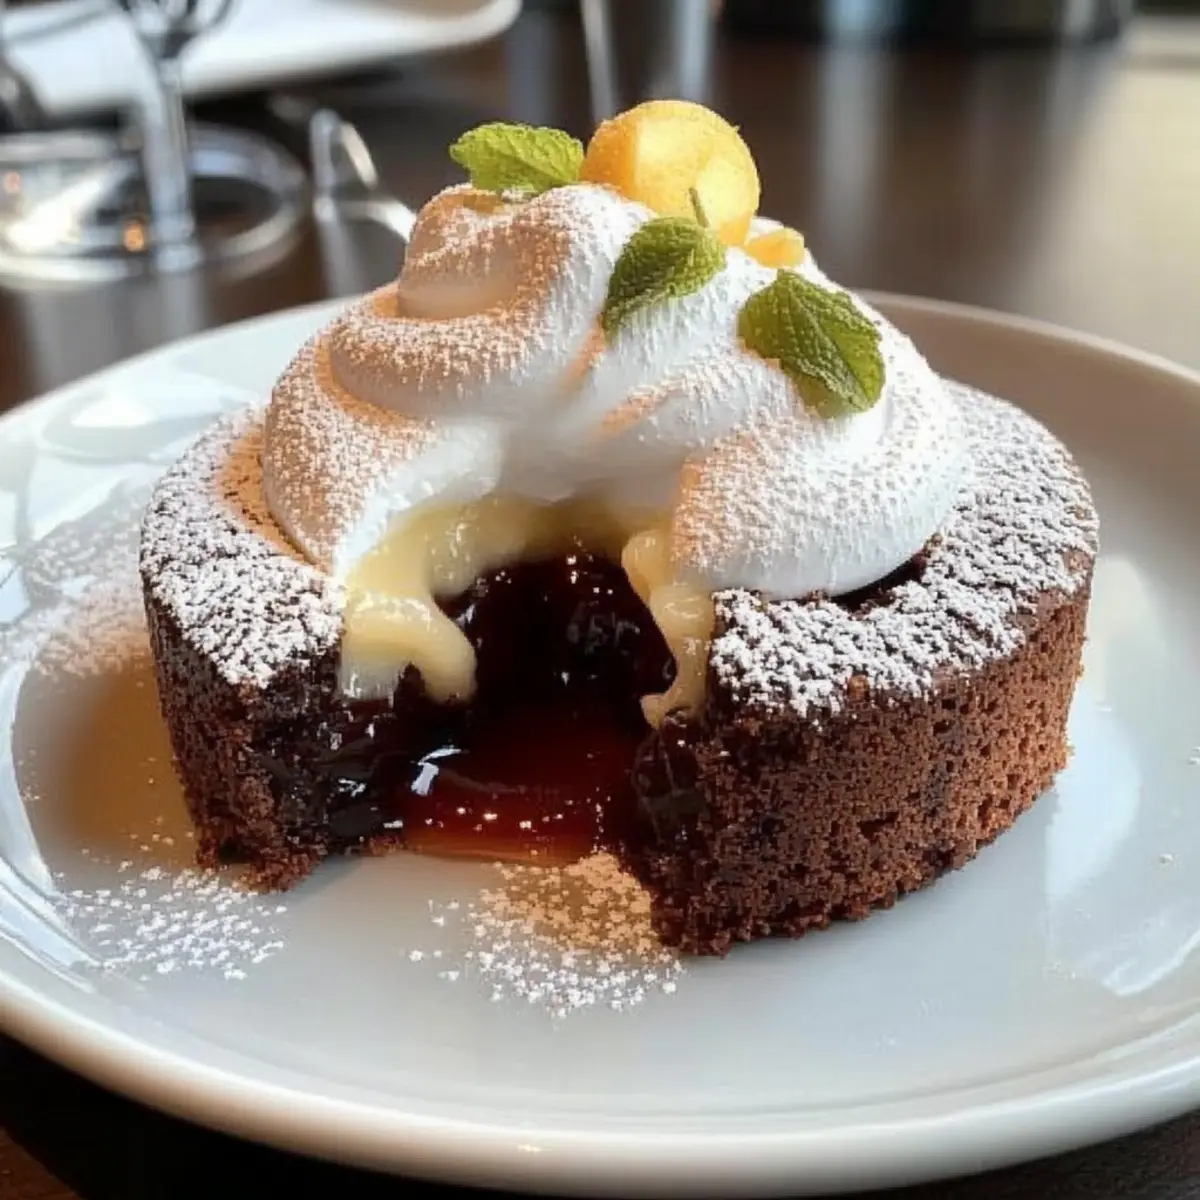
How to Store and Freeze Chocolate Lava Cakes
Room Temperature: Keep your Chocolate Lava Cakes at room temperature for up to 2 days, covered with plastic wrap to maintain freshness.
Fridge: For longer storage, place the cooled cakes in an airtight container and refrigerate for up to 3 days. Reheat in the microwave for a few seconds before serving to revive the gooey center.
Freezer: You can freeze unbaked lava cake batter in ramekins for up to 2 months. Just wrap each ramekin tightly with plastic wrap and foil. Bake from frozen, adding a couple of extra minutes to the baking time.
Reheating: If baked cakes are stored, reheat them directly in the microwave for about 20-30 seconds. This will help restore their warm, molten centers, ensuring a delightful dessert experience.
What to Serve with Decadent Chocolate Lava Cakes?
Imagine the delight of creating a full sensory experience around your elegant chocolate indulgence!
- Velvety Vanilla Ice Cream: The creamy texture complements the warm, gooey center, creating a perfect contrast that melts together in every delicious bite.
- Fresh Berries: A vibrant mix of strawberries, raspberries, or blueberries adds a refreshing tartness that balances the rich sweetness of the lava cakes.
- Rich Coffee: A strong, black coffee enhances the chocolate flavor, making every mouthful feel more indulgent and sophisticated. The warmth of the drink is a cozy pairing with the cake’s molten richness.
- Decadent Whipped Cream: Light and airy, this whipped topping adds volume and creaminess. Consider infusing it with vanilla or a hint of espresso for an extra twist!
- Chocolate Sauce Drizzle: A warm chocolate sauce provides an extra layer of indulgence—because who can resist more chocolate with their dessert? Just a drizzle can elevate an already delightful experience.
- Salted Caramel Sauce: Add a touch of salty to the already sweet dessert, maximizing flavor profiles and giving a unique depth that hits all the right notes.
- Mini Fruit Tarts: These colorful, bite-sized delights bring a fresh, crisp texture to contrast with the tender cake. Perfect for adding a delightful touch to your dessert table.
- Mango Sorbet: A refreshing palate cleanser, the fruity and tangy notes will dazzle your taste buds, lightening the richness of the lava cake.
- Lemon Meringue Pie: The zesty lemon filling provides a bright contrast, creating an enjoyable dance of flavors to keep your meal exciting and vibrant!
Make Ahead Options
These Chocolate Lava Cakes are perfect for busy home cooks looking to save time while still impressing! You can prepare the batter up to 24 hours in advance. Simply follow the mixing steps, fill the ramekins, and cover them with plastic wrap before refrigerating. This helps maintain their rich flavor and texture. When you’re ready to bake, simply place the chilled ramekins straight into the preheated oven, adding a minute or two to the baking time to ensure they’re heated through. This way, you can enjoy fresh, warm Chocolate Lava Cakes with that indulgently gooey center, all without the last-minute rush on Mother’s Day!
Expert Tips for Chocolate Lava Cakes
• Quality Ingredients: Use high-quality dark chocolate for a richer flavor. Cheap chocolate can alter the taste and texture of your lava cakes.
• Room Temperature Eggs: Make sure your eggs are at room temperature to help create that airy batter, which is crucial for achieving the perfect molten center.
• Bake Time Monitoring: Keep an eye on the baking time; ovens can vary. Remove the cakes when they’re firm around the edges but still slightly jiggly in the center for that signature lava effect.
• Cooling Period: Let the cakes sit for only about a minute before inverting them. This prevents them from collapsing while still keeping the gooey center intact.
• Serving Suggestions: Pair with a scoop of cold vanilla ice cream and fresh berries to enhance flavor contrasts, making your Chocolate Lava Cakes even more delightful!
Chocolate Lava Cakes Variations & Substitutions
Feel free to make these delectable Chocolate Lava Cakes your own with these delightful twists! Discover new flavors and textures that will surprise your loved ones and elevate your Mother’s Day celebrations.
- Gluten-Free: Swap all-purpose flour for a gluten-free blend to cater to dietary needs without sacrificing taste.
- Nutty Addition: Stir in chopped nuts like hazelnuts or pecans for a delightful crunch in every bite. The added texture can create a beautiful contrast to the smooth chocolate.
- Flavor Infusion: Add espresso powder or coffee for an extra deep flavor that enhances the chocolate’s richness. Just a teaspoon can make a remarkable difference!
- Fruit Flavors: Incorporate fruit purees, like raspberry or passion fruit, into the batter for a bright and refreshing contrast. Try pairing your lava cake with a scoop of tart raspberry sorbet!
- Minty Freshness: Add peppermint extract to the mix for a refreshing twist that pairs beautifully with the chocolate. This is particularly lovely during holiday gatherings.
- Spicy Touch: Incorporate a pinch of cayenne pepper or chili powder for a surprising heat that mingles with the sweet lava center. This twist can surprise those who love a little kick!
- Alternative Chocolate: Experiment with different types of chocolate, like white chocolate or milk chocolate, for varied flavors. Just remember that different chocolates may melt differently!
- Citrus Zest: Add some orange or lemon zest into the batter for a zesty brightness that complements the rich chocolate. This can brighten up the dessert, making it lighter and more refreshing!
For further inspiration, you might want to explore our delightful Decadent Chocolate Chip Cookies or enjoy a mouth-watering touch by pairing the lava cakes with some luscious Chocolate-Dipped Strawberries. The possibilities are endless!
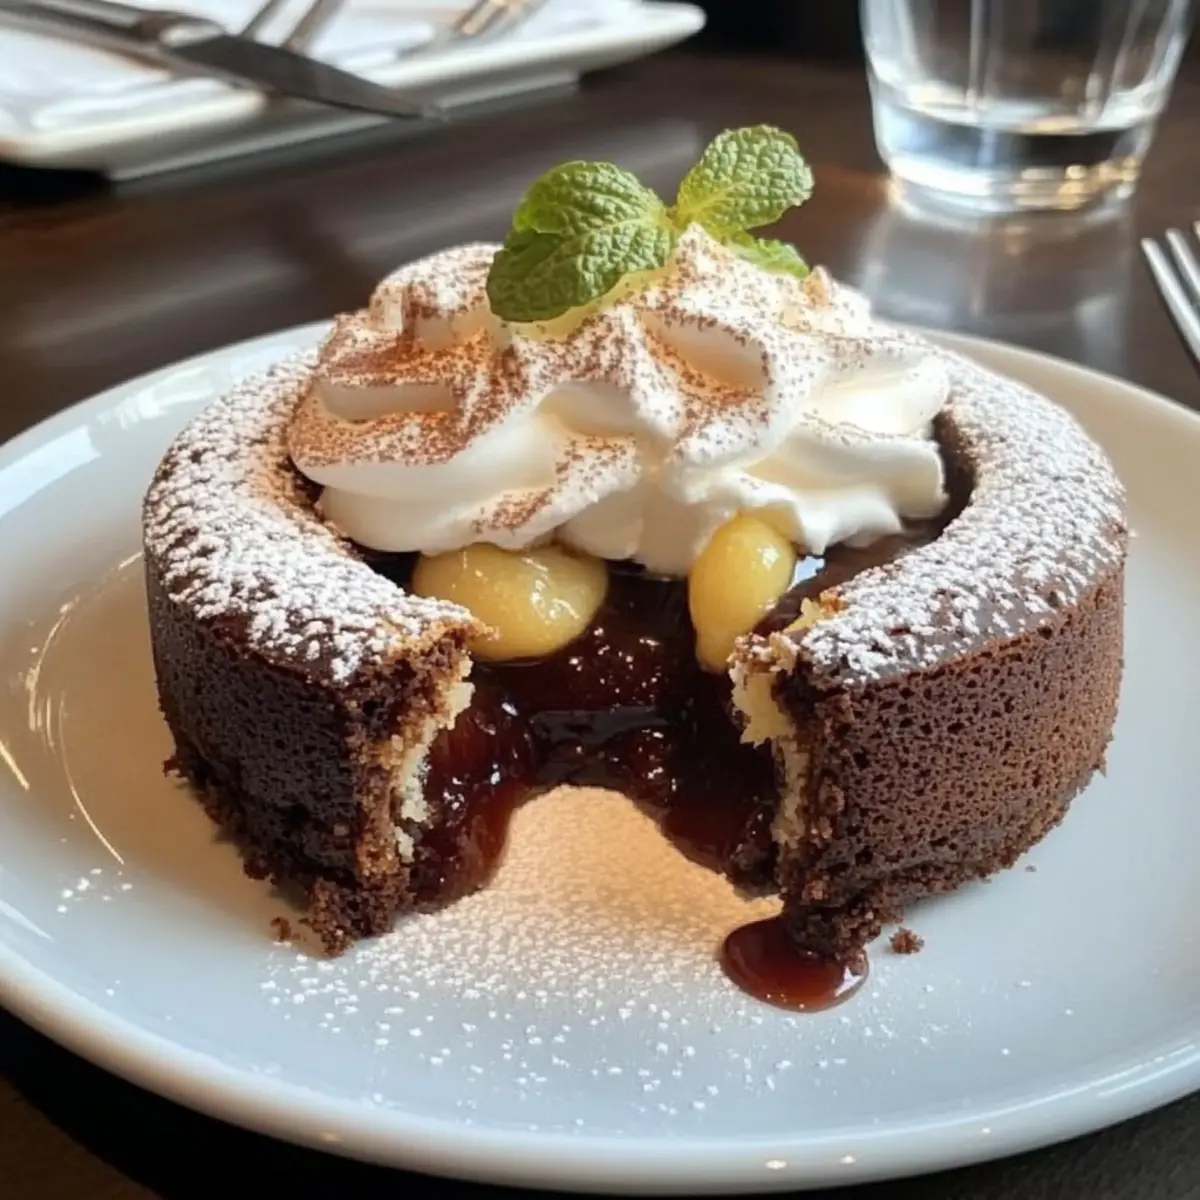
Chocolate Lava Cakes Recipe FAQs
What type of chocolate should I use for Chocolate Lava Cakes?
Absolutely! A high-quality dark chocolate is essential for rich flavor and smooth texture. Aim for chocolate with at least 70% cocoa content for a decadent experience. If you prefer a sweeter profile, semi-sweet chocolate can be used as an alternative, but avoid using milk chocolate as it could result in overly sweet cakes and affect the gooey texture.
How should I store leftover Chocolate Lava Cakes?
For the best taste, place your cooled Chocolate Lava Cakes in an airtight container and refrigerate them for up to 3 days. If you’d like to enjoy them warm again, simply microwave them for about 20-30 seconds before serving, ensuring that delicious molten center comes back to life!
Can I freeze Chocolate Lava Cakes?
Yes! To freeze unbaked Chocolate Lava Cakes, wrap each prepared ramekin tightly with plastic wrap and then foil. They can be stored in the freezer for up to 2 months. When you’re ready to bake, remove them from the freezer and bake directly from frozen, adding 2-3 extra minutes to the cooking time for that perfect molten center.
What should I do if my lava cakes aren’t molten in the center?
If your Chocolate Lava Cakes come out too firm, it’s likely they were baked for too long. Be sure to watch the time closely—12 to 14 minutes is usually ideal. If they still turn out dense, consider reducing the baking time slightly or ensuring your oven temperature is calibrated correctly, as each oven can vary.
Can I make Chocolate Lava Cakes gluten-free?
Very much so! Simply substitute the all-purpose flour with a gluten-free flour blend or almond flour. Ensure your chocolate and any extra ingredients you use are labeled gluten-free as well. The result is just as indulgent and delicious, perfect for gluten-sensitive friends or family!
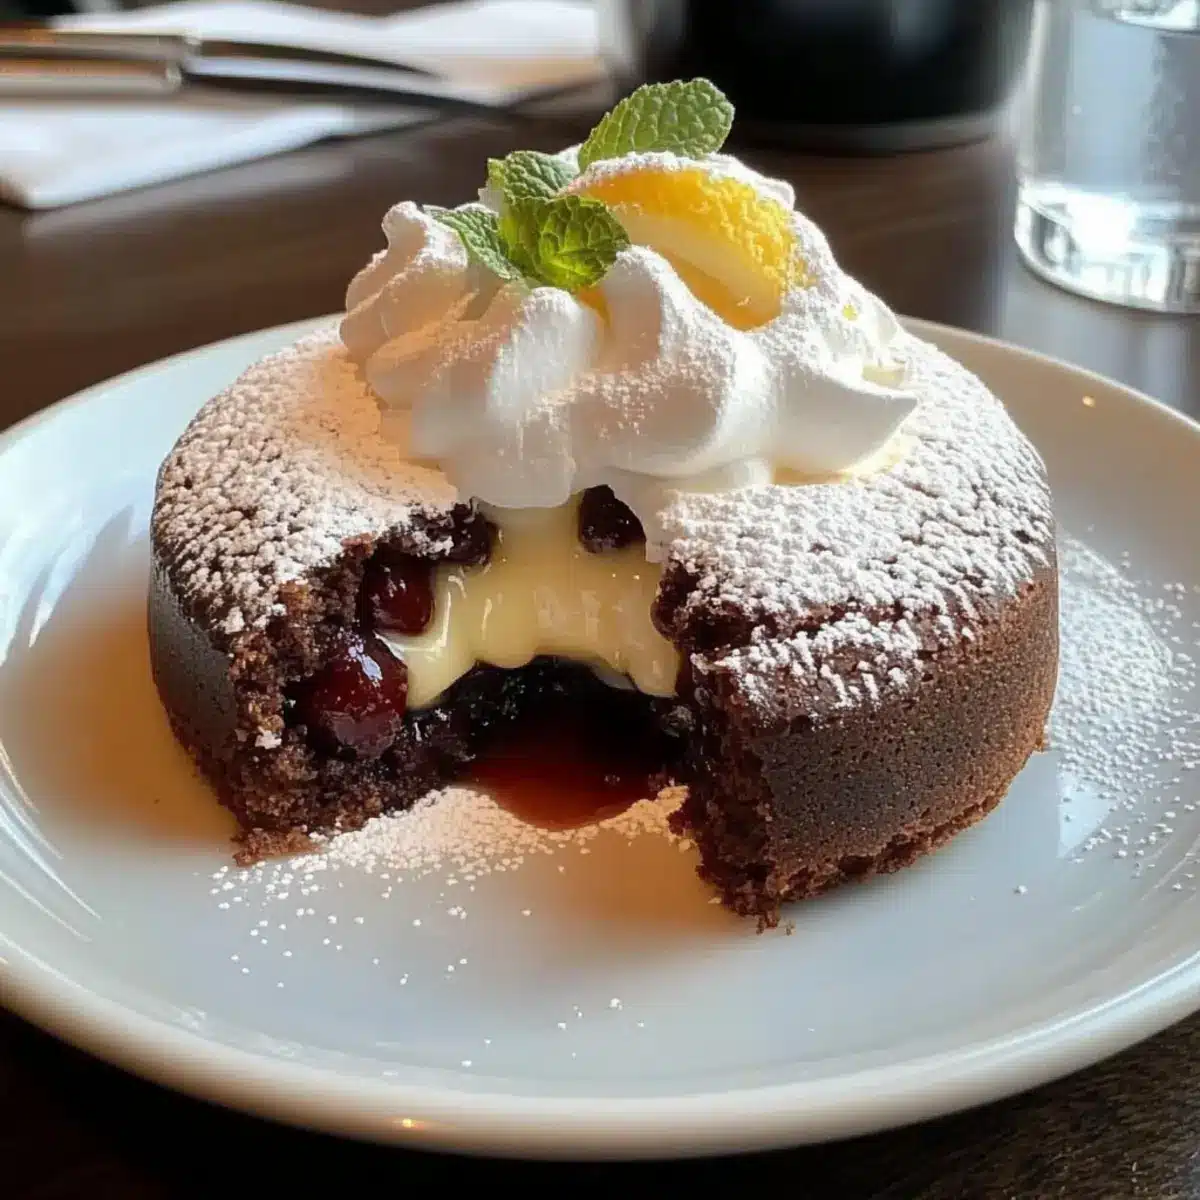
Decadent Chocolate Lava Cakes That Melt Hearts and Palates
Ingredients
Equipment
Method
- Preheat your oven to 425°F (220°C) and butter four ramekins, dusting them with cocoa powder.
- Melt 6 ounces of dark chocolate and ½ cup of unsalted butter in a microwave-safe bowl, stirring until smooth.
- Whisk together ½ cup of granulated sugar, 2 whole eggs, and 2 egg yolks until thick and pale, adding 1 teaspoon of vanilla extract.
- Gently fold the melted chocolate mixture into the egg mixture, then sift in ¼ cup of all-purpose flour and a pinch of sea salt, folding until glossy.
- Pour the batter into the ramekins, filling them about ¾ full to allow for rising.
- Bake for approximately 12-14 minutes until the edges are firm but the center jiggles.
- Cool for 1 minute, loosen the edges with a knife, then invert onto dessert plates, dust with powdered sugar and serve with ice cream and berries.
Leave a Reply