
As the aroma of gooey chocolate and freshly baked goodness envelops my kitchen, I can’t help but smile. These Classic Chocolate Chip Cookies are more than just a sweet treat; they hold the power to create cherished memories. With a delightfully chewy center and crispy edges, this recipe is ideal for those of us who want to whip up something special without spending hours in the kitchen. Whether you’re indulging a late-night craving or hosting friends for a cozy gathering, these cookies come together in no time, making them a true crowd-pleaser. And for those looking to accommodate dietary preferences, I’ll share how to customize them to be gluten-free without sacrificing a crumb of flavor. Ready to dive into a baking adventure that’s both simple and satisfying? Let’s turn the ordinary into delicious, homemade magic!
Why Are These Cookies So Irresistible?
Simplicity: With minimal ingredients and straightforward steps, whipping these cookies together is a breeze, even for beginner bakers.
Versatile: Customize with your favorite mix-ins, whether you prefer nuts, dried fruits, or a gluten-free option—this recipe covers all bases!
Crowd-Pleaser: Perfect for gatherings, they are guaranteed to disappear quickly. Serve them warm with a glass of milk or coffee for that nostalgic touch.
Quick Bake Time: Ready in just 10-12 minutes, you can quell those last-minute cravings without extensive prep.
Once you’ve tasted the warm, gooey chocolate melting in your mouth, you’ll immediately understand why they are a classic. Looking for a savory counterpart to this sweet delight? Try making some delicious Pesto Chicken Flatbread for your next meal!
Classic Chocolate Chip Cookies Ingredients
• Get ready to bake!
For the Dough
- All-purpose flour – Provides structure; for a gluten-free version, substitute with a gluten-free flour blend.
- Baking soda – Acts as a leavening agent; ensure it’s fresh for optimal results.
- Salt – Enhances flavor; sea salt offers a more complex taste.
- Unsalted butter – Gives richness; let it soften at room temperature for easier mixing or use coconut oil for a dairy-free option.
- Granulated sugar – Adds sweetness; swap half for brown sugar for a caramel-like touch.
- Brown sugar – Contributes moisture and flavor; use light or dark based on your preference.
- Eggs – Bind ingredients together; for an egg-free option, blend 1 tbsp ground flaxseed with 3 tbsp water per egg.
- Vanilla extract – Infuses the dough with depth; pure vanilla is recommended for the best flavor.
- Chocolate chips – The star ingredient! Choose dark or semi-sweet for varied flavors; feel free to mix in your favorite nuts for crunch.
For Optional Add-Ins
- Nuts – Add walnuts or pecans for delightful crunch; this can enhance the overall texture of the cookies.
- Dried fruits – Consider raisins or cranberries for a sweet twist that complements the chocolatey goodness.
- Peanut butter chips – Swap for a nutty flavor that pairs beautifully with chocolate.
- Oats – Stir in for a heartier texture, creating a delicious twist on the classic cookie.
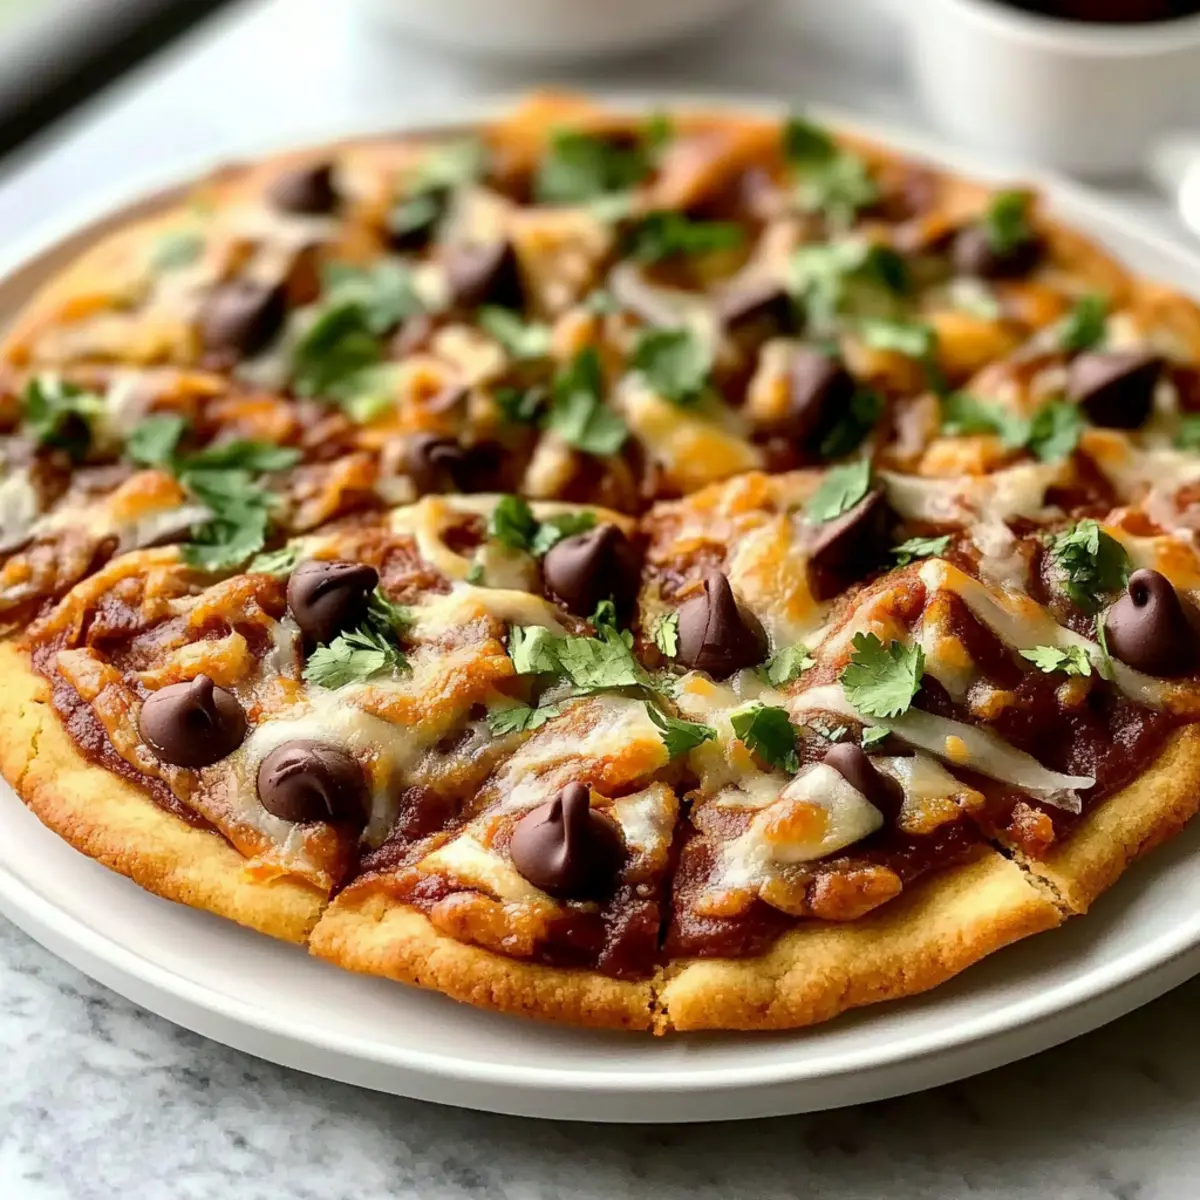
Step‑by‑Step Instructions for BBQ Chicken Flatbread
Step 1: Preheat the Oven
Begin by preheating your oven to 425°F (220°C). While the oven heats the excitement builds, prepare a baking sheet by lining it with parchment paper. This simple step ensures your BBQ Chicken Flatbread won’t stick and will bake evenly, giving you that perfect crispy base.
Step 2: Prepare the Flatbread
Roll out your pizza dough or flatbread on a floured surface until it’s about ¼ inch thick. Carefully transfer the rolled-out dough onto the prepared baking sheet, shaping it into an oval or rectangle as you desire. The visual cue here is a smooth, slightly stretchy surface, ready for toppings.
Step 3: Spread the Sauce
Take your favorite BBQ sauce and evenly spread it across the surface of the dough using the back of a spoon. Leave about a half-inch border around the edges for a lovely crust. You’ll want to ensure the sauce is generously applied, as it imparts flavor to your BBQ Chicken Flatbread, enhancing every delicious bite.
Step 4: Layer the Toppings
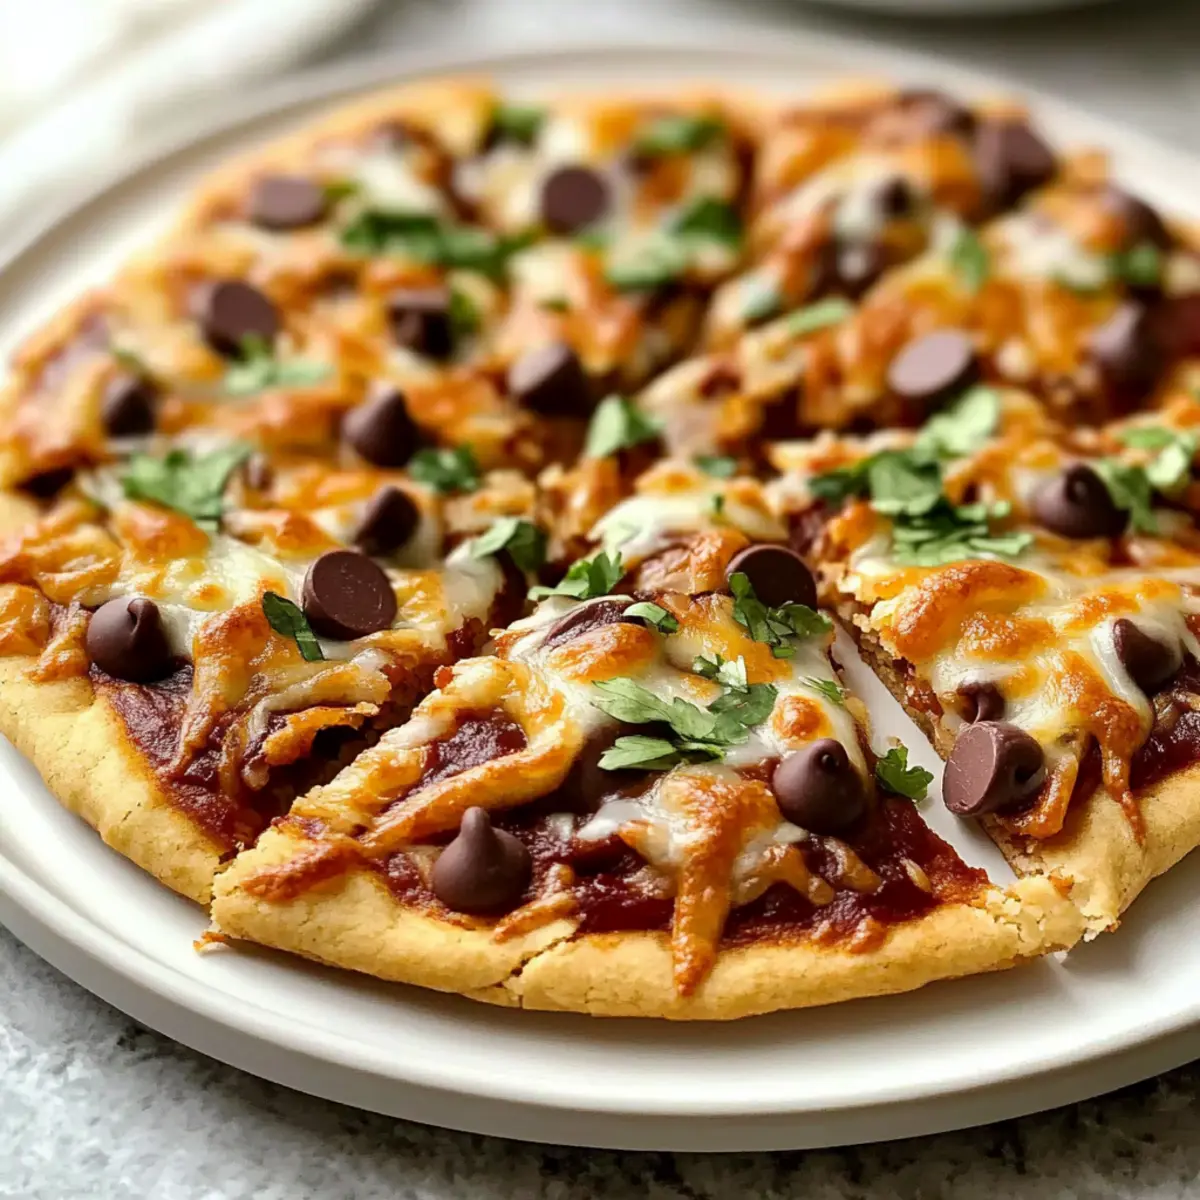
Sprinkle a generous amount of shredded mozzarella cheese over the BBQ sauce, creating a gooey layer of goodness. Next, add cooked, shredded chicken on top of the cheese, distributing it evenly for maximum flavor. A mix of colorful bell peppers and red onions can also be tossed on now, adding both taste and a lovely aesthetic.
Step 5: Bake to Perfection
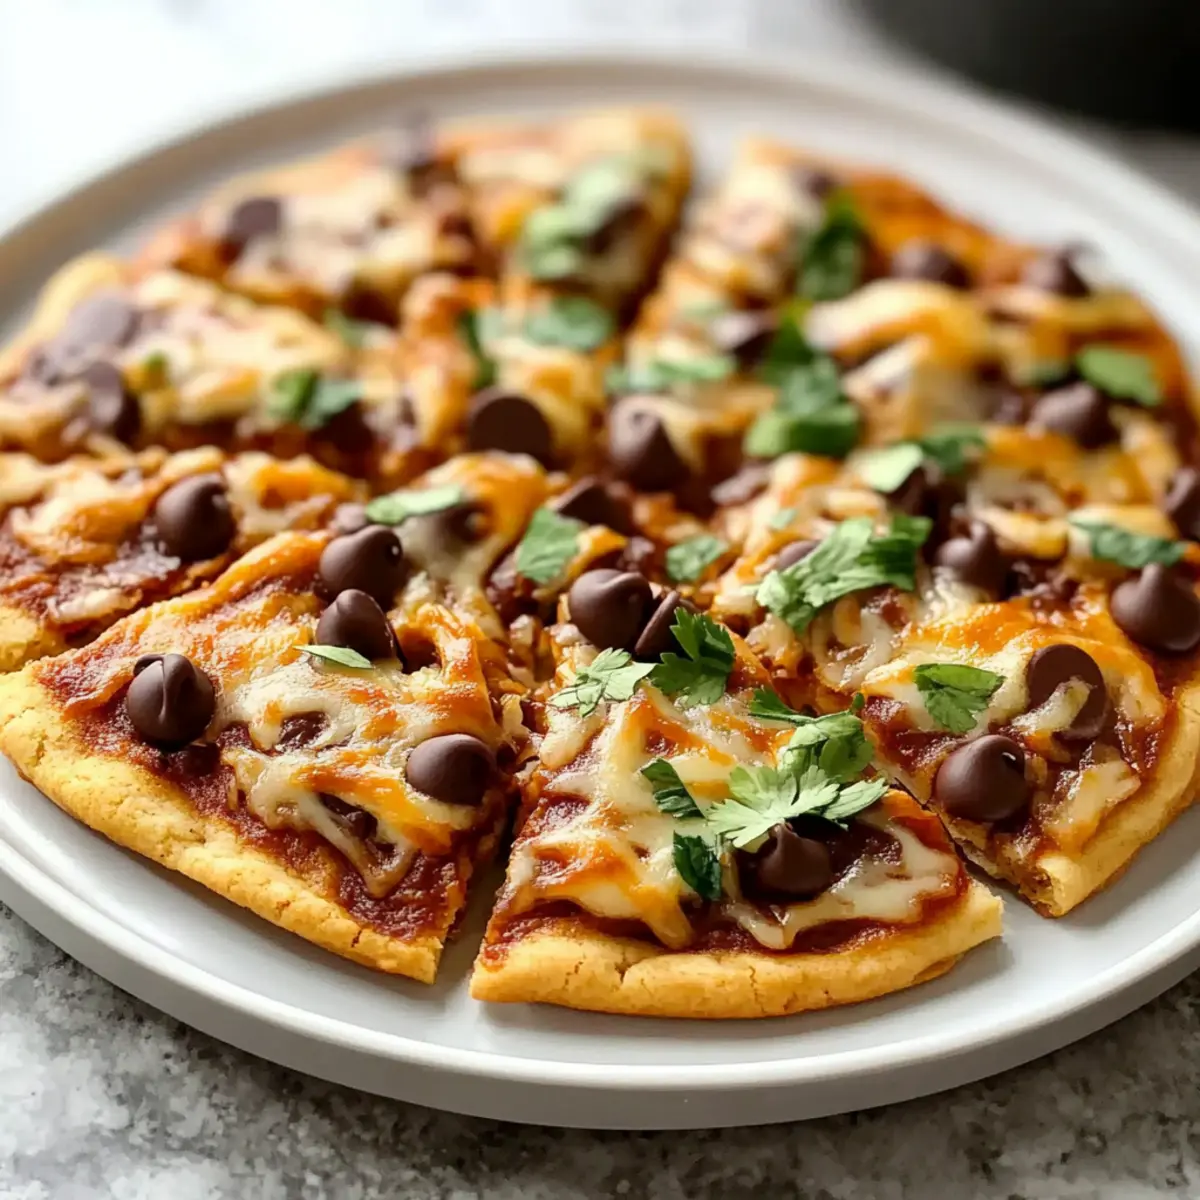
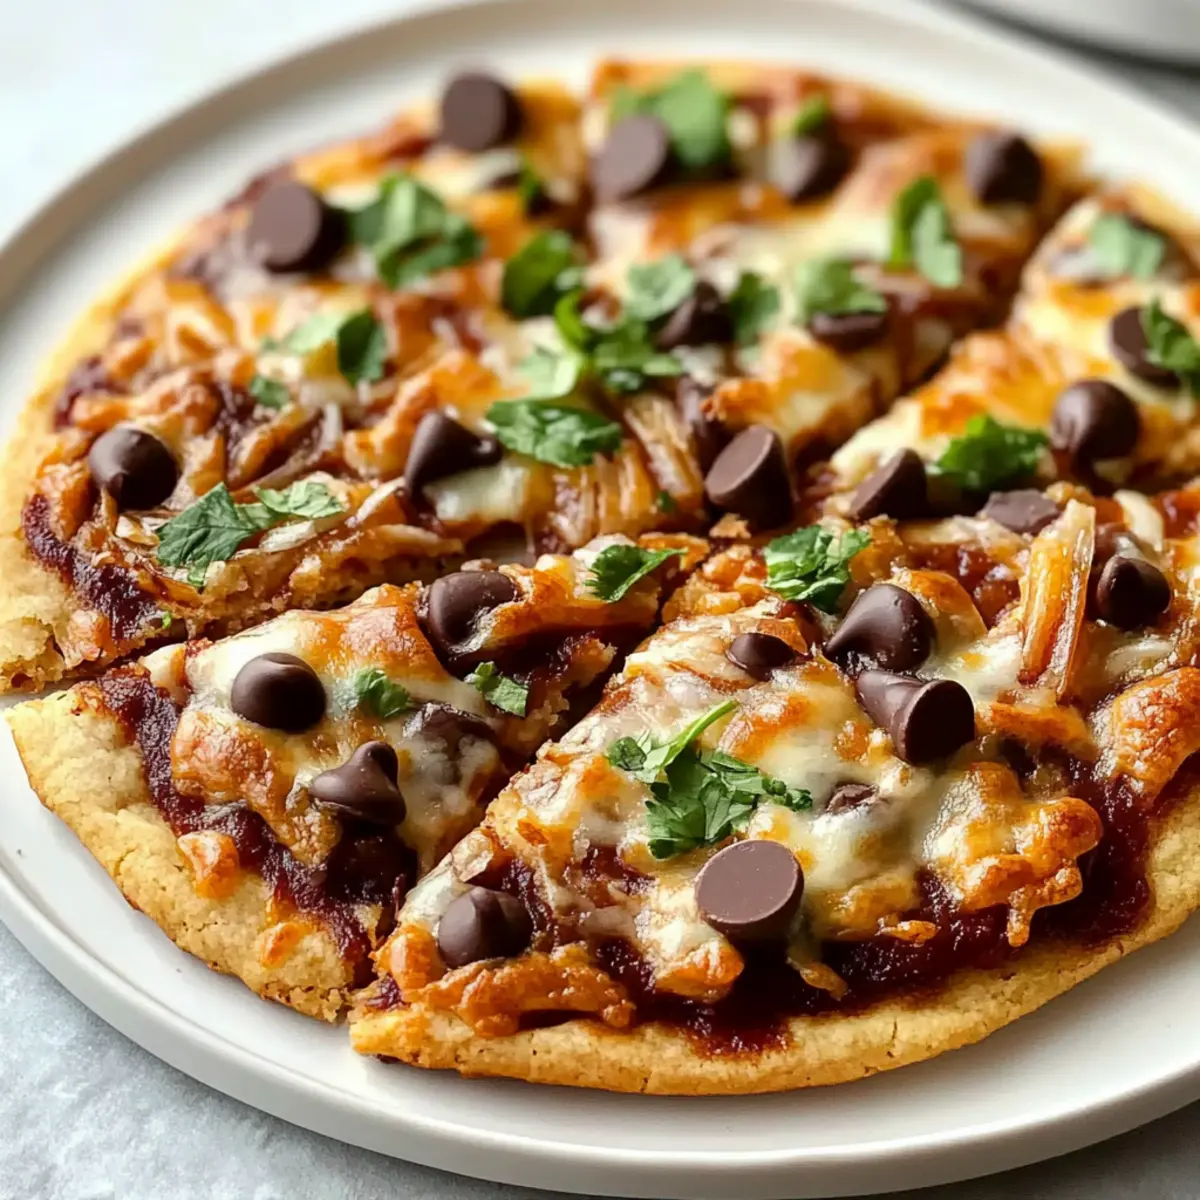
Pop the baking sheet into the preheated oven and let the BBQ Chicken Flatbread bake for about 12-15 minutes or until the cheese is bubbly and golden brown. Keep an eye on it, as the edges should start to develop a beautiful crispness, indicating it’s ready to come out.
Step 6: Garnish and Serve
Carefully remove the flatbread from the oven and let it cool for a couple of minutes. Then, sprinkle fresh chopped cilantro or green onions over the top for a burst of color and flavor. Slice it into wedges and serve it warm; your BBQ Chicken Flatbread is now ready to be enjoyed with friends and family!
Chocolate Chip Cookie Variations to Try
Feel free to unleash your creativity and tailor these cookies to your taste with exciting twists and swaps!
-
Gluten-Free: Substitute all-purpose flour with a gluten-free flour blend to enjoy the same delightful flavor without the gluten.
-
Nutty Delight: Add chopped walnuts or pecans for a satisfying crunch that complements the sweetness of the chocolate, creating a delightful texture contrast.
-
Loaded Cookie: Mix in oats, dried fruits, or even white chocolate chips for a fun, chewy version packed with flavors and surprises in every bite.
-
Dairy-Free: Swap butter for coconut oil or vegan butter, allowing those with dairy sensitivities to indulge without missing out on the delicious experience!
-
Peanut Butter Twist: Replace half the chocolate chips with peanut butter chips to introduce a creamy, nutty essence that harmonizes beautifully with the chocolate.
-
Salted Caramel Kick: Drizzle melted caramel over the baked cookies or fold in caramel bits for an extra layer of indulgent sweetness that’s pure heaven!
-
Half-and-Half: Go for a fun half-and-half approach—add nuts on one side and chocolate chips on the other—for a delightful mix that pleases everyone.
-
Flavor Infusion: Experiment with spices like cinnamon or a splash of orange zest in the dough to elevate your cookie experience with warm, aromatic notes.
With these variations, you can whip up batches that are tailored to your preferences or dietary needs. For more delightful ideas, check out my recipes for mouthwatering Cheesy Chicken Crescent and scrumptious Sticky Garlic Chicken. Enjoy your baking adventure!
What to Serve with Classic Chocolate Chip Cookies?
Indulging in warm cookies is a moment of comfort, so why not enhance it with delightful pairings that elevate your experience?
-
Cold Glass of Milk: The classic pairing! Its creamy richness perfectly balances the sweet, chocolatey goodness of the cookies, making every bite even more delightful.
-
Rich Vanilla Ice Cream: A scoop of vanilla ice cream adds a delicious contrast. The creaminess melts beautifully over warm cookies, creating a heavenly dessert experience.
-
Coffee or Espresso: The bold flavor of coffee complements the sweetness of the cookies, enhancing their chocolate notes. Try a dark roast for a more robust kick!
-
Chocolate Dipping Sauce: For those who are true chocoholics, a warm chocolate sauce provides an indulgent dip. Paired with the cookies, it’s an unforgettable treat that satisfies every craving.
-
Fresh Berries: Serve a side of strawberries, raspberries, or blueberries for a refreshing contrast. The tartness cuts through the sweetness, adding a fruity twist to your dessert.
-
Whipped Cream: Light and airy whipped cream offers a light counterpart to the rich cookies. Top your cookies with a dollop for an elegant touch that kids and adults will love!
You can’t go wrong with these delightful accompaniments; they turn enjoying Classic Chocolate Chip Cookies into an unforgettable moment.
Storage Tips for Classic Chocolate Chip Cookies
-
Room Temperature: Store cookies in an airtight container to keep them fresh for up to 1 week. This method preserves their soft centers and crispy edges, making them perfect for snacking.
-
Freezer: For longer storage, freeze cookies in a sealed plastic bag for up to 3 months. Place layers of parchment paper between cookies to prevent sticking.
-
Reheating: To enjoy warm cookies again, microwave them for about 10-15 seconds or place them in a preheated oven at 350°F (175°C) for a few minutes until warm.
-
Cookie Dough Storage: If you have leftover dough, scoop it into balls and freeze them individually. Store the frozen dough in a bag for up to 3 months, allowing you to bake fresh cookies whenever you crave a treat!
Make Ahead Options
These Classic Chocolate Chip Cookies are perfect for meal prep, allowing you to enjoy freshly baked cookies with minimal effort on busy days. You can prepare the cookie dough up to 3 days in advance; simply mix the dough as instructed, place it in an airtight container, and refrigerate. For even longer storage, you can scoop the dough onto a baking sheet and freeze the individual dough balls for up to 3 months. When you’re ready to bake, no need to thaw—just place the frozen dough on a lined baking sheet and add a couple of extra minutes to your baking time. This way, you’ll have gooey, warm cookies that taste just as delightful as if they were made fresh!
Tips for the Best Chocolate Chip Cookies
-
Chill the Dough: For thicker cookies, chill your dough for at least 30 minutes before baking. This helps the cookies maintain their shape and enhances flavor.
-
Don’t Overmix: Stir the flour mixture into the wet ingredients until just combined to keep your cookies soft and tender. Overmixing can result in tough cookies.
-
Baking Sheet Matters: Use a light-colored baking sheet to avoid overly brown bottoms. Parchment paper is great for even baking and easy clean-up.
-
Watch the Clock: Keep a close eye on baking times; cookies will keep cooking after being removed from the oven—take them out when the edges are golden but the centers look slightly underbaked.
-
Flavor Variations: Experiment with different chocolate chip varieties, nuts, or even a sprinkle of sea salt on top before baking for an elevated experience.
-
Storage Solutions: Store your chocolate chip cookies in an airtight container at room temperature for up to a week to maintain their delightful texture.
Classic Chocolate Chip Cookies Recipe FAQs
What type of flour should I use for the best results?
I recommend using all-purpose flour for the classic version to ensure the right texture. However, if you need a gluten-free option, substitute it with a gluten-free flour blend. Just make sure to choose one designed for baking to maintain that delightful structure.
How should I store my chocolate chip cookies?
To keep your cookies fresh, store them in an airtight container at room temperature for up to 1 week. This will help maintain their soft centers and crispy edges, giving you the perfect snack whenever the craving strikes! If you’re thinking long-term, freeze them in a sealable plastic bag for up to 3 months. Just remember to layer parchment paper between cookies to avoid them sticking together.
Can I freeze cookie dough?
Absolutely! Freezing cookie dough is a great way to always have freshly baked cookies on hand. Simply scoop the dough into individual cookie-sized balls and place them on a baking sheet. Freeze until solid, then transfer them to a sealed bag. They can be stored for up to 3 months. When you’re ready to bake, just toss them directly into the oven—no thawing required!
What should I do if my cookies turn out too flat?
If your cookies are spreading too much during baking, there are a few things to consider. First, ensure your butter is properly softened, not melted. Chilling the dough for at least 30 minutes before baking can help the cookies hold their shape. Also, double-check the flour measurement; too little flour can lead to flat cookies. Lastly, keep an eye on baking times; cookies continue to cook slightly after removing them from the oven!
Can I make these cookies dairy-free or egg-free?
Certainly! To make these cookies dairy-free, substitute the unsalted butter with coconut oil or a dairy-free butter alternative. For egg-free cookies, use a flax egg by mixing 1 tablespoon of ground flaxseed with 3 tablespoons of water per egg. Allow it to sit for a few minutes until it becomes gelatinous, then mix it in with your wet ingredients. These alternatives work beautifully without sacrificing flavor or texture!
Are there any allergen considerations I should keep in mind?
Definitely! When customizing your chocolate chip cookies, it’s essential to be mindful of allergies. If you’re adding ingredients like nuts or dried fruits, be sure to notify your guests. For those with gluten allergies, ensure you’re using gluten-free flour and double-check labels for any cross-contamination. Additionally, if you’d like to remove the eggs, flaxseed works well, but always verify that your guests don’t have dietary restrictions regarding its use.
BBQ Chicken Flatbread: A Flavor-packed Delight You’ll Crave
Ingredients
Equipment
Method
- Preheat your oven to 425°F (220°C) and prepare a baking sheet with parchment paper.
- Roll out your pizza dough or flatbread on a floured surface to about ¼ inch thick and transfer it to the baking sheet.
- Spread the BBQ sauce evenly across the dough, leaving a half-inch border for the crust.
- Sprinkle shredded mozzarella cheese over the sauce, then add cooked chicken evenly on top.
- Add colorful bell peppers and red onions for taste and aesthetics.
- Bake in the preheated oven for 12-15 minutes until cheese is bubbly and edges are crispy.
- Remove from oven, sprinkle with fresh herbs, slice, and serve warm.
Leave a Reply