
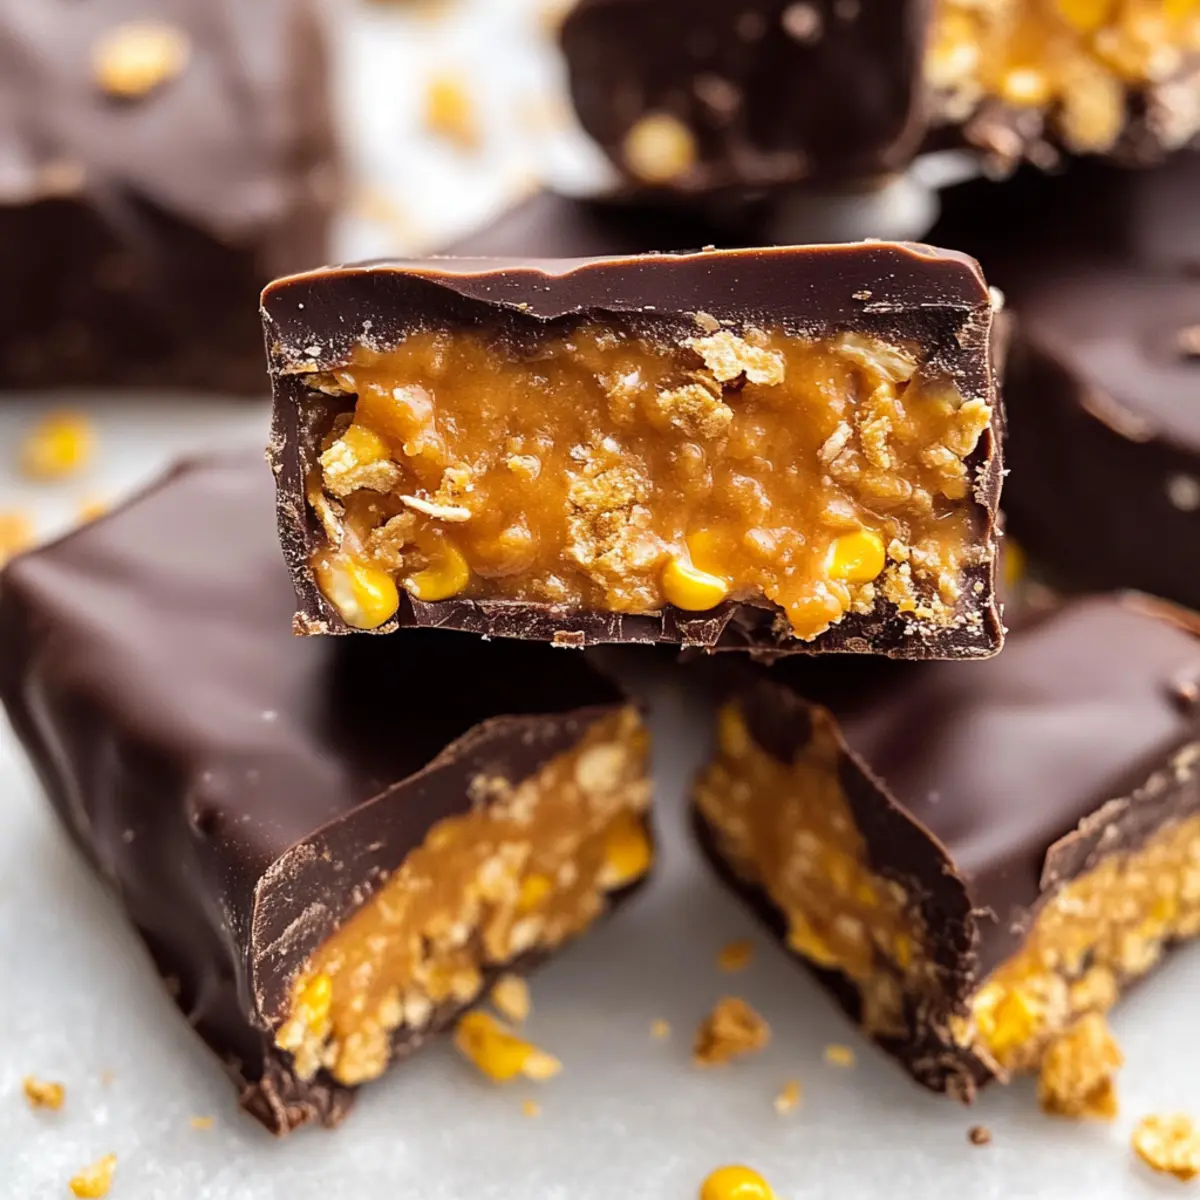
Imagine diving into a sweet, crunchy treat that doesn’t compromise your health goals. These Healthy Homemade Butterfingers are just that—a sophisticated spin on the classic candy bar that you can whip up with only five simple ingredients. Not only are they gluten-free and dairy-free, but they’re also naturally sweetened, making them a guilt-free indulgence you’ll feel good about sharing or keeping all to yourself. Perfect for meal prepping, these no-bake gems can be stored in your freezer, ready to rescue you from any sweet tooth emergencies! Are you ready to discover a satisfyingly wholesome way to treat yourself?
Why You’ll Crave These Butterfingers?
Simplicity at Its Best: With just five ingredients and no baking required, this recipe makes it easy to whip up a delicious treat without stress.
Guilt-Free Indulgence: These bars are not only gluten-free and dairy-free but also naturally sweetened, letting you enjoy dessert without the extra calories.
Perfect for Meal Prep: Make a batch on the weekend and store them in your freezer for a quick, sweet snack during the week.
Versatile Options: Feel free to mix in different nut butters or add seeds for a nutritional boost, making these bars customizable for any palate.
Crowd-Pleasing Treat: Whether for a family gathering or a cozy night in, these homemade butterfingers will impress everyone and keep them coming back for more! For similar tasty options, check out my Healthy Garlic Parmesan or indulge in some Chicken Enchiladas Savory for a complete meal experience.
Healthy Homemade Butterfinger Ingredients
• Preparing these treats is a breeze with just 5 essential ingredients!
For the Filling
- Peanut Butter – This rich ingredient provides a sticky texture; you can swap it for almond or cashew butter to go nut-free.
- Maple Syrup or Honey – A natural sweetener that magnifies flavor; agave syrup works well for a vegan option.
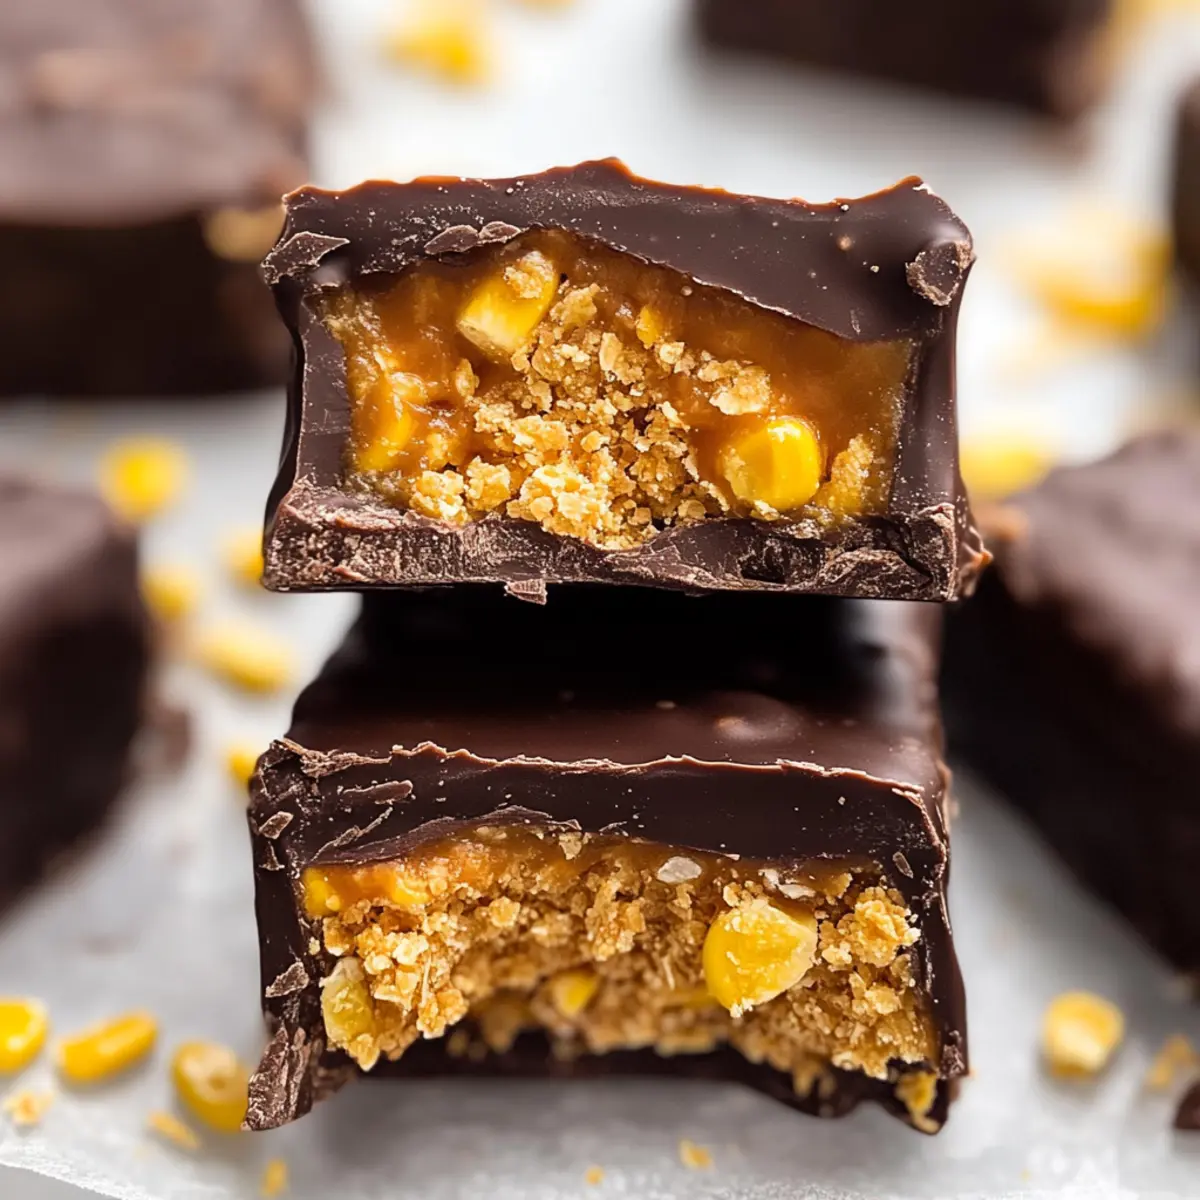
- Corn Flakes – They add that delightful crunch; be sure to choose gluten-free corn flakes to keep the recipe compliant.
For the Coating
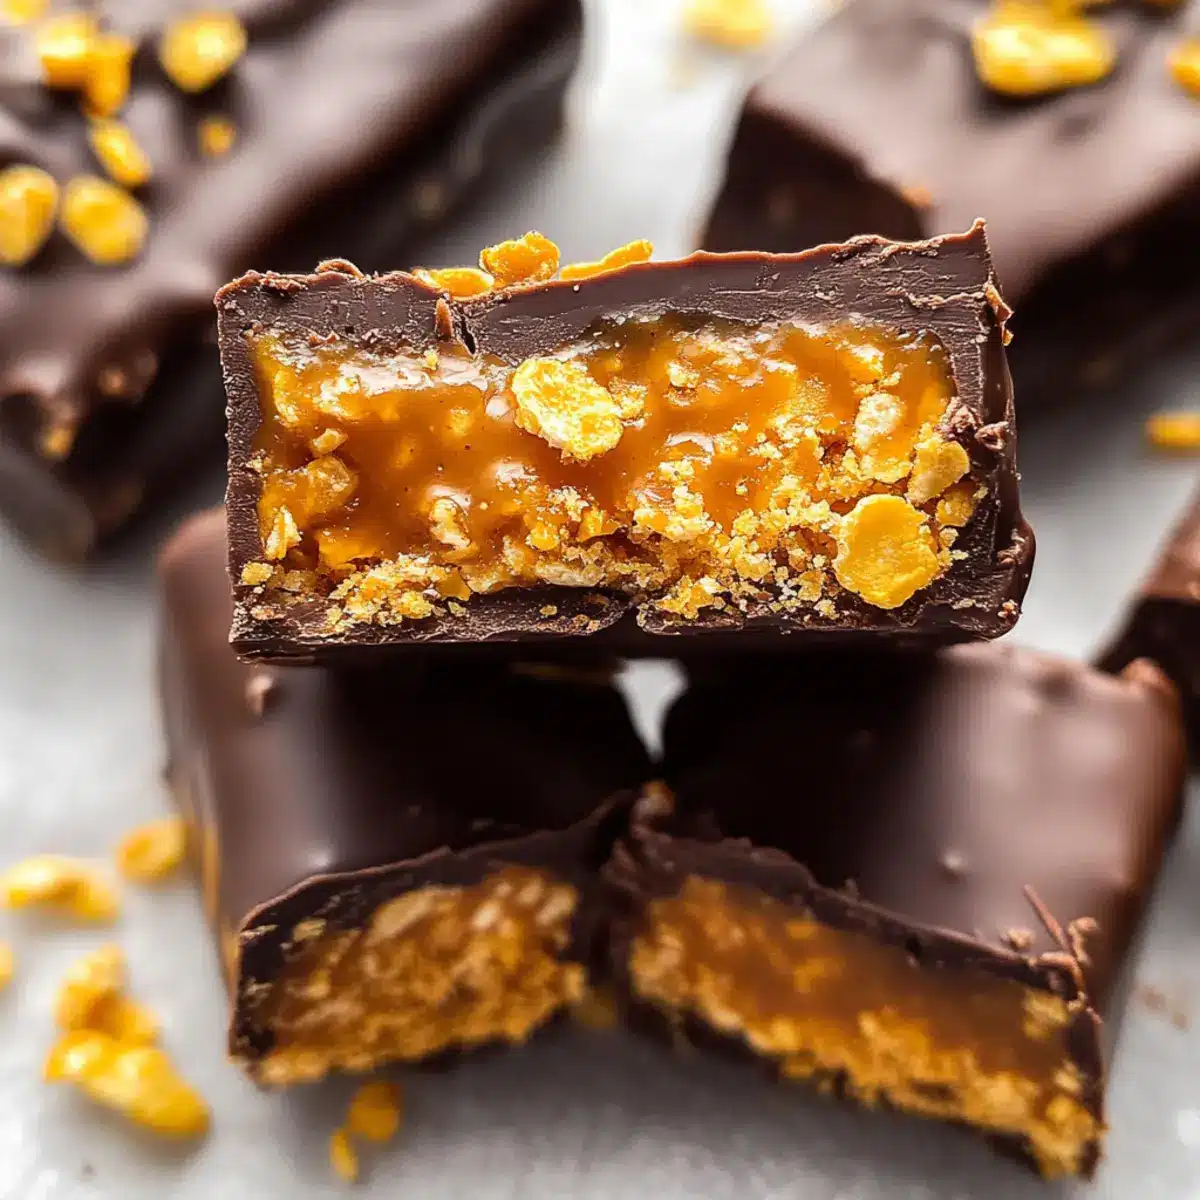
- Chocolate Chips – They bring a luscious chocolaty layer; opt for dairy-free or dark chocolate chips to maintain the healthy vibe.
- Coconut Oil – Helps melt the chocolate for a smooth consistency; omitting it will yield a firmer coating but may alter texture.
Get ready to impress your taste buds with these Healthy Homemade Butterfingers!
Step‑by‑Step Instructions for Healthy Homemade Butterfingers
Step 1: Prepare Corn Flakes
Start by placing the corn flakes into a zip-top bag. Seal the bag tightly and use a rolling pin to crush the flakes into small pieces, aiming for a coarse texture that’s not too fine. This will ensure your Healthy Homemade Butterfingers have that delightful crunch. Set them aside while you prepare the filling.
Step 2: Mix Together
In a large mixing bowl, combine creamy peanut butter with your choice of maple syrup or honey. Use a spatula to blend these together until smooth and well incorporated—about 1 to 2 minutes. Next, gently fold in the crushed corn flakes, ensuring they’re evenly coated with the peanut butter mixture, which will be the filling for your bars.
Step 3: Set in Pan
Transfer the mixture into a parchment-lined loaf pan, spreading it evenly with your spatula. Press the mixture firmly down to create a solid layer, ensuring there are no gaps. For best results, refrigerate the pan for at least 1 hour, allowing the mixture to firm up and set nicely into a bar shape that can be easily cut later.
Step 4: Cut Bars
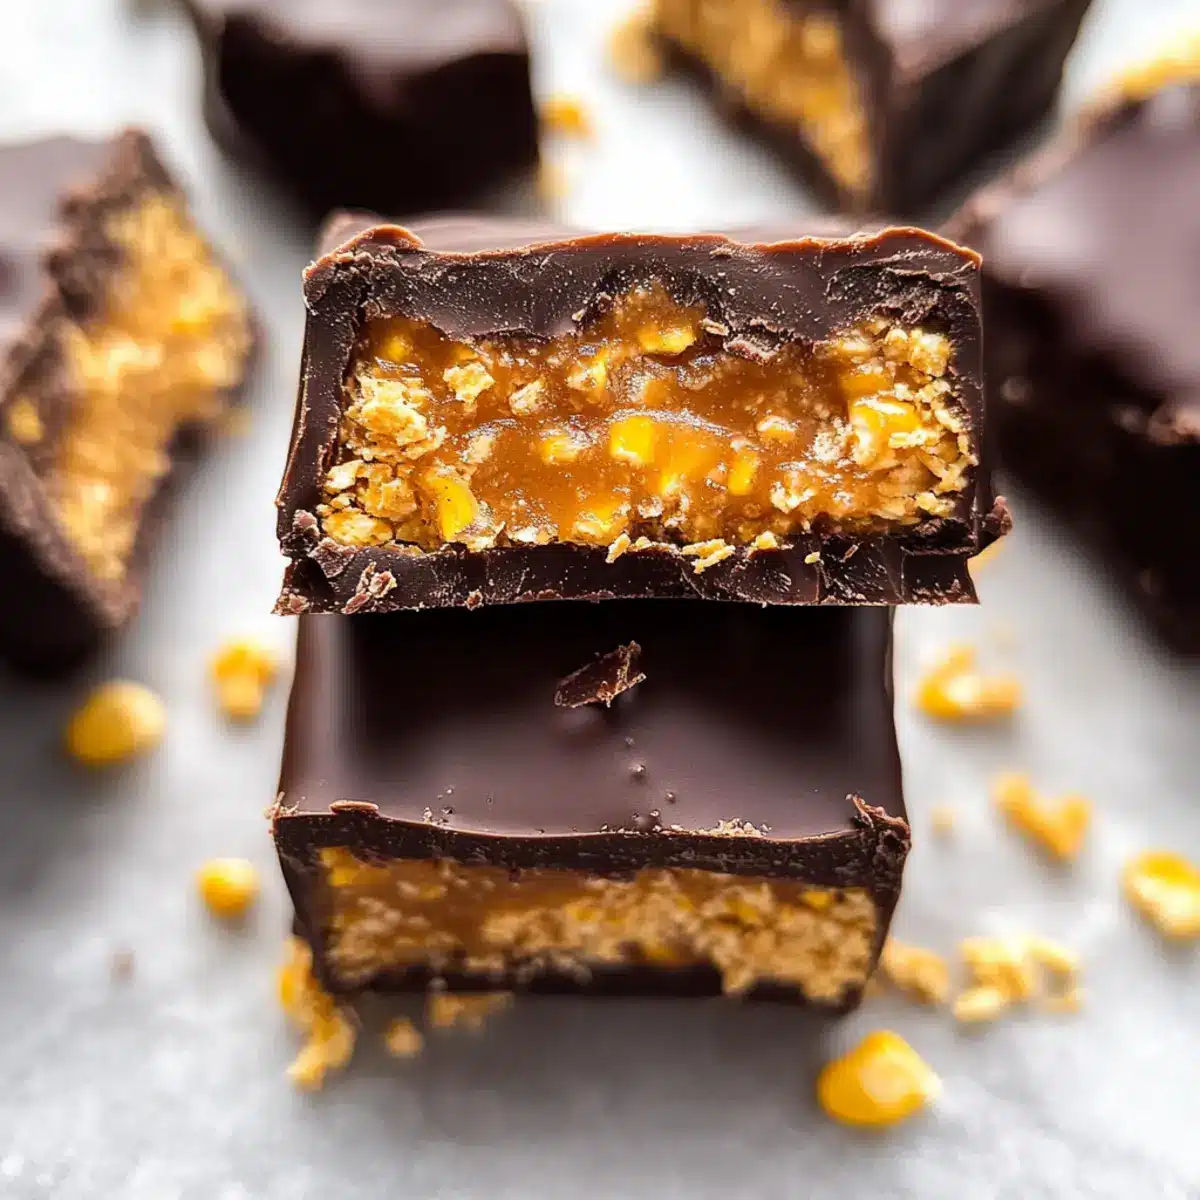
Once the mixture is set, carefully lift it out of the loaf pan using the edges of the parchment paper. Place it onto a cutting board; using a sharp knife, cut the block into 12 uniform bars. Make sure to cut slowly to avoid crumbling the edges of your Healthy Homemade Butterfingers.
Step 5: Melt Chocolate
In a small microwave-safe bowl, combine chocolate chips and coconut oil. Heat the mixture in the microwave for 20-second intervals, stirring in between each, until fully melted and smooth. This should take about 1 minute in total. The addition of coconut oil will help create a glossy finish when coating the bars.
Step 6: Coat Bars
Dip each bar into the melted chocolate, using a fork to ensure they are completely coated. Allow any excess chocolate to drip off before placing them on a parchment-lined plate. Work quickly but carefully to ensure the chocolate coating is even across all your Healthy Homemade Butterfingers.
Step 7: Finalize
Chill the chocolate-coated bars in the freezer for an additional 10 minutes, or until the chocolate is hardened. Once set, you can enjoy them right away or store the bars in an airtight container in the freezer for up to 3 months, ensuring you have a healthy treat on hand to satisfy any snack cravings!
Healthy Homemade Butterfingers Variations
Feel free to bring your own twist to these delightful homemade butterfingers! Let your creativity shine as you explore different flavors and textures.
-
Nut Butter Swap: Use almond or cashew butter for a nut allergy alternative. This swap keeps it delicious while catering to dietary needs.
-
Vegan Option: Substitute honey with agave syrup to make these candy bars vegan-friendly. It’s a simple change that doesn’t compromise on the flavor!
-
Extra Crunch: Add a handful of chopped nuts or seeds into your mixture for an extra crunch that complements the corn flakes. It elevates the texture and adds nutritious benefits.
-
Candy Coating: Experiment with a white chocolate or dark chocolate coating instead for a flavorful twist. Each alternative brings a different richness to the bars.
-
Flavor Boost: Mix in a dash of vanilla extract or cinnamon to the peanut butter for a warm, aromatic flavor enhancement. It adds a lovely depth that is sure to delight.
-
Sweetener Variation: Use Stevia or monk fruit for a low-calorie sweetener choice, perfect if you’re watching your sugar intake. This keeps the guilt at bay while still delivering sweetness.
-
Spicy Kick: For those who love a kick, sprinkle a little cayenne pepper or chili powder into the melted chocolate. This bold twist creates a surprising yet delicious flavor profile.
-
Chilled Delight: Instead of freezing, keep these bars in the fridge for a chewy and refreshing treat—perfect for warm days or post-workout snacks.
Don’t forget to try your hand at new creations, and for more tasty ideas, check out my Mediterranean Steak Bowl or some savory Chicken Enchiladas for meal options that complement your homemade butterfingers perfectly!
Tips for the Best Healthy Homemade Butterfingers
-
Crush Corn Flakes Well: Make sure the corn flakes are crushed to a coarse texture; too fine will lead to a dense bar, losing that delightful crunch.
-
Mix Gently: When folding in the corn flakes with the peanut butter mixture, mix gently to maintain the texture. Overmixing can make the bars chewy instead of crunchy.
-
Chill Time Matters: Don’t skimp on the chilling time after pressing the mixture in the pan; a well-set mixture is easier to cut and holds together better for your Healthy Homemade Butterfingers.
-
Melt Chocolate Slowly: Use short intervals when melting chocolate to avoid burning; chocolate can be temperamental! Stir regularly to achieve that smooth finish.
-
Parchment Paper is Key: Always line your pan with parchment paper for quick and easy removal of the bars. It helps keep the bars intact without sticking.
Make Ahead Options
These Healthy Homemade Butterfingers are perfect for meal prep enthusiasts looking to save time during busy weeks! You can prepare the filling and cut the bars up to 3 days in advance; simply store the uncoated bars in an airtight container in the refrigerator. To maintain their delicious crunch, keep the crushed corn flakes separate until you’re ready to coat them in chocolate. When it’s time to enjoy your treats, just melt the chocolate and dip your bars—this will ensure they stay fresh and delightful! With this make-ahead approach, you’re just minutes away from satisfying your sweet cravings with little effort!
How to Store and Freeze Healthy Homemade Butterfingers
Fridge: Keep your Healthy Homemade Butterfingers in an airtight container in the fridge for up to 1 week. This allows for easy access to a sweet treat while maintaining their freshness.
Freezer: For longer storage, place the bars in an airtight container or freezer bag, separating layers with parchment paper. They can be frozen for up to 3 months, ready to satisfy your cravings.
Reheating: Enjoy these bars cold for the best flavor and texture. However, if you prefer a softer treat, let them sit at room temperature for a few minutes before indulging.
Thawing: When ready to enjoy a frozen bar, simply transfer it to the fridge overnight or let it sit at room temperature for about 30 minutes before serving.
What to Serve with Healthy Homemade Butterfingers?
Imagine a table filled with delightful companions that elevate the sweet, crunchy experience of your homemade treat.
-
Creamy Yogurt Parfait: Layer your favorite yogurt with fresh fruits and nuts. The smooth, tangy contrast complements the sweet crunchiness beautifully.
-
Chilled Almond Milk: A glass of this refreshing drink not only keeps it healthy but enhances the nutty flavor found in the butterfingers, making every bite even more enjoyable.
-
Raw Veggie Platter: The crispness of carrots, cucumbers, and bell peppers add a refreshing balance to the richness of your dessert. Dip them in hummus for an extra treat!
-
Homemade Granola: Sprinkle some granola on top of your butterfingers for an extra crunch. The oats provide a wholesome touch that pairs well with the chocolate coating.
-
Fresh Berry Salad: A mix of strawberries, blueberries, and raspberries adds a zingy freshness that cuts through the sweetness, providing a vibrant contrast.
-
Rich Dark Coffee: Enjoy a cup of hot brewed dark coffee alongside your butterfingers. The bitterness beautifully compliments the sweet and creamy flavors, perfect to sip between bites.
-
Chocolate Chia Pudding: Serve this rich pudding alongside your bars for a double chocolate experience that’s still healthy and satisfying!
These pairings enrich your dessert experience and make your healthy homemade butterfingers an unforgettable treat, perfect for any occasion!
Healthy Homemade Butterfingers Recipe FAQs
Can I use different nut butters?
Absolutely! If you have a nut allergy or simply prefer a different flavor, almond or cashew butter works beautifully in this recipe. Seeds butters, like sunflower seed butter, can also serve as a delightful alternative.
How should I store these butterfingers?
To keep your Healthy Homemade Butterfingers fresh, store them in an airtight container in the fridge for up to 1 week. If you want to keep them longer, they can be frozen for up to 3 months. Just make sure to separate layers with parchment paper to avoid sticking!
Can I freeze the bars, and how?
Yes, they freeze wonderfully! Pack the bars in an airtight container or freezer bag, placing parchment paper between layers. Label with the date, and you can freeze them for up to 3 months. When you’re ready to indulge, just let them thaw in the fridge overnight or at room temperature for about 30 minutes.
What should I do if my chocolate is too thick to coat the bars?
If your melted chocolate seems too thick, you can add a teaspoon of coconut oil or a small splash of milk to thin it out. Just reheat it gently and stir until it reaches your desired consistency for a smooth coating.
Are there any allergy considerations with these ingredients?
Definitely! This recipe is inherently gluten-free and dairy-free, making it suitable for those with those dietary restrictions. However, if you’re making it for someone with nut allergies, consider using seed butters like sunflower or pumpkin seed butter instead of any nut butter. Always check ingredient labels for potential cross-contamination.
How can I enhance the flavor of these butterfingers?
For added flavor, I often mix in a sprinkle of sea salt to the chocolate coating or add a dash of vanilla extract to the peanut butter mixture. You can also incorporate seeds, like flaxseeds or chia seeds, for a nutritional boost!
Healthy Homemade Butterfingers Recipe FAQs
Healthy Homemade Butterfingers You Can Guiltlessly Indulge In
Ingredients
Equipment
Method
- Crush the corn flakes in a zip-top bag with a rolling pin until coarse.
- In a bowl, mix peanut butter and maple syrup or honey until smooth.
- Fold in crushed corn flakes until evenly coated.
- Press the mixture into a parchment-lined loaf pan and refrigerate for at least 1 hour.
- Cut the set mixture into 12 bars using a sharp knife.
- Melt chocolate chips and coconut oil in a microwave-safe bowl in intervals, stirring in between.
- Dip each bar into melted chocolate and place on parchment.
- Freeze for 10 minutes until chocolate is hardened, then enjoy or store.
Leave a Reply