
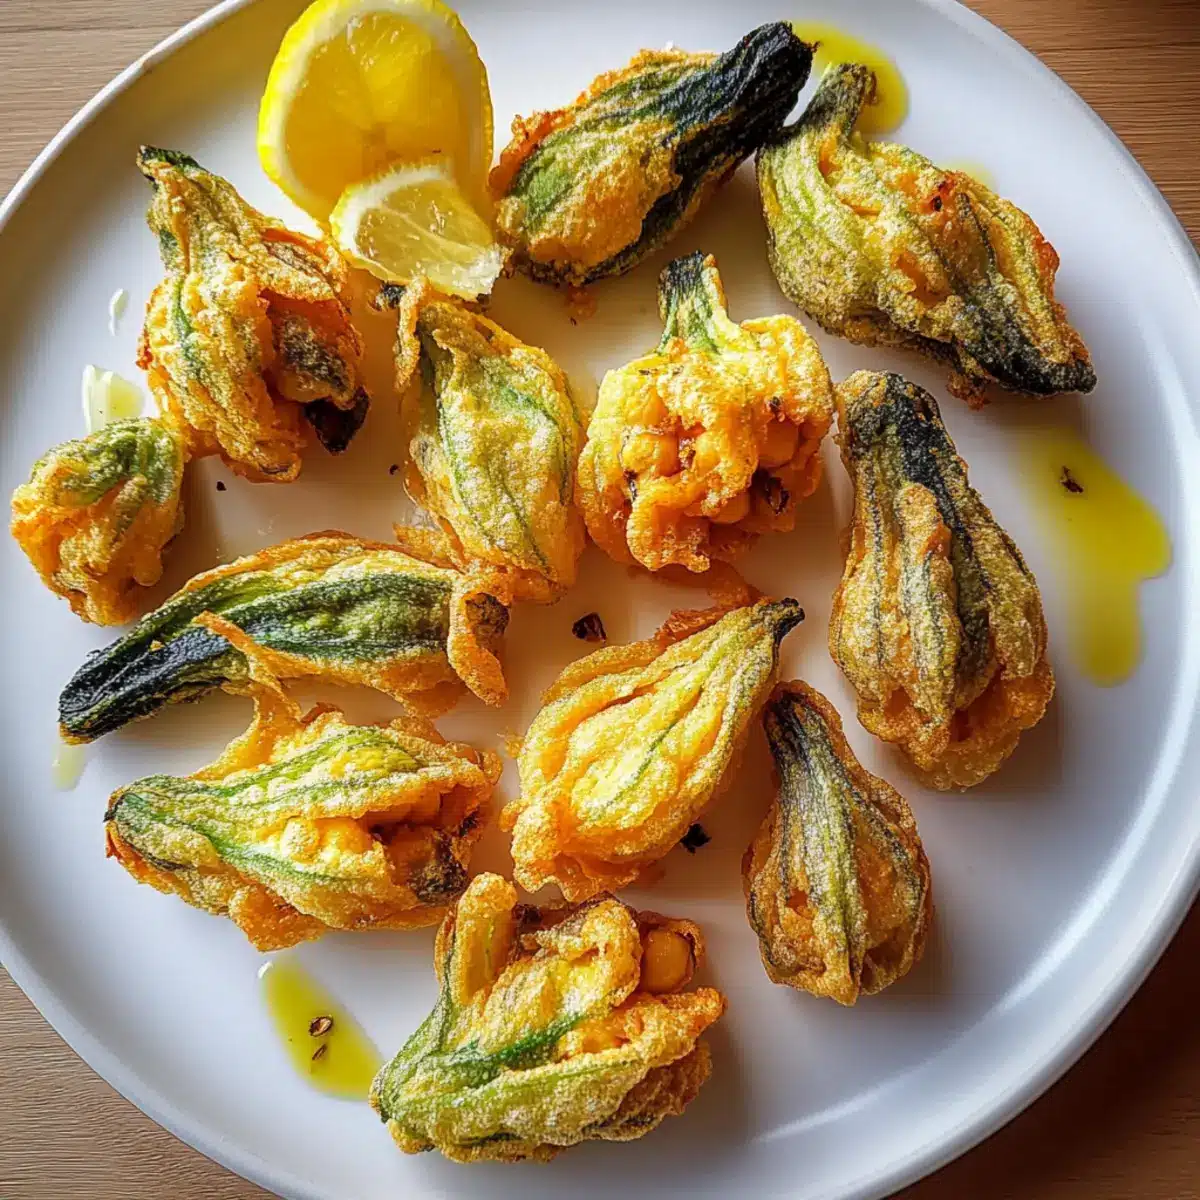
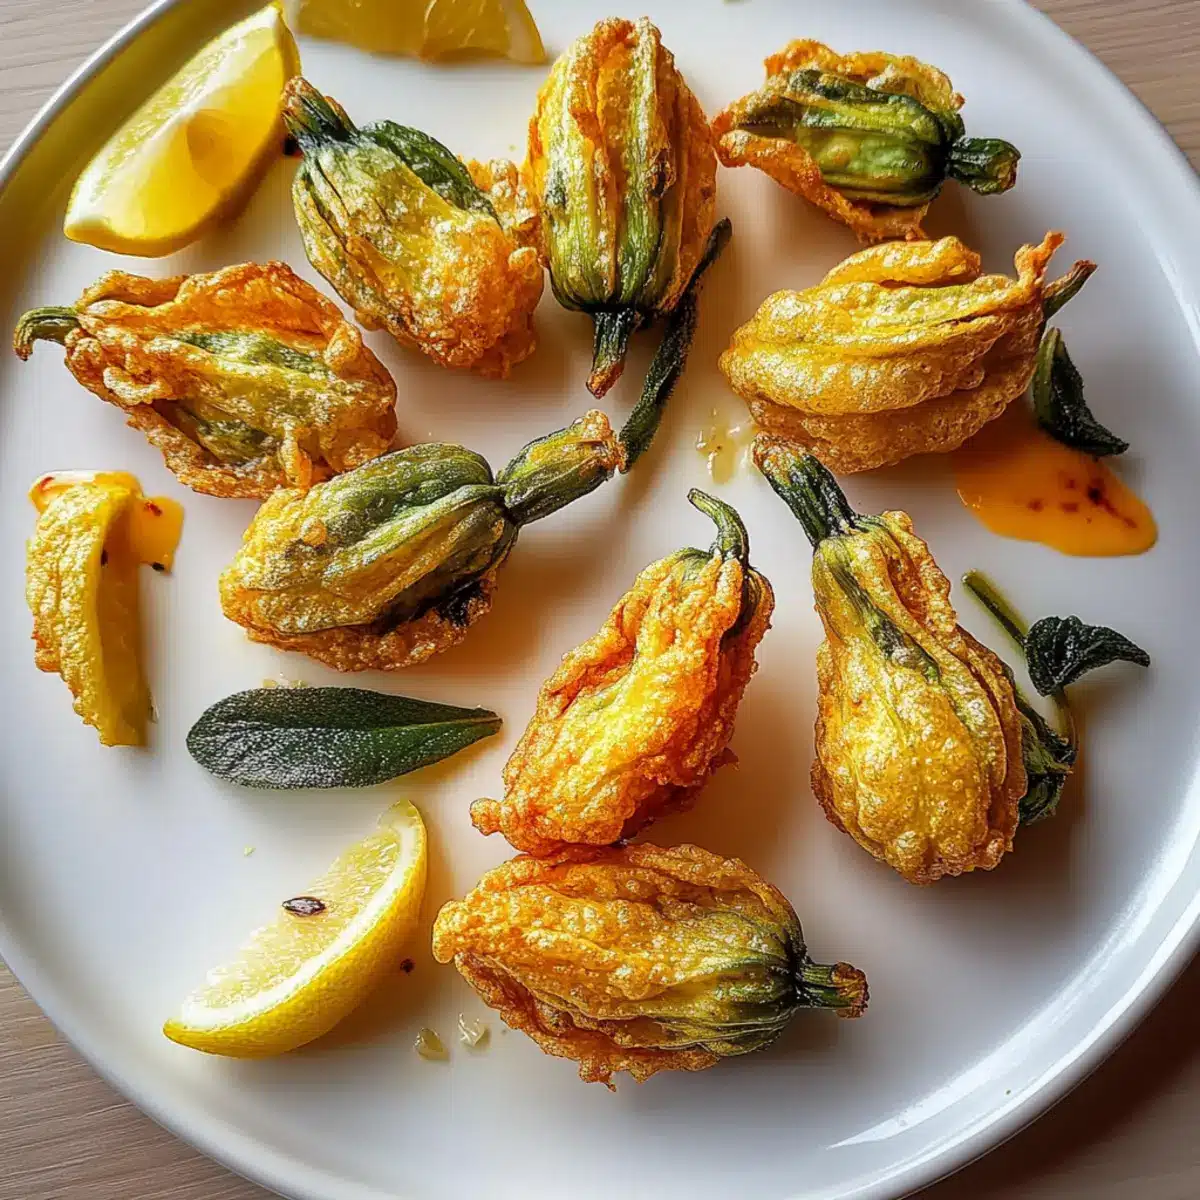
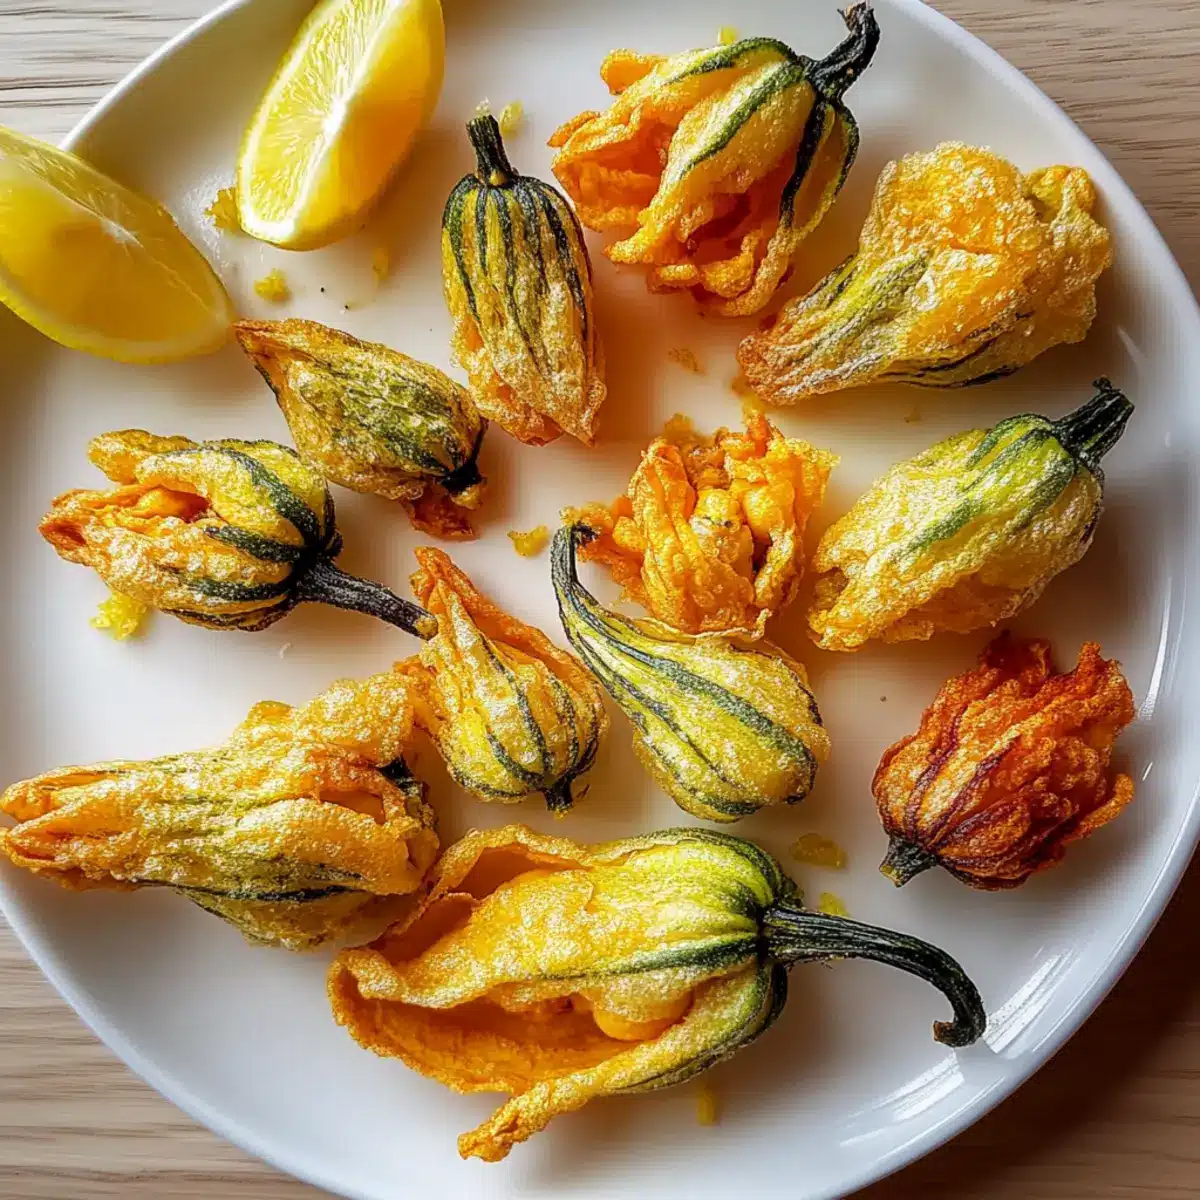
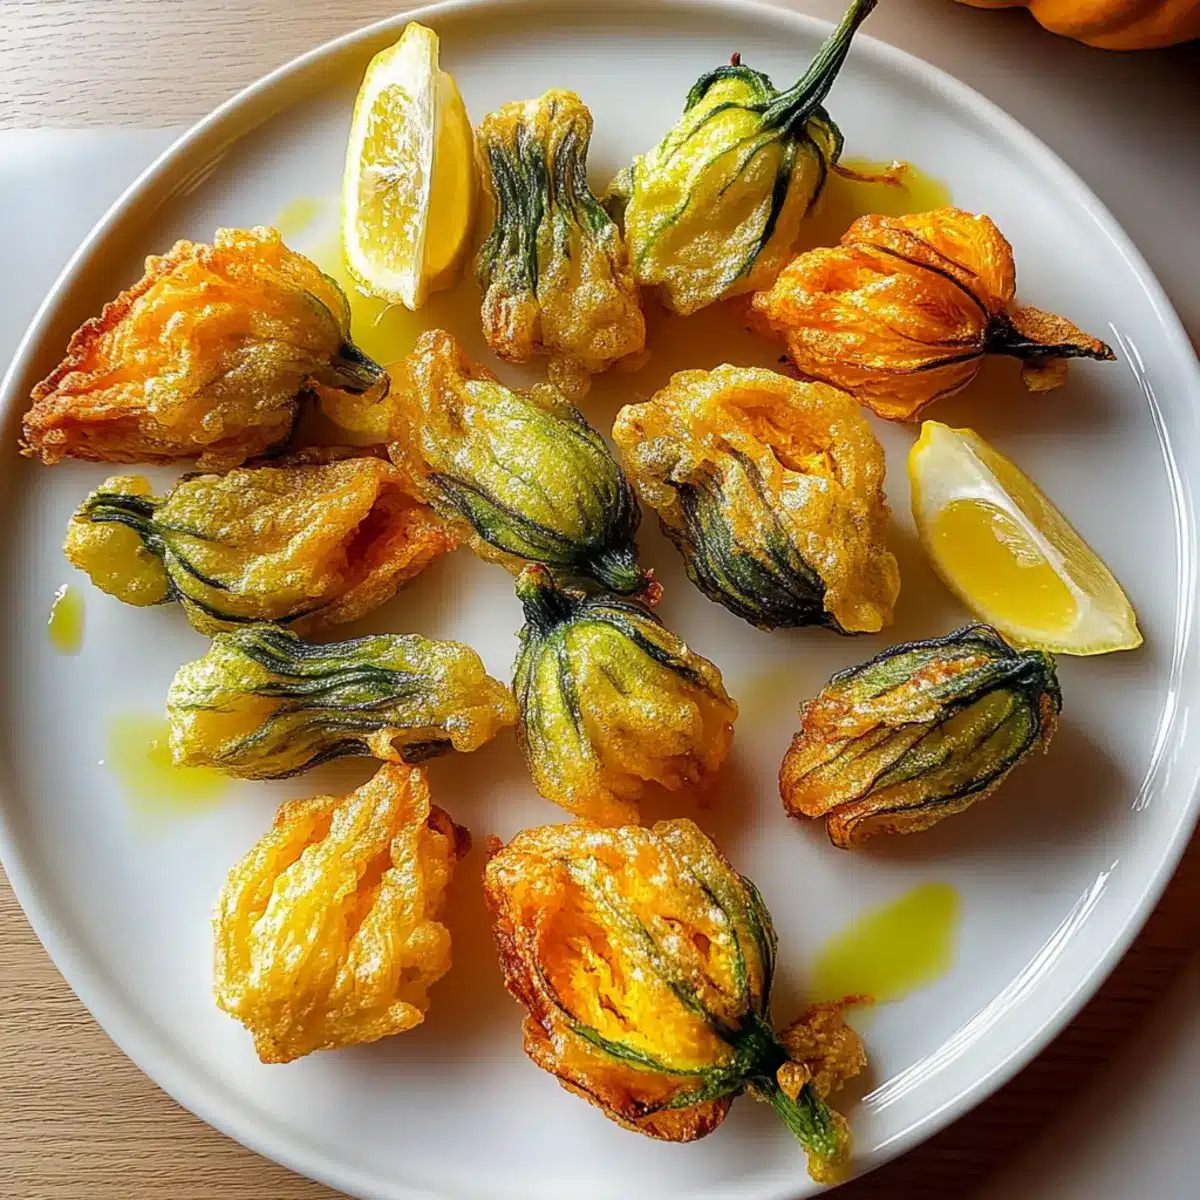
With the summer sun warming the kitchen, I recently stumbled upon a delightful use for those vibrant pumpkin blossoms that would otherwise go unnoticed. The result? Healthy Pumpkin Blossoms, coated in a spiced chickpea batter that transforms them into an irresistible vegan appetizer. The beauty of this recipe lies not just in its deliciously crunchy texture, but also in its simplicity—perfect for both weeknight dinners or impressing guests at your next gathering. Packed with protein and fiber, these blossoms are a nutritious choice, ensuring you can indulge without guilt. Want to learn how to make these crispy delights come to life? Let’s dive in and make your taste buds sing!
Why Are Healthy Pumpkin Blossoms a Must-Try?
Simplicity shines through with this recipe, requiring minimal ingredients and basic cooking skills for a fabulous result. Deliciously Crunchy from the spiced chickpea batter, each bite offers a satisfying texture that’ll leave you craving more. Nutritious and Wholesome, these blossoms are rich in vitamins and fiber, making them a guilt-free snack. Versatile enough to serve as an appetizer, side dish, or main event, they adapt beautifully to any meal setting. Crowd-Pleaser potential is high, sure to impress family and friends alike, especially when accompanied by a zesty dipping sauce! Check out Chewy Pumpkin Cookies for another delicious pumpkin treat!
Healthy Pumpkin Blossoms Ingredients
• Discover how to create crispy, Healthy Pumpkin Blossoms that will delight your taste buds!
For the Batter
- Chickpea Flour – This gluten-free option brings a nutty flavor and protein boost, making the batter both delicious and healthy.
- Water – Adjust to create your desired batter consistency; a smoother batter coats better!
- Olive Oil – Adds moisture and a light fruity essence to your crispy blooms.
- Garlic Powder – Infuses savory notes without overwhelming the delicate flavor of the blossoms.
- Onion Powder – Enhances the taste and brings out the best in the spices.
- Salt – Essential for amplifying the natural flavors of your ingredients.
- Black Pepper – Offers a gentle heat, rounding out the flavors for a perfect bite.
- Chili Flakes – Optional, but a great way to add an exciting kick if you crave extra spice!
For Cooking
- Olive Oil Spray – Use this to grease your skillet, ensuring a crispy exterior without sticking.
For Serving
- Lemon Wedges – A refreshing squeeze adds brightness and elevates the flavors of the blossoms beautifully!
Step‑by‑Step Instructions for Healthy Pumpkin Blossoms
Step 1: Prepare the Blossoms
Gently wash the fresh pumpkin blossoms under cold water and pat them dry with a clean towel. Carefully remove any stamens or pistils from inside the blossoms to ensure a smooth texture when cooked. This step enhances both the appearance and flavor of your healthy pumpkin blossoms.
Step 2: Make the Batter
In a mixing bowl, combine chickpea flour with water, olive oil, garlic powder, onion powder, salt, black pepper, and optional chili flakes. Whisk together until the mixture is smooth and lump-free, adjusting the water if necessary to achieve your desired batter consistency. The spiced batter will coat the blossoms beautifully, contributing to their crunchy texture.
Step 3: Heat the Skillet
Preheat a non-stick skillet over medium heat and spray it lightly with olive oil to prevent sticking. Allow the skillet to heat for about 2-3 minutes until it’s warm but not smoking. The perfect temperature ensures your healthy pumpkin blossoms fry evenly, resulting in a golden brown, crispy exterior.
Step 4: Coat the Blossoms
Dip each prepared pumpkin blossom carefully into the chickpea batter, ensuring it is fully coated while allowing the excess batter to drip back into the bowl. This will create a perfect layer of batter on each blossom, ensuring a delightful crunch once cooked.
Step 5: Cook the Blossoms
Place the coated pumpkin blossoms into the skillet and cook for 3-4 minutes on one side until they turn golden brown and crispy. Flip them gently using a spatula, cooking the second side for another 3-4 minutes. Keep an eye on them to ensure they achieve that beautiful crunchy texture typical of healthy pumpkin blossoms!
Step 6: Drain Excess Oil
Once cooked, transfer the crispy pumpkin blossoms to a plate lined with paper towels. This step allows any excess oil to be absorbed, keeping your appetizers light and not greasy. Let them sit for a minute, making sure they maintain their gorgeous crispness.
Step 7: Serve
Arrange the healthy pumpkin blossoms on a beautiful platter while they’re still warm. Serve alongside lemon wedges to squeeze over the blossoms for a zesty finish that enhances their flavors beautifully. Enjoy these delightful morsels as a snack or appetizer at your next gathering!
Storage Tips for Healthy Pumpkin Blossoms
Fridge: Keep leftovers in an airtight container for up to 2 days to maintain freshness. Layer paper towels between the blossoms to absorb excess moisture and keep them crispy.
Freezer: For long-term storage, place fully cooled blossoms in a single layer on a baking sheet. Freeze until solid, then transfer to a zip-top bag for up to 1 month.
Reheating: To enjoy crispy healthy pumpkin blossoms again, reheat in the oven at 375°F (190°C) for about 10 minutes, or until warmed through and crisp. Avoid the microwave, as it may result in sogginess.
Expert Tips for Healthy Pumpkin Blossoms
-
Choosing Blossoms: Opt for fresh, unwilted pumpkin blossoms for the best flavor and texture. Wilted blossoms can lead to a soggy snack.
-
Perfect Batter: Aim for a smooth, lump-free batter consistency by adjusting the water carefully. Too thick, and it won’t coat properly; too thin, and it won’t stick.
-
Frying Temperature: Make sure the skillet is adequately preheated—this ensures the blossoms fry evenly to develop a golden, crispy exterior, key to delicious healthy pumpkin blossoms.
-
Gentle Flipping: Use a spatula to flip the blossoms carefully. This helps maintain their shape and ensures an even cook without losing that amazing crunch.
-
Storage Smartly: If you have leftovers, store them in a single layer with paper towels to absorb any moisture. Reheat in the oven for the crispiest results the next day.
Make Ahead Options
These Healthy Pumpkin Blossoms are perfect for meal prep enthusiasts! You can prepare the batter and clean the pumpkin blossoms up to 24 hours in advance, storing the batter in an airtight container in the refrigerator to maintain its freshness. When you’re ready to cook, just give the batter a quick stir, dip the blossoms, and fry them for that crunchy texture. Alternatively, you can coat the blossoms and place them in a single layer on a parchment-lined tray, then refrigerate them for up to 3 hours before cooking. This method helps preserve their crispness while saving you time when meal prepping for busy weeknights. Enjoy your delicious, homemade Healthy Pumpkin Blossoms with minimal effort!
Healthy Pumpkin Blossoms: Variations & Substitutions
Feel free to play with this recipe, adding your own twists and flavor profiles to make it uniquely yours!
- Dairy-Free: Substitute any traditional dipping sauces with a homemade vegan ranch or avocado yogurt dip for a tasty twist.
- Herb-Infused: Incorporate fresh herbs like basil or dill into the batter for an aromatic burst of flavor. Their green hues brighten up the appearance and aroma!
- Spice Level: Adjust heat by adding more chili flakes or try a splash of hot sauce in the batter for a bolder kick that tantalizes your taste buds.
- Nut-Free Alternative: Swap chickpea flour for almond flour if you’re looking for something a little different, though the texture will vary slightly.
- Zesty Lemon Burst: Add a touch of lemon zest to the batter for added brightness that complements the fried blossoms beautifully. It’s like sunshine in every bite!
- Satisfying Filling: Consider stuffing the blossoms with a mixture of sautéed greens and dairy-free cheese before battering and frying for a deliciously filling appetizer.
- Vegan Parm Topping: After frying, sprinkle on some nutritional yeast or a vegan Parmesan for a cheesy finish that adds umami while keeping it plant-based.
- Crispy Crust Option: For an extra crunchy texture, try rolling the battered blossoms in panko breadcrumbs before frying, giving them a delightful crunch!
These variations can elevate your healthy pumpkin blossoms to new heights! If you’re looking for more delicious pumpkin recipes, check out Baked Pumpkin Donuts or Pumpkin S’mores Cookies.
What to Serve with Healthy Pumpkin Blossoms
Transform your delightful pumpkin blossoms into a complete meal experience with these perfect pairings that enhance their flavors.
- Creamy Avocado Dip: This smooth avocado dip adds a rich, creamy texture that beautifully contrasts the crispy blossoms.
- Crisp Green Salad: A fresh salad with mixed greens provides a crunchy, refreshing counterpoint to the hearty pumpkin blossoms.
- Herbed Quinoa: The light, nutty flavor of quinoa infused with fresh herbs makes for a wholesome side that balances the dish’s savory notes.
- Spicy Tomato Salsa: A robust salsa offers a tangy, zesty kick, enlivening each bite of the crispy pumpkin blossoms.
- Garlic Roasted Potatoes: These golden, tender potatoes add comforting heartiness, creating a satisfying textural contrast.
- Chickpea Hummus: Rich and creamy hummus made from chickpeas ties together the flavors while keeping it plant-based and nutritious.
- Lemonade Spritzer: A refreshing homemade spritzer enhances the lightness of your meal with its bubbly citrus undertones.
- Coconut Yogurt: This dairy-free yogurt with a hint of sweetness pairs excellently as a dip, adding a cool, luscious finish.
- Dark Chocolate Mousse: For dessert, this rich and velvety treat makes for a decadent ending to your wholesome meal.
Each of these pairings can elevate your healthy pumpkin blossoms, ensuring a delightful and memorable dining experience!
Healthy Pumpkin Blossoms Recipe FAQs
What should I look for when selecting fresh pumpkin blossoms?
Absolutely! Choose fresh, unwilted pumpkin blossoms that have a vibrant golden color. Avoid any with dark spots or wilting, as these may indicate they’re past their prime and can affect texture.
How should I store leftover healthy pumpkin blossoms?
Very important! Keep any leftovers in an airtight container in the fridge for up to 2 days. To maintain their crispiness, layer paper towels between the blossoms to absorb excess moisture.
Can I freeze healthy pumpkin blossoms?
Yes, you can! After cooking, let the blossoms cool completely. Arrange them in a single layer on a baking sheet and freeze until solid—usually about 1-2 hours. Then transfer to a zip-top bag and store for up to 1 month. When you’re ready to enjoy them, reheat in the oven at 375°F (190°C) for about 10 minutes until crispy.
What should I do if my batter is too thick or thin?
No worries! If you find your batter is too thick, gradually add a little more water until it reaches your desired consistency. Conversely, if it’s too thin, whisk in a bit more chickpea flour until it thickens up. Remember, a smooth batter coats beautifully!
Are pumpkin blossoms safe for pets, and are there any allergies I should be aware of?
Great question! While pumpkin blossoms are generally safe for pets, it’s wise to monitor for any signs of digestive upset. Also, since this recipe uses chickpea flour, ensure no one in your household has a chickpea allergy, as it can cause reactions in sensitive individuals.
Can I use other types of flour in this recipe?
Certainly! If you want to experiment, you can substitute chickpea flour with other gluten-free options, such as rice flour or almond flour. However, keep in mind that these will alter the flavor and texture of your crispy healthy pumpkin blossoms. Enjoy experimenting!
Crispy Healthy Pumpkin Blossoms for a Flavorful Snack
Ingredients
Equipment
Method
- Gently wash the fresh pumpkin blossoms under cold water and pat them dry with a clean towel. Carefully remove any stamens or pistils from inside the blossoms.
- In a mixing bowl, combine chickpea flour with water, olive oil, garlic powder, onion powder, salt, black pepper, and optional chili flakes. Whisk until smooth.
- Preheat a non-stick skillet over medium heat and spray it lightly with olive oil. Allow to heat for 2-3 minutes.
- Dip each prepared pumpkin blossom into the chickpea batter, ensuring it is fully coated while letting excess batter drip back.
- Place coated blossoms into the skillet and cook for 3-4 minutes until golden brown. Flip and cook the other side for another 3-4 minutes.
- Transfer cooked blossoms to a paper towel-lined plate to drain excess oil.
- Serve warm on a platter, alongside lemon wedges for a zesty finish.
Leave a Reply