
Crunchy, sweet, and downright nostalgic, these Homemade Crispy Chocolate Dipped Rice Krispie Pencil Treats make my inner child squeal with delight! The simplicity of this recipe, crafted with just a handful of pantry staples, makes it my go-to for whipping up a fun snack in no time. Perfect for parties or cozy nights in, they’re not just an eye-catching treat but also a downright crowd-pleaser that everyone will adore. Plus, they’re versatile; you can easily customize them with hints of your favorite flavors or gluten-free options if needed. Who knew that such a playful twist on classic rice krispie treats could spark so much joy? Ready to dive into this deliciously simple adventure? Let’s get started!
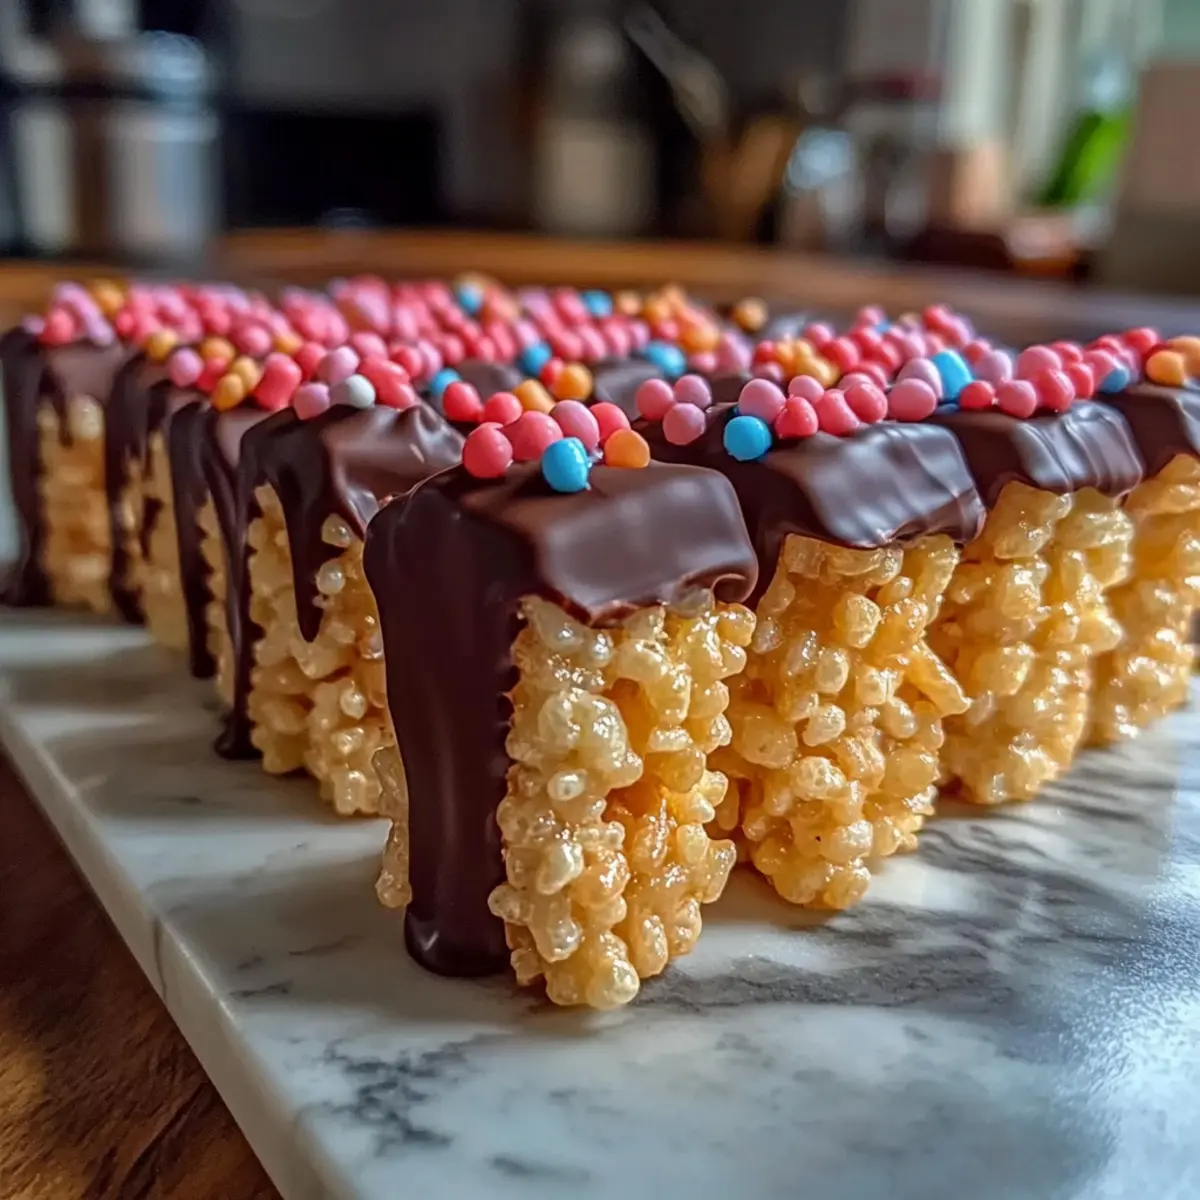
Why are these treats so delightful?
Nostalgic Flavors: These treats take you back to childhood, combining familiar ingredients into a fun, new shape. Quick and Easy: With minimal prep time, you can whip them up in just a few simple steps, perfect for those busy days. Customizable: Feel free to get creative! Add crushed pretzels or a hint of cinnamon for a personal touch. Gluten-Free Option: Enjoy peace of mind with gluten-free alternatives, ensuring that everyone can indulge. Perfect for Sharing: Whether at a party or a cozy movie night, these treats are a surefire crowd-pleaser that will have everyone asking for more! Try pairing them with a glass of milk or coffee for a delightful treat experience.
Homemade Crispy Chocolate Dipped Rice Krispie Ingredients
For the Treats
• Butter – Provides richness and aids binding; use softened butter for the best texture.
• Fresh Marshmallows – Essential for melt and binding; their fluffiness gives the treats structural integrity.
• Rice Krispies – The base cereal for crunch; substitute with gluten-free alternatives for a satisfying gluten-free option.
For the Chocolate Coating
• Chocolate (Dairy or Dairy-Free) – Provides sweetness and texture; opt for high-quality semisweet chocolate for the best results.
• Vegetable Oil – Added to chocolate for a smooth, glossy finish, ensuring it doesn’t harden too quickly.
This Homemade Crispy Chocolate Dipped Rice Krispie treat is an easy-to-make delight that captures the essence of childhood snacking with a delicious twist!
Step‑by‑Step Instructions for Homemade Crispy Chocolate Dipped Rice Krispie Pencil Treats
Step 1: Prepare the Pan
Begin by taking a square or rectangular baking pan and lining it with parchment paper, allowing some overhang for easy removal later. This step is essential to prevent sticking and ensures you can easily lift out the treats once they’ve cooled. Prepping your pan first sets the stage for a smooth experience with your Homemade Crispy Chocolate Dipped Rice Krispie Pencil Treats.
Step 2: Melt Butter and Marshmallows
In a large pot over low heat, combine 3 tablespoons of softened butter and 4 cups of fresh marshmallows. Stir constantly with a spatula for about 5-7 minutes until the mixture is completely melted and smooth, with no marshmallow lumps. Be attentive and avoid boiling to maintain a creamy texture. This gooey mix serves as your delicious base for the rice krispie treats.
Step 3: Combine with Rice Krispies
Once the butter and marshmallow mixture is velvety and well-blended, remove the pot from heat. Carefully fold in 6 cups of Rice Krispies, ensuring every cereal piece is evenly coated. Use a gentle folding motion to keep the mixture airy, and continue mixing for about 2 minutes until all the cereal is fully incorporated. This creates that signature crunchy texture essential for your Homemade Crispy Chocolate Dipped Rice Krispie Pencil Treats.
Step 4: Shape the Mixture
Pour the sticky rice krispie mixture into the lined pan, using a spatula to spread it out evenly. Press down firmly and evenly to create a compact layer about 1-inch thick, ensuring it holds its shape after cooling. It’s important to get this step right, as it contributes to the structural integrity of the final product. Allow the mixture to cool at room temperature for about 30 minutes.
Step 5: Chill Bars
For the best results, place the pressed rice krispie layer in the refrigerator and chill for at least 1 hour. This step helps the treats firm up, making them easier to cut into pencil shapes. You’ll know they’re ready when the mixture feels set to the touch. Chilling also enhances the texture, ensuring your Homemade Crispy Chocolate Dipped Rice Krispie Pencil Treats have a satisfying crunch.
Step 6: Melt and Dip in Chocolate
While your bars chill, prepare to melt 1 ½ cups of high-quality chocolate (adding 1 tablespoon of vegetable oil for smoothness) in a microwave-safe bowl. Heat in short bursts of 30 seconds, stirring after each interval until fully melted and glossy, about 1.5-2 minutes total. Once the bars are chilled, take them out and cut them into pencil shapes, then dip each one into the chocolate, allowing excess to drip off.
Step 7: Let Chocolate Set
After dipping, place the chocolate-coated rice krispie pencils back on the parchment paper. Allow to set at room temperature for about 30 minutes or until the chocolate hardens completely. You can refrigerate them briefly if you prefer faster setting. This last step ensures that your Homemade Crispy Chocolate Dipped Rice Krispie Pencil Treats have that delightful snap when you take a bite, making them irresistibly enjoyable!
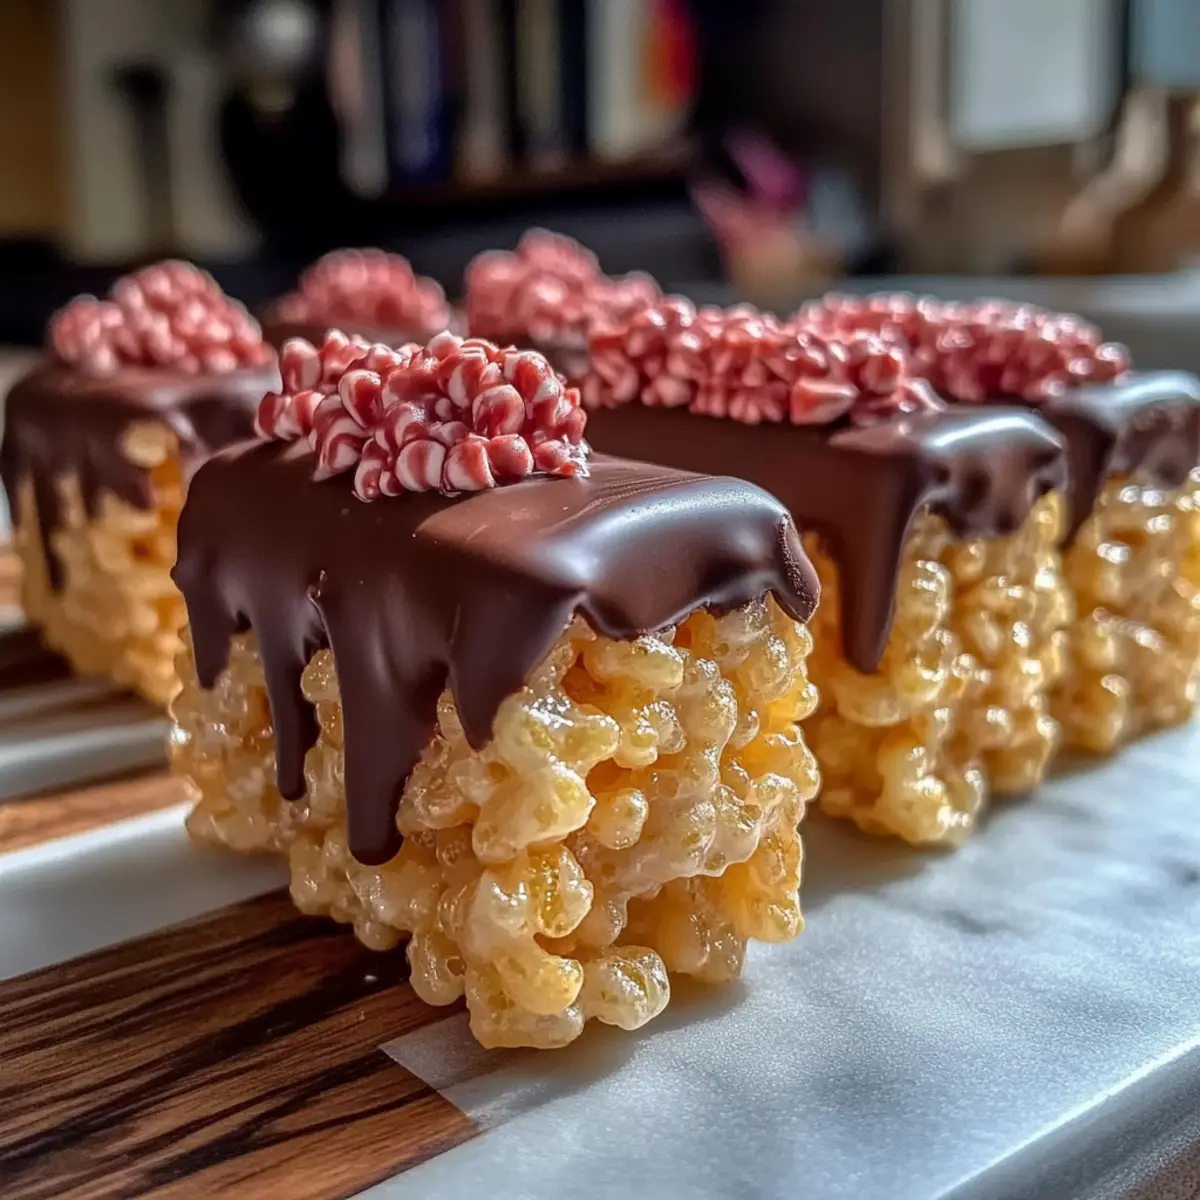
How to Store and Freeze Homemade Crispy Chocolate Dipped Rice Krispie Treats
Room Temperature: Store your treats in an airtight container at room temperature for up to 3 days for the best texture and flavor.
Fridge: If you prefer, refrigerate them in an airtight container for up to a week; however, the texture may become slightly chewier.
Freezer: For longer storage, freeze the pencil treats in a single layer on a parchment-lined tray. Once frozen, transfer to a freezer bag and store for up to 3 months.
Reheating: When ready to enjoy, simply thaw at room temperature for about 30 minutes before serving. Dive back into the delightful taste of your Homemade Crispy Chocolate Dipped Rice Krispie Treats!
Make Ahead Options
These Homemade Crispy Chocolate Dipped Rice Krispie Pencil Treats are perfect for meal prep! You can easily prepare the rice krispie mixture and shape it into bars up to 24 hours in advance. Simply follow the first four steps, then refrigerate the shaped bars until you’re ready to dip them in chocolate. To maintain quality and prevent any sticking, ensure they’re well wrapped or stored in an airtight container if chilled for longer than a few hours. When you’re ready to serve, just melt the chocolate, dip the bars, and allow them to set. With these make-ahead tips, you’ll have delicious treats waiting for you, making busy days a bit sweeter!
What to Serve with Homemade Crispy Chocolate Dipped Rice Krispie Pencil Treats
These playful treats need companions that enhance their crunch and sweetness while complementing their nostalgic flavors.
-
Classic Milk: A cold glass of milk balances the sweetness, making each bite even more enjoyable. It’s a timeless pairing for a reason!
-
Fresh Berries: Juicy strawberries or raspberries add a burst of freshness and a tart contrast that brightens up the chocolatey richness.
-
Creamy Vanilla Ice Cream: Soft and sweet, a scoop of vanilla ice cream can turn your treat into a delightful dessert. The creaminess pairs beautifully against the crunch.
-
Chocolate-Dipped Fruit: For a sophisticated twist, serve with chocolate-dipped bananas or strawberries. This echoes the treat’s chocolate coating while adding a fruity flavor layer.
-
Nutty Trail Mix: The crunch of nuts and seeds in a trail mix provides a delightful textural contrast, enhancing the overall eating experience.
-
Coffee or Hot Chocolate: A warm cup of coffee or rich hot chocolate can elevate your treats to a cozy snack. The warmth complements the cool chocolate and melt-in-your-mouth marshmallows.
-
Peanut Butter Dip: Offering a savory element, a creamy peanut butter dip will create a luscious experience without overwhelming the sweetness of the treats.
-
Cinnamon Sugar Puffs: Lightly sweetened puff pastries dusted with cinnamon align with the nostalgic vibe, making them a fun addition to your snack table.
-
Fruity Sparkling Water: Infuse some fizz into your gathering with sparkling water flavored with citrus. It refreshes the palate and keeps the mood light and bubbly.
-
Homemade Whipped Cream: For an extra indulgent flair, a dollop of freshly whipped cream adds a rich creaminess, making dessert feel extra special.
Homemade Crispy Chocolate Dipped Rice Krispie Variations
Feel free to add your personal flair to these delightful treats, creating a snack bursting with flavors and textures!
-
Salted Pretzels: Crunchy bits of crushed pretzels added to the mix create a perfect sweet-salty combination.
Adding crushed pretzels not only enhances texture—bringing a satisfying crunch—but also elevates the overall flavor profile into a delightful snack experience. -
Coconut Oil Swap: Substitute butter with coconut oil for a tropical twist.
Coconut oil lends a subtle flavor while keeping these treats completely dairy-free, allowing everyone to dive into this sweet adventure without worries! -
Nutty Goodness: Stir in chopped nuts or seeds for added protein and crunch.
Walnuts, almonds, or even sunflower seeds work wonderfully here, bringing a robust flavor that pairs nicely with the sweetness of chocolate. -
Flavor Boost: Add a teaspoon of vanilla or almond extract for extra depth.
Just a hint transforms these treats into an aromatic delight, enhancing every bite with a whisper of nostalgic comfort. -
Spicy Kick: Sprinkle in a dash of cayenne or chili powder for a surprising heat effect.
This twist creates a fun contrast, balancing sweetness and spice that’ll keep your taste buds intrigued and delighted! -
Chocolate Drizzle: Drizzle melted colored chocolate over the set treats for a festive flair.
Not only does this make them visually exciting, but it also adds a luxurious touch, perfect for parties or celebrations! -
Dried Fruits: Incorporate chopped dried fruits like cranberries or apricots for a chewy surprise.
This fruity variation not only adds a burst of flavor but also brings a hint of tartness that complements the chocolate perfectly. -
Peanut Butter Swirl: Mix in peanut butter for a rich and creamy texture.
This delicious addition ensures that every bite is united with smooth peanut butter essence, offering a delightful contrast to the crispiness of the rice treats!
These variations promise to keep your taste buds dancing with each bite. If you’re seeking further inspiration or delicious options, check out our Chocolate Oat Cookies or give the classic Moist Chocolate Chip a try. Happy customizing!
Expert Tips for Homemade Crispy Chocolate Dipped Rice Krispie Treats
- Chill Well: Ensure the bars are thoroughly chilled before cutting and dipping; this prevents the chocolate from cracking and keeps your treats intact.
- Use Fresh Ingredients: Always opt for fresh marshmallows and high-quality chocolate; they significantly enhance the flavor and texture of your Homemade Crispy Chocolate Dipped Rice Krispie treats.
- Mix Quickly: Work fast when combining the marshmallow mixture with the Rice Krispies, as the mixture sets quickly. A gentle folding technique retains that delightful crunch.
- Perfect Coating: Add a splash of vegetable oil to the melting chocolate for a smooth finish; it helps the chocolate adhere better to your treats.
- Creative Variations: Don’t hesitate to experiment! Incorporate mix-ins like nuts or flavored extracts to tailor your Homemade Crispy Chocolate Dipped Rice Krispie Pencil Treats to your taste.
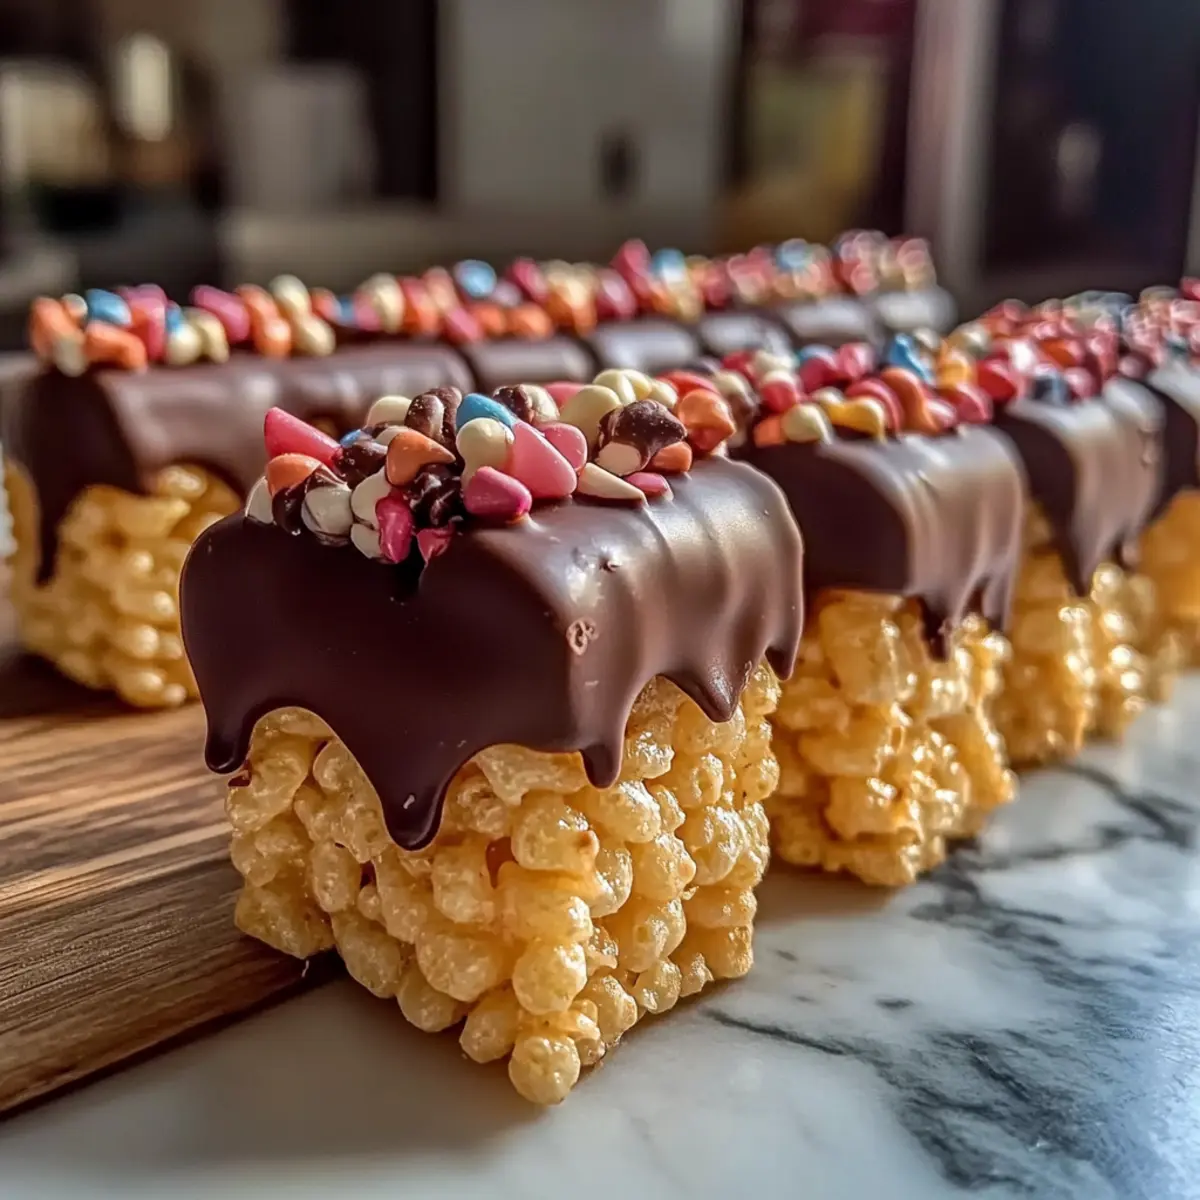
Homemade Crispy Chocolate Dipped Rice Krispie Pencil Treats Recipe FAQs
How do I choose the right marshmallows for this recipe?
Absolutely! Fresh marshmallows are key to achieving that fluffy and gooey texture. Look for marshmallows that are soft and free of any hard spots, as freshness ensures they melt smoothly into the butter. I often choose mini marshmallows, but regular ones work great too!
How should I store leftover treats?
To keep your Homemade Crispy Chocolate Dipped Rice Krispie Pencil Treats at their best, store them in an airtight container at room temperature for up to 3 days. If you prefer a longer shelf life, pop them in the fridge for up to a week—just keep in mind that they may get a bit chewier in texture.
Can I freeze these rice krispie treats?
Yes, you can! To freeze your treats, first place them in a single layer on a parchment-lined tray and freeze until hard. Then, transfer them to a freezer-safe bag or container, ensuring they’re well-sealed to prevent freezer burn. They can be stored for up to 3 months. When you’re ready to enjoy, let them thaw at room temperature for about 30 minutes.
What should I do if my chocolate coating is too thick?
Very! If your chocolate seems too thick to dip, that could be a sign it needs a little help. Try adding a tablespoon of vegetable oil and melting it together in short bursts in the microwave (30 seconds at a time) until you achieve a smooth, pourable consistency. Dipping the treats will be much easier, and you’ll end up with a glossy finish!
Are there any allergy considerations for this recipe?
Absolutely! If you’re serving these treats to guests with allergies, consider using gluten-free Rice Krispies and dairy-free chocolate options to keep everyone safe. Be sure to read the labels on all ingredients to avoid cross-contamination. Those modifications ensure everyone can enjoy your warm, nostalgic treat!
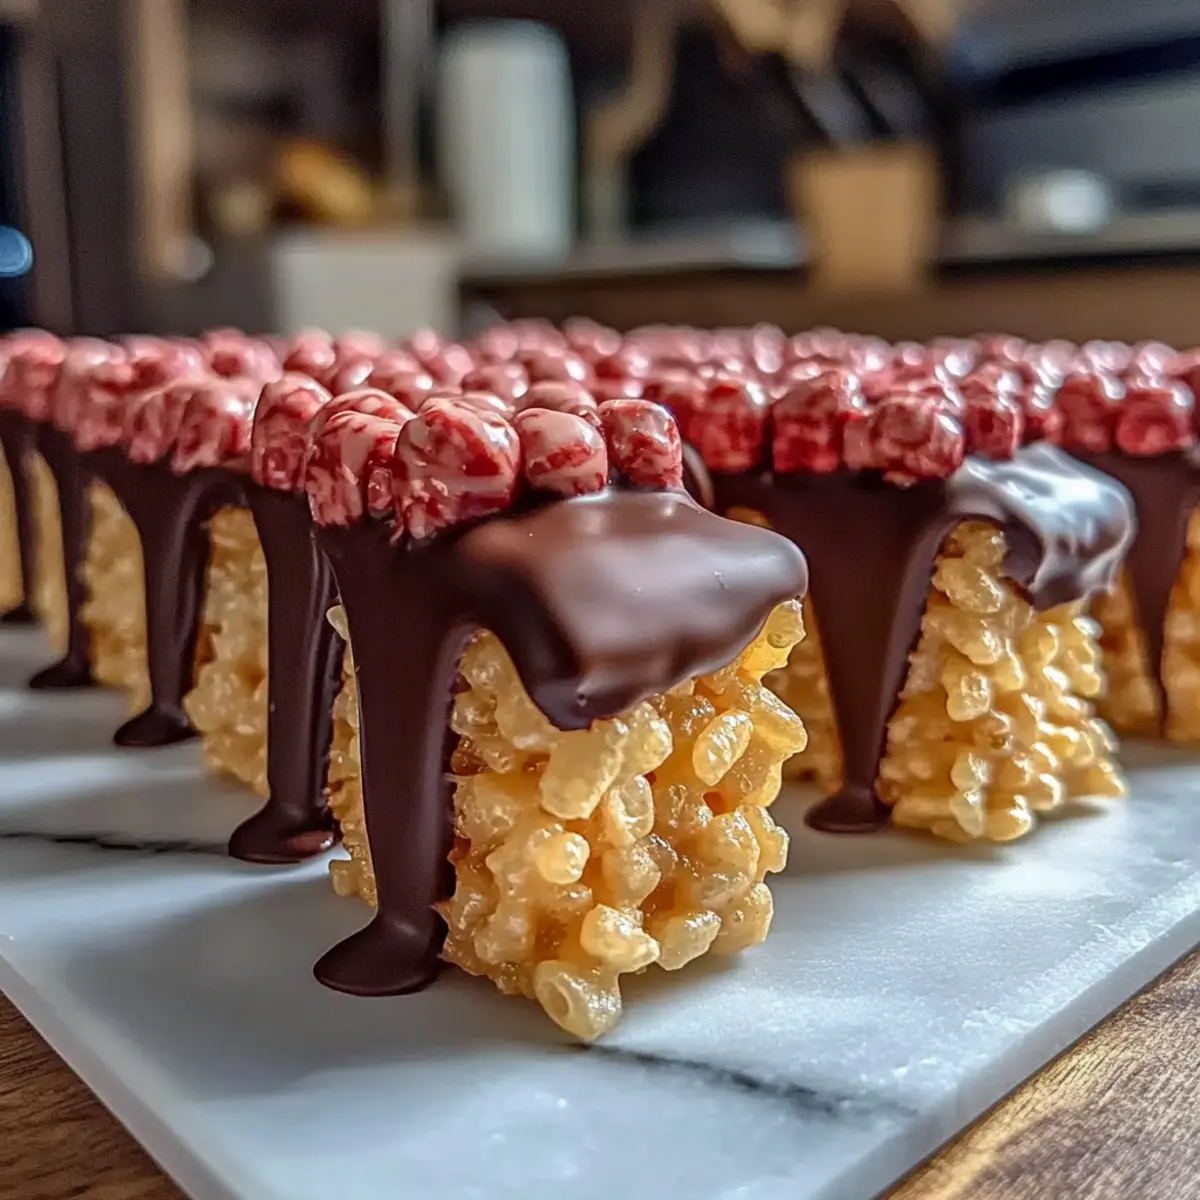
Delicious Homemade Crispy Chocolate Dipped Rice Krispie Treats
Ingredients
Equipment
Method
- Prepare the pan by lining a square or rectangular baking pan with parchment paper, allowing some overhang for easy removal.
- Melt 3 tablespoons of softened butter and 4 cups of marshmallows in a large pot over low heat, stirring constantly for 5-7 minutes until smooth.
- Remove from heat and carefully fold in 6 cups of Rice Krispies, mixing gently for about 2 minutes until evenly coated.
- Pour the mixture into the lined pan and press down firmly to create a compact layer about 1-inch thick, allowing it to cool at room temperature.
- Chill the pressed layer in the refrigerator for at least 1 hour to firm up for cutting.
- Melt 1.5 cups of chocolate with 1 tablespoon of vegetable oil in a microwave-safe bowl, heating in 30-second intervals until glossy.
- Cut the chilled rice krispie layer into pencil shapes and dip each into the melted chocolate, allowing excess to drip off.
- Let the chocolate-coated treats set at room temperature for about 30 minutes until the chocolate hardens completely.
Leave a Reply