
As the sun dips below the horizon and the sweet scent of the ocean fills the air, I can’t help but crave something special—like Juicy Hawaiian Chicken Katsu. This dish is a delightful fusion of crunchy panko-furikake coating and succulent chicken, bringing the spirit of the islands to my dinner table. Not only is it quick to whip up, but it also allows you to tailor the homemade katsu sauce to your taste, whether you prefer a little heat or a milder flavor. Perfect for a cozy weeknight meal, this recipe transforms everyday chicken into a vibrant adventure that will satisfy the whole family. Are you ready to embark on a culinary journey to Hawaii right from your kitchen?
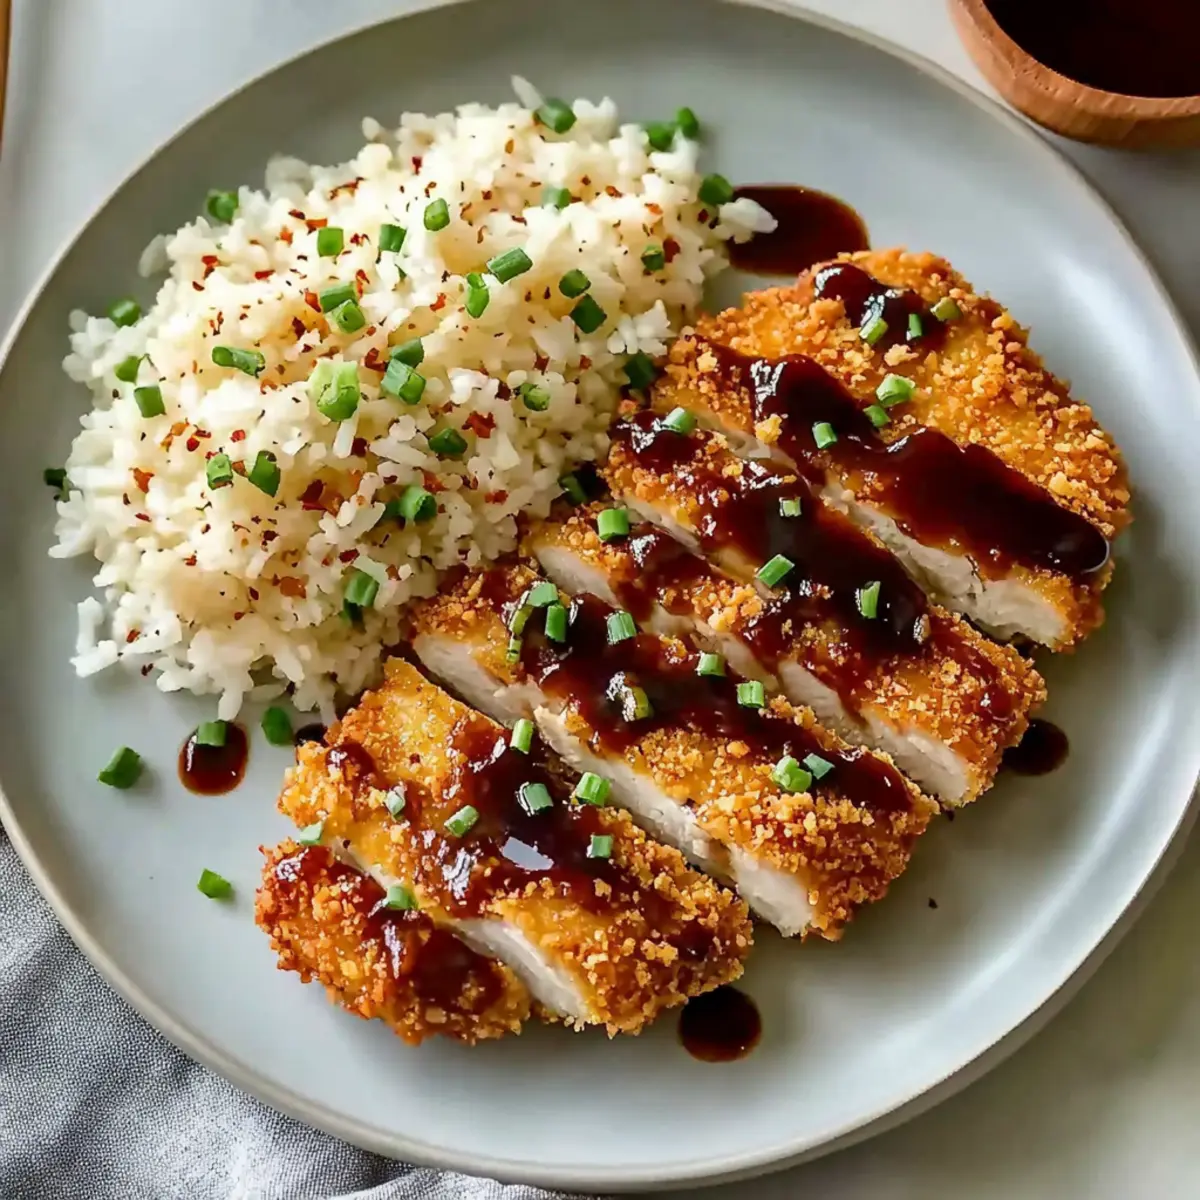
Why is Chicken Katsu So Irresistible?
Aloha Spirit: This Juicy Hawaiian Chicken Katsu brings the vibrant flavors of the islands right to your home.
Crunchy Coating: The unique panko-furikake blend gives each bite an irresistible crunch, making it utterly addictive.
Customizable Sauce: You can easily adjust the heat in your homemade katsu sauce, ensuring a perfect match for every palate.
Quick & Easy: This recipe comes together in just 30 minutes, making it an excellent choice for busy weeknights.
Family Favorite: Kids and adults alike will love this dish, keeping everyone coming back for more. If you’re in the mood for other delicious chicken recipes, try my Sticky Garlic Chicken or Cheesy Chicken Crescent for a tasty variety!
Juicy Hawaiian Chicken Katsu Ingredients
• Get ready to embark on a flavor-filled journey with these essential ingredients for your Juicy Hawaiian Chicken Katsu!
For the Chicken
- 2 lb chicken breasts – Boneless and skinless, pounded to ½-inch thickness for even cooking; chicken thighs are a great substitute.
- 1 cup all-purpose flour – Provides structure and crispiness to the coating.
- 1 ½ tsp garlic powder – Adds a delightful depth of flavor.
- 1 ¼ tsp salt – Elevates the overall taste of the dish.
- ½ tsp black pepper – Gives a touch of mild heat.
For the Breading
- 3 eggs (beaten) – Helps the panko-crust adhere beautifully to the chicken.
- 3 tbsp soy sauce – Infuses umami and moisture, making every bite juicy.
- 1 tsp toasted sesame oil – Adds a nutty flavor that pairs perfectly with chicken.
- 1 dash hot sauce – Offers a spicy kick to amp up the flavor profile.
- 2 ¼ cups panko breadcrumbs – Creates that light, crispy texture we all crave.
- ½ cup furikake – This Japanese seasoning mix enhances the savory richness of the dish.
For Frying
- 1 ½ cups canola oil – Ideal for frying, though vegetable oil can be substituted.
For the Katsu Sauce
- ¼ cup ketchup – Serves as the base for the sauce, bringing sweetness.
- 1 tbsp Worcestershire sauce – Provides that tangy punch.
- 1 ½ tbsp brown sugar – Balances the flavors with a hint of sweetness.
- 2 tsp sriracha – Adjust as needed for your preferred level of spice.
- ¼ tsp ground ginger – Offers warmth and an additional layer of flavor.
For Serving
- 3 cups steamed Calrose rice – A comforting base that complements the dish; short-grain rice works well too.
- 1 bunch chives (finely chopped) – Adds a fresh and colorful touch for garnish.
- ½ cup kimchi – A tangy accompaniment that enhances the overall experience.
With these ingredients, you are all set to create a juicy Hawaiian Chicken Katsu that delivers a taste of aloha right in your own kitchen!
Step‑by‑Step Instructions for Juicy Hawaiian Chicken Katsu
Step 1: Prepare the Chicken
Start by patting the chicken breasts dry with paper towels to remove excess moisture. Then, slice them in half horizontally and pound them to about ½-inch thickness using a meat mallet, ensuring even cooking. This step is essential for achieving the juicy texture in your Hawaiian Chicken Katsu.
Step 2: Set Up Breading Station
Create a breading station with three bowls. In the first bowl, mix together 1 cup of all-purpose flour, 1 ½ teaspoons of garlic powder, 1 ¼ teaspoons of salt, and ½ teaspoon of black pepper. In the second bowl, combine 3 beaten eggs, 3 tablespoons of soy sauce, 1 teaspoon of toasted sesame oil, and a dash of hot sauce for a flavorful dip.
Step 3: Prepare the Coating
In the third bowl, combine 2 ¼ cups of panko breadcrumbs with ½ cup of furikake seasoning. This unique panko-furikake blend will create a crispy coating for your Juicy Hawaiian Chicken Katsu. Make sure to mix well to ensure the furikake is evenly distributed throughout the breadcrumbs for maximum flavor.
Step 4: Coat the Chicken
Take each piece of pounded chicken and first dredge it in the flour mixture, ensuring it’s evenly coated. Next, dip the floured chicken into the egg mixture, allowing excess to drip off. Finally, press it into the panko-furikake mixture, ensuring a thick, even coating all around. Repeat this process for all chicken pieces for a delicious crunch.
Step 5: Optional Resting Time
For an even better coating, let the coated chicken pieces rest for about 5 to 10 minutes on a wire rack. This resting period allows the coating to adhere better during frying, resulting in a crunchy exterior when you prepare your Juicy Hawaiian Chicken Katsu.
Step 6: Make the Katsu Sauce
While the chicken rests, you can whip up a quick homemade katsu sauce. In a bowl, mix together ¼ cup of ketchup, 1 tablespoon of Worcestershire sauce, 1 ½ tablespoons of brown sugar, 2 teaspoons of sriracha, and ¼ teaspoon of ground ginger. Stir until smooth, balancing the flavors to your liking.
Step 7: Heat the Oil
In a large skillet, heat 1 ½ cups of canola oil over medium-high heat until it reaches 350°F. It’s crucial to maintain this temperature to ensure a crispy coating on your Juicy Hawaiian Chicken Katsu. You can use a thermometer to check the oil temperature for perfect frying.
Step 8: Fry the Chicken
Carefully place the breaded chicken pieces in the hot oil, frying them in batches to avoid overcrowding the pan. Cook for 4 to 5 minutes on each side or until the chicken is golden brown and has an internal temperature of 165°F. This step will give you the juicy and crunchy texture you’re aiming for.
Step 9: Drain and Slice
Once the chicken is cooked, use a slotted spatula to transfer it to a plate lined with paper towels to remove excess oil. Allow it to drain for a moment before slicing the chicken into strips. This step enhances the presentation and makes it easy to serve your Juicy Hawaiian Chicken Katsu.
Step 10: Serve Your Dish
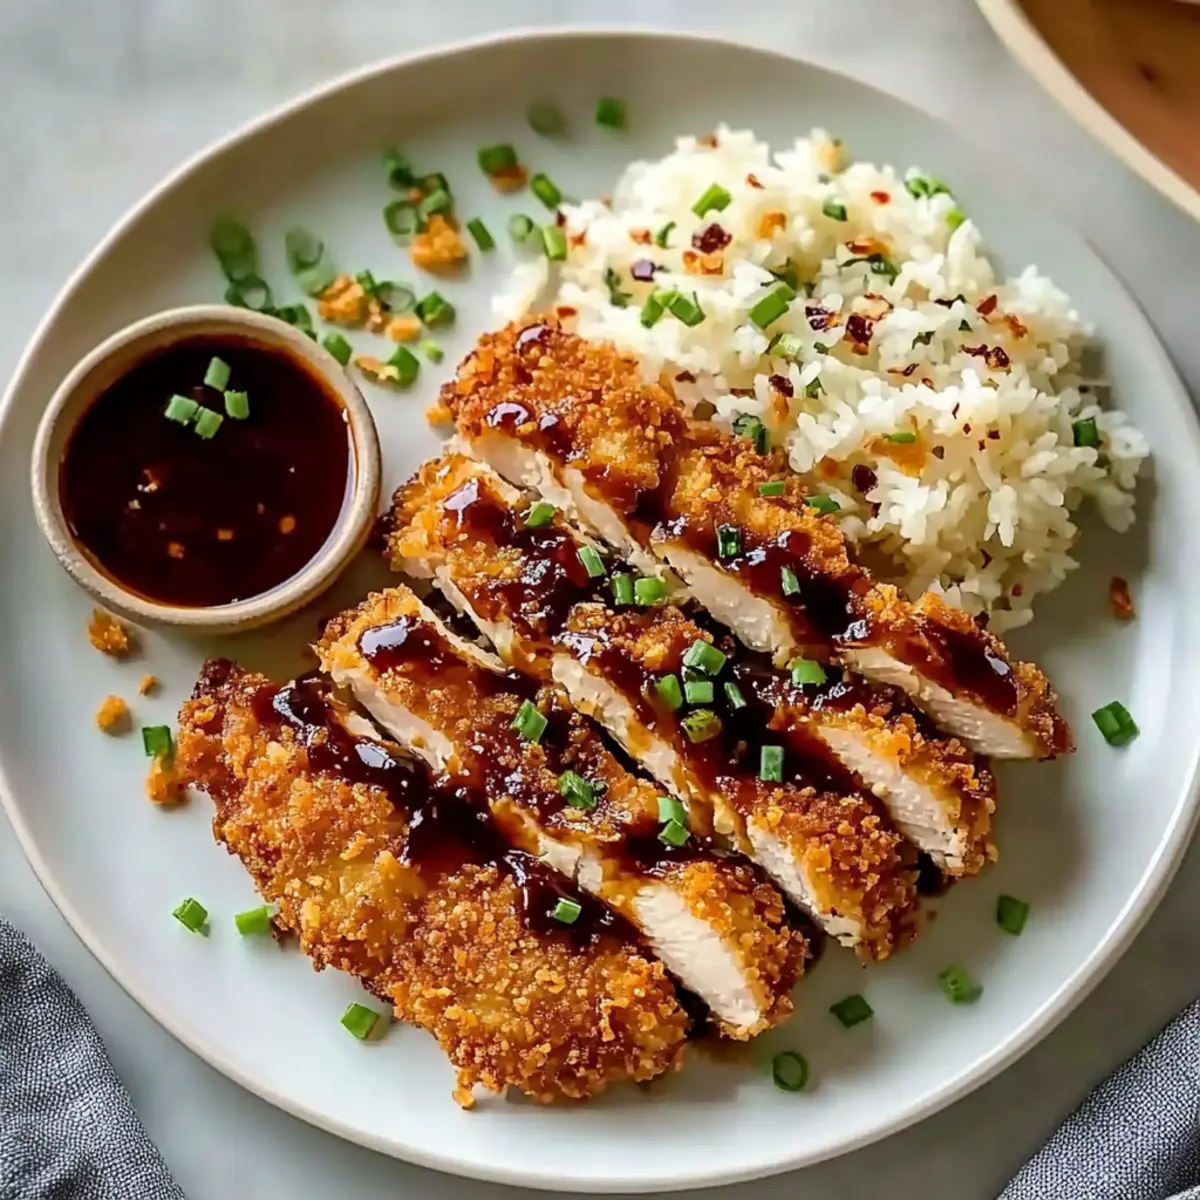
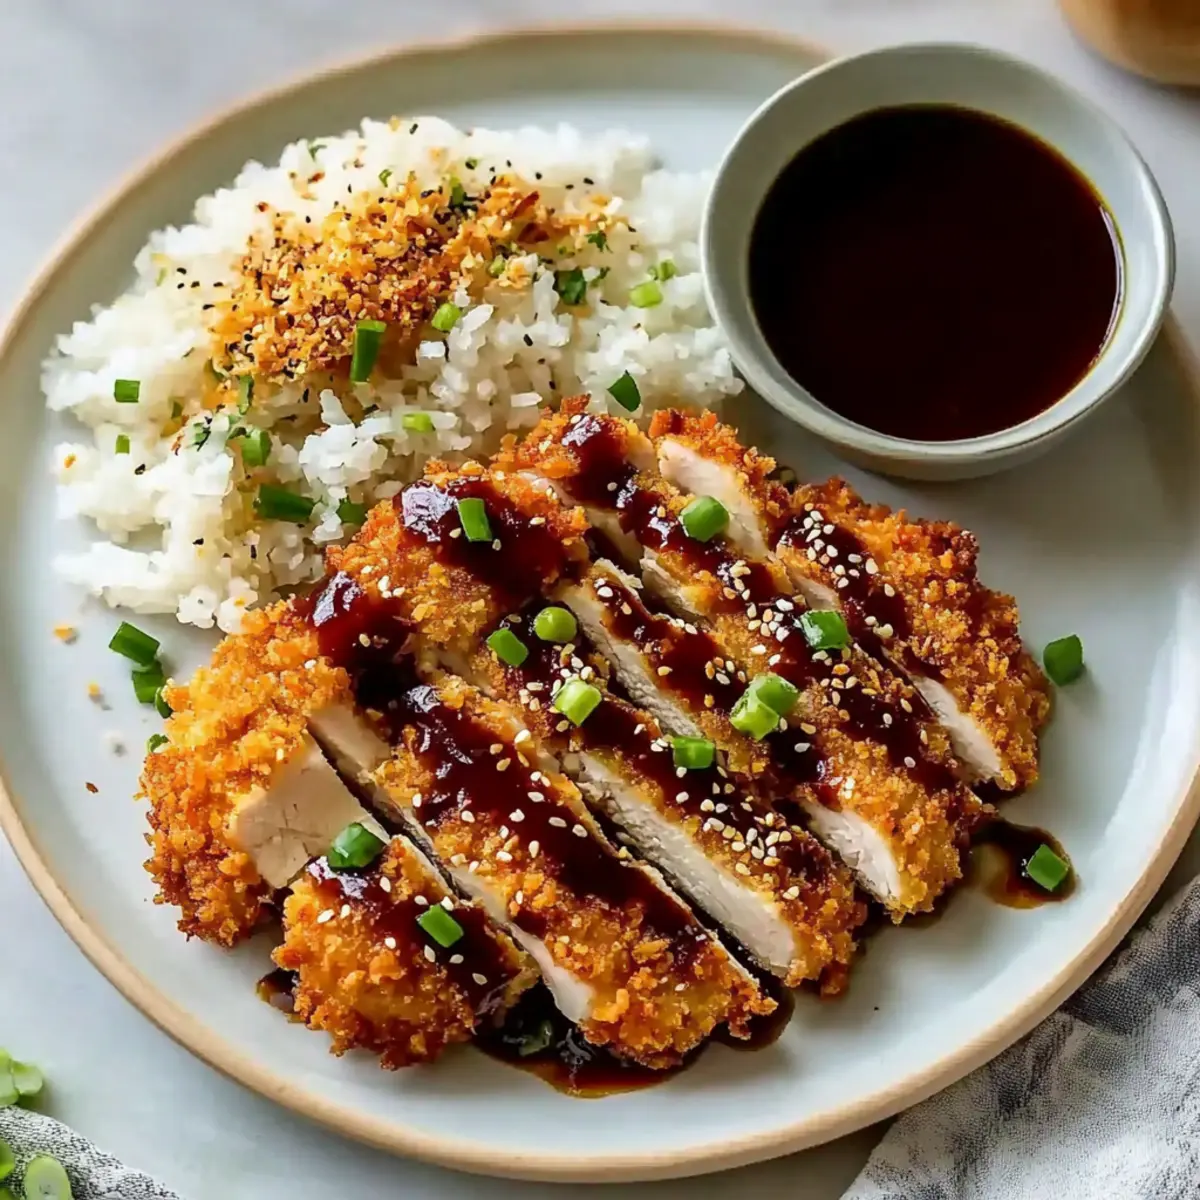
Place a generous serving of steamed Calrose rice on each plate and lay the sliced chicken katsu over the top. Drizzle your homemade katsu sauce generously over the chicken, and finish with a sprinkle of finely chopped chives and a side of kimchi. This vibrant presentation captures the essence of hearty Hawaiian comfort food.
How to Store and Freeze Juicy Hawaiian Chicken Katsu
Fridge: Keep leftover Juicy Hawaiian Chicken Katsu in an airtight container in the refrigerator for up to 3 days to maintain freshness and flavor.
Freezer: For longer storage, freeze the cooked chicken katsu in a freezer-safe bag or container for up to 3 months. Ensure it’s wrapped tightly to prevent freezer burn.
Reheating: To reheat, place the chicken in the oven at 375°F for about 10-15 minutes for a crispy texture, rather than microwaving, which can make it soggy.
Serving: Pair the reheated chicken katsu with freshly made katsu sauce and warm rice for a delightful meal that tastes just as good as when it was first made!
Expert Tips for Juicy Hawaiian Chicken Katsu
Even Pounding: Ensure the chicken is pounded evenly for consistent cooking, preventing dry edges or undercooked centers.
Oil Temperature: Keep the frying oil at 350°F for that perfect crispy coating; use a thermometer for best results and avoid greasy chicken.
Fry in Batches: Don’t overcrowd the pan! Fry your chicken in smaller batches to maintain a crispy texture and even cooking.
Resting Time: Let the breaded chicken rest for 5-10 minutes before frying; this helps the coating adhere better, enhancing your Juicy Hawaiian Chicken Katsu.
No Pressing: Avoid pressing down while frying to keep the chicken juicy and maintain a pleasant texture you’ll love.
What to Serve with Juicy Hawaiian Chicken Katsu
Create a delicious, well-rounded meal around your Juicy Hawaiian Chicken Katsu that will tantalize your taste buds and satisfy your family.
-
Steamed Calrose Rice: A comforting base that soaks up all the savory katsu sauce, enhancing the flavors of the chicken.
-
Chilled Cabbage Slaw: The crunchy freshness of the slaw balances the richness of the katsu, adding a delightful crisp texture with every bite.
-
Homemade Miso Soup: Warm and soothing, miso soup enhances the meal with umami notes, creating a cozy ambiance reminiscent of dining in Hawaii.
-
Kimchi: This tangy, fermented side dish provides a spicy contrast, cutting through the richness of the chicken katsu and refreshing the palate.
-
Grilled Pineapple: Sweet and caramelized, grilled pineapple complements the savory elements and adds a tropical flair that brings the islands to your plate.
-
Spicy Edamame: These tender, lightly salted pods with a hint of spice offer a delightful snack while waiting for the main dish, amplifying the umami experience.
Pair your enticing katsu with these delightful sides, and embark on a joyous Hawaiian culinary experience that your family will cherish!
Juicy Hawaiian Chicken Katsu Variations
Feel free to play around with this recipe and make it your own—your taste buds will thank you!
-
Pork Katsu: Swap chicken for pork cutlets for a delicious twist; the flavor pairs beautifully with the sauce.
Pork katsu brings its own unique richness, which complements the crunchy panko-furikake coating perfectly. -
Spicy Kick: Add more sriracha to the sauce to ramp up the heat level.
If you’re a heat lover, don’t hold back! This variation will wake up your taste buds and satisfy your craving for spice. -
Quinoa Base: Substitute Calrose rice with quinoa for a healthier alternative.
Quinoa offers a nutty flavor while still providing a hearty foundation for your katsu. Trust me, it’s just as filling! -
Veggie Katsu: Use eggplant or zucchini slices instead of chicken for a vegetarian option.
This variation adds a satisfying crunch while allowing the veggies to absorb the delicious katsu sauce. -
Coconut Flavor: Incorporate shredded coconut into the panko mix for a tropical twist.
The sweet, toasty flavor brings out the island vibes, ensuring each bite transports you to Hawaiian shores. -
Savory Chive Sauce: Mix chives into the katsu sauce for added brightness and fresh flavor.
This twist elevates your sauce, bringing an extra layer of freshness that beautifully complements the fried chicken katsu. -
Mango Salsa: Top your chicken katsu with a fresh mango salsa for a fruity contrast.
The sweetness of the mango pairs wonderfully with the savory crunch of the katsu, creating a vibrant, memorable dish.
For more delightful chicken recipes, don’t forget to try my Chicken Enchiladas Savory or Cowboy Butter Chicken—they’re sure to please everyone at your dinner table!
Make Ahead Options
These Juicy Hawaiian Chicken Katsu are perfect for meal prep, saving you time during busy weeknights! You can bread the chicken up to 24 hours in advance; simply coat each piece and store them in the refrigerator, ensuring they are well-wrapped to maintain crispiness. The homemade katsu sauce can also be prepared up to 3 days ahead—just mix all ingredients and refrigerate in an airtight container. When you’re ready to serve, heat the oil and fry the chicken directly from the fridge for the ultimate crunch. This way, you’ll enjoy restaurant-quality results with minimal effort, making family dinners a breeze!
Juicy Hawaiian Chicken Katsu Recipe FAQs
How do I choose ripe chicken breasts?
Absolutely! When selecting chicken breasts for your Juicy Hawaiian Chicken Katsu, look for meat that is pink and firm with no dark spots or discoloration. Avoid packages with excess liquid as this can indicate spoilage. Fresh chicken breasts should feel moist but not slimy.
What is the best way to store leftovers?
Very good question! To keep your Juicy Hawaiian Chicken Katsu fresh, place it in an airtight container and store it in the refrigerator for up to 3 days. This will ensure it stays delicious and ready to enjoy. Just make sure to let it cool completely before sealing to prevent condensation.
Can I freeze chicken katsu?
Absolutely! For longer storage, you can freeze your cooked chicken katsu. Wrap each piece tightly in plastic wrap, then place it in a freezer-safe bag or container. It will maintain its quality for up to 3 months. When you’re ready to enjoy it again, simply thaw it in the refrigerator overnight.
How do I reheat chicken katsu without losing its crispiness?
To reheat your Juicy Hawaiian Chicken Katsu and keep that signature crunch, preheat your oven to 375°F. Place the chicken on a baking sheet lined with parchment paper and heat for about 10-15 minutes, or until heated through. Avoid microwaving, as that can make the coating soggy.
Is this recipe suitable for people with dietary restrictions?
Great question! If you have dietary concerns, you can certainly make some adjustments. For instance, if you’re allergic to gluten, you can use gluten-free panko breadcrumbs and soy sauce. Additionally, if cooking for kids or those sensitive to spice, hold back on the hot sauce and sriracha until serving, allowing everyone to customize to their preference.
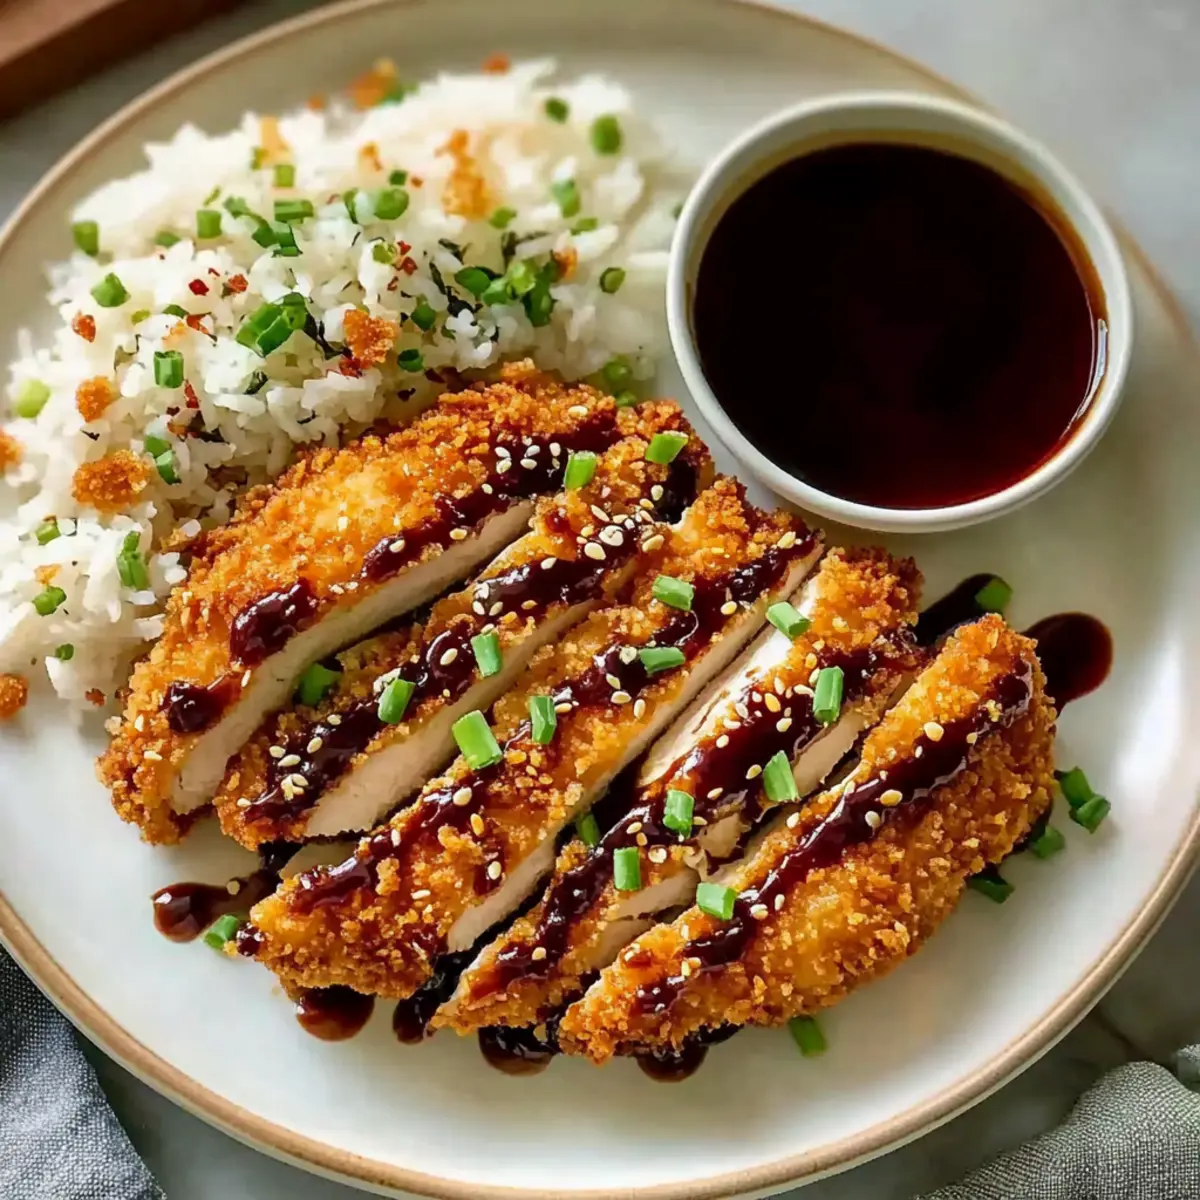
Deliciously Juicy Hawaiian Chicken Katsu with Homemade Sauce
Ingredients
Equipment
Method
- Pat the chicken breasts dry and slice them in half horizontally. Pound to about ½-inch thickness.
- Set up a breading station with flour mixture, egg mixture, and panko-furikake mixture in separate bowls.
- Coat the chicken by dredging in flour, dipping in egg mixture, and pressing into panko-furikake.
- Optionally, let the coated chicken rest for 5-10 minutes on a wire rack.
- Prepare the katsu sauce by mixing ketchup, Worcestershire sauce, brown sugar, sriracha, and ground ginger.
- Heat canola oil in a skillet to 350°F.
- Fry the breaded chicken in batches for 4-5 minutes on each side until golden brown and reach an internal temp of 165°F.
- Drain the fried chicken on paper towels before slicing into strips.
- Serve the sliced chicken over steamed rice, drizzled with katsu sauce, and garnish with chives and kimchi.
Leave a Reply