
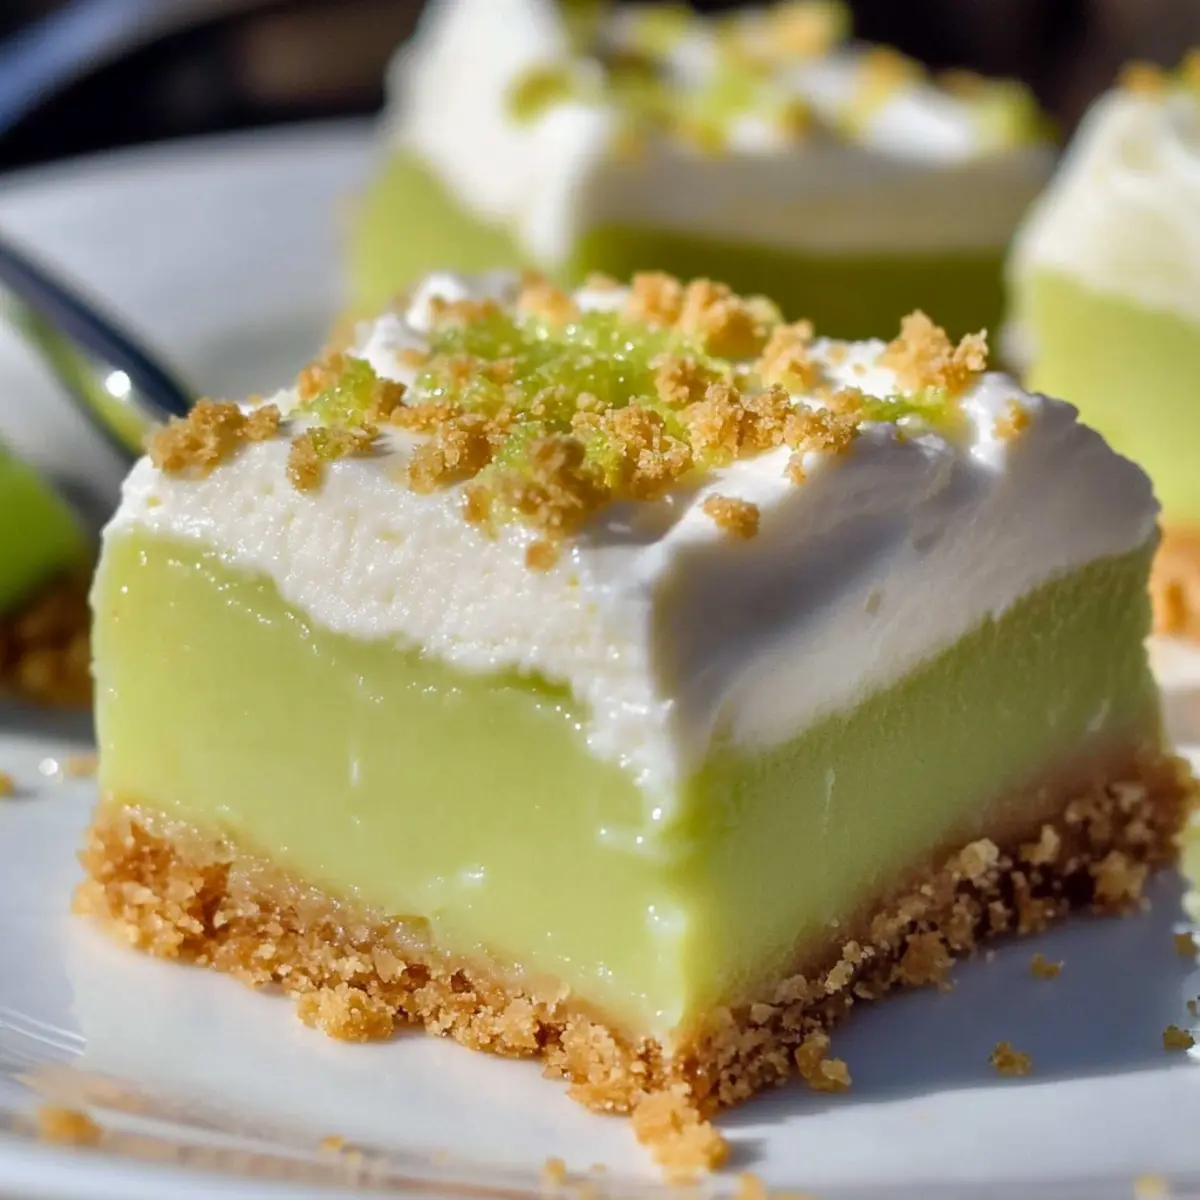
A vibrant splash of sunshine is just what I need to brighten my day, especially when it comes in the form of delectable Key Lime Pie Bars! These delightful bars boast a silky filling crafted from egg yolks and sweetened condensed milk, all resting atop a buttery graham cracker crust. The beautiful balance of sweet and tart makes them an irresistible treat—perfect for summer gatherings or whenever you crave a light dessert. Not only are these Key Lime Pie Bars easy to whip up, but they also offer a gluten-free option, making them a win-win for everyone. As the tangy aroma fills your kitchen, I bet your guests will be begging for seconds! So, are you ready to discover the joy of making these luscious bars?
Why Are Key Lime Pie Bars So Irresistible?
Tangy Delights: These Key Lime Pie Bars deliver a burst of citrus flavor that’s as refreshing as a summer breeze.
Effortless Preparation: With simple ingredients and straightforward instructions, you can whip these up in no time—perfect for busy days or spontaneous gatherings.
Gluten-Free Friendly: Don’t worry if you’re gluten-free! There’s a quick adjustment for a crowd-pleasing dessert that everyone can enjoy.
Versatile Serving Options: Whether topped with creamy whipped cream or served plain, these bars shine in any setting, making them a hit at parties.
Mouthwatering Texture: The creamy filling paired with the buttery crust offers a delightful contrast that keeps your taste buds excited.
Once you try these, you might also fall in love with my Oatmeal Crumble Bars for another easy treat!
Key Lime Pie Bars Ingredients
For the Crust
• Graham Cracker Crumbs – Provides a crisp and buttery crust; use certified gluten-free crumbs for a gluten-free version.
• Granulated Sugar – Sweetens the crust, enhancing the overall flavor.
• Unsalted Butter – Binds the crust ingredients together and adds richness, ensuring a decadent base.
For the Filling
• Egg Yolks – Gives structure to the filling; be careful not to overbeat to avoid curdling.
• Sweetened Condensed Milk – Adds sweetness and creaminess to the filling, making it luscious.
• Freshly Squeezed Key Lime Juice – Offers bright acidity; regular limes can be substituted with adjusted juice to taste.
• Lime Zest – Enhances flavor and aroma, bringing freshness to the bars.
• Salt – Balances sweetness and enhances flavor, ensuring a well-rounded taste.
For the Topping
• Heavy Whipping Cream – Used for the whipped cream topping to add a light, airy finish to your dessert.
• Powdered Sugar – Sweetens the whipped cream for a delightful contrast to the tart bars.
• Vanilla Extract – Adds depth to the whipped cream flavor, making it irresistible.
• Additional Lime Zest (for garnish) – For presentation and extra flavor, elevating your Key Lime Pie Bars.
Step‑by‑Step Instructions for Key Lime Pie Bars
Step 1: Prepare the Crust
Preheat your oven to 350°F (175°C). In a mixing bowl, combine the graham cracker crumbs, granulated sugar, and melted unsalted butter until well blended. Press this mixture evenly into the bottom of a lined 8×8-inch baking pan to form a crust. Bake for 8-10 minutes, or until the edges are lightly golden and set—this will create a solid base for your Key Lime Pie Bars.
Step 2: Make the Filling
In a separate bowl, whisk the egg yolks until they become lighter in color, about 1-2 minutes. Gradually incorporate the sweetened condensed milk and freshly squeezed Key lime juice, mixing gently to combine without overbeating. Add lime zest and a pinch of salt to enhance the filling’s flavor. The result should be a smooth and creamy texture ready to pour over the crust.
Step 3: Bake the Filling
Once the crust has cooled slightly, pour the Key lime filling over it, spreading it evenly. Return the pan to the oven and bake for an additional 15-18 minutes, or until the filling is just set, with small bubbles forming around the edges. Be careful not to overbake, as that can lead to a curdled texture in your delicious Key Lime Pie Bars.
Step 4: Cool and Chill
Remove the pan from the oven and let the bars cool at room temperature for about 30 minutes. Then, cover the pan with plastic wrap and refrigerate for at least 1 hour, preferably 2-3 hours or even overnight. Chilling allows the filling to firm up nicely, making them easier to slice and better to enjoy.
Step 5: Slice and Serve
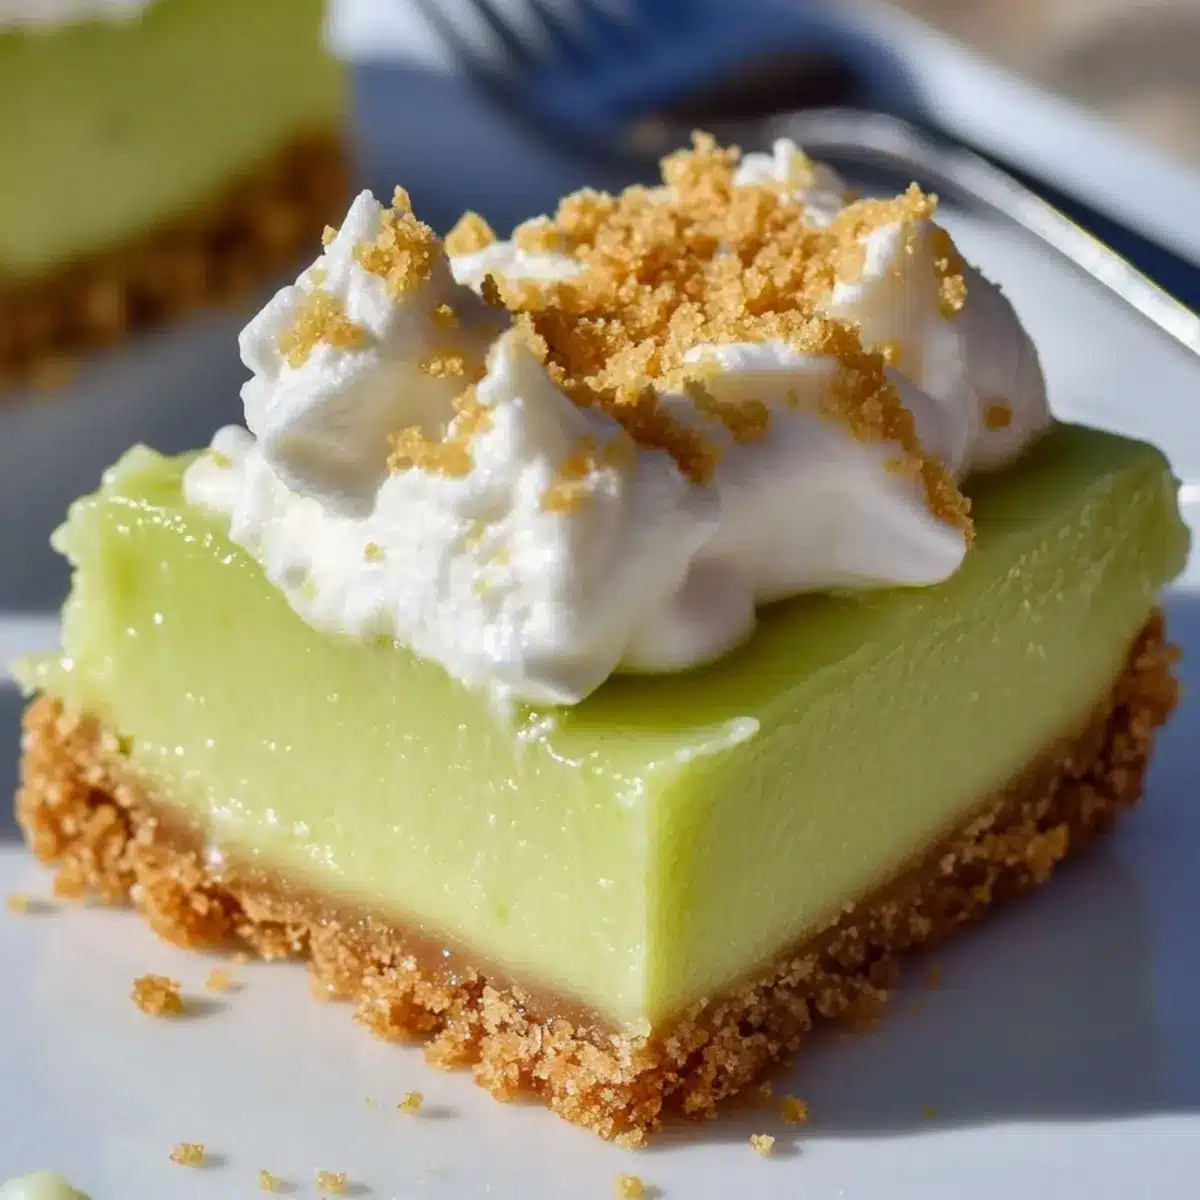
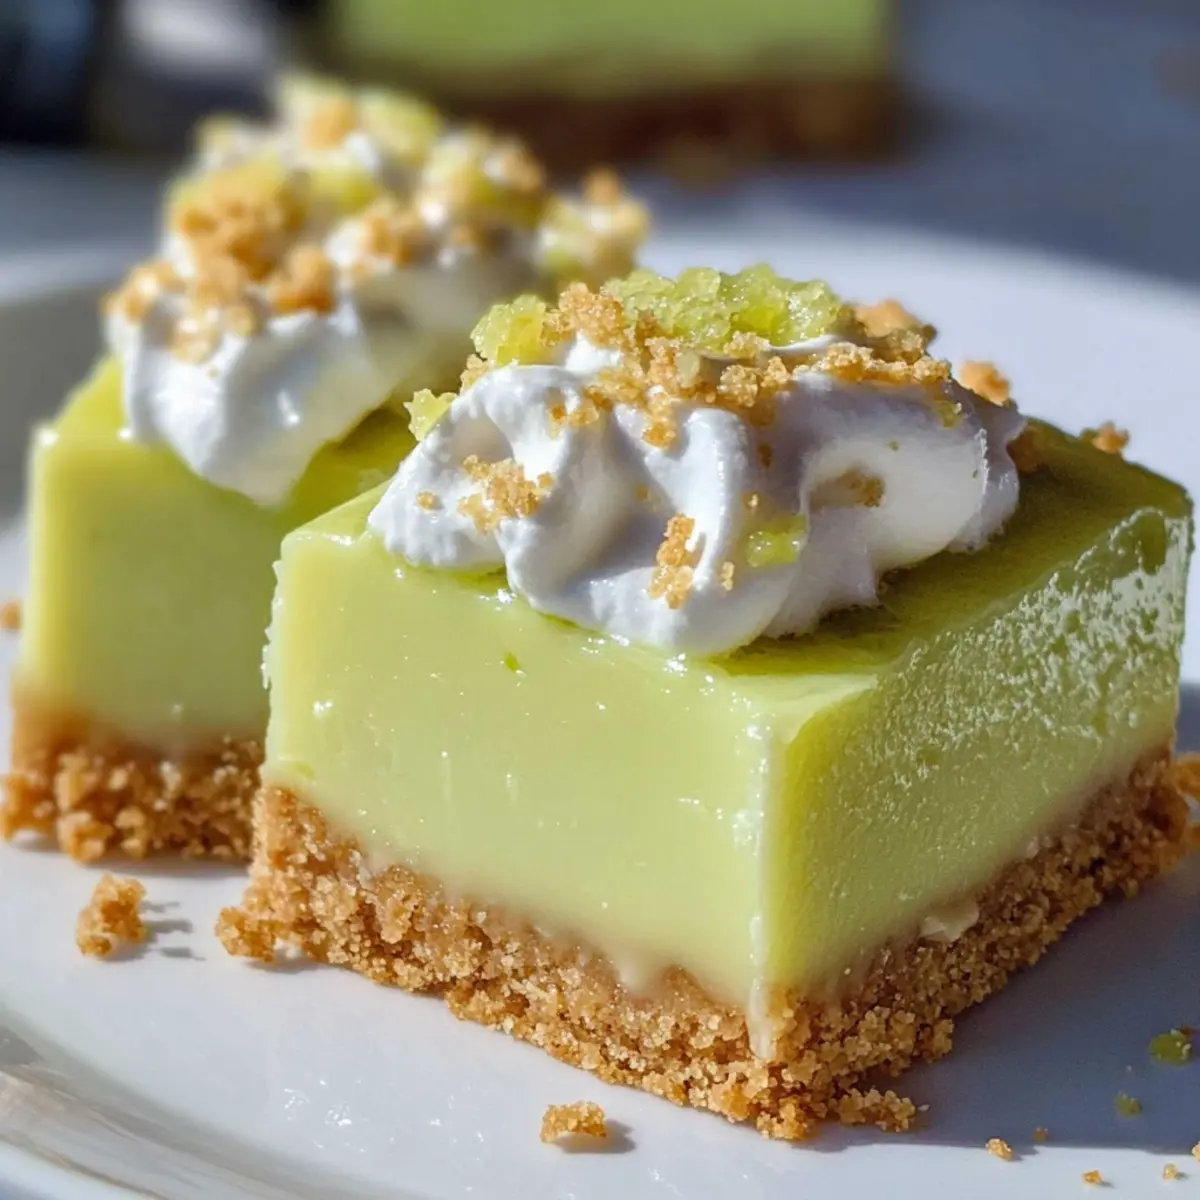
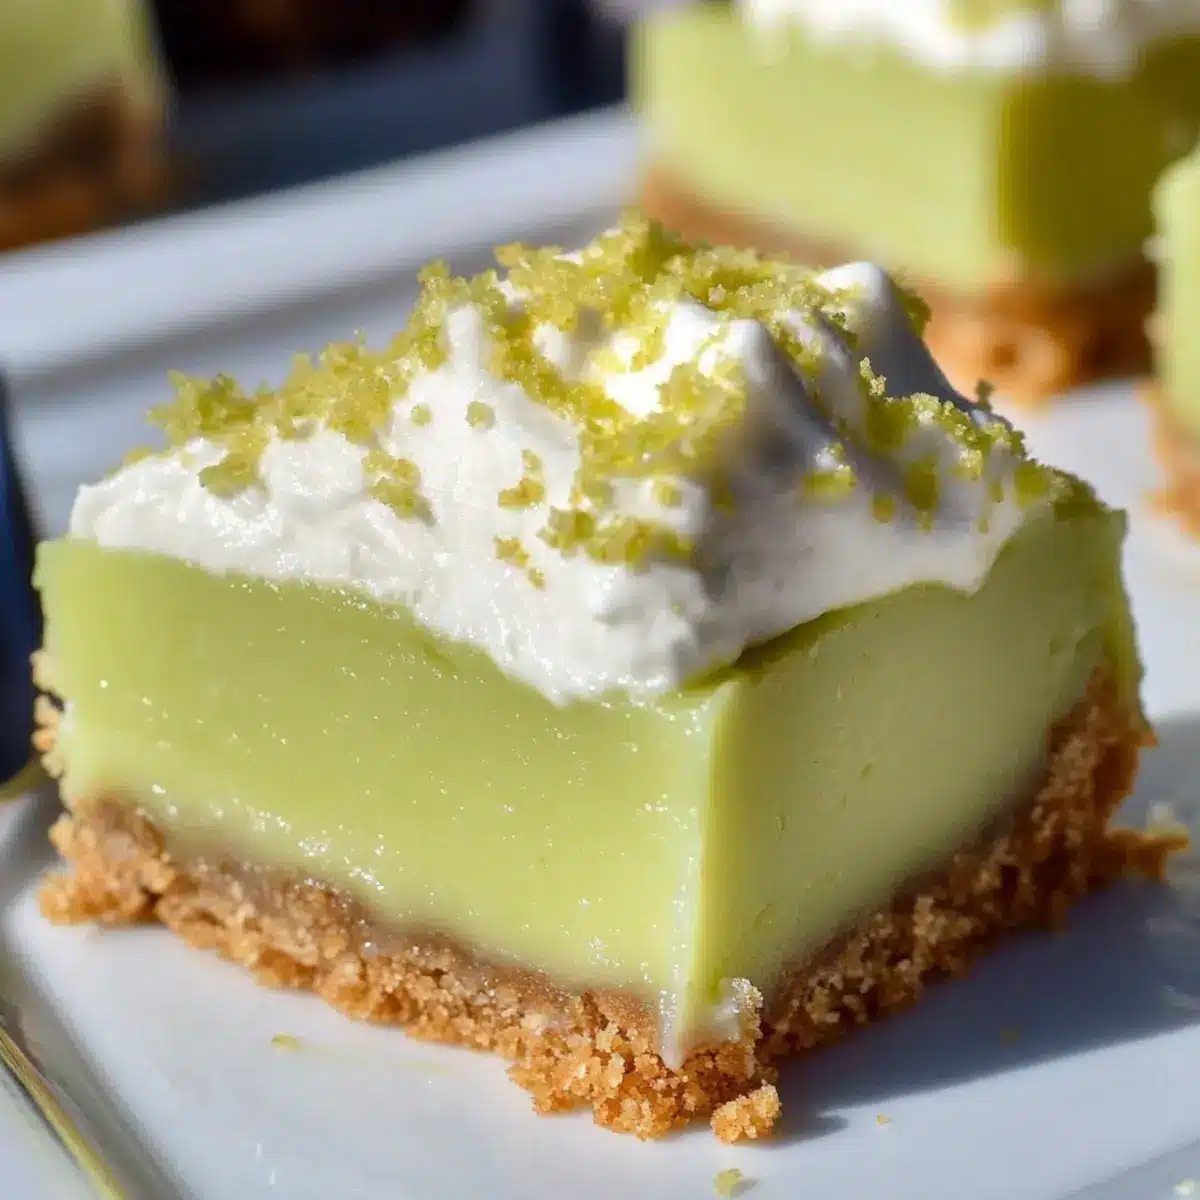
Once chilled, gently lift the Key Lime Pie Bars from the pan using the parchment paper. Using a sharp knife warmed under hot water (and dried), slice into squares for serving. Top with a dollop of whipped cream made from heavy whipping cream, powdered sugar, and vanilla extract, and finish with additional lime zest for a zesty garnish before presenting your delightful creation!
Make Ahead Options
These Key Lime Pie Bars are perfect for busy home cooks looking to save time in the kitchen! You can prepare the graham cracker crust and the filling up to 24 hours in advance. Simply follow the initial steps and bake the crust, then let it cool completely. Afterward, cover the crust tightly and refrigerate it. When you’re ready to enjoy these bars, whisk up the filling and pour it over the crust before baking. For best results, be sure to chill the bars for at least 1 hour, preferably overnight, to ensure a firm texture that’s just as delicious as freshly made. This make-ahead method allows you to serve up fabulous Key Lime Pie Bars with minimal effort!
Tips for the Best Key Lime Pie Bars
• Chill Time Matters: Allow the bars to cool completely and chill for at least one hour to achieve a firm, easy-to-slice texture.
• Use Fresh Ingredients: Opt for freshly squeezed Key lime juice for the best flavor; bottled juice can lead to a dull taste in your Key Lime Pie Bars.
• Avoid Overmixing: When making the filling, mix just until ingredients are combined. Overmixing can result in a curdled texture.
• Check for Doneness: Look for small bubbles around the edges as a sign that the filling is just set. Overbaking can lead to cracking.
• Easy Slicing Tip: For clean cuts, warm your knife under hot water, wipe it dry, and slice gently. This will keep your bars looking fresh!
• Gluten-Free Swap: Use certified gluten-free graham cracker crumbs to cater to gluten-sensitive friends and family without compromising on taste.
What to Serve with Key Lime Pie Bars
Take your dessert game to the next level by pairing these tangy delights with some delicious sides that enhance their refreshing flavors.
-
Coconut Sorbet: The creamy texture with a hint of coconut adds a tropical twist that complements the citrusy brightness of Key Lime Pie Bars beautifully.
-
Fresh Berries: A mix of strawberries, blueberries, and raspberries not only adds vibrant color but also offers a fresh, juicy contrast to the zing of the bars.
-
Mint Mojito Mocktail: This refreshing drink, infused with mint and lime, creates a cool thirst-quencher that syncs perfectly with the tartness of the pie bars.
-
Crunchy Macadamia Nuts: Their buttery crunch provides an unexpected texture that pairs well with the smoothness of the Key Lime filling and crust.
-
Lemonade Ice Pops: An additional citrus treat keeps the summer vibes flowing, with just the right amount of sweetness to match the balanced flavors of the pie bars.
-
Tropical Fruit Salad: Combining tropical fruits such as pineapple and mango with a splash of lime juice introduces a juicy sweetness that’s delightful alongside your Key Lime Pie Bars.
How to Store and Freeze Key Lime Pie Bars
Fridge: Store Key Lime Pie Bars in an airtight container in the refrigerator for up to 3 days. Make sure to cover them tightly to maintain freshness and prevent the absorption of odors.
Freezer: If you want to keep them longer, freeze the bars in an airtight container for up to 2 months. Wrap them individually in plastic wrap, then seal in a freezer-safe container for best results.
Thawing: To enjoy frozen bars, thaw them in the refrigerator overnight or for a few hours at room temperature. This will help retain the creamy texture once served again.
Serving After Storage: For the best experience, top with fresh whipped cream and lime zest before serving. Enjoy the refreshing flavors of your Key Lime Pie Bars, even after storage!
Key Lime Pie Bars Variations
Customize your Key Lime Pie Bars to make them truly your own, adding delightful twists that will tantalize your taste buds!
- Gluten-Free: Substitute certified gluten-free graham cracker crumbs for a crumbly crust everyone can enjoy.
- Coconut Cream: Replace heavy whipping cream with coconut cream for a tropical, rich topping that enhances the flavors.
Coconut adds a gentle sweetness and a creamy texture that transports your dessert to a sunny beach in no time!
- Regular Lime Swap: Use regular limes instead of Key limes while adjusting the juice for a different, yet equally delicious flavor profile.
- Fruity Toppings: Top with fresh berries, like strawberries or raspberries, for a pop of color and sweetness that complements the tartness.
Picture the vibrant red of the berries against the bright filling, adding an extra layer of flavor and visual appeal.
- Spicy Twist: Add a pinch of cayenne pepper to the filling for a subtle kick that balances the sweetness meticulously.
- Chocolate Drizzle: Drizzle melted dark chocolate over the bars before serving for a luxurious contrast that enhances their creaminess.
This combination may seem surprising, but rich chocolate with tangy key lime creates a decadent experience!
- Nutty Crunch: Incorporate chopped nuts, like pecans or almonds, into the crust for added texture and a nutty flavor that shines through every bite.
For further inspiration, you might want to check out my Chili Lime Flank for another citrusy delight or some Fish Tacos Lime to complement those tangy flavors!
Key Lime Pie Bars Recipe FAQs
What should I look for when selecting key limes?
Absolutely! When selecting key limes, choose limes that feel slightly heavy for their size and have a vibrant, smooth skin. Look for ones that are slightly softer, indicating juiciness. Dark spots all over can indicate overripeness, so avoid those.
How should I store leftover Key Lime Pie Bars?
You can store your Key Lime Pie Bars in an airtight container in the refrigerator for up to 3 days. Make sure they are well-covered to maintain freshness and prevent them from absorbing other odors in the fridge.
Can I freeze Key Lime Pie Bars?
Very! To freeze your Key Lime Pie Bars, wrap each bar individually in plastic wrap to prevent freezer burn and then place them in an airtight container. They can be frozen for up to 2 months. When you’re ready to enjoy them, simply thaw in the refrigerator overnight.
What if my Key Lime filling curdles while baking?
If your filling curdles, it might be due to overbeating the egg yolks or overheating the mixture. The next time, whisk the egg yolks just until they lighten in color—about 1-2 minutes, and pour the filling over the crust as soon as it’s mixed to avoid any unnecessary heating.
Are Key Lime Pie Bars safe for guests with gluten allergies?
Absolutely! Just make sure to use certified gluten-free graham cracker crumbs when preparing your crust. This makes the bars friendly for those with gluten sensitivities without sacrificing any flavor—everyone will love them!
How long do the bars need to chill for optimal texture?
For the best texture, refrigerate your Key Lime Pie Bars for at least 2-3 hours; if possible, overnight is even better! This cooling time helps the filling set properly and makes it easier to slice, providing you with that perfect bar consistency when served.
Zesty Key Lime Pie Bars That Melt in Your Mouth
Ingredients
Equipment
Method
- Preheat your oven to 350°F (175°C). In a mixing bowl, combine the graham cracker crumbs, granulated sugar, and melted unsalted butter until well blended. Press this mixture evenly into the bottom of a lined 8x8-inch baking pan to form a crust. Bake for 8-10 minutes, or until the edges are lightly golden and set.
- In a separate bowl, whisk the egg yolks until they become lighter in color, about 1-2 minutes. Gradually incorporate the sweetened condensed milk and freshly squeezed Key lime juice, mixing gently to combine without overbeating. Add lime zest and a pinch of salt to enhance the flavor.
- Once the crust has cooled slightly, pour the Key lime filling over it, spreading it evenly. Return the pan to the oven and bake for an additional 15-18 minutes, or until the filling is just set.
- Remove the pan from the oven and let the bars cool at room temperature for about 30 minutes. Then, cover the pan with plastic wrap and refrigerate for at least 1 hour, preferably 2-3 hours or even overnight.
- Once chilled, gently lift the Key Lime Pie Bars from the pan using the parchment paper. Slice into squares for serving, topping with a dollop of whipped cream made from heavy whipping cream, powdered sugar, and vanilla extract, and finish with additional lime zest.
Leave a Reply