
Standing in my kitchen, the vibrant colors of fresh vegetables catch my eye—a tiny celebration of flavors waiting to happen. Today, I’m excited to share my recipe for Zingy Korean Garlic Chive Pickles with Chili Flakes. These quick pickles not only deliver a delightful crunch but also bring an enticing kick that perfectly complements any meal. You’ll love how easy they are to whip up, making them a fantastic addition to your weeknight dinners or special occasions. Plus, they’re versatile enough to enjoy as a side dish or unique condiment. Are you ready to elevate your pantry staples with a zesty twist? Let’s dive into this easy recipe that’s sure to impress!
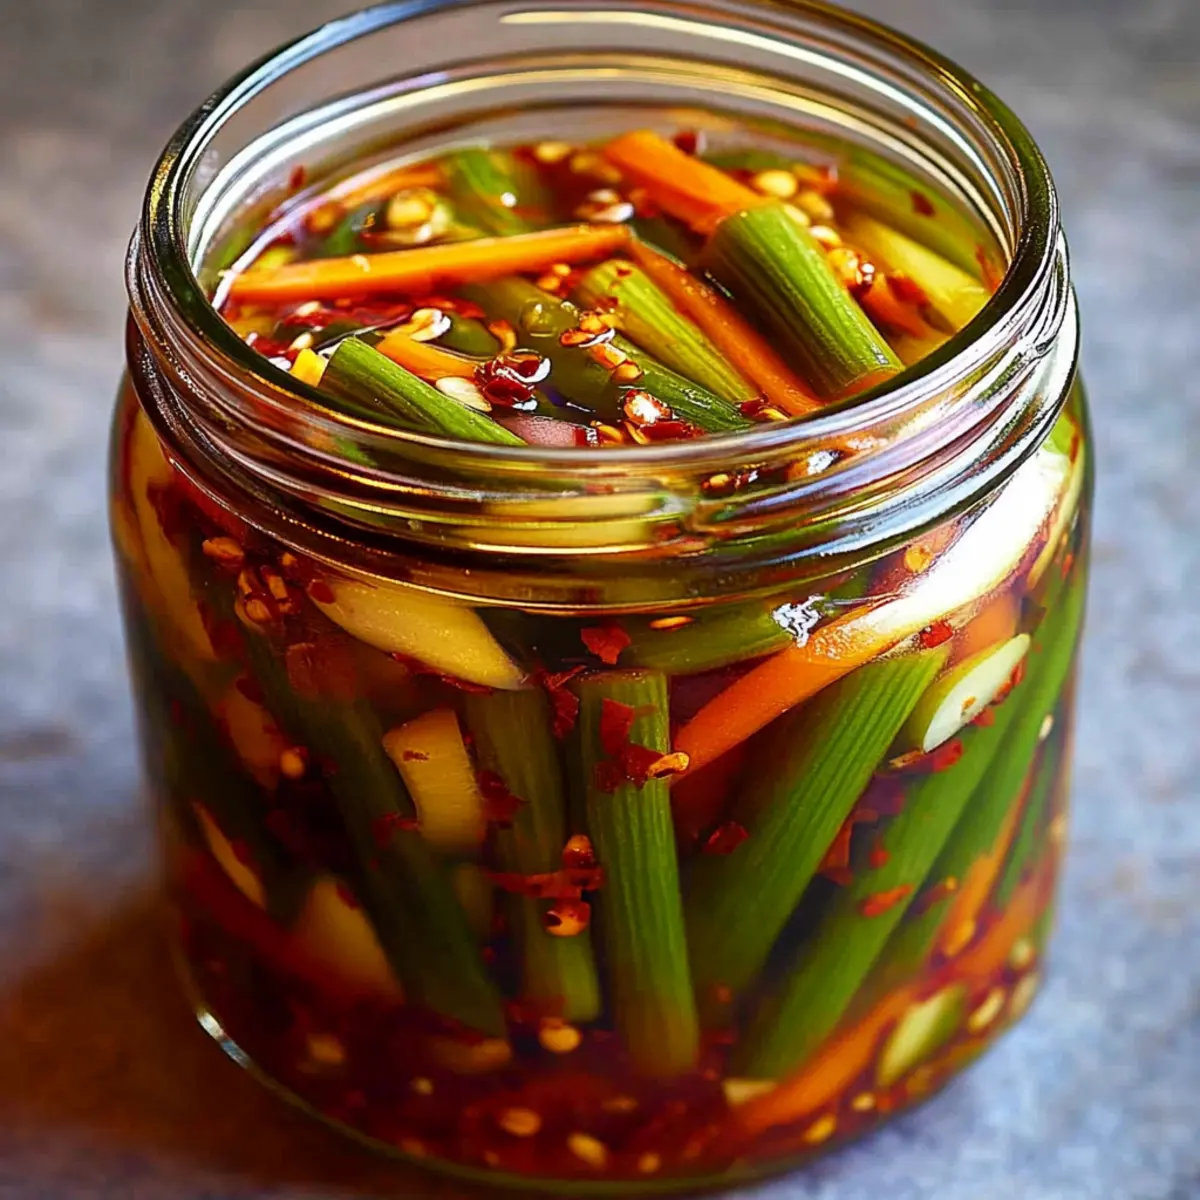
Why Try Korean Garlic Chive Pickles?
Bold, Flavor-Packed Kick: These pickles combine the zest of rice vinegar with the warmth of Korean Chili Flakes, resulting in a burst of flavors that will wow your taste buds.
Quick and Easy to make: In just a few simple steps, you’ll have a delicious condiment ready to elevate any meal—no lengthy prep required!
Crunchy, Tangy Delight: The contrast of textures from garlic chives and Korean radish creates a satisfying bite that’s hard to resist, whether served on the side or as a topping.
Versatile Pairing: Perfect with Korean dishes or grilled proteins, these pickles fit into any meal plan seamlessly, and you can even enjoy them with recipes like Sticky Garlic Chicken for an extra flavor boost!
Nutritious Option: Low in calories but high in taste, these pickles also offer potential probiotic benefits if you opt for the fermentation route.
Crowd-Pleasing Pickle: Whether you’re hosting a dinner party or enjoying a casual weeknight meal, these vibrant pickles are sure to impress your guests and become a new favorite!
Ingredients for Korean Garlic Chive Pickles
• Start your pickling journey with these fresh ingredients that work harmoniously to create delicious Korean Garlic Chive Pickles with Chili Flakes.
For the Vegetables
- Garlic Chives – Essential for crunch and flavor; roughly 200g, cut into 2-inch lengths.
- Korean Radish (or Daikon) – Adds a sweet, crisp texture; can substitute with turnip or watermelon radish.
- Carrot – Provides color and extra crunch; peeled and julienned.
- Garlic – Imparts strong aromatic flavor; thinly sliced.
For the Seasoning
- Korean Chili Flakes (Gochugaru) – The signature spice that gives heat; 2 tablespoons for a punchy flavor.
- Toasted Sesame Seeds – Optional, adds a delightful crunch and nutty flavor; recommend using for added texture.
For the Brine
- Rice Vinegar – The primary acid in the pickling brine; 1 cup necessary for tang.
- Water – Dilutes the vinegar; included in the brine mixture (½ cup).
- Sugar – Balances the vinegar’s acidity; ¼ cup is needed.
- Salt – Enhances flavor; use 1 tablespoon in the brine.
- Fish Sauce (or Soy Sauce) – Adds umami depth; 1 tablespoon for non-vegan versions, or use soy for a vegan option.
Step‑by‑Step Instructions for Zingy Korean Garlic Chive Pickles with Chili Flakes
Step 1: Prepare the Vegetables
Start by thoroughly washing your garlic chives, then trim them into 2-inch lengths. Peel the Korean radish and julienne it into thin strips alongside the carrot, which should also be peeled before slicing. As you slice the garlic thinly, combine all these vibrant vegetables in a large mixing bowl, creating a colorful base for your Korean Garlic Chive Pickles.
Step 2: Add Chili Flakes
Next, sprinkle the Korean chili flakes (gochugaru) over your mixed vegetables. With clean hands or a spatula, gently toss everything together until the chives and radish are evenly coated with the vibrant chili flakes. The colors should pop, and you’ll notice an enticing aroma—this step ignites the flavor in your Zingy Korean Garlic Chive Pickles.
Step 3: Make the Brine
In a medium saucepan over medium heat, combine the rice vinegar, water, sugar, salt, and fish sauce. Stir the mixture gently and let it simmer for about 5 minutes or until the sugar and salt have completely dissolved. Once dissolved, remove from heat and allow the brine to cool to room temperature, creating the perfect tangy bath for your pickles.
Step 4: Jar the Vegetables
Carefully pack the seasoned vegetable mixture into a clean glass jar, pressing down slightly to ensure they are compact but not smashed. Try to distribute the vegetation evenly within the jar, as this will help with further flavor infusion. You’ll want to fill the jar almost to the top, leaving just enough space for the brine.
Step 5: Pour the Brine
Once the brine has cooled completely, pour it over the packed vegetables in the jar, ensuring everything is fully submerged. If you find that the vegetables float above the brine, use a clean spoon to gently press them down. This will guarantee that each bite of your Zingy Korean Garlic Chive Pickles is packed with flavor.
Step 6: Seal and Chill
Seal the jar tightly with a lid and place it in the refrigerator. Allow the pickles to chill for at least 24 hours before tasting; however, for optimal flavor, aim for 2-3 days. The waiting game will reward you with deep, bold flavors that enhance the crunch of the pickles, making them a delightful staple in your kitchen!
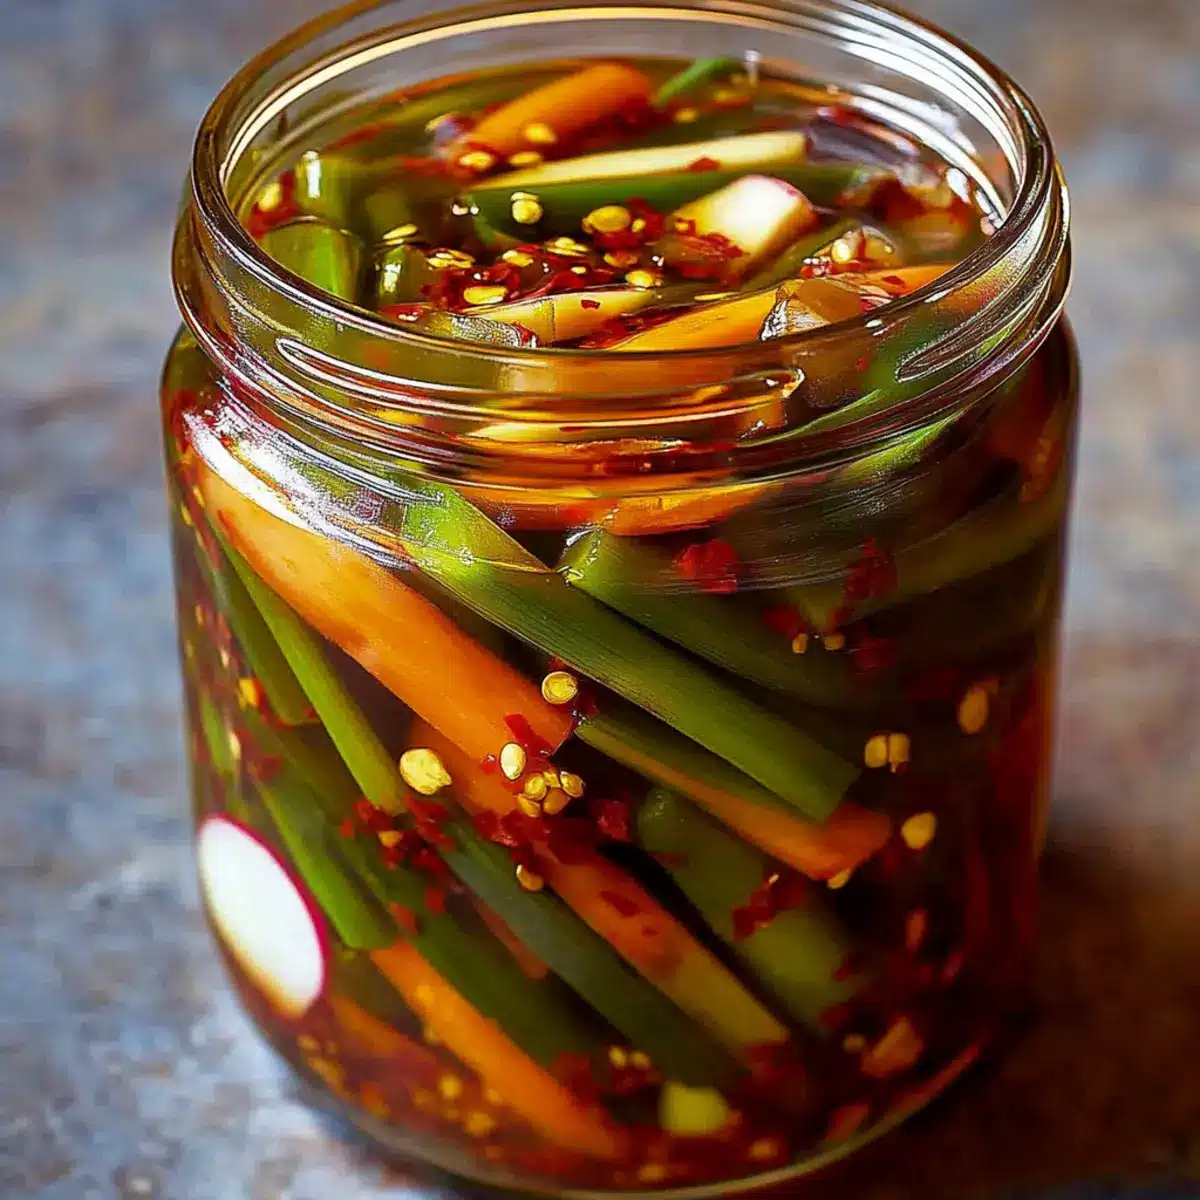
Korean Garlic Chive Pickles Variations
Feel free to get creative with this recipe and discover new flavors that excite your palate!
-
Cucumber Substitute: Swap in cucumbers for a milder, refreshing pickle, providing a pleasant crunch.
-
Vegan Option: Omit the fish sauce and use additional salt to keep it plant-based without sacrificing flavor.
-
Add Extra Heat: Incorporate sliced fresh chili peppers or a dash more gochugaru for those who crave an extra kick.
-
Flavor Infusion: Experiment with other seasonings like ginger or a hint of citrus zest in the brine for a unique twist.
-
Crunchy Bonus: Toss in some sliced radishes along with the garlic chives for an added layer of crunchy texture.
-
Garlic Lovers Delight: Increase the garlic content for a bolder flavor explosion; consider roasting it for a sweeter taste.
-
Mixed Veggies: Enhance the mix by adding other vegetables like bell peppers or snap peas for a colorful variety.
-
Savory Soy Twist: Use tamari for a gluten-free option while lending a rich umami flavor to your pickles; great paired with dishes like Sticky Garlic Chicken.
Storage Tips for Korean Garlic Chive Pickles
Fridge: Store your pickles in a clean, airtight jar in the refrigerator for up to 2-3 weeks, allowing the flavors to intensify over time.
Freezer: While freezing isn’t recommended for the best texture, you can keep your Korean Garlic Chive Pickles in the freezer for up to 3 months if absolutely needed.
Reheating: Enjoy the pickles cold straight from the jar, or let them come to room temperature before serving. Avoid heating, as it may compromise their crunch.
Airtight Seal: Always ensure the jar is sealed tightly after each use to maintain freshness and prevent spoilage.
What to Serve with Zingy Korean Garlic Chive Pickles?
These vibrant pickles not only brighten your meals but also enhance each bite with their addictive flavor and crunch.
- Steamed Rice: The fluffy texture of warm rice balances the zesty crunch of the pickles, making every mouthful satisfying.
- Grilled Chicken Skewers: The smoky flavor from grilled chicken beautifully contrasts with the tangy, spicy notes of the pickles for a complete meal.
- Korean BBQ Tofu: These pickles add a refreshing crunch to savory grilled tofu, elevating the whole dish with their bold, zesty profile.
- Noodle Dishes: Toss these pickles into stir-fried noodles for an exciting flavor boost that brightens up the entire dish.
- Asian Green Salad: A fresh salad paired with these pickles brings different textures together, creating a wonderfully light and flavorful combination.
- Soba Noodles with Sesame Dressing: The nutty notes from the dressing enhance the overall umami, while the pickles provide a refreshing crunch.
- Chilled Soju: Enjoy a glass of smooth soju alongside your meal, as it complements the pickles’ bold flavors with a clean finish.
- Sesame Cucumber Salad: The crisp coolness of cucumbers harmonizes beautifully with the garlic chive pickles, perfect for a light side dish.
- Korean Fried Chicken: Crispy, savory fried chicken combined with the tang of pickles creates a popular, mouthwatering contrast that is hard to resist.
Expert Tips for Zingy Korean Garlic Chive Pickles
-
Well-Drained Vegetables: Ensure your vegetables are thoroughly drained before packing. This prevents excess water from diluting the flavor of your Korean Garlic Chive Pickles.
-
Flavor Development: Allow your pickles to chill for at least 24 hours, but let them sit for 2-3 days for a more robust flavor. The waiting enhances the taste significantly!
-
Experiment with Ingredients: Feel free to substitute radish with cucumbers for a milder pickle, or replace fish sauce with additional salt for a vegan version.
-
Check Brine Coverage: After pouring the brine, ensure the vegetables are fully submerged to absorb the maximum flavor. If they float, gently press them down.
-
Try Fermentation: For a tangy, fermented twist, skip the vinegar and let the jar sit at room temperature for 2-3 days before refrigerating. This adds a probiotic benefit!
Make Ahead Options
These Zingy Korean Garlic Chive Pickles with Chili Flakes are perfect for meal prep, making them a fantastic choice for busy home cooks! You can prepare the vegetables (garlic chives, radish, and carrot) up to 24 hours in advance by washing, trimming, and slicing them, then storing them in an airtight container in the refrigerator. For the brine, combine rice vinegar, water, sugar, salt, and fish sauce (or soy sauce) and store it separately for up to 3 days. When ready to finish, simply pack the seasoned vegetables into a jar, pour over the cooled brine, seal, and let them pickle in the fridge for at least 24 hours before serving to achieve that bold flavor. This way, you’ll always have these delicious pickles ready to elevate your meals with minimal last-minute effort!
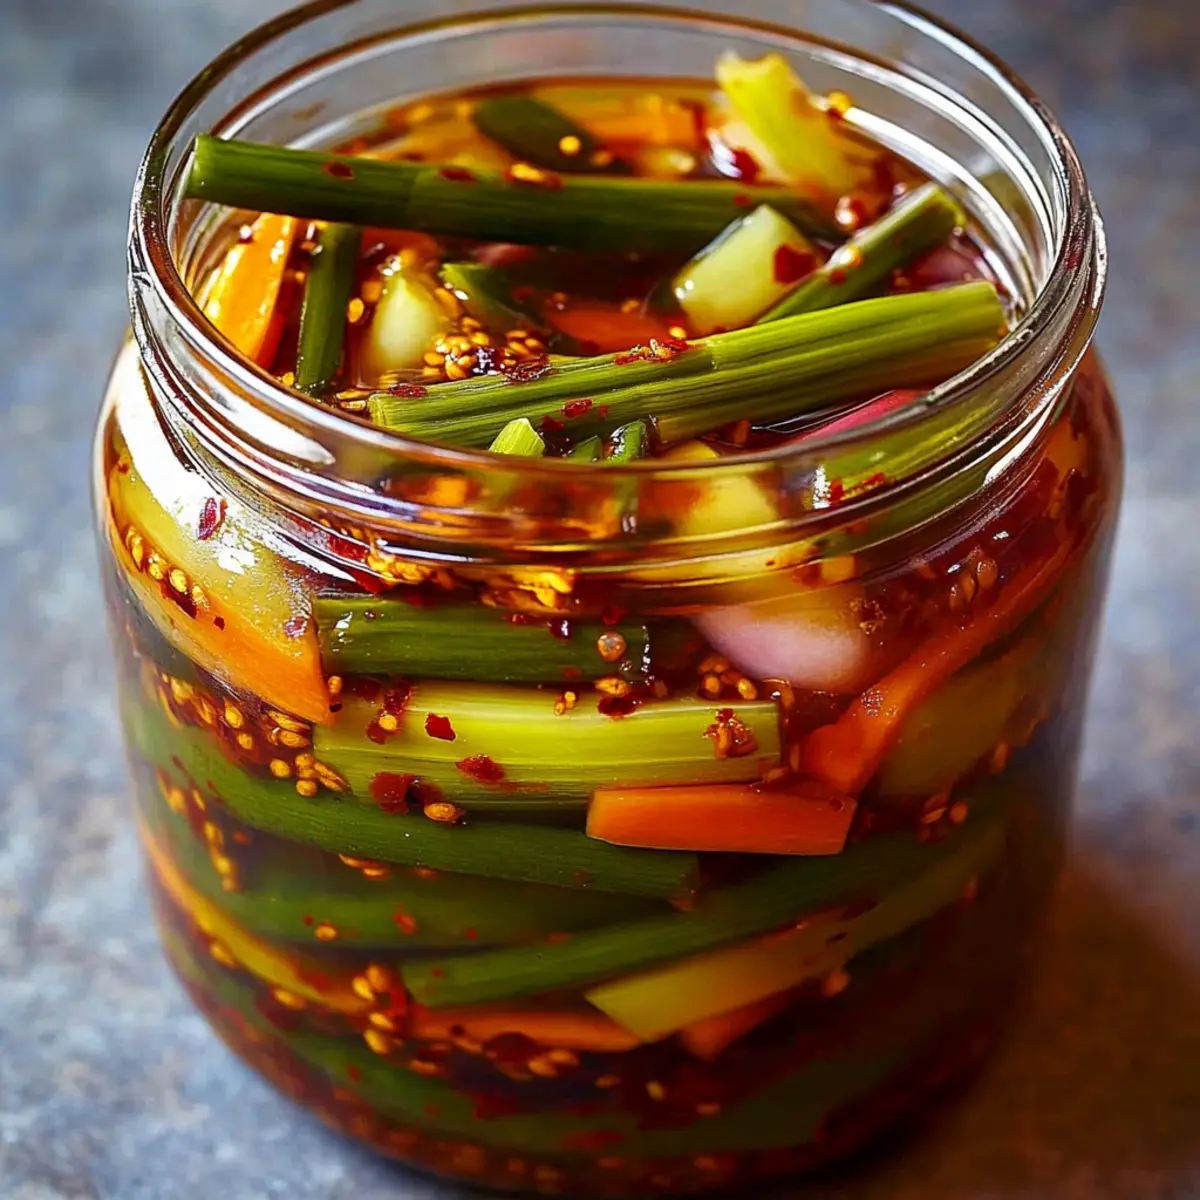
Korean Garlic Chive Pickles with Chili Flakes Recipe FAQs
How do I select the right garlic chives for this recipe?
Absolutely! When choosing garlic chives, look for vibrant green stalks without any dark spots or wilting. They should feel firm and crisp to the touch. Fresh garlic chives will have a mild garlicky aroma, indicating they’re full of flavor. Aim for chives that are around 200g for this recipe, trimmed to 2-inch lengths.
How should I store my Korean Garlic Chive Pickles?
For best results, store your pickles in a clean, airtight jar in the refrigerator. They will stay fresh for up to 2-3 weeks. Over time, you’ll find that their flavors deepens and intensifies, making each bite even more delightful.
Can I freeze these pickles for later use?
While freezing isn’t ideal for maintaining texture, you can freeze your Korean Garlic Chive Pickles if absolutely necessary. Place them in airtight freezer bags, and they should last for up to 3 months. When you’re ready to use them, allow them to thaw in the refrigerator overnight before serving.
What should I do if my pickles are too salty or spicy?
If your pickles taste too salty, they may not have been drained properly before adding the brine. To troubleshoot, rinse the vegetables gently under cold water and re-pack them into the jar. For spiciness, you can try adding more sugar to balance the heat, or simply enjoy them in smaller amounts!
Are Korean Garlic Chive Pickles suitable for vegans?
Very much so! To keep the recipe vegan-friendly, simply replace fish sauce with an additional tablespoon of salt or your favorite plant-based broth. This way, you maintain the depth of flavor without compromising dietary preferences.
How long should I wait before eating my pickles for the best flavor?
To achieve optimal flavor development, it’s best to let your pickles chill in the refrigerator for at least 24 hours, but for the richest taste, aim for 2-3 days. The waiting time truly rewards you with deeper, bolder flavors that enhance the delicious crunch of these vibrant pickles!
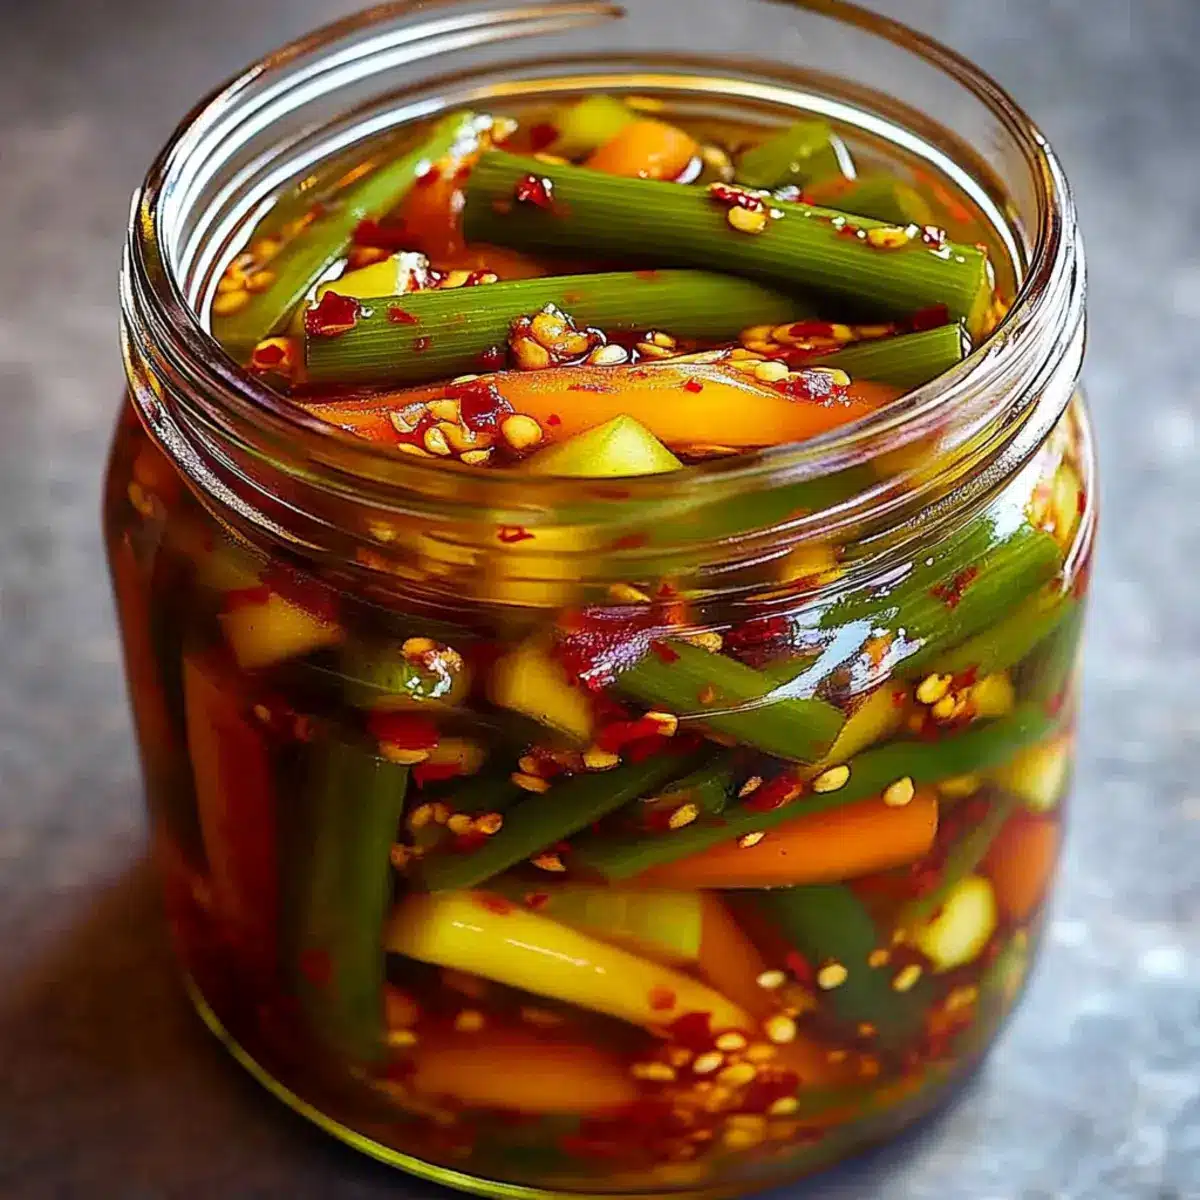
Zesty Korean Garlic Chive Pickles with Chili Flakes Bliss
Ingredients
Equipment
Method
- Wash the garlic chives and cut them into 2-inch lengths. Peel the Korean radish and julienne it alongside the carrot.
- Sprinkle the Korean chili flakes over the mixed vegetables and toss gently to combine.
- In a saucepan, combine rice vinegar, water, sugar, salt, and fish sauce. Stir and simmer for about 5 minutes until dissolved, then cool.
- Pack the vegetable mixture into a clean glass jar without smashing them, filling almost to the top.
- Pour the cooled brine over the vegetables until fully submerged.
- Seal the jar tightly and refrigerate for at least 24 hours before enjoying; 2-3 days is ideal for best flavor.
Leave a Reply