
The first crunch of a fresh pickle is something else entirely. Whisking you away to markets in Seoul, the minute you taste these Zingy Korean Garlic Chive Pickles with Chili Flakes, you’ll find yourself craving more. As a spice lover and self-proclaimed condiment enthusiast, I can’t help but get excited about this quick pickle recipe. With just a handful of vibrant ingredients, you’ll create a crunchy delight that’s not only a fantastic accompaniment to your favorite Korean dishes but also a lively addition to any meal, enhancing flavors in the most delightful way. And the best part? They’re incredibly easy to prepare and can be made in advance to keep your busy schedule in check. Ready to add a pop of color and zing to your table? Let’s dive into this irresistible recipe!
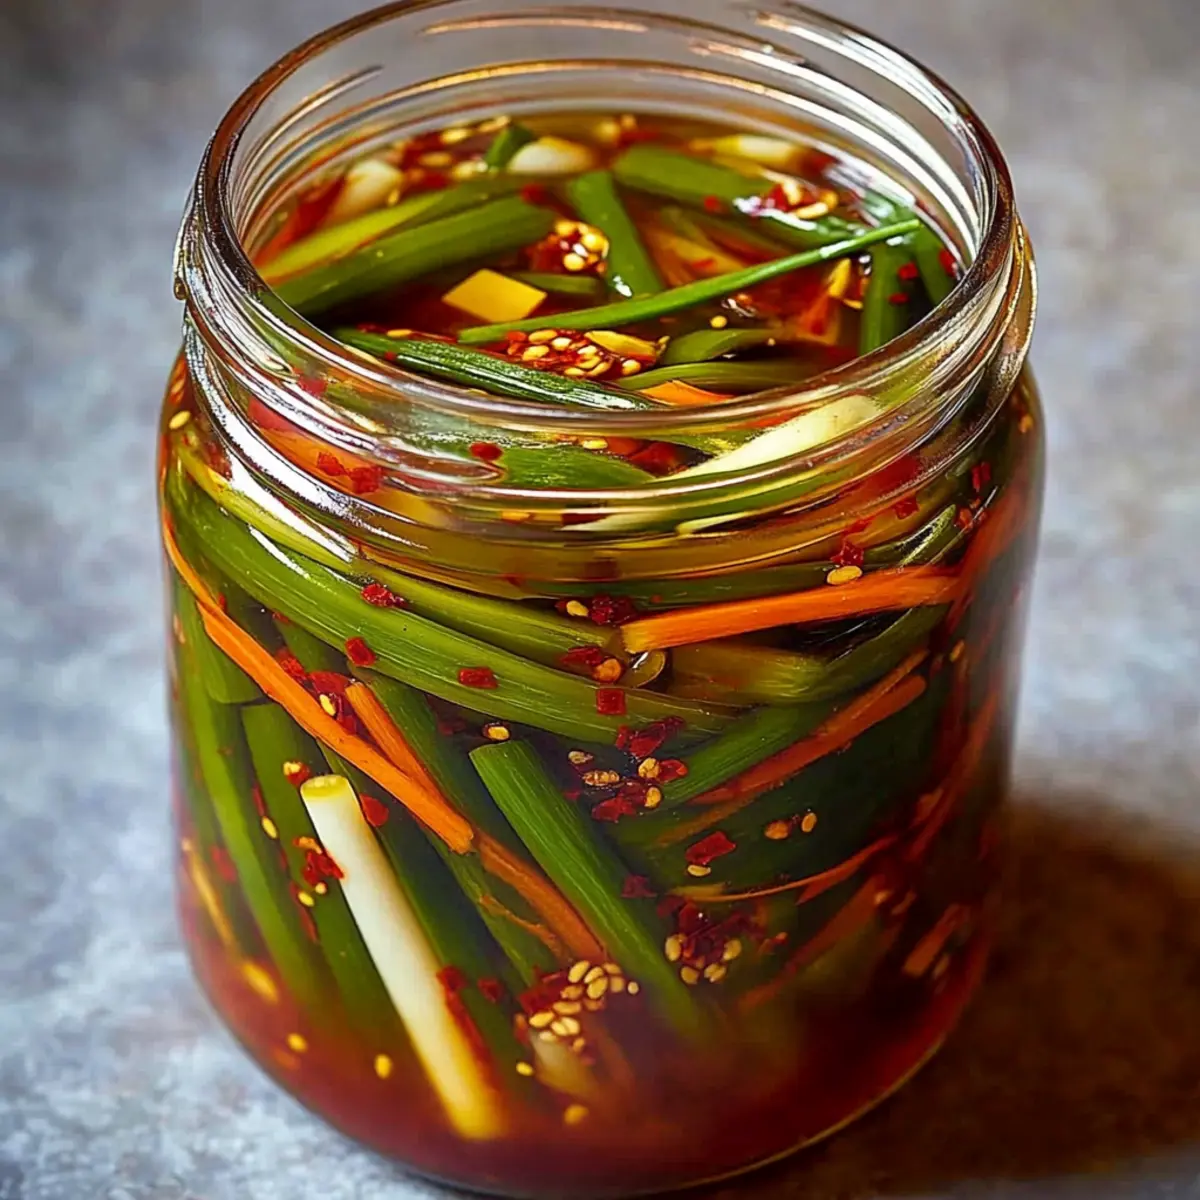
Why Are Korean Garlic Chive Pickles Loved?
Bold, Bright Flavors: The combination of garlic chives, chili flakes, and rice vinegar creates a taste explosion that liven up any dish.
Quick to Make: This recipe is designed for busy cooks, bringing vibrant flavor to your table without the wait.
Versatile Side Dish: Perfect as a banchan or a zesty addition to rice and grilled meats, these pickles complement a variety of meals.
Health Boost: Enjoy a nutrient-rich condiment that’s low in calories yet high in flavor, making it a guilt-free topping for your favorite dishes.
Uniquely Korean: Experience the essence of Korean cuisine with this simple recipe that reflects traditional preservation methods. Pair them with Sticky Garlic Chicken or as a delightful twist to Healthy Garlic Parmesan Chicken Pasta for a complete meal experience.
Korean Garlic Chive Pickle Ingredients
• Get ready to create vibrant, flavorful pickles with this straightforward ingredient list!
For the Vegetables
- Garlic Chives – Use 200g, cut into 2-inch lengths for a fresh and herby flavor.
- Korean Radish (or Daikon) – 1 small, peeled and cut into matchsticks offers crunch and natural sweetness.
- Carrot – Use 1 small, peeled and julienned, to add color and additional crunch.
- Garlic – Incorporate 2 cloves, thinly sliced for pungency and depth.
For the Pickling Brine
- Korean Chili Flakes (Gochugaru) – Use 2 tablespoons to introduce the perfect level of heat and color.
- Rice Vinegar – 1 cup serves as the primary souring agent, essential for these Korean Garlic Chive Pickles.
- Water – Use ½ cup to dilute the brine for balanced flavors.
- Sugar – ¼ cup helps to balance the sourness with a touch of sweetness.
- Salt – 1 tablespoon enhances the overall flavor beautifully.
- Fish Sauce (or Soy Sauce) – Add 1 tablespoon for depth of flavor; choose soy sauce for a vegan version.
Optional Additions
- Toasted Sesame Seeds – Use 1 teaspoon for an added layer of texture and nutty flavor.
With these simple yet vibrant ingredients, you’re just moments away from mastering the art of Zingy Korean Garlic Chive Pickles!
Step‑by‑Step Instructions for Zingy Korean Garlic Chive Pickles with Chili Flakes
Step 1: Prepare the Vegetables
Begin by washing and trimming 200g of garlic chives, cutting them into 2-inch lengths for an herbaceous crunch. Next, peel and julienne a small Korean radish and a small carrot, creating delightful matchsticks. Add 2 thinly sliced garlic cloves to the mixing bowl, combining all the vibrant vegetables as a base for your Zingy Korean Garlic Chive Pickles.
Step 2: Add Chili Flakes
Sprinkle 2 tablespoons of Korean chili flakes (gochugaru) over the vegetable mixture. Gently toss the ingredients together, ensuring even distribution of the spicy flakes. You’ll want to see a light red hue covering the vegetables, providing both flavor and visual appeal before transforming them into a zingy side dish.
Step 3: Make the Pickling Brine
In a medium saucepan, combine 1 cup of rice vinegar, ½ cup of water, ¼ cup of sugar, 1 tablespoon of salt, and 1 tablespoon of fish sauce (or soy sauce for a vegan option). Heat the mixture over medium heat, stirring gently until the sugar and salt have completely dissolved, which should take about 4–5 minutes. Remove from heat and allow the brine to cool to room temperature.
Step 4: Jar the Vegetables
Once your pickling brine has cooled, it’s time to pack the vegetables. Carefully spoon the chili-coated vegetable mixture into a clean glass jar, pressing down gently to ensure everything is tightly packed but not mashed. This step is crucial for achieving that satisfying crunch in your finished Zingy Korean Garlic Chive Pickles.
Step 5: Pour the Brine
After securing the vegetables in the jar, slowly pour the cooled brine over them, ensuring they are completely submerged. Gently tap the jar on your counter to release any trapped air bubbles, allowing the flavors to meld beautifully. Check that all the vegetables are well covered by the brine to enhance their flavor during the pickling process.
Step 6: Seal and Chill
Finally, seal the jar tightly to lock in freshness and refrigerate for at least 24 hours. For optimal flavor development, let your Zingy Korean Garlic Chive Pickles sit for 2 to 3 days before tasting. The longer they chill, the more deliciously pungent and flavorful they will become, providing a vibrant condiment to elevate your meals.
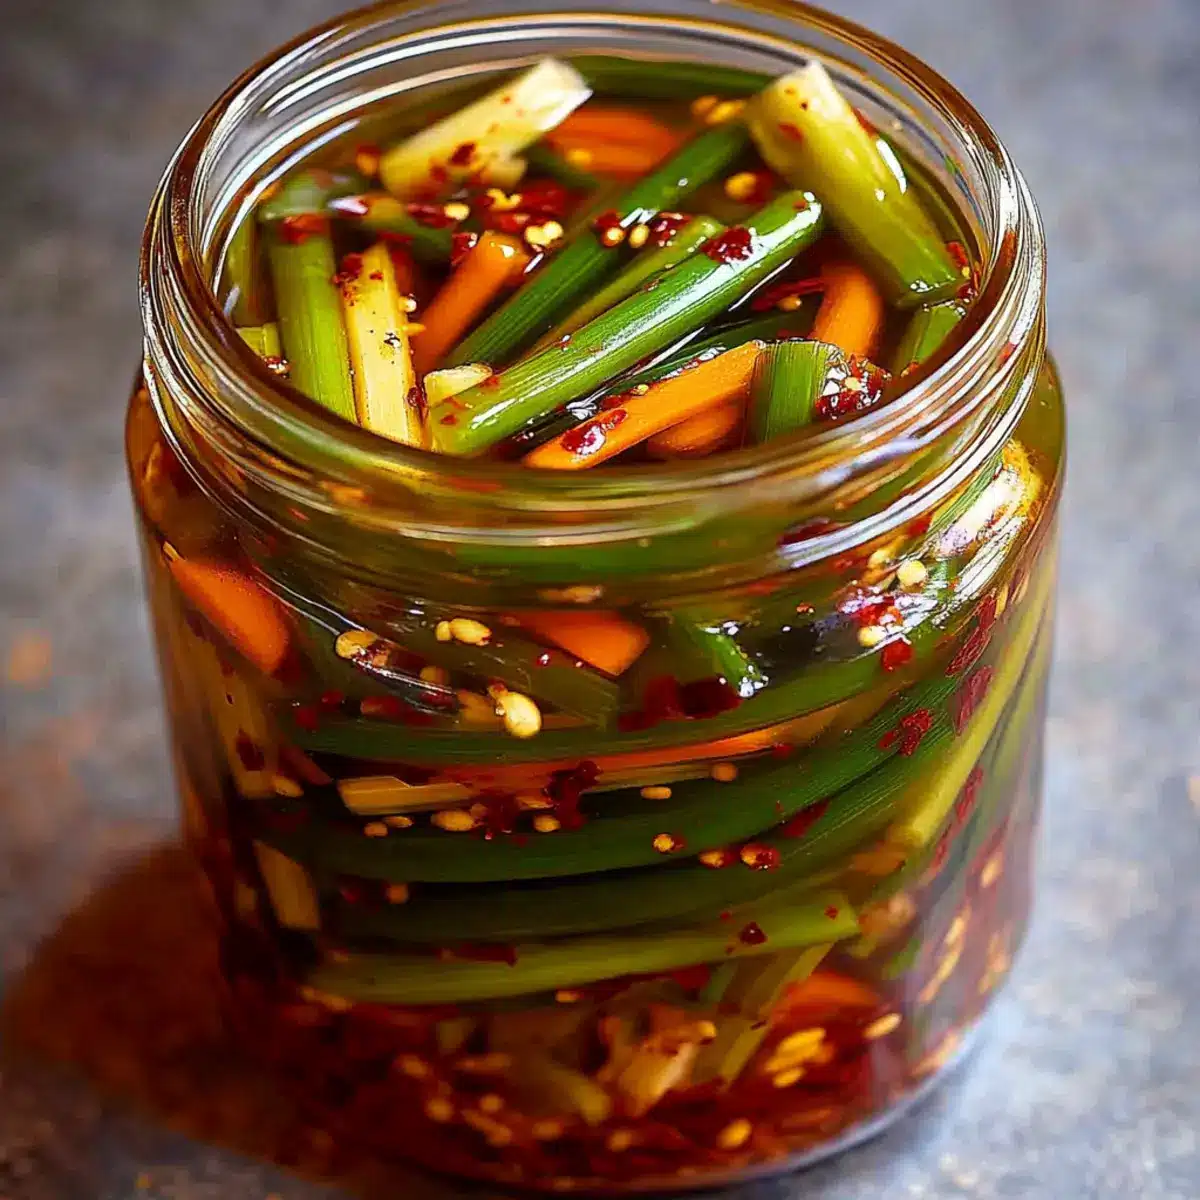
Expert Tips for Korean Garlic Chive Pickles
-
Vegetable Freshness: Use fresh garlic chives and radishes for the best flavor and crunch. Wilting ingredients won’t yield the zesty punch you desire in your pickles.
-
Brine Cooling: Don’t skip chilling the brine! Pouring hot brine over the vegetables can lead to undesirable mushiness in your Korean Garlic Chive Pickles.
-
Packing Technique: Pack the vegetables tightly but gently in the jar. This will help achieve an even pickling effect without crushing them.
-
Flavor Development: Patience is key! For the best taste, let your pickles sit in the refrigerator for 2–3 days before consuming for maximum flavor enhancement.
-
Experiment with Heat: Adjust the amount of Korean chili flakes (gochugaru) according to your heat preference; start with 1 tablespoon for a milder version.
Make Ahead Options
These Zingy Korean Garlic Chive Pickles are perfect for meal prep, allowing you to save time on busy weeknights! You can prepare the garlic chives, radish, carrot, and garlic up to 24 hours in advance by chopping them and storing them in an airtight container in the fridge. Additionally, the pickling brine can be made ahead of time and stored for up to 3 days before combining with the vegetables. Just remember to let the brine cool completely before mixing to preserve the crunch! When you’re ready to serve, simply pack the prepared vegetables in a jar, pour the brine over them, and refrigerate for at least 24 hours to develop that delightful flavor. Enjoy the convenience and taste of your homemade Zingy Korean Garlic Chive Pickles with Chili Flakes!
What to Serve with Zingy Korean Garlic Chive Pickles
Elevate your meals and create a culinary experience that tantalizes every taste bud!
- Steamed Rice: The perfect canvas to soak up the tangy brine and balance the pickles’ spiciness.
- Grilled Meats: From Korean BBQ to juicy chicken, the crunchy pickles cut through rich flavors, enhancing each bite.
- Banchan Spread: Add to a variety of Korean side dishes for an authentic dining experience that showcases colorful, diverse textures.
- Sesame Noodles: Pair with chilled sesame noodles for a refreshing contrast that amplifies both the crunch of the pickles and the noodles’ savory notes.
- Kimchi Fried Rice: Toss these pickles into kimchi fried rice for an added zing and crunch that takes comfort food to the next level.
- Szechuan-style Tofu: Serve alongside spicy tofu for a delightful contrast of textures and flavors, creating a meal that’s both exciting and satisfying.
- Korean Fried Chicken: The sweet and spicy flavors of the chicken harmonize beautifully with the tartness of the pickles, making each mouthful memorable.
- Crispy Spring Rolls: Offered as an appetizer or main, the pickles serve as a zesty dip that adds a refreshing touch to the crispy spring rolls.
- Honey Lemonade: A chilled drink that balances the spiciness of the pickles, refreshing your palate between bites.
- Green Tea Ice Cream: For dessert, enjoy this creamy treat to cleanse your palate and leave you feeling satisfied after a savory meal.
How to Store and Freeze Korean Garlic Chive Pickles
Fridge: Store your Korean Garlic Chive Pickles in a clean, airtight jar in the refrigerator, where they will stay fresh for up to 2–3 weeks; their flavor will actually intensify over time.
Freezer: While freezing isn’t recommended for these crunchy pickles due to texture changes, you can freeze the vegetables individually before pickling for later use.
Reheating: There’s no need to reheat pickles; simply serve them chilled from the fridge as a refreshing condiment that adds zing to your meals.
Sealing Tips: Make sure to tightly seal the jar to prevent air exposure, which keeps your pickles flavorful and prevents spoilage.
Korean Garlic Chive Pickles Variations
Feel free to get creative and make these pickles your own with these tasty variations!
-
Scallion Swap: Replace garlic chives with sliced scallions for a sweeter twist. Experience a fresh flavor while keeping the crunch intact.
-
Colorful Carrots: Use a variety of carrot colors like purple, yellow, and orange for an eye-catching presentation. The stunning hues will liven up your dish aesthetically and appeal to your guests.
-
Radish Variety: Experiment with different radishes such as watermelon or black radish to create a unique flavor profile. Each type brings its own distinct sweet or peppery notes.
-
Extra Crunch: Add sliced cucumbers to the mix for a refreshing crunch. These juicy bites will complement the other flavors while providing an added textural element you’ll love.
-
Sweet Heat: Stir in a tablespoon of honey or maple syrup for a touch of sweetness that balances the spice beautifully. This variation will take your pickles to a new level of yumminess!
-
Nutty Flavor: Toss in a tablespoon of toasted sesame oil for a lovely nutty finish. This will deepen the flavor and add a lovely aroma when you serve your pickles.
-
Fermentation Twist: For a probiotic boost, skip the vinegar and sugar, and increase the salt, allowing your pickles to ferment at room temperature for 2–3 days. A tangy depth you won’t forget!
-
Serving Pair: These pickles make a delightful side for dishes like Sticky Garlic Chicken or drizzled over a bowl of Healthy Garlic Parmesan Chicken Pasta. Enhance your meals with this vibrant addition full of flavor!
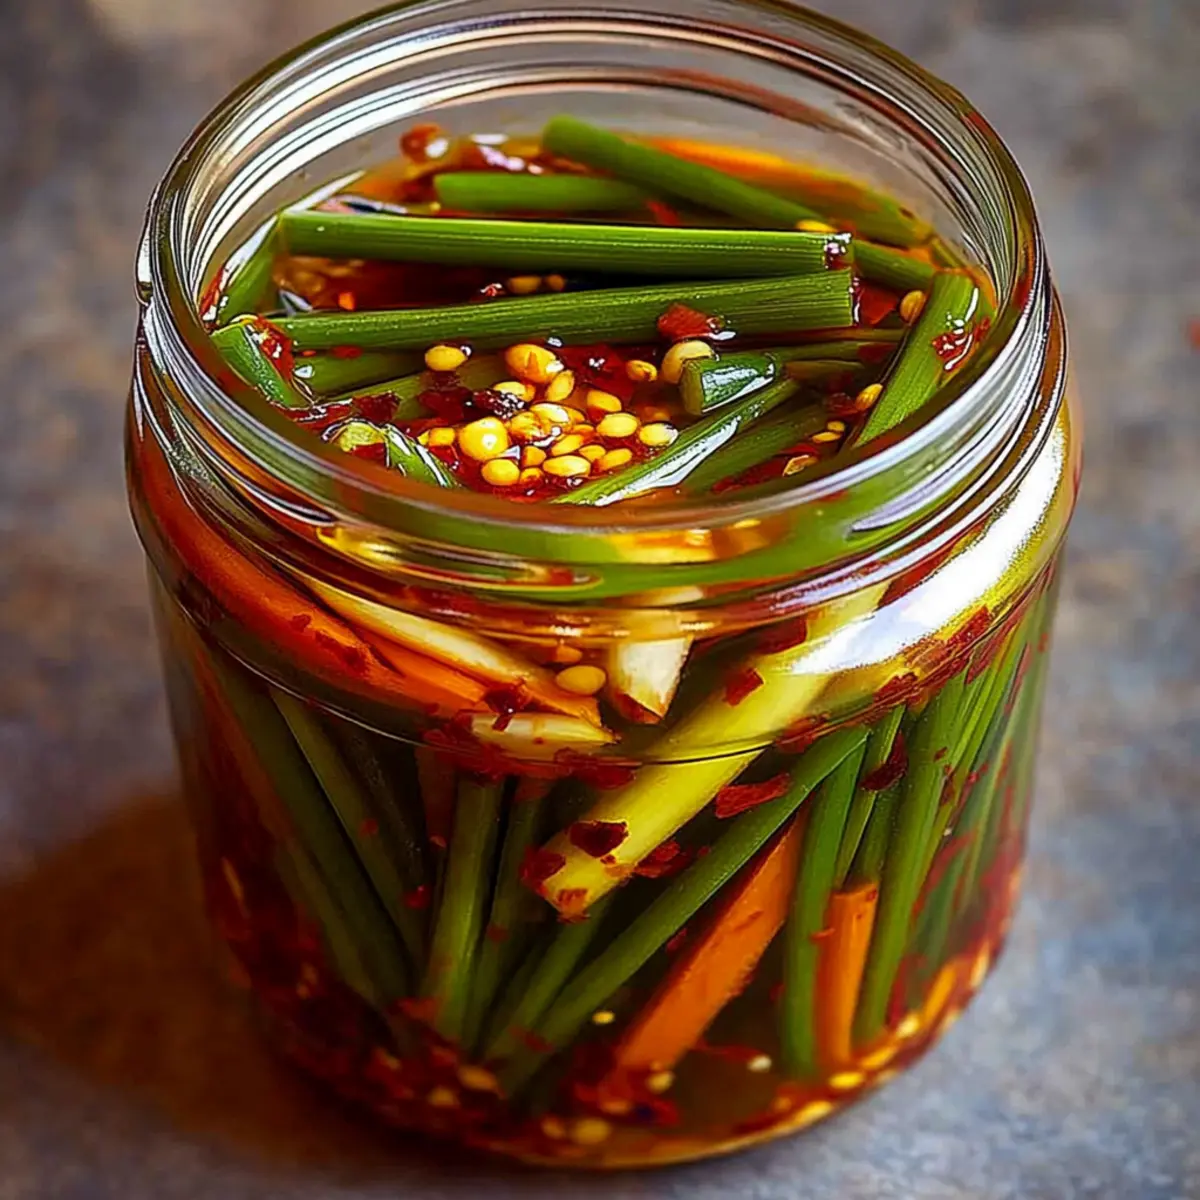
Korean Garlic Chive Pickles with Chili Flakes Recipe FAQs
How do I select ripe garlic chives?
Absolutely! Choose garlic chives that are vibrant green without any yellowing. Fresh garlic chives should be firm and crisp, not wilting or soft. If they have dark spots all over, it’s a sign they may not be fresh.
How should I store my pickles after making them?
You can store your Korean Garlic Chive Pickles in a clean, airtight jar in the refrigerator. They will stay fresh for up to 2–3 weeks. The flavor actually gets better over time, so don’t worry if they linger a bit!
Can I freeze Korean Garlic Chive Pickles?
While it’s not recommended to freeze the final pickles due to potential texture changes, you can freeze the vegetables individually before pickling. Simply wash and chop them, place them in a freezer bag, and store for up to 3 months. When you’re ready to pickle, just thaw and follow the recipe!
What should I do if my pickles are too salty?
If your pickles come out too salty, you can dilute the brine in future batches. A general rule is to reduce the salt by about half. Alternatively, soaking the pickles in fresh water for about 15–30 minutes before consuming can help reduce the saltiness.
Are these pickles suitable for those with dietary restrictions?
Yes! This recipe can easily be made vegan by substituting fish sauce with soy sauce. If you or your guests have allergies, just make sure to check all ingredient labels for any hidden allergens. The more, the merrier, so feel free to adapt it to your needs!
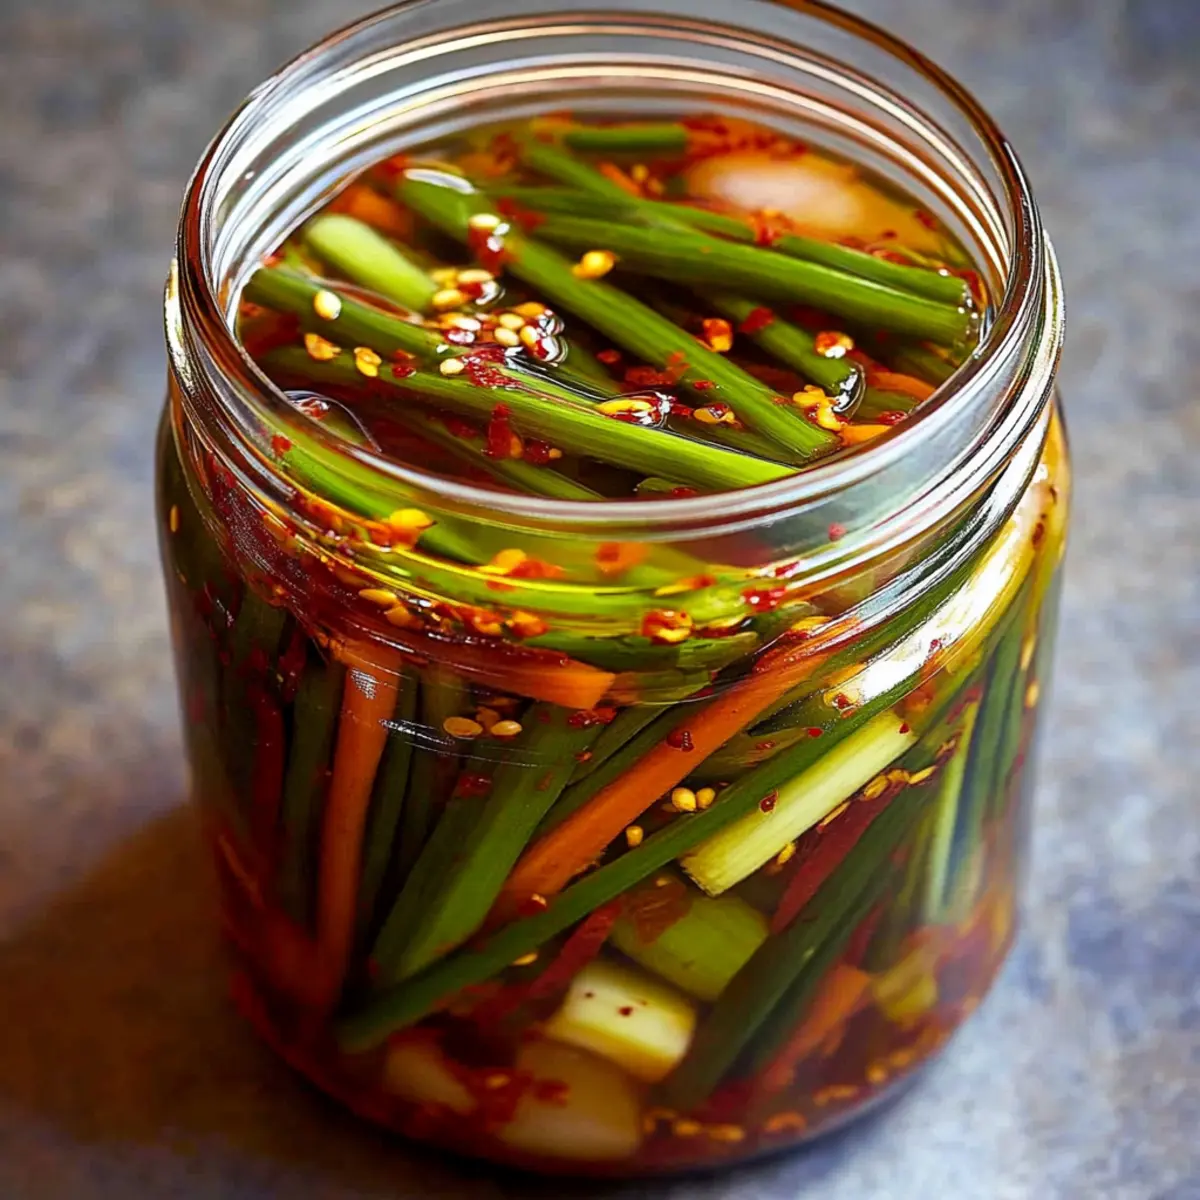
Delicious Korean Garlic Chive Pickles with Chili Flakes Recipe
Ingredients
Equipment
Method
- Wash and trim 200g of garlic chives, cutting them into 2-inch lengths. Peel and julienne a small Korean radish and a small carrot, then add 2 thinly sliced garlic cloves.
- Sprinkle 2 tablespoons of Korean chili flakes over the vegetable mixture and gently toss to ensure even distribution.
- In a medium saucepan, combine 1 cup of rice vinegar, ½ cup of water, ¼ cup of sugar, 1 tablespoon of salt, and 1 tablespoon of fish sauce. Heat until sugar and salt dissolve.
- Once the brine cools, pack the vegetable mixture into a glass jar.
- Pour the cooled brine over the vegetables, ensuring they are submerged.
- Seal the jar and refrigerate for at least 24 hours, preferably 2-3 days for best flavor.
Leave a Reply