
As I sifted through luscious summer fruits at the market, a wave of inspiration struck me: mini fruit pizzas! These delightful bites offer a vibrant twist on a classic dessert, combining a soft sugar cookie crust with a creamy topping that beckons to be devoured. For anyone looking to impress at gatherings or simply elevate snack time, these mini fruit pizzas are a breeze to prepare and effortlessly festive. With the juiciness of strawberries and blueberries adorning each slice, they’re perfect for celebrating warm evenings and outdoor get-togethers. Whether you’re hosting a backyard barbecue or simply indulging at home, you’ll find that these treats are not only visually stunning but also a quick solution to satisfy your sweet tooth. Are you ready to crown your next occasion with a splash of color and flavor?
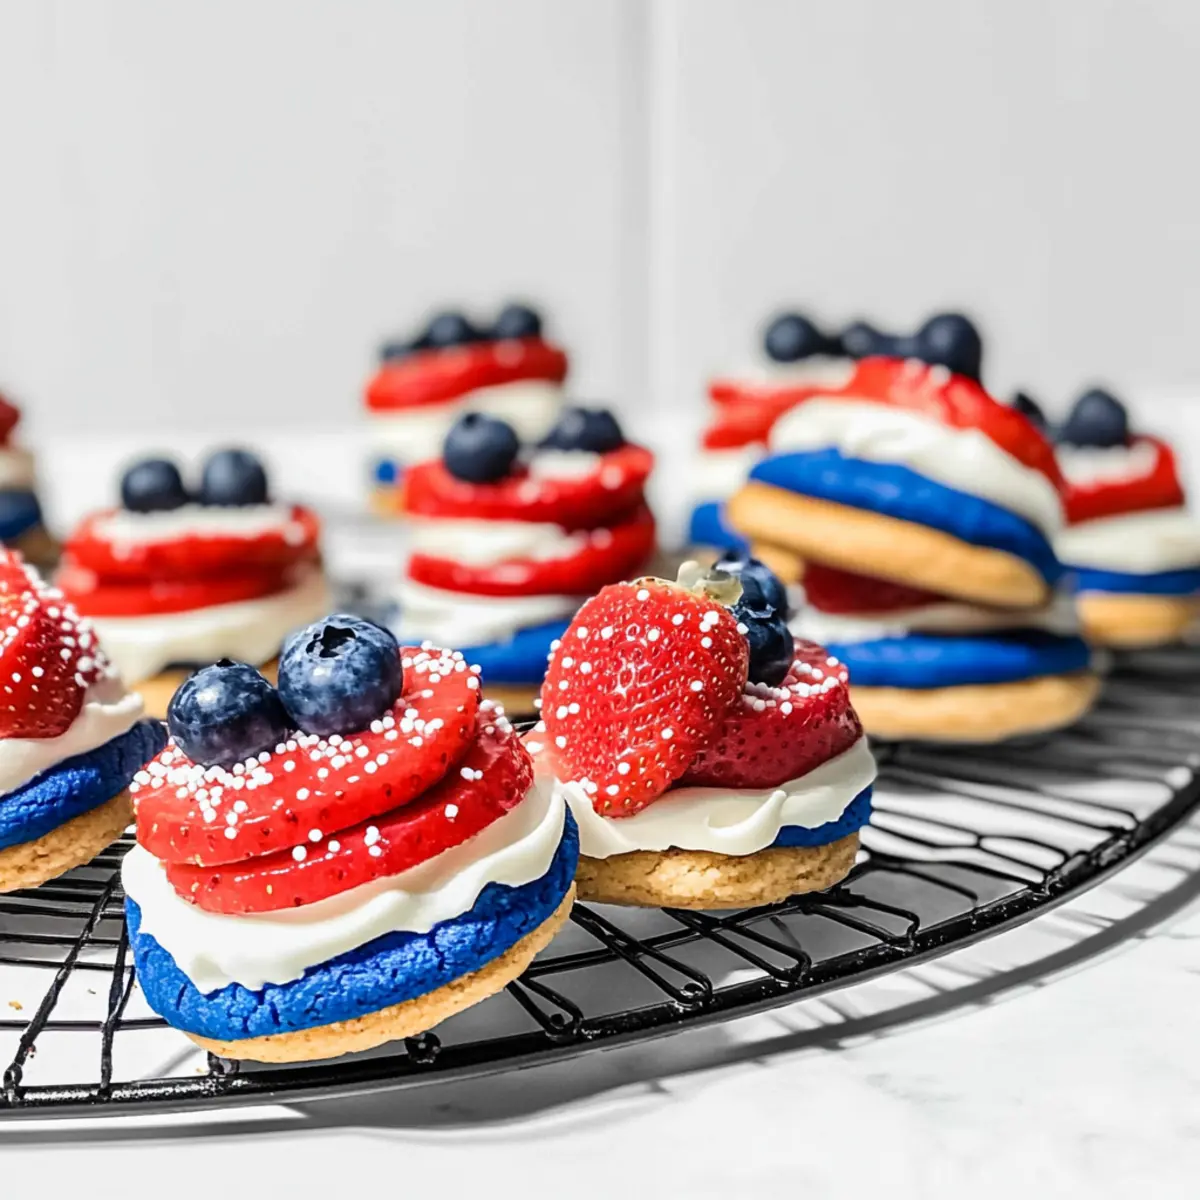
Why are Mini Fruit Pizzas a Summer Hit?
Colorful, Eye-Catching: These mini fruit pizzas are a feast for the eyes, making them the perfect centerpiece for your summertime gatherings.
Sweet and Creamy: The soft sugar cookie base is perfectly complemented by a rich, fluffy topping that’ll have everyone reaching for seconds.
Versatile Fun: Use any seasonal fruits you have on hand; strawberries and blueberries are a classic combo, but try peaches or kiwi for a fun twist.
Quick to Prepare: From prep to plate, these delightful bites come together in a snap, making them an excellent choice for last-minute gatherings.
Crowd-Pleasing: Whether for a picnic or a 4th of July barbecue, these mini fruit pizzas cater to both kids and adults alike, ensuring no one leaves disappointed.
Make-Ahead Magic: Prepare the cookie crust and topping in advance to streamline your party prep. Just assemble them right before serving for maximum freshness!
Get ready to impress your guests with these easy-to-make, beautifully delicious treats that scream summer fun!
Mini Fruit Pizza Ingredients
• Dress your dessert with vibrant colors and flavors using these simple ingredients.
For the Sugar Cookie Crust
- Butter – Adds richness and flavor; substitute with margarine or coconut oil for dairy-free versions.
- Sugar – Sweetens the cookie crust; brown sugar can be used for a deeper flavor.
- Egg – Binds the ingredients together; a flax egg (1 tbsp ground flaxseed + 2.5 tbsp water) can serve as a vegan substitute.
- Salt – Enhances flavor, essential for balanced sweetness.
- Cream of Tartar – Stabilizes the egg and helps create a tender crust; can be omitted if baking powder is used.
- Baking Soda – Helps the cookies rise; ensure it’s fresh for best results.
- Flour – Provides structure to the cookies; use gluten-free flour for a gluten-free option.
For the Creamy Topping
- Heavy Whipping Cream – Creates a light and fluffy topping; coconut cream can be used as a non-dairy alternative.
- Cream Cheese – Adds creaminess to the topping; Neufchâtel cheese can be a lighter substitute.
- Powdered Sugar – Sweetens the topping; can be flavored with vanilla or citrus zest for added taste.
For the Fruit Toppings
- Various Fruits – Provides freshness and color; options include strawberries, blueberries, raspberries, kiwi, or peaches.
For the Drizzle
- Melted White Chocolate – Adds a sweet drizzle on top; try dark chocolate or a sugar-free version for a different twist.
These delightful mini fruit pizzas come together beautifully and are sure to be a hit at your next summer soirée or 4th of July gathering!
Step‑by‑Step Instructions for Mini Fruit Pizzas with Sugar Cookie Crust
Step 1: Preheat the Oven
Begin by preheating your oven to 350°F (175°C). This ensures the mini fruit pizzas bake evenly and achieve that lovely golden hue. As the oven warms up, gather your mixing bowls and baking sheets, so you’re prepared to create your delightful sugar cookie crust.
Step 2: Cream Butter and Sugar
In a large mixing bowl, cream together the softened butter and sugar using an electric mixer on medium speed until the mixture is light and fluffy, about 2-3 minutes. This step is crucial as it incorporates air into the batter, ensuring a soft and tender cookie base for your mini fruit pizzas.
Step 3: Combine Ingredients
Next, add in the egg, salt, cream of tartar, baking soda, and flour to the butter mixture. Mix on low speed until just combined, being careful not to overmix. The dough should be soft and pliable; if it looks too crumbly, you can add a splash of milk to bring it together.
Step 4: Form Cookies
Take the dough and press it together to form a ball. On a lightly floured surface, roll out the dough to about ¼ inch thickness. Use a round cookie cutter to cut out circles and place them on a greased baking sheet, spaced apart to allow for spreading while baking.
Step 5: Bake Cookies
Place the baking sheet in the preheated oven and bake the cookies for 15-18 minutes, or until the edges turn a lovely golden brown. Keep an eye on them as they bake; you want the bottoms to be slightly golden but not overly brown. Once done, remove them from the oven and let them cool on the sheet for a few minutes.
Step 6: Chill the Cookies
After cooling slightly, transfer the cookies to a wire rack and allow them to chill in the refrigerator for about 30-40 minutes. Chilling the cookies helps them firm up, making it easier to spread the creamy topping without causing the crust to crumble.
Step 7: Prepare Topping
In a medium bowl, whip the heavy whipping cream using an electric mixer until stiff peaks form. In another bowl, beat the cream cheese until smooth, and gradually mix in the powdered sugar until well incorporated. Finally, gently fold in the whipped cream, creating a light and fluffy topping for your delicious mini fruit pizzas.
Step 8: Assemble Mini Fruit Pizzas
Spread a generous layer of the creamy topping over each cooled sugar cookie base. Ensure the layer is even and smooth, setting the stage for the beautiful fruits to follow. After topping, place the assembled cookies back in the fridge for about an hour to set up nicely before adding the fruits.
Step 9: Decorate with Fruits
Once chilled, arrange an assortment of sliced fruits on top of the creamy layer. Get creative and colorful with your choices, like juicy strawberries and blueberries for a classic look. To finish, drizzle the melted white chocolate over the decorated mini fruit pizzas for that extra touch of sweetness.
Step 10: Final Chill Before Serving
Return the completed mini fruit pizzas to the refrigerator for an additional 1-2 hours, allowing the flavors to meld and the toppings to set. This final chilling step ensures your delightful mini fruit pizzas are beautifully firm when you’re ready to serve them at your festive gathering.

Expert Tips for Mini Fruit Pizzas
-
Chill Time Matters: Ensure your cookie crust and topping are well-chilled. This helps maintain the structure and prevents sogginess from the fruit juices.
-
Use Fresh Ingredients: Opt for the freshest fruits available to elevate your mini fruit pizzas. Old or mushy fruits will detract from the vibrant look and taste.
-
Avoid Overbaking: Keep an eye on your cookies; they should be just golden around the edges. Overbaking leads to tough, dry crusts and could ruin your mini fruit pizzas.
-
Customize Flavors: Feel free to add a splash of vanilla or almond extract to the topping for an elevated flavor. Experimenting with extracts can make a delicious difference!
-
Arrange Creatively: Present your fruit toppings in artistic patterns or fun shapes to create an eye-catching centerpiece perfect for 4th of July celebrations.
Make Ahead Options
These Mini Fruit Pizzas are a fantastic option for meal prep enthusiasts looking to save time during busy gatherings! You can prepare the sugar cookie crust and the creamy topping up to 24 hours in advance. Simply bake, cool, and refrigerate the cookie bases, then whip up the topping and store it in an airtight container. When you’re ready to serve, spread the creamy mixture over the chilled cookie crusts, garnish with fresh fruits, and drizzle with melted white chocolate. This method keeps the crust just as delicious and prevents sogginess, allowing for stunning mini fruit pizzas that look and taste freshly made!
Storage Tips for Mini Fruit Pizzas
Fridge: Store mini fruit pizzas in an airtight container for up to 2 days to maintain freshness. They are best enjoyed the same day to keep the cookie crust crisp.
Make-Ahead: Prepare the sugar cookie crust and creamy topping a day in advance; keep them separated in the fridge until you’re ready to assemble for optimal texture.
Freezer: For longer storage, freeze unassembled mini fruit pizzas in a single layer on a baking sheet. Once frozen, transfer to an airtight container for up to 2 months; add fruit and drizzle just before serving.
Reheating: There’s no need to reheat—enjoy these delightful mini fruit pizzas cold straight from the fridge. However, if you prefer a warm cookie base, gently warm it before adding the toppings.
Variations & Substitutions for Mini Fruit Pizzas
Get creative and add your unique twist to these delightful mini fruit pizzas!
-
Fruit Choices: Swap out strawberries and blueberries for bananas, pineapple, or seasonal berries for variety. Consider a vibrant tropical vibe that transports you to a sunny beach day.
-
Chocolate Options: Try milk or dark chocolate drizzle instead of white chocolate for a richer flavor profile. Dark chocolate’s bittersweet notes can elevate the whole dessert experience beautifully.
-
Cookie Base: Experiment with flavored cookie bases, such as ginger or chocolate for a twist. Ginger cookies can add a spicy warmth, making them perfect for fall gatherings.
-
Nut Butter Spread: For a nutty flavor, replace the creamy topping with a layer of almond or peanut butter before adding fruit. This adds protein and richness, turning it into a more wholesome treat.
-
Extra Crunch: Add a sprinkle of granola or crushed nuts on top before serving for a delightful texture contrast. A little crunch can take these mini pizzas to the next level!
-
Herb Infusion: Incorporate fresh mint or basil into the cream cheese topping for a refreshing herbal note. This unexpected touch can surprise your guests and spark conversations.
-
Vegan Version: For a vegan adaptation, use a flax egg, coconut cream, and non-dairy cheese alternatives. Each swap brings you closer to a plant-based dessert bursting with flavor.
-
Dairy-Free Whip: Use a coconut-based whipped topping instead of heavy cream for a lighter, dairy-free treat. The coconut flavor pairs wonderfully with tropical fruits, giving a perfect summer flair.
Don’t hesitate to explore these variations; they can turn your mini fruit pizzas into a customizable dessert bar that allows everyone to indulge according to their tastes!
What to Serve with Mini Fruit Pizzas?
Add delightful accompaniments to elevate your mini fruit pizzas and create a complete summer feast!
-
Refreshing Lemonade: A zesty drink that complements the sweetness of the mini fruit pizzas while offering a refreshing contrast on hot days. Its bright citrus notes can enhance the fruity flavors beautifully.
-
Chocolate Dipped Strawberries: A sweet treat that pairs perfectly with your dessert theme. These luscious, chocolate-coated berries provide an indulgent twist that everyone will love.
-
Grilled Chicken Skewers: Savory and juicy, these skewers add a delicious balance to the sweet flavor of the mini pizzas. Their smoky notes also make for a nice contrast against the fresh fruit.
-
Caprese Salad: Featuring ripe tomatoes, fresh basil, and mozzarella, this salad brings a burst of fresh flavor. The balance of savory and slightly tangy will round out the meal beautifully.
-
Sangria: A chilled pitcher of sangria, filled with fresh fruits, offers a refreshing and festive beverage choice. It brings a touch of celebration to your gathering, making the occasion even more special.
-
Berry Crisp: For added indulgence, serve a warm berry crisp alongside. The sweet, juicy berries and crumbly topping will create a comforting and satisfying end to your meal.
-
Mini Cheese Platter: Offer a selection of cheeses along with crackers and nuts. This delightful snacking option can keep guests happy while they enjoy the mini fruit pizzas.
-
Fruit Mocktails: Non-alcoholic fruit mocktails create a colorful and festive drink option. Flavorful, bubbly, and refreshing, they’re perfect for summer celebrations!
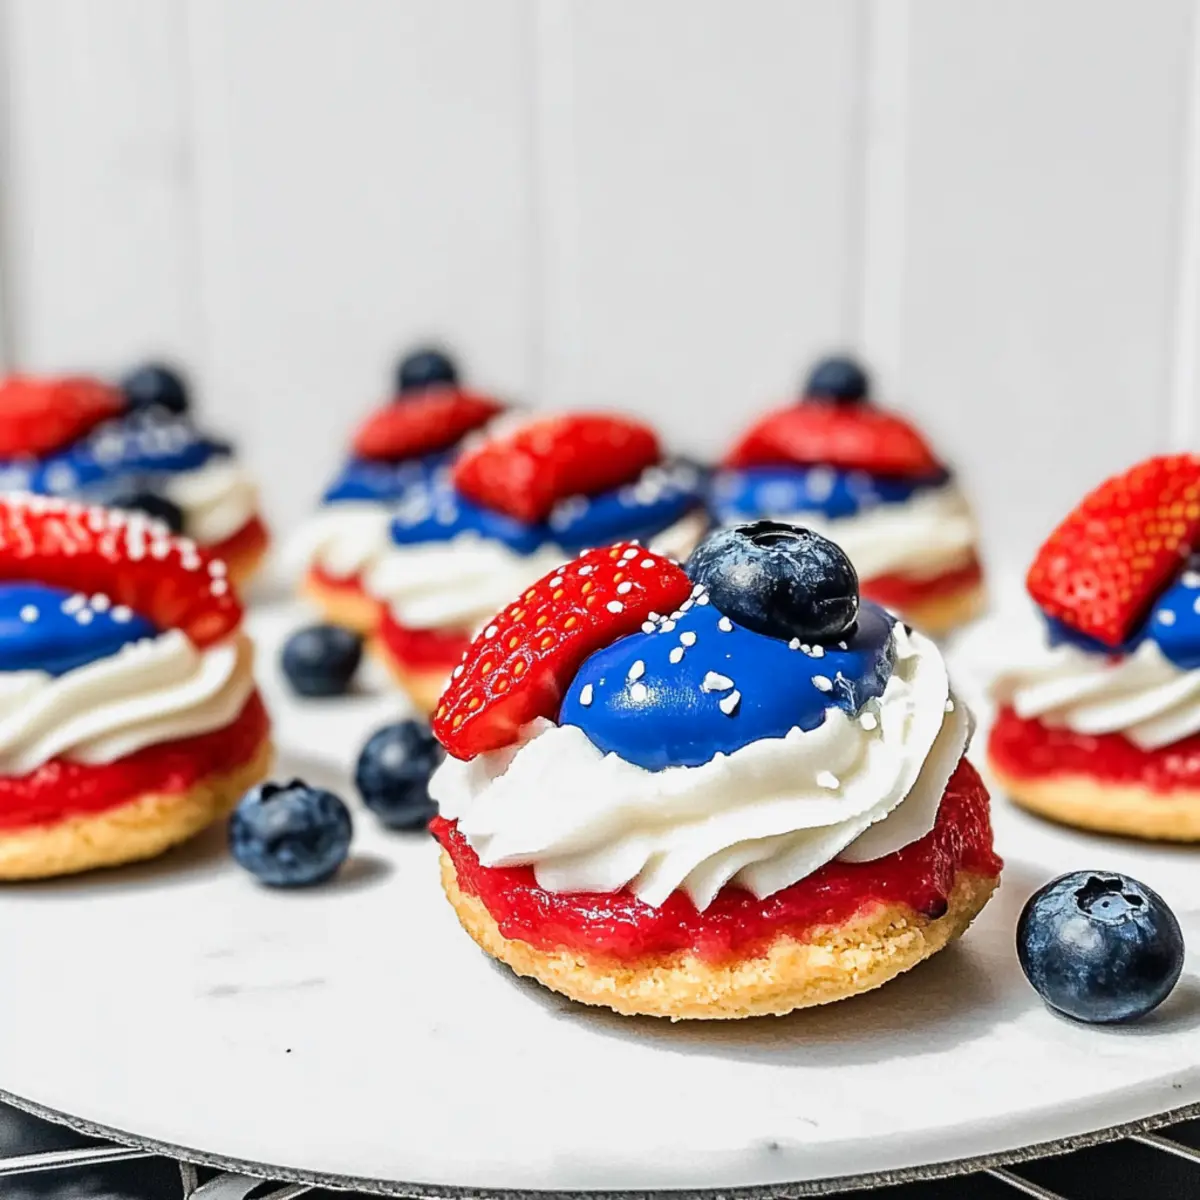
Mini Fruit Pizzas with Sugar Cookie Crust Recipe FAQs
How do I choose the right fruits for my mini fruit pizzas?
Absolutely! For a colorful and vibrant topping, select fruits that are at their peak ripeness. Look for berries that are firm and bright in color, and avoid any that have dark spots or are overly soft. Seasonal fruits are a wonderful choice; strawberries, blueberries, raspberries, and kiwi provide not only a pop of color but also delightful flavors.
What is the best way to store mini fruit pizzas?
Store your mini fruit pizzas in an airtight container in the refrigerator for up to 2 days. This helps keep the cookie crust fresh and maintains the creaminess of the topping. However, for the best taste and texture, they are best enjoyed the same day they are made, as the crust may get soggy if left for too long.
Can I freeze mini fruit pizzas for later use?
Yes, you can! To freeze unassembled mini fruit pizzas, place the cookie bases on a baking sheet in a single layer and freeze until solid. Then, transfer them to an airtight container and store them for up to 2 months. When you’re ready to enjoy, simply thaw them in the refrigerator, then add the creamy topping and fresh fruits right before serving.
What can I do if my cookie crust feels too crumbly?
Very! If your cookie crust feels crumbly, it may be due to overmixing or not adding enough moisture. Make sure to mix just until combined in the dough preparation. If it appears too dry, try adding a splash of milk, one tablespoon at a time, mixing gently until the dough holds together better without becoming sticky.
Are there any allergy considerations for this recipe?
Absolutely! For those with dairy allergies, you can use margarine or coconut oil instead of butter, and coconut cream as a substitute for heavy whipping cream. For egg allergies, a flax egg (1 tablespoon ground flaxseed mixed with 2.5 tablespoons water) works nicely. Additionally, if anyone has gluten sensitivities, opt for gluten-free flour to ensure everyone can enjoy the mini fruit pizzas!
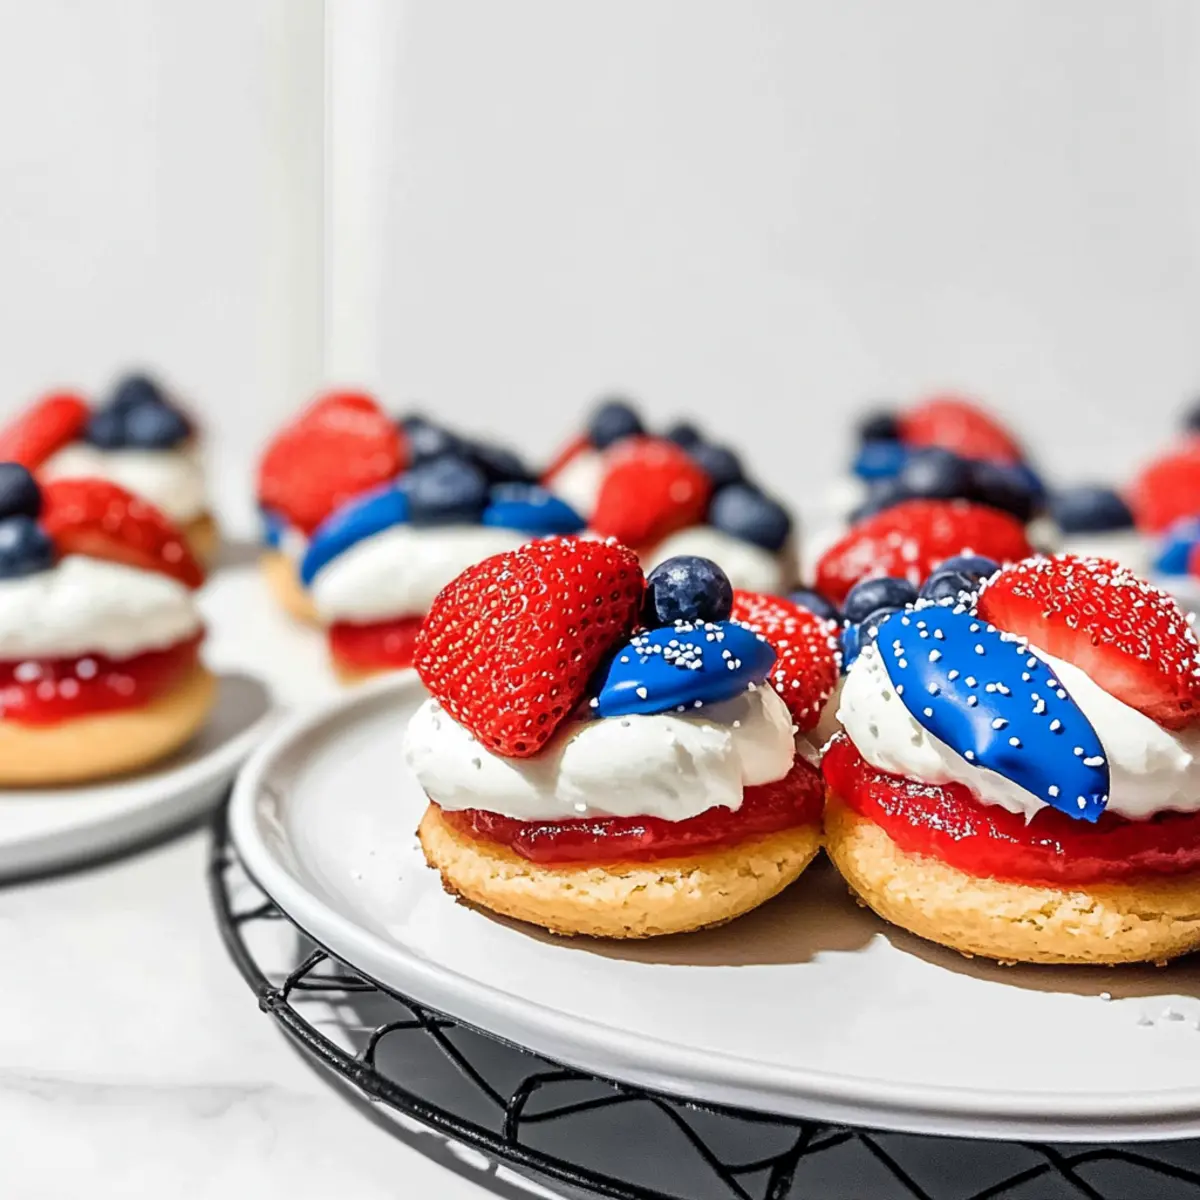
4th of July Macarons: Celebrate with Festive Flavor and Fun
Ingredients
Equipment
Method
- Preheat your oven to 350°F (175°C). Gather your mixing bowls and baking sheets.
- In a large mixing bowl, cream together the softened butter and sugar until light and fluffy.
- Add in the egg, salt, cream of tartar, baking soda, and flour to the butter mixture. Mix on low speed until just combined.
- Press the dough together to form a ball, roll out to ¼ inch thickness, and use a round cookie cutter to cut out circles.
- Bake for 15-18 minutes, or until the edges turn a lovely golden brown. Cool on the sheet for a few minutes.
- Transfer cookies to a wire rack and chill in the refrigerator for about 30-40 minutes.
- In one bowl, whip the heavy whipping cream until stiff peaks form. In another bowl, beat the cream cheese and gradually mix in the powdered sugar.
- Gently fold the whipped cream into the cream cheese mixture.
- Spread the creamy topping over the cooled cookie bases, then refrigerate for about an hour to set.
- Arrange an assortment of sliced fruits on top and drizzle with melted white chocolate.
- Return the pizzas to the refrigerator for an additional 1-2 hours before serving.
Leave a Reply