
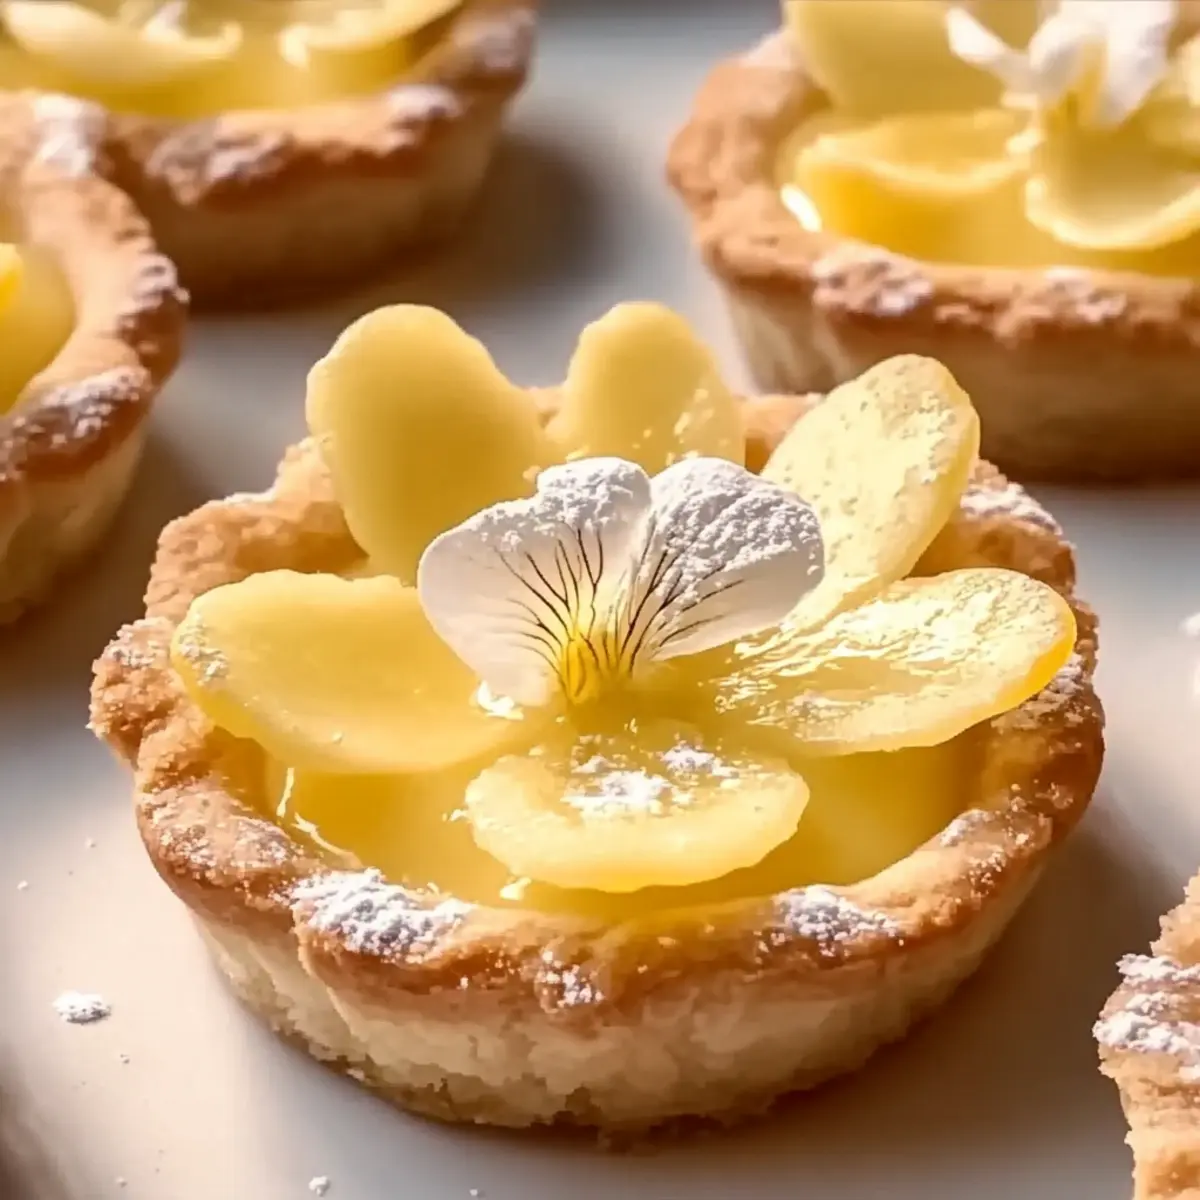
As the warm sun dips below the horizon, I can almost hear the laughter of friends and family gathered around a table strewn with desserts. Enter the star of the evening: Mini Lemon Flower Tarts. These delightful, bite-sized treats infused with tangy lemon and a buttery crust are a joyful nod to summer celebrations. Not only are they a fantastic crowd-pleaser, but their quick preparation makes them an ideal choice for those spontaneous gatherings. Whether you’re looking to impress guests or simply satisfy your own sweet tooth, these tarts are both refreshing and adaptable, offering gluten-free and sugar substitute options for everyone to enjoy. Curious to learn how to whip up this zesty delight? Let’s dive into the recipe!

Why Are Mini Lemon Flower Tarts Irresistible?
Zesty freshness: The burst of lemon flavor in each tart will bring a lively twist to your dessert spread.
Easy to make: With a straightforward method, you’ll be whipping these up in no time.
Diet-friendly options: Adaptable for gluten-free diets or low-carb lovers with simple swaps.
Crowd pleaser: These tarts are perfect for entertaining—guests will love the whimsical presentation!
Perfect for occasions: Whether it’s a picnic or a fancy dinner, they fit seamlessly into any gathering. Experience the joy of baking by making these delightful Mini Lemon Flower Tarts, and if you’re in the mood for more citrusy treats, check out our Lemon Oatmeal Crumble for additional inspiration!
Mini Lemon Flower Tarts Ingredients
• Prepare to indulge in the tangy delight of Mini Lemon Flower Tarts with this ingredient lineup!
For the Crust
- All-Purpose Flour – Provides the necessary structure for the tart crust; a gluten-free flour blend can replace this for a gluten-free option.
- Butter – Adds richness and flakiness to the crust, ensuring every bite is melt-in-your-mouth delicious.
- Sugar – Sweetens the lemon filling beautifully; use stevia, monk fruit, or allulose for a low-calorie substitute.
- Salt – Enhances the flavors, balancing the sweetness and zest perfectly.
For the Filling
- Lemon Juice – The heart of these tarts, delivering vibrant tang; always use fresh lemon juice for the best flavor.
- Eggs – Binds the tart filling; you can substitute with flaxseed meal mixed with water for a vegan version.
Embrace the freshness and warmth of your kitchen as you gather these ingredients—a delightful adventure in baking awaits!
Step‑by‑Step Instructions for Mini Lemon Flower Tarts
Step 1: Prepare Tart Crust
In a large mixing bowl, combine the all-purpose flour, sugar, and salt to create a dry mixture. Cut in the cold butter using a pastry cutter or your fingers until the mixture resembles coarse crumbs. Gradually add chilled water, one tablespoon at a time, mixing until the dough begins to come together.
Step 2: Chill Dough
Wrap the dough in plastic wrap and refrigerate for at least 30 minutes. This chilling step is crucial for achieving a flaky texture in your Mini Lemon Flower Tarts. While the dough chills, you can clean up your workspace and gather your filling ingredients.
Step 3: Preheat Oven
Preheat your oven to 350°F (175°C). This ensures that the crust bakes evenly, resulting in a perfectly golden tart shell. Get your mini tart pans ready by lightly greasing them with butter or non-stick spray for easy removal later.
Step 4: Roll Out Dough
Once the dough is chilled, place it on a floured surface and roll it out to about 1/8 inch thick. Use a round cutter or a glass to cut out small circles that fit your mini tart pans. Aim for slightly larger circles to ensure they fill the pans well.
Step 5: Shape Tart Shells
Gently press the dough circles into the prepared mini tart pans, making sure to push it into the corners. Using a fork, prick the bottoms of the crusts to prevent bubbling while they bake. This will help keep the crust flat and even as it bakes.
Step 6: Bake Crusts
Place the tart pans in the preheated oven and bake for about 15 minutes, or until the edges are golden brown. Keep an eye on them, as oven temperatures can vary! Once done, remove from the oven and allow the crusts to cool completely in the pans.
Step 7: Make Filling
In a bowl, whisk together the fresh lemon juice, sugar, and eggs until the mixture is smooth and well-blended. The bright, zesty aroma will signal that you’re on the right track! This vibrant filling is the heart of the Mini Lemon Flower Tarts, giving them that special citrus kick.
Step 8: Fill Tart Shells
Once the tart shells are cool, carefully pour the lemon filling into each shell, filling them about three-quarters full. This leaves room for the filling to expand as it bakes. Aim for an even distribution to ensure every tart is packed with flavor.
Step 9: Bake Tarts
Return the filled tarts to the oven and bake for an additional 15 minutes, or until the filling is set and lightly golden on top. You’ll know they’re done when the edges look firm and the filling has a slight jiggle in the center.
Step 10: Cool and Serve
After baking, remove the Mini Lemon Flower Tarts from the oven and let them cool completely in the pans. For a refreshing treat, refrigerate them for at least an hour before serving. Enjoy these delightful tarts chilled, and consider garnishing them with fresh mint or a dusting of powdered sugar!

What to Serve with Mini Lemon Flower Tarts
As you prepare to indulge in these delightful tarts, imagine the perfect companions that will elevate your dessert spread to new heights.
- Fresh Berries: Their natural sweetness and slight tartness complement the lemon’s zing, offering a refreshing contrast.
- Whipped Cream: A dollop of lightly sweetened whipped cream adds a luxurious creaminess that balances the tanginess of the tarts.
For a delightful allure, drizzle some lemon zest into the whipped cream to carry the lemon theme throughout the meal. This combination will not only taste fantastic, but it will also look stunning on your dessert table!
- Iced Tea: The crispness of unsweetened iced tea provides a refreshing beverage option that enhances the citrus notes.
- Pistachio Crumble: Sprinkling crushed pistachios adds a delightful crunch and a hint of nuttiness, enhancing the texture and flavor profile.
Picture this: a plate adorned with golden Mini Lemon Flower Tarts and a sprinkle of vibrant green pistachio crumble—such a feast for the eyes!
- Cheesecake Bars: Creamy cheesecake bars with a citrus twist can provide an interesting contrast while keeping with the lemon theme.
- Sparkling Water with Mint: Cool, bubbly sparkling water infused with fresh mint creates a refreshing palate cleanser between bites.
- Fruit Salad: A medley of seasonal fruits adds color and freshness, rounding out your dessert experience beautifully.
- Vanilla Ice Cream: The creamy richness of vanilla ice cream paired with the tartness of the tarts creates a heavenly combination that’s hard to resist.
Make Ahead Options
These Mini Lemon Flower Tarts are perfect for busy home cooks looking to save time during meal prep! You can prepare the tart crusts up to 3 days in advance, just bake and cool them before storing in an airtight container to maintain their crispiness. For the filling, mix together the lemon juice, sugar, and eggs up to 24 hours ahead; simply refrigerate the mixture until you’re ready to fill the tart shells. When you’re ready to serve, pour the filling into the cooled crusts and bake as directed for that delightful, fresh flavor. This approach allows you to enjoy the refreshing taste of Mini Lemon Flower Tarts with minimal effort on the day of your special gathering!
Expert Tips for Mini Lemon Flower Tarts
-
Chill Thoroughly: Chill the dough for at least 30 minutes to ensure a flaky crust when baked. Don’t skip this step!
-
Use Fresh Juice: Always opt for fresh lemon juice for optimal flavor. Bottled juice can lack the brightness needed for these tarts.
-
Avoid Common Substitutes: Steer clear of using honey or maple syrup in place of sugar, as they can alter the tart’s texture and sweetness.
-
Mix Well: Ensure the filling is well-mixed to prevent uneven flavor distribution in your Mini Lemon Flower Tarts.
-
Don’t Overfill: Fill the tart shells about three-quarters full, giving the lemon filling room to rise as it bakes.
Mini Lemon Flower Tarts Variations & Substitutions
Feel free to get creative with these Mini Lemon Flower Tarts and make them your own!
- Gluten-Free: Use a gluten-free flour blend instead of all-purpose flour for those with dietary restrictions.
- Low-Calorie Sweetener: Swap regular sugar for stevia, monk fruit, or allulose to cut calories without sacrificing flavor.
- Citrus Twist: Experiment with lime or orange juice for a different refreshing citrus flavor profile. Each offers a delightful alternative.
- Vegan Option: Substitute the eggs with flaxseed meal mixed with water for a vegan-friendly option. Your tarts will still be deliciously creamy!
- Meringue Top: Add a fluffy meringue topping for extra sweetness and elegance. Just whip egg whites with sugar until stiff peaks form, then pile it on!
- Fruit Garnish: Top tarts with fresh berries or citrus slices for a colorful presentation and added flavor. Strawberries or blueberries could be delightful companions!
- Spice It Up: Incorporate a hint of ginger or cardamom into your filling for a warm, spicy twist. It’s unexpected and oh-so-delicious!
- Crunchy Crust: Stir in crushed nuts or oats into the crust for a different texture that adds a delightful crunch. Try almonds or pecans for a nutty flavor.
If you’re inspired by zesty flavors, don’t forget to check out our Lemon Oatmeal Crumble for another refreshing treat! Or try something lighter with our Light Choux Pastries as an elegant option. Enjoy the adventure of customizing your Mini Lemon Flower Tarts!
How to Store and Freeze Mini Lemon Flower Tarts
- Fridge: Store Mini Lemon Flower Tarts in an airtight container for up to 3 days, keeping them fresh and flavorful. Ensure they are completely cooled before sealing to avoid condensation.
- Freezer: You can freeze the tart shells for up to 2 months. Wrap them tightly in plastic wrap and then in aluminum foil before freezing. Thaw at room temperature before filling.
- Reheating: If you prefer them warm, reheat tarts in a preheated oven at 300°F (150°C) for about 10 minutes. This keeps the crust crispy while warming the filling.
- Make-Ahead Tips: Prepare the tart shells in advance and freeze them. Just fill and bake when you’re ready to enjoy the zesty delight of Mini Lemon Flower Tarts!

Mini Lemon Flower Tarts Recipe FAQs
How do I choose the best lemons for Mini Lemon Flower Tarts?
Absolutely! When selecting lemons, look for ones that are bright yellow, firm, and slightly heavy for their size. Avoid any with dark spots or blemishes, as these can indicate overripeness. Fresh, juicy lemons yield the best flavor for your tarts, enhancing that zesty filling!
How long can I store Mini Lemon Flower Tarts?
You can store these delightful tarts in the refrigerator for up to 3 days in an airtight container. Make sure they are completely cooled before sealing to prevent any condensation from affecting their texture.
Can I freeze Mini Lemon Flower Tarts?
Yes, you can freeze the tart shells for up to 2 months! Wrap them tightly in plastic wrap, then aluminum foil to prevent freezer burn. When you’re ready to enjoy, simply thaw them at room temperature and fill them with your lemon mixture before baking.
What if my tart filling doesn’t set properly?
Very! If your filling doesn’t set as expected, it may have needed more baking time. Each oven is different, so if the edges are firm but the center still jiggles, give it another few minutes in the oven. Make sure to follow the recommended baking times closely and check for that slight jiggle—this is key!
Are Mini Lemon Flower Tarts safe for those with dietary restrictions?
Absolutely! This recipe can be adapted for various dietary needs. To make it gluten-free, simply substitute all-purpose flour with a gluten-free blend. For a lower-calorie option, use stevia or monk fruit instead of sugar. If you’re concerned about allergies, ensure everyone reviews the ingredient lists for any necessary substitutions, especially when using alternatives like flaxseed for eggs.
Mini Lemon Flower Tarts: Sunshine in Every Bite!
Ingredients
Equipment
Method
- In a large mixing bowl, combine the all-purpose flour, sugar, and salt to create a dry mixture. Cut in the cold butter until the mixture resembles coarse crumbs.
- Wrap the dough in plastic wrap and refrigerate for at least 30 minutes.
- Preheat your oven to 350°F (175°C) and lightly grease your mini tart pans.
- Once the dough is chilled, roll it out to about 1/8 inch thick and cut out circles for the tart pans.
- Gently press the dough circles into the tart pans and prick the bottoms with a fork.
- Bake the crusts for about 15 minutes or until golden brown, then allow them to cool.
- Whisk together the lemon juice, sugar, and eggs until smooth.
- Pour the filling into the cooled tart shells, filling them about three-quarters full.
- Bake the filled tarts for an additional 15 minutes until the filling is set and lightly golden.
- Let the tarts cool completely before serving. Optionally refrigerate for refreshing taste.
Leave a Reply