
There’s nothing quite like the smell of something sweet and chocolatey wafting through your kitchen, is there? Today, I’m excited to share my recipe for Oreo Mochi, which blends the delightful chewiness of traditional mochi with the iconic flavor of Oreo cookies. This quick and easy dessert is perfect for busy nights when you want to indulge without the fuss or when you’re looking to impress guests at your next gathering. Not only is it a fun twist on a beloved classic, but it’s also gluten-sensitive friendly, making it inclusive for everyone at the table. Curious about how to whip up these delicious treats in just six simple steps? Let’s dive in!
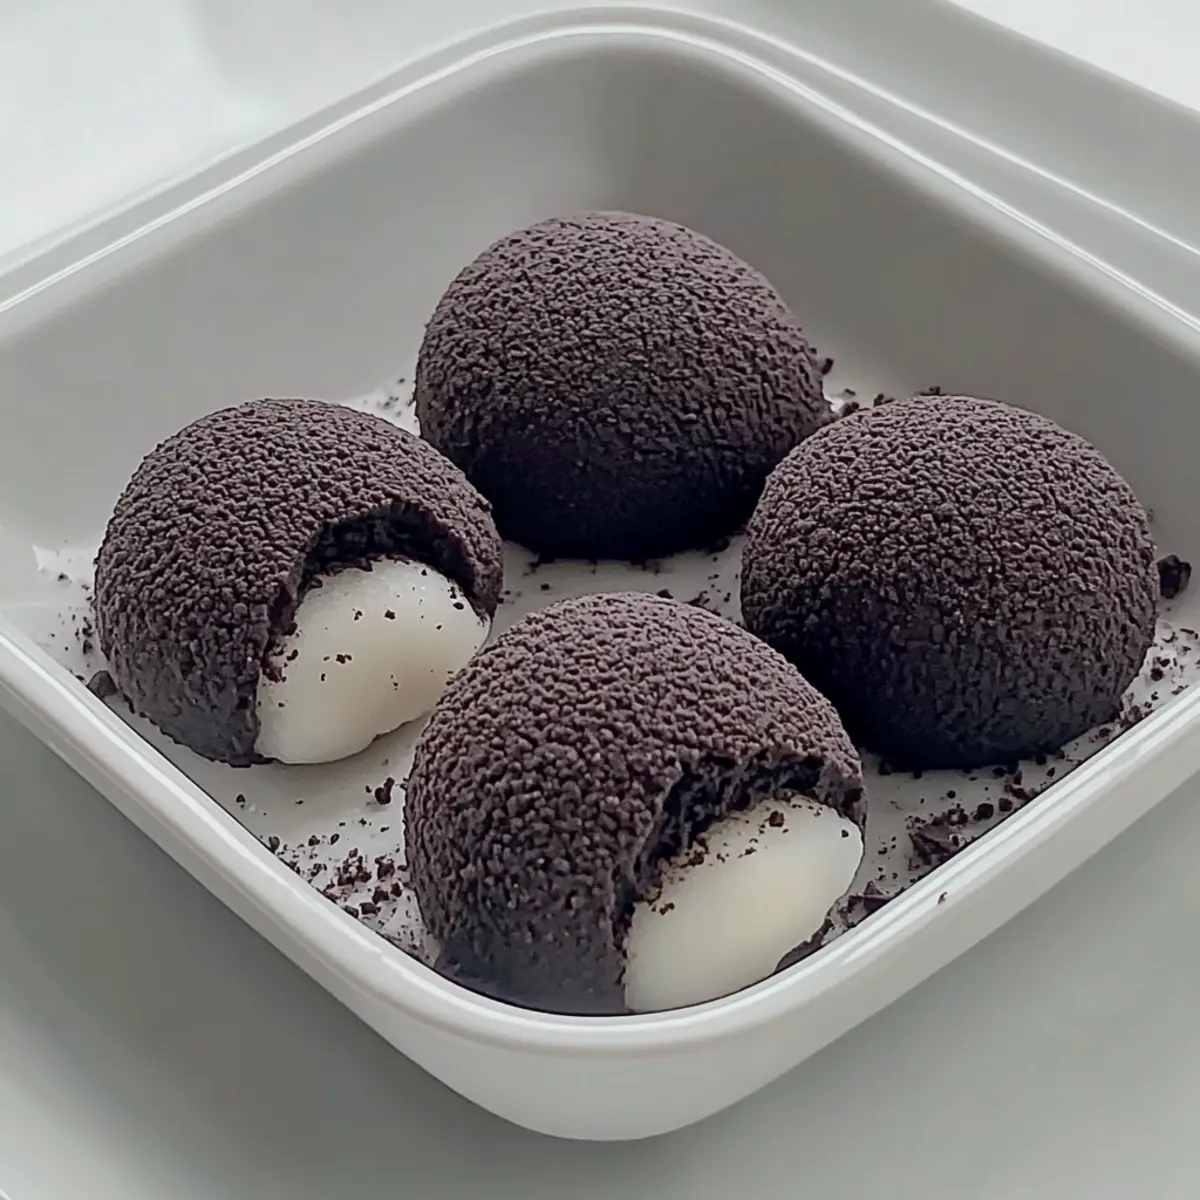
Why is Oreo Mochi a Must-Try Dessert?
Uniquely Irresistible: The combination of chewy mochi and creamy Oreo flavors will make your taste buds dance with excitement.
Quick and Easy: Whip up this delightful dessert in just six simple steps, making it ideal for both novice and experienced bakers.
Customizable Creations: Feeling adventurous? Swap Oreo cookies for chocolate chip or even graham crackers to create your own delicious variations!
Perfect for Gatherings: These mochi treats are sure to impress guests at any party or family dinner, appealing to both children and adults alike.
Make-Ahead Convenience: Store them easily in your pantry or freeze for later, ensuring a sweet treat is always on hand. Dive into the world of homemade delights with this Oreo Mochi recipe and discover a fun way to enjoy classic flavors!
Oreo Mochi Ingredients
For the Mochi Batter
- Glutinous Rice Flour – Provides the essential chewy texture; sweet rice flour can be a great substitute.
- Cornstarch – Helps achieve a smooth texture; you can replace it with additional glutinous rice flour if necessary.
- Cocoa Powder – Adds rich chocolate flavor; choose Dutch-processed for a milder taste if preferred.
- White Sugar – Sweetens the mochi; coconut sugar serves as a suitable alternative.
For the Moisture
- Corn Oil – Contributes richness; vegetable oil or melted butter can be used instead.
- Milk – Ensures the batter’s consistency; almond milk works well for a dairy-free option.
For the Coating
- Oreo Cookies – Essential for that delightful Oreo flavor; feel free to use other chocolate sandwich cookies for variation.
Step‑by‑Step Instructions for Oreo Mochi
Step 1: Mix Ingredients
In a large mixing bowl, combine 1 cup of glutinous rice flour, 2 tablespoons of cornstarch, 2 tablespoons of cocoa powder, and 1/4 cup of white sugar. Slowly whisk in 1/2 cup of corn oil and 1 cup of milk until the mixture is smooth and free of lumps. This will create the foundation for your Oreo Mochi, so ensure it’s well blended before moving on.
Step 2: Sift Batter
Pour the combined batter into a fine sieve placed over a medium pot, allowing it to filter through and remove any lumps. This step is crucial for achieving a velvety texture in your mochi batter. Ensure the pot is large enough to accommodate the expanded batter during cooking.
Step 3: Cook the Batter
Place the pot over low heat, stirring continuously with a spatula for 10-15 minutes. You’ll notice the batter thicken significantly and start pulling away from the sides of the pot as it cooks. When it reaches a glossy, thick consistency, it’s ready to be transferred to cool.
Step 4: Cool and Stretch Dough
Carefully transfer the hot batter onto a surface sprinkled with cornstarch to avoid sticking and allow it to cool for about 5 minutes. Once it’s manageable, lightly dust your hands with cornstarch and stretch and pull the dough gently until it’s elastic. This step gives your Oreo Mochi its distinctive chewy texture.
Step 5: Form Mochi Balls
Divide the stretchy mochi dough into tablespoon-sized portions. Roll each piece in your palms to form smooth balls. This process should yield about 12-15 mochi balls, which will be the sweet, chewy pockets for the delightful Oreo flavor.
Step 6: Coat with Crumbs
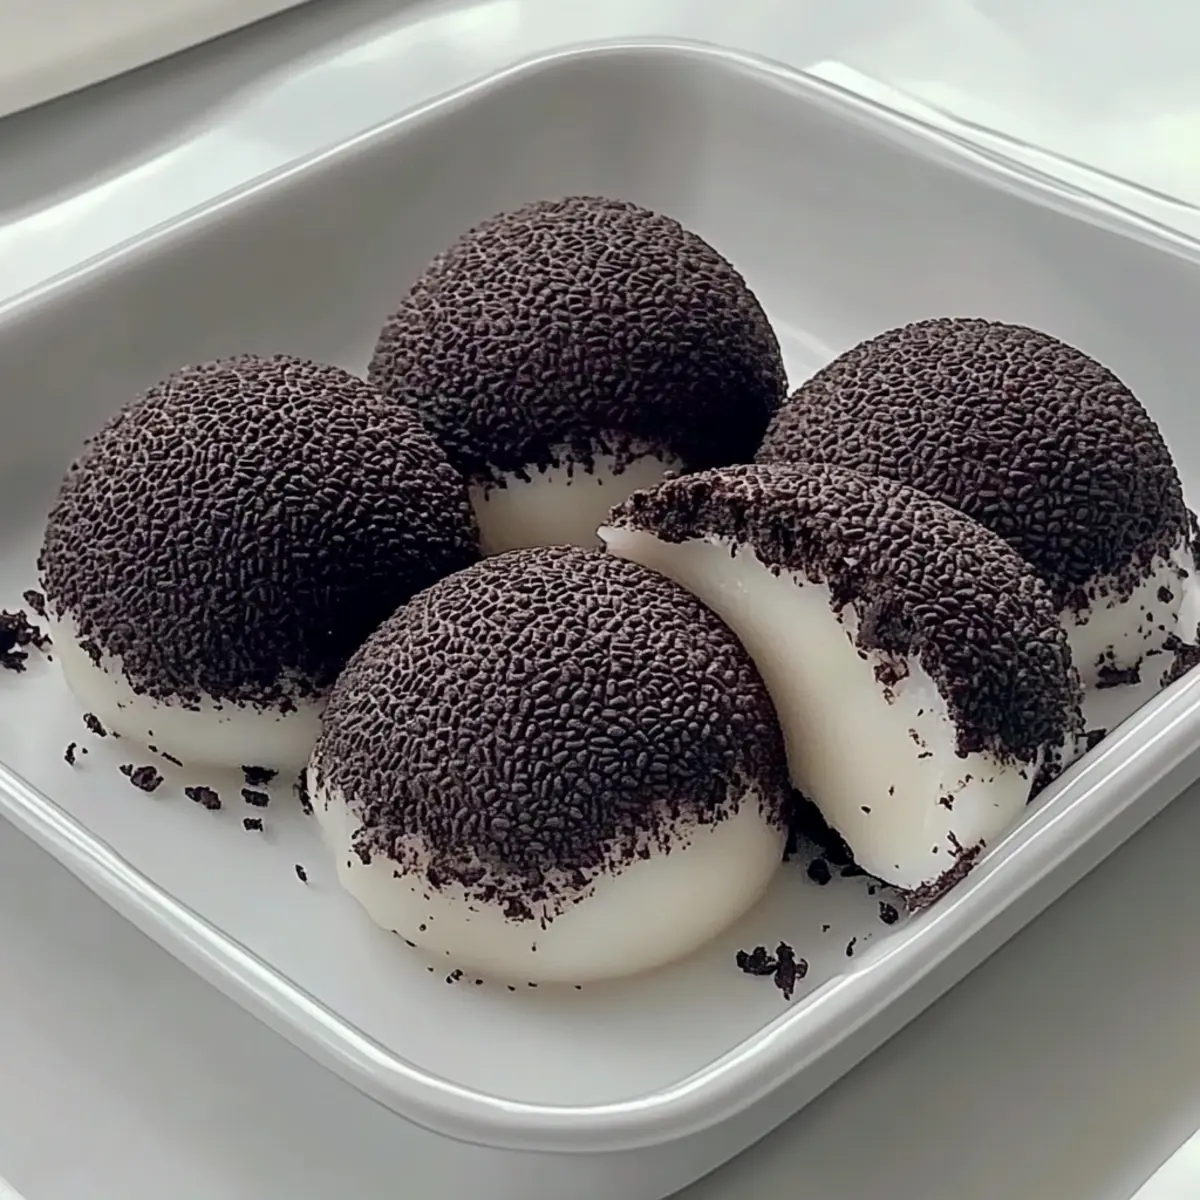
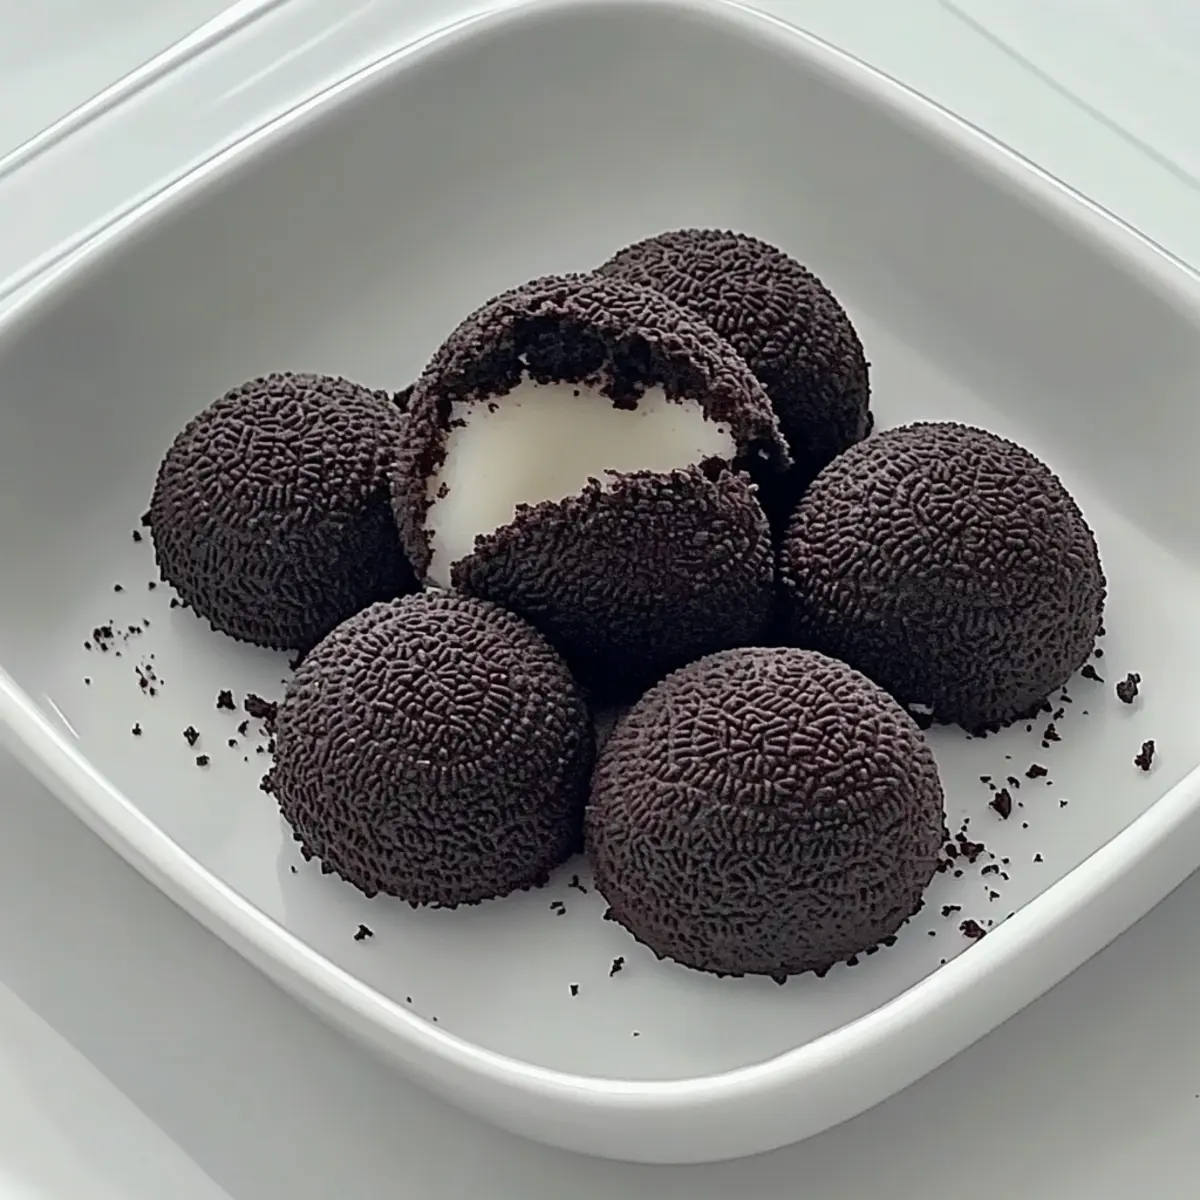
Take Oreo cookies and crush them into fine crumbs. Roll each mochi ball in the Oreo crumbs until fully coated, ensuring that every surface is covered. The cookie crust adds a delightful crunch to each bite, complementing the soft, chewy texture of the Oreo Mochi beautifully.
Make Ahead Options
The delightful Oreo Mochi is perfect for meal prep, allowing you to indulge in these chewy treats without the last-minute rush. You can prepare the mochi dough up to 24 hours in advance. Simply follow all the steps to make the dough, then store it in an airtight container at room temperature. To maintain the best quality, avoid coating the mochi with Oreo crumbs until you’re ready to serve, as this ensures the coating stays crisp. When you’re set to enjoy, simply roll the prepped mochi balls in the crushed Oreo cookies and serve immediately for a fresh, delicious dessert that both saves time and wows your guests!
Storage Tips for Oreo Mochi
-
Room Temperature: Store the Oreo Mochi in an airtight container at room temperature for up to 2-3 days to maintain freshness and softness.
-
Fridge: If you prefer a longer shelf life, refrigerate the mochi in an airtight container for up to one week, keeping it chewy and delicious.
-
Freezer: For even longer storage, freeze individual mochi pieces wrapped in plastic wrap and placed in a freezer bag for up to one month. To enjoy, simply thaw overnight in the fridge before serving.
-
Reheating: To revive the chewy texture, warm the mochi in the microwave for a few seconds before serving. This will renew the delightful experience of your Oreo Mochi!
Oreo Mochi Customizations
Feel free to let your creativity shine by customizing your Oreo Mochi; the possibilities are as delightful as the treats themselves!
-
Dairy-Free: Swap regular milk for almond or coconut milk for a creamy, dairy-free treat that everyone can enjoy.
It’s a perfect alternative that will maintain the delicious texture while catering to dietary needs. -
Sweetener Swap: Replace white sugar with coconut sugar for a more natural sweetness and a hint of caramel flavor.
This small change can elevate the taste and make your mochi feel even more special. -
Chocolate Delight: Use dark cocoa powder instead of regular for a richer, more intense chocolate flavor that chocolate lovers will adore.
The added depth will truly make your Oreo Mochi a decadent indulgence. -
Gluten-Free Option: If gluten sensitivity is a concern, you can substitute glutinous rice flour with a gluten-free sweet rice flour.
This swap allows everyone to enjoy the same great flavors without worry, making it all-inclusive at gatherings. -
Flavor Boost: Try mixing in a spoonful of vanilla extract into the batter for an aromatic enhancement that enriches the chocolate experience.
Just a touch can transform your Oreo Mochi into an extraordinary treat bursting with flavor. -
Texture Variation: Incorporate crushed nuts, like almonds or hazelnuts, into your mochi balls for a delightful crunch.
This not only adds a fun texture but also introduces a nutty element that complements the chocolate exquisitely. -
Spicy Kick: For the adventurous, add a sprinkle of cayenne pepper or chili powder to the cocoa powder for a surprising heat.
This unexpected twist will excite your taste buds and offer a unique flavor journey! -
Cookie Swap: Have fun experimenting by substituting Oreo cookies with other favorite sandwich cookies like Nutter Butter or even Thin Mints!
Each cookie brings its own unique twist, ensuring endless fun in the kitchen!
Dive into these customization ideas and discover how a single recipe can ignite a world of delicious possibilities, making your Oreo Mochi experience truly one-of-a-kind!
Expert Tips for Oreo Mochi
-
Use Non-Stick Cookware: Prevent mochi from sticking by using non-stick pans when cooking the batter. This ensures easy removal after cooking.
-
Patience is Key: When stretching the dough, take your time. Rushing can lead to a tough texture in your Oreo Mochi, so enjoy the process!
-
Check Consistency: Before cooking, ensure your batter is thick and creamy. Adjust with extra cornstarch or milk as needed for best results.
-
Cool Properly: Allow the dough to cool significantly on a cornstarch-lined surface before handling it. This prevents burns and makes stretching easier.
-
Crush Evenly: For a uniform coating, crush the Oreo cookies into fine crumbs, ensuring each mochi ball gets a delightful crunchy crust.
What to Serve with Easy Oreo Mochi
There’s nothing like a delightful dessert spread to elevate your gatherings and celebrations.
-
Vanilla Ice Cream: The creamy richness of vanilla ice cream perfectly complements the chewy texture of the mochi, creating a harmonious balance.
-
Fresh Berries: A burst of fresh strawberries, blueberries, or raspberries adds a refreshing contrast to the sweet richness of the Oreo Mochi.
-
Matcha Tea: The earthy notes of matcha provide a delightful counterpoint to the sweetness, enhancing the overall flavor experience.
-
Chocolate Sauce Drizzle: A silky drizzle of chocolate sauce enriches each bite, and the added indulgence is sure to please chocolate lovers.
-
Coconut Whipped Cream: Light and airy coconut whipped cream adds both a tropical twist and a luscious texture, elevating the mochi’s charm.
These pairings ensure your homemade Oreo Mochi shines as the star of any dessert table, inviting everyone to indulge in a moment of sweet joy.
Oreo Mochi Recipe FAQs
What type of glutinous rice flour should I use for Oreo Mochi?
You should use glutinous rice flour, which is key for the chewy texture of the mochi. If you can’t find it, sweet rice flour makes for a great substitute as it provides similar texture and taste. Just make sure to avoid regular rice flour, as it won’t yield the same results.
How long can I store Oreo Mochi, and what’s the best method?
You can store Oreo Mochi in an airtight container at room temperature for 2-3 days. If you want to extend their shelf life, pop them in the fridge for up to one week. Always remember to keep them sealed to maintain their chewy goodness!
Can I freeze Oreo Mochi? If so, how?
Absolutely! To freeze Oreo Mochi, wrap each individual mochi piece tightly in plastic wrap and place them in a freezer bag. They will keep well for up to one month. When you’re ready to enjoy them, simply thaw overnight in the fridge. If they feel a little too firm, a quick warm-up in the microwave for a few seconds will restore their delightful chewiness.
What should I do if my mochi dough is too sticky or too thick?
If your dough is too sticky, you can lightly dust your hands with cornstarch while handling it. If it’s too thick and hard to stretch, add a little more milk to the batter during the mixing phase. Just remember to cook the batter until it’s thick but not overly dry—you want it to pull away from the sides of the pot while still being pliable!
Is Oreo Mochi suitable for people with dietary restrictions?
While the recipe contains glutinous rice flour, which is not gluten-free, you can make substitutions to accommodate some dietary needs. For a dairy-free version, use almond milk instead of regular milk. However, keep in mind that gluten-sensitive individuals should avoid glutinous rice flour altogether. Instead, consider checking other mochi recipes that use gluten-free flours for alternative options.
Can I use other cookies besides Oreo for the coating?
Very! Feel free to get creative! You can substitute Oreo cookies with chocolate chip cookies, graham crackers, or any favorite sandwich-style cookies. The possibilities are endless, and it’s a fun way to customize the flavor of your mochi treats according to your taste buds!
Melt-in-Your-Mouth Oreo Mochi: A Sweet Home Treat
Ingredients
Equipment
Method
- In a large mixing bowl, combine 1 cup of glutinous rice flour, 2 tablespoons of cornstarch, 2 tablespoons of cocoa powder, and 1/4 cup of white sugar. Slowly whisk in 1/2 cup of corn oil and 1 cup of milk until the mixture is smooth and free of lumps.
- Pour the combined batter into a fine sieve placed over a medium pot to remove any lumps.
- Place the pot over low heat, stirring continuously with a spatula for 10-15 minutes until the batter thickens.
- Carefully transfer the hot batter onto a surface sprinkled with cornstarch to cool for about 5 minutes, then stretch and pull the dough gently.
- Divide the stretchy mochi dough into tablespoon-sized portions and roll each piece into smooth balls.
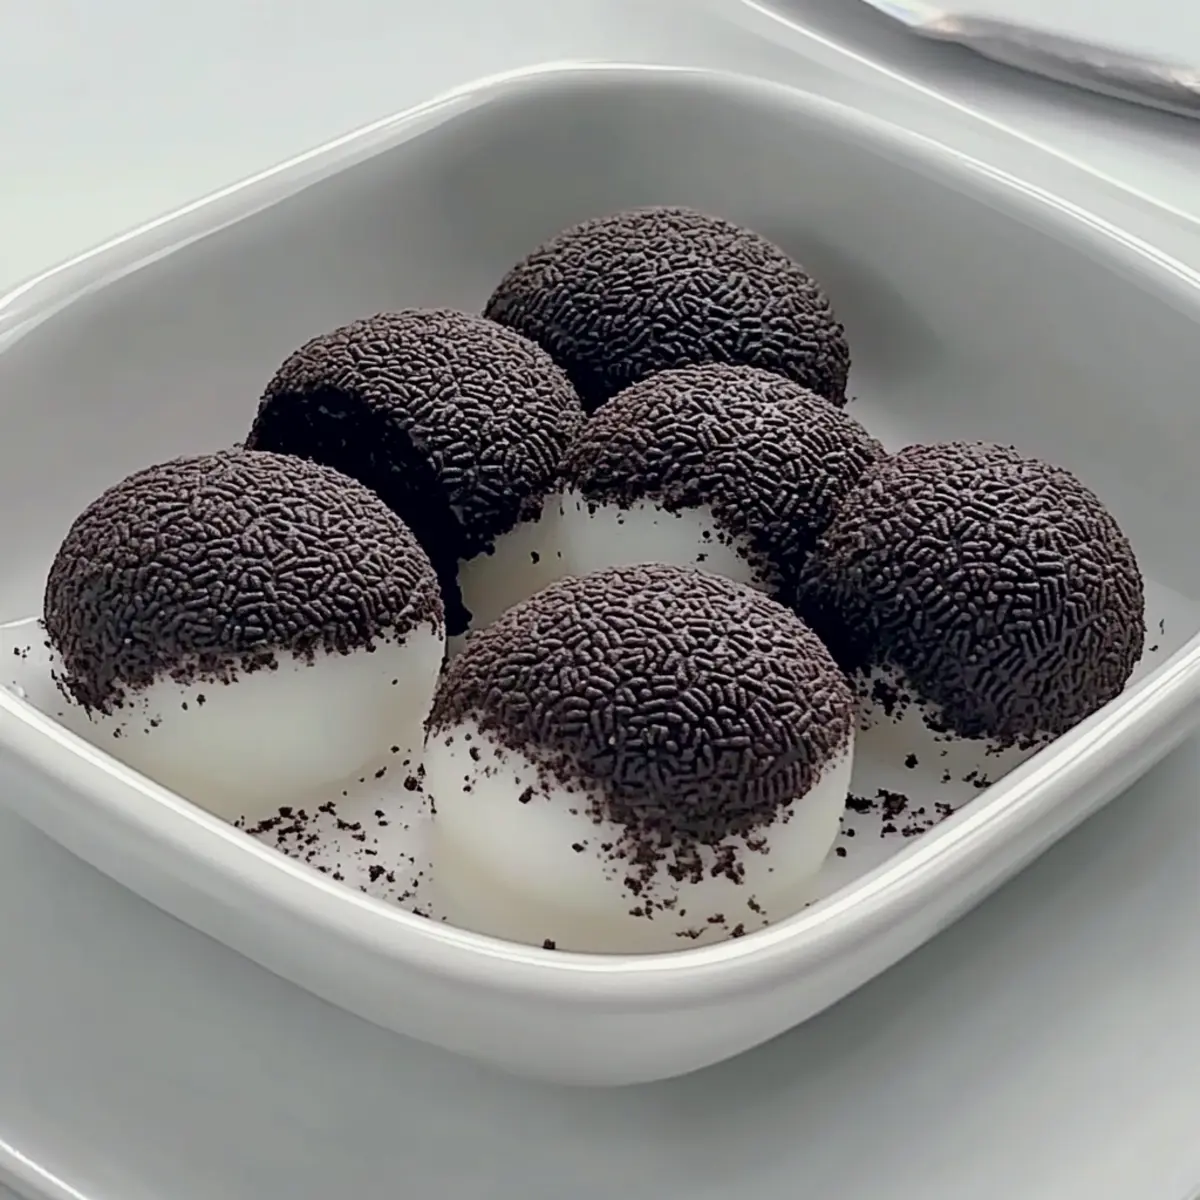
- Crush Oreo cookies into fine crumbs and roll each mochi ball in the Oreo crumbs until fully coated.
Leave a Reply