
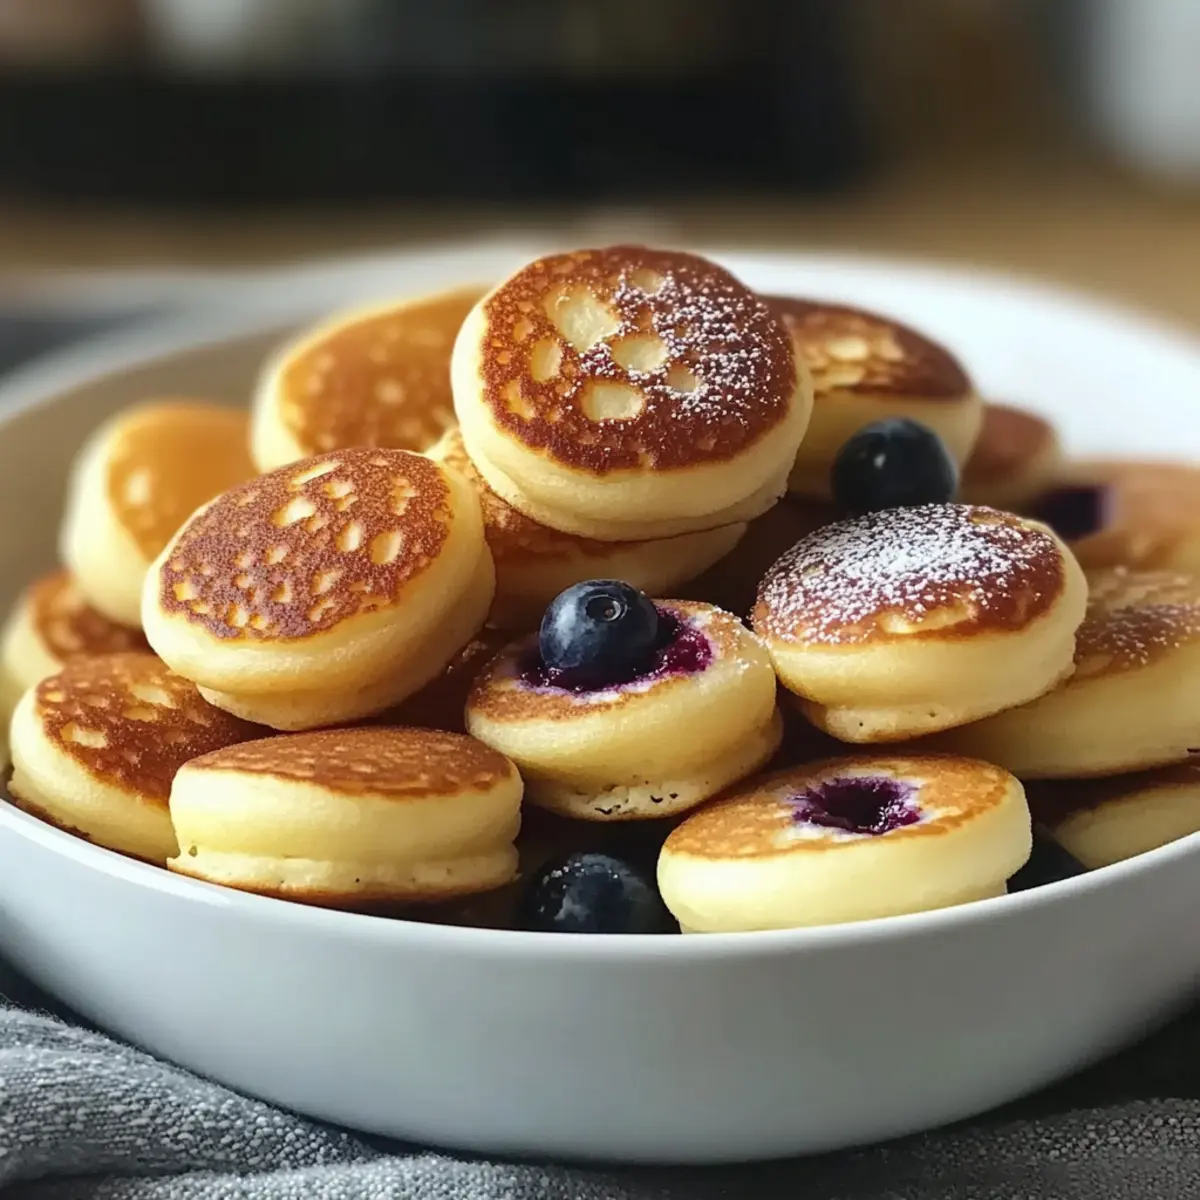
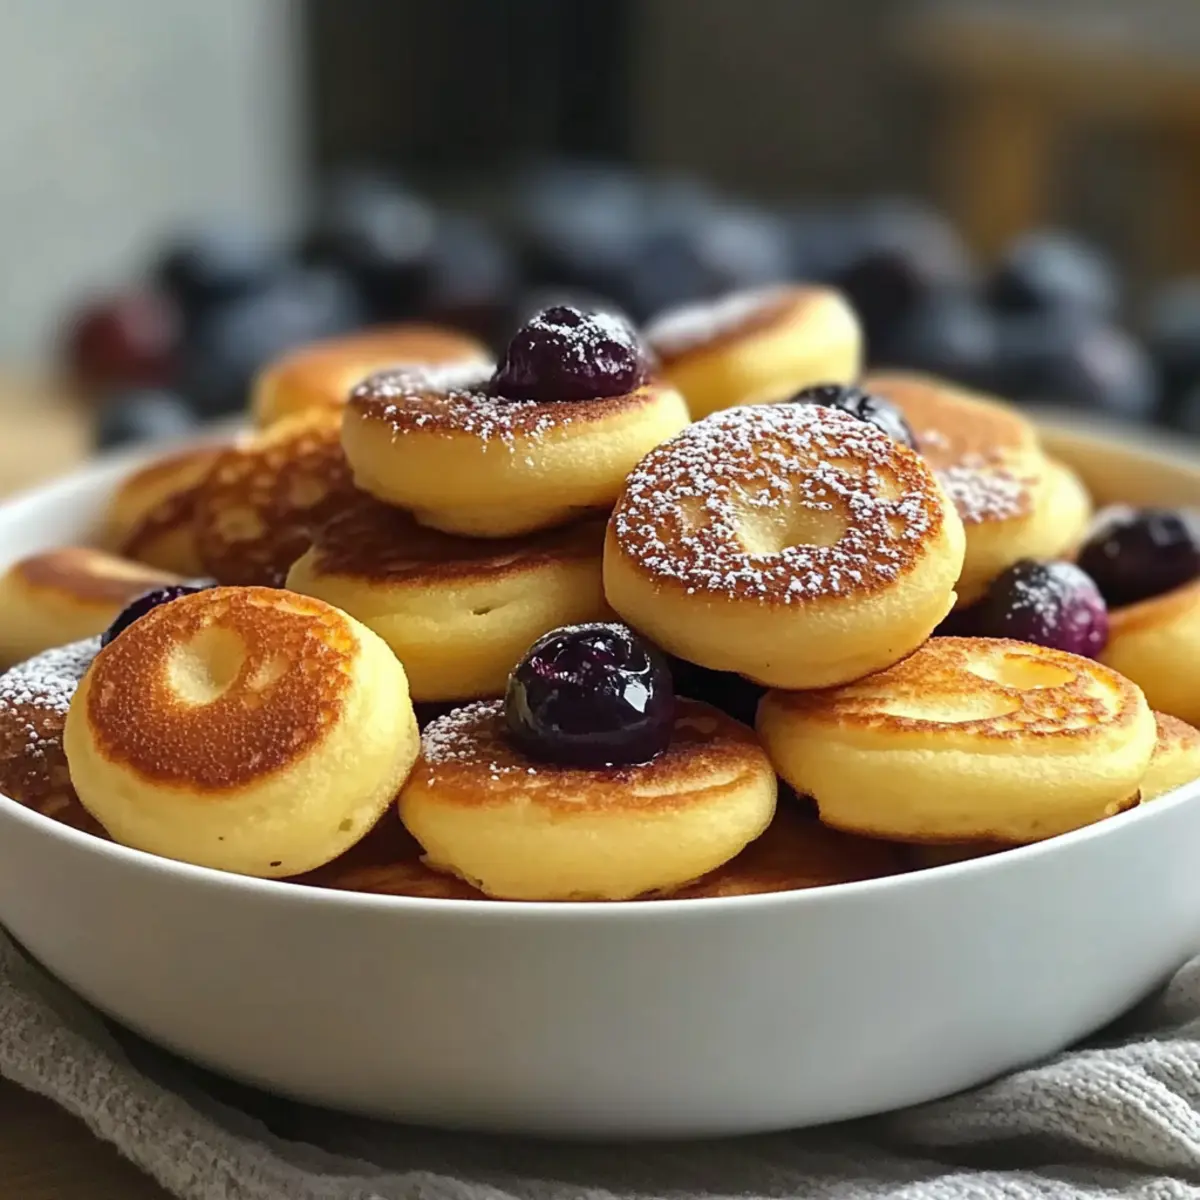
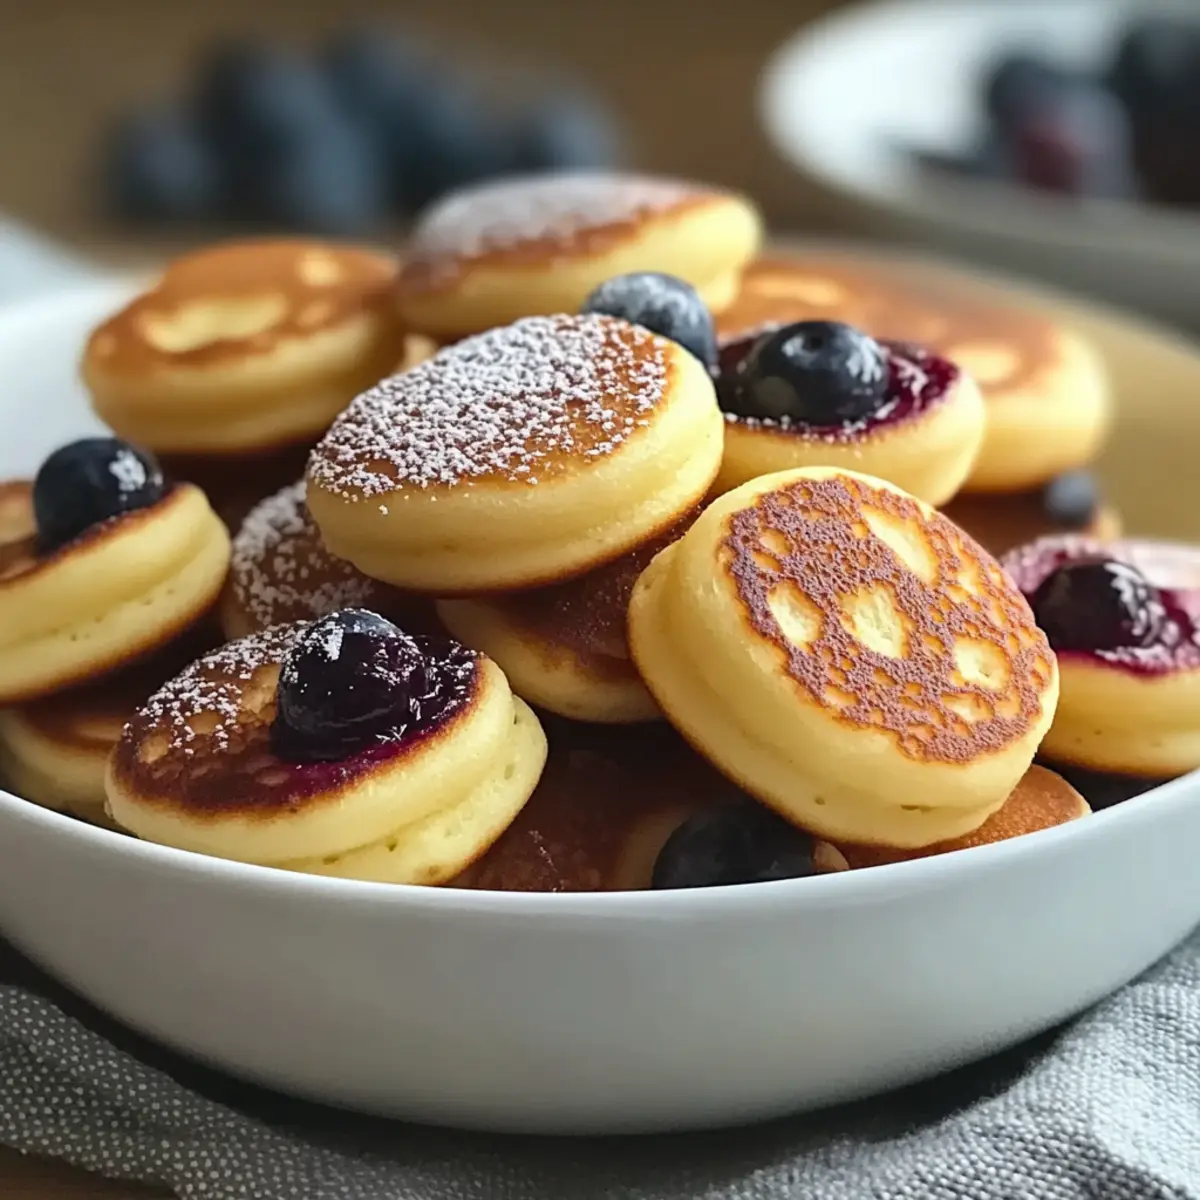
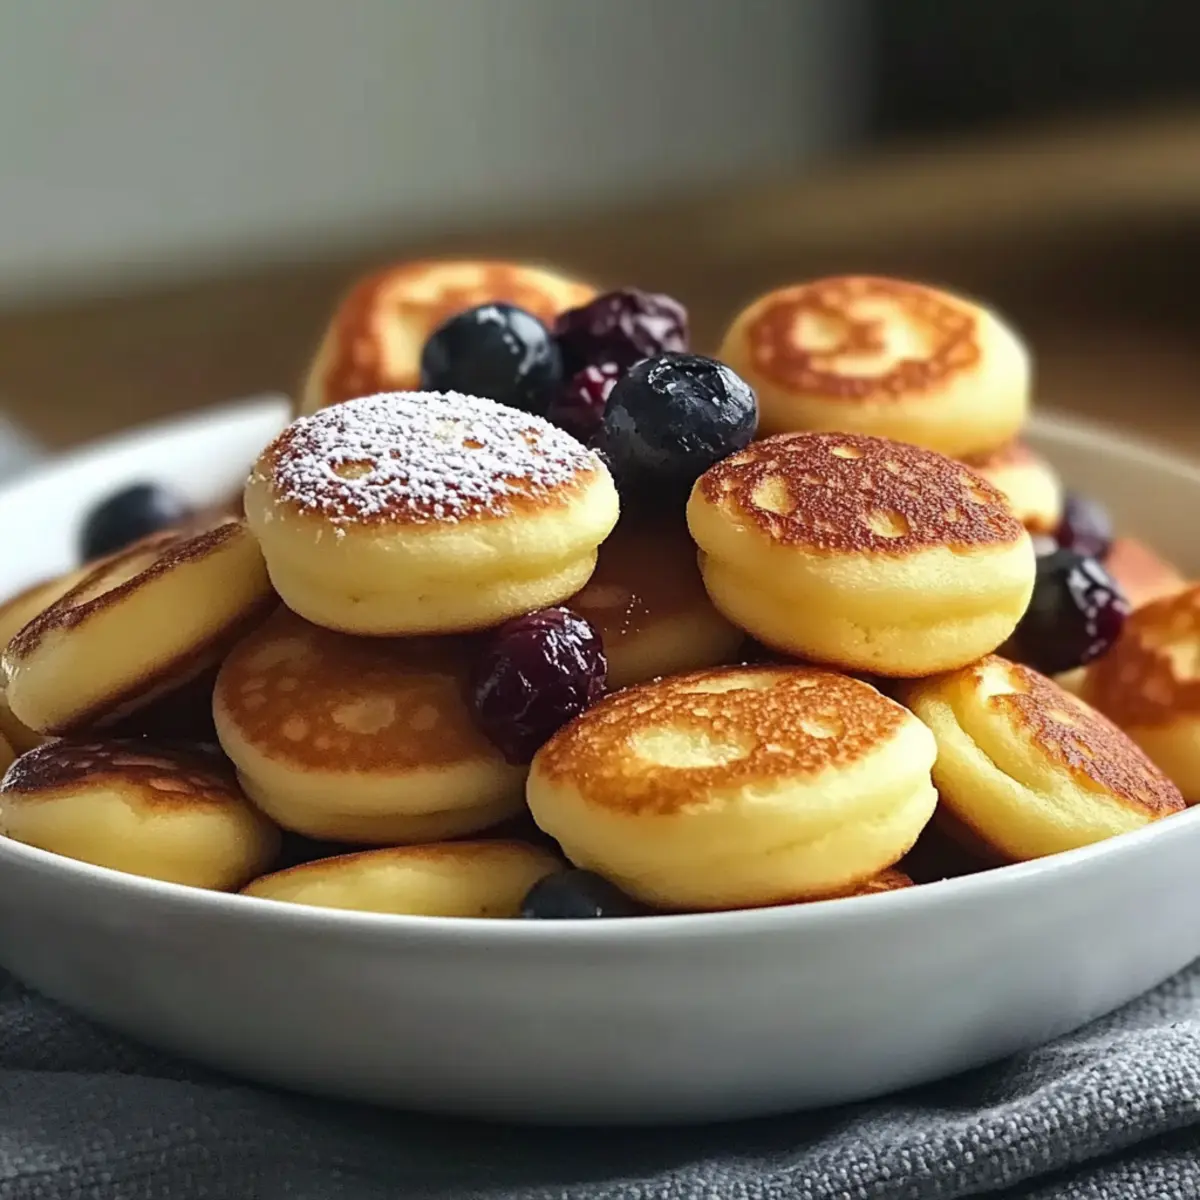
“Why settle for boring breakfasts?” I overheard a friend exclaim as she discovered my latest creation: fluffy breakfast pancake poppers. These delightful bites are like the best of pancakes in a fun, portable form, and they fill your kitchen with a warm, inviting aroma that’s hard to resist. With the added bonus of gluten-free options and customizable mix-ins like mini chocolate chips or berries, these pancake poppers are perfect for everyone—adults and kids alike! They make mornings less hectic with a quick prep time and can even be made ahead for those busy weekdays. Wondering how to elevate your breakfast game? Join me as we dive into a recipe that promises both convenience and a touch of comfort!
Why Pancake Poppers Are A Must-Try?
Simplicity: These Fluffy Pancake Poppers are shockingly easy to whip up, thanks to the straightforward recipe that requires minimal kitchen skills.
Versatile: Customize the flavor with optional mix-ins like mini chocolate chips or blueberries, making them a hit with both kids and adults!
Make-Ahead Magic: Prepare the batter the night before and pop them in the oven for a fast and stress-free breakfast when morning rush strikes.
Low-calorie Delight: At approximately 80 calories each, these poppers are a lighter alternative to traditional pancakes without sacrificing taste.
Crowd-Pleasing Appeal: Perfect for brunch gatherings or a quiet Sunday morning, they’re sure to impress anyone who takes a bite! For more quick breakfast ideas, check out our Healthy Breakfast Recipes.
Pancake Poppers Ingredients
Let’s gather everything you need to create these delightful pancake poppers!
For the Batter
- All-Purpose Flour – Provides structure for fluffy poppers; use a 1:1 gluten-free flour blend for gluten-free options.
- Sugar – Adds sweetness to balance flavors beautifully.
- Baking Powder – Acts as a leavening agent, ensuring the poppers rise and stay fluffy.
- Salt – Enhances overall flavor for a delicious bite.
- Milk – Moistens the batter; substitute with almond or oat milk for a dairy-free version.
- Large Egg – Binds ingredients together, adding richness to each popper.
- Melted Butter – Incorporates fat for flavor and tenderness; opt for dairy-free butter if lactose intolerant.
- Vanilla Extract – Infuses aromatic sweetness into the batter.
Optional Mix-Ins
- Mini Chocolate Chips – Add for a sweet, indulgent touch; completely optional but oh-so-delicious!
- Blueberries – Bring a burst of fruitiness; optional but a favorite among many.
- Cinnamon – Sprinkle in for a warm, cozy flavor; optional yet delightful.
Step‑by‑Step Instructions for Pancake Poppers
Step 1: Preheat and Prepare
Begin by preheating your oven to 375°F (190°C). While it warms, grease a mini muffin pan generously with cooking spray or melted butter to ensure your pancake poppers lift out easily after baking. Gather your ingredients nearby to streamline the process, setting the stage for a delightful breakfast experience.
Step 2: Combine Dry Ingredients
In a large mixing bowl, whisk together 1 cup of all-purpose flour, 2 tablespoons of sugar, 2 teaspoons of baking powder, and a pinch of salt. This step creates the base for your pancake poppers, ensuring they’ll be light and fluffy. Look for the flour mixture to become well-blended without any dry spots before moving on to the wet ingredients.
Step 3: Mix Wet Ingredients
In a separate bowl, mix together ¾ cup of milk, 1 large egg, 2 tablespoons of melted butter, and 1 teaspoon of vanilla extract until everything is thoroughly combined. This combination will add richness and moisture to your pancake poppers. Once mixed, you should see a smooth, creamy texture that will beautifully meld with the dry ingredients.
Step 4: Combine Wet and Dry Mixtures
Gently fold the wet mixture into the bowl of dry ingredients using a spatula. Stir just until combined, keeping some lumps in the batter for that signature fluffy texture. Be careful to avoid overmixing, as this can lead to dense poppers. The batter should look slightly lumpy but thoroughly incorporated for optimal fluffiness.
Step 5: Fill the Muffin Tin
Carefully fill each cup of the greased mini muffin pan about two-thirds full with the batter. If you’re feeling adventurous, sprinkle in your choice of mini chocolate chips or blueberries atop each filled cup for added flavor. This part is crucial as it allows the poppers to rise without overflowing.
Step 6: Bake to Perfection
Place the muffin pan in your preheated oven and bake for 10-12 minutes. Keep an eye on the clock; you’ll know they are done when they turn a golden brown and a toothpick inserted in the center comes out clean. The poppers should spring back slightly when touched, ensuring a perfectly fluffy texture.
Step 7: Cool and Serve
Once baked, remove the pan from the oven and allow the pancake poppers to cool slightly for a couple of minutes. Gently pop them out of the muffin tin and place them on a wire rack. Serve warm alongside maple syrup, fresh fruit, or yogurt, and relish the delightful flavors of your fluffy pancake poppers!
Pancake Poppers: Endless Variations Await!
Let your creativity shine as you adapt these pancake poppers to suit your taste buds and preferences.
-
Gluten-Free: Replace all-purpose flour with a gluten-free flour blend for a deliciously tender treat without the gluten.
-
Dairy-Free Delight: Use almond milk or oat milk instead of regular milk, and switch the butter for a dairy-free variety, making these suitable for lactose-intolerant friends.
-
Fruit Fantasies: Incorporate fresh or frozen blueberries, raspberries, or sliced bananas for a fruity explosion of flavor that makes mornings brighter!
-
Chocolate Lovers: Add mini chocolate chips to the batter or sprinkle them on top before baking. It’s an easy way to indulge the sweet tooth of any pancake popper fan!
-
Spiced Up: Mix in a teaspoon of cinnamon or a pinch of nutmeg to warm up the flavor profile—perfect for cozy breakfast vibes!
-
Savory Swap: Experiment with crumbled bacon, shredded cheese, or herbs for a savory twist that’s perfect for brunch or breakfast-for-dinner nights.
-
Maple-Infused: Drizzle some maple syrup directly into the batter for a subtly sweet tackle that intensifies with every bite!
-
Nutty Crunch: Stir in some chopped walnuts or pecans to add a satisfying crunch and a touch of healthy fats, making these poppers heartier and more filling.
For more easy substitutions or delightful recipe ideas, check out our Healthy Breakfast Recipes or explore fun ideas by incorporating fresh fruits from our Fruit Salad Guide.
How to Store and Freeze Pancake Poppers
Airtight Container: Store leftover pancake poppers in an airtight container and keep them in the fridge for up to 3 days to maintain freshness.
Freezing Tip: For longer storage, freeze pancake poppers in a single layer on a baking sheet before transferring them to a freezer-safe bag or container. They can be frozen for up to 1 month.
Reheating Instructions: To enjoy the fluffy goodness again, simply microwave frozen pancake poppers for about 15 seconds until warmed through. Perfect for a quick breakfast pick-me-up!
Tips for the Best Pancake Poppers
-
Mix with Care: Avoid overmixing the batter; a few lumps are fine. Overmixing can make your pancake poppers dense instead of fluffy.
-
Keep Cool: Allow melted butter to cool slightly before adding it to the batter. This prevents cooking the egg and keeps the batter smooth.
-
Airtight Storage: Store any leftover pancake poppers in an airtight container for up to 3 days, or freeze them for a quick breakfast later.
-
Reheat for Freshness: To enjoy your frozen pancake poppers, reheat in the microwave for 15 seconds, restoring their fluffy texture.
-
Experiment with Mix-Ins: Don’t hesitate to try different mix-ins like nuts or other fruits. This adds versatility to your pancake poppers and keeps things exciting!
Make Ahead Options
These Fluffy Pancake Poppers are perfect for meal prep, allowing you to kick-start your busy mornings with ease! You can prepare the batter up to 24 hours in advance by mixing all the wet and dry ingredients, then refrigerating it until you’re ready to bake. To maintain their delightful fluffy texture, cover the bowl tightly with plastic wrap to avoid drying out. When you’re ready to serve, simply fill a greased mini muffin pan and bake as directed. You can also cool any leftover pancake poppers and store them in an airtight container for up to 3 days—just reheat in the microwave for quick breakfasts or snacks throughout the week!
What to Serve with Fluffy Breakfast Pancake Poppers
Imagine starting your day with a plate of fluffy bites that transform morning routines into delightful experiences, perfect for sharing or enjoying solo.
-
Maple Syrup: A drizzle of warm maple syrup adds a sweet touch that perfectly complements the light flavors of the pancake poppers.
-
Fresh Berries: Bright bursts of flavor from strawberries or raspberries not only enhance the dish but also introduce a refreshing contrast.
-
Whipped Cream: A dollop of fluffy whipped cream transforms your poppers into a dreamy breakfast treat that feels like dessert.
-
Yogurt Parfait: Layer tangy yogurt with fruits and granola for a nutritious side that adds texture and creaminess alongside your poppers.
-
Savory Bacon: Crispy bacon adds a salty crunch that plays beautifully against the sweet pancake poppers, creating an exciting flavor combination.
-
Smoothies: A chilled fruit smoothie can harmonize with the sweetness of the poppers while providing a refreshing balance.
-
Coffee or Tea: Sip on your favorite morning beverage to round out this delightful breakfast, enhancing the cozy atmosphere of the meal.
-
Cinnamon Sugar Dusting: For a whimsical touch, sprinkle a light dusting of cinnamon sugar over the poppers for a warming flavor boost.
-
Nut Butter: Spread almond or peanut butter on each popper for added creaminess and protein, making them even more satisfying.
-
Chocolate Drizzle: For an indulgent treat, drizzle melted chocolate on top to elevate your pancake poppers into a decadent breakfast experience.
Fluffy Breakfast Pancake Poppers Recipe FAQs
What is the best type of flour to use for pancake poppers?
To achieve fluffy pancake poppers, all-purpose flour works wonderfully. If you’re looking for a gluten-free alternative, I recommend using a 1:1 gluten-free flour blend. This keeps the texture light and airy just like the original version!
How should I store pancake poppers after baking?
Absolutely! Store leftover pancake poppers in an airtight container in the refrigerator for up to 3 days. This helps retain their delicious fluffiness. Just ensure they are cooled completely before sealing to avoid condensation.
Can I freeze pancake poppers?
Yes, you can! For freezing, first place the cooled pancake poppers in a single layer on a baking sheet. Freeze until solid, then transfer them to a freezer-safe bag or container. They can be stored for up to 1 month! When you’re ready to enjoy them, simply microwave for about 15 seconds until warmed through.
What should I do if my pancake poppers turn out dense?
If your pancake poppers come out dense, it’s likely due to overmixing the batter. Remember, a few lumps are good! Mixing until just combined helps keep them light and fluffy. Also, double-check that your baking powder is still fresh, as expired leavening agents can affect the rise.
Are pancake poppers suitable for kids with allergies?
Definitely! This recipe can be adapted for different dietary needs. For those with egg allergies, consider using a flax egg (1 tablespoon of ground flaxseed mixed with 2.5 tablespoons of water) for binding. Always check labels for any specific allergens when selecting your ingredients.
Can I prepare the batter in advance?
Yes, prepping is a breeze! You can make the batter the night before and store it in the fridge for up to 24 hours. Just give it a good stir before pouring into the muffin tin and bake fresh pancake poppers in the morning for a quick and delightful start to your day.
Fluffy Pancake Poppers: Delicious and Easy for Breakfast Bliss
Ingredients
Equipment
Method
- Preheat your oven to 375°F (190°C) and grease a mini muffin pan.
- In a large bowl, whisk together flour, sugar, baking powder, and salt.
- In a separate bowl, mix milk, egg, melted butter, and vanilla extract.
- Fold the wet mixture into the dry ingredients until just combined.
- Fill the greased muffin pan two-thirds full with batter and add optional mix-ins.
- Bake for 10-12 minutes until golden brown and a toothpick comes out clean.
- Cool slightly before removing from the pan and serve warm.
Leave a Reply