
There’s something irresistible about a sweet treat that requires zero baking. That’s why I can’t wait to share my No-Bake Peanut Butter Coconut Chocolate Balls with you—your new go-to for a quick snack. These scrumptious bites fuse creamy peanut butter with crunchy puffed rice, all wrapped in a heavenly layer of melted chocolate. Not only can you whip these up in about 30 minutes, but they’re also perfect for stashing in the fridge or freezer for a last-minute dessert or lunch box addition. Plus, they’re easily customizable, so you can make them exactly how you like, whether you prefer almond butter or an extra dash of coconut. Ready to learn how to create these delightful morsels? Let’s get started on this quick and delicious journey!
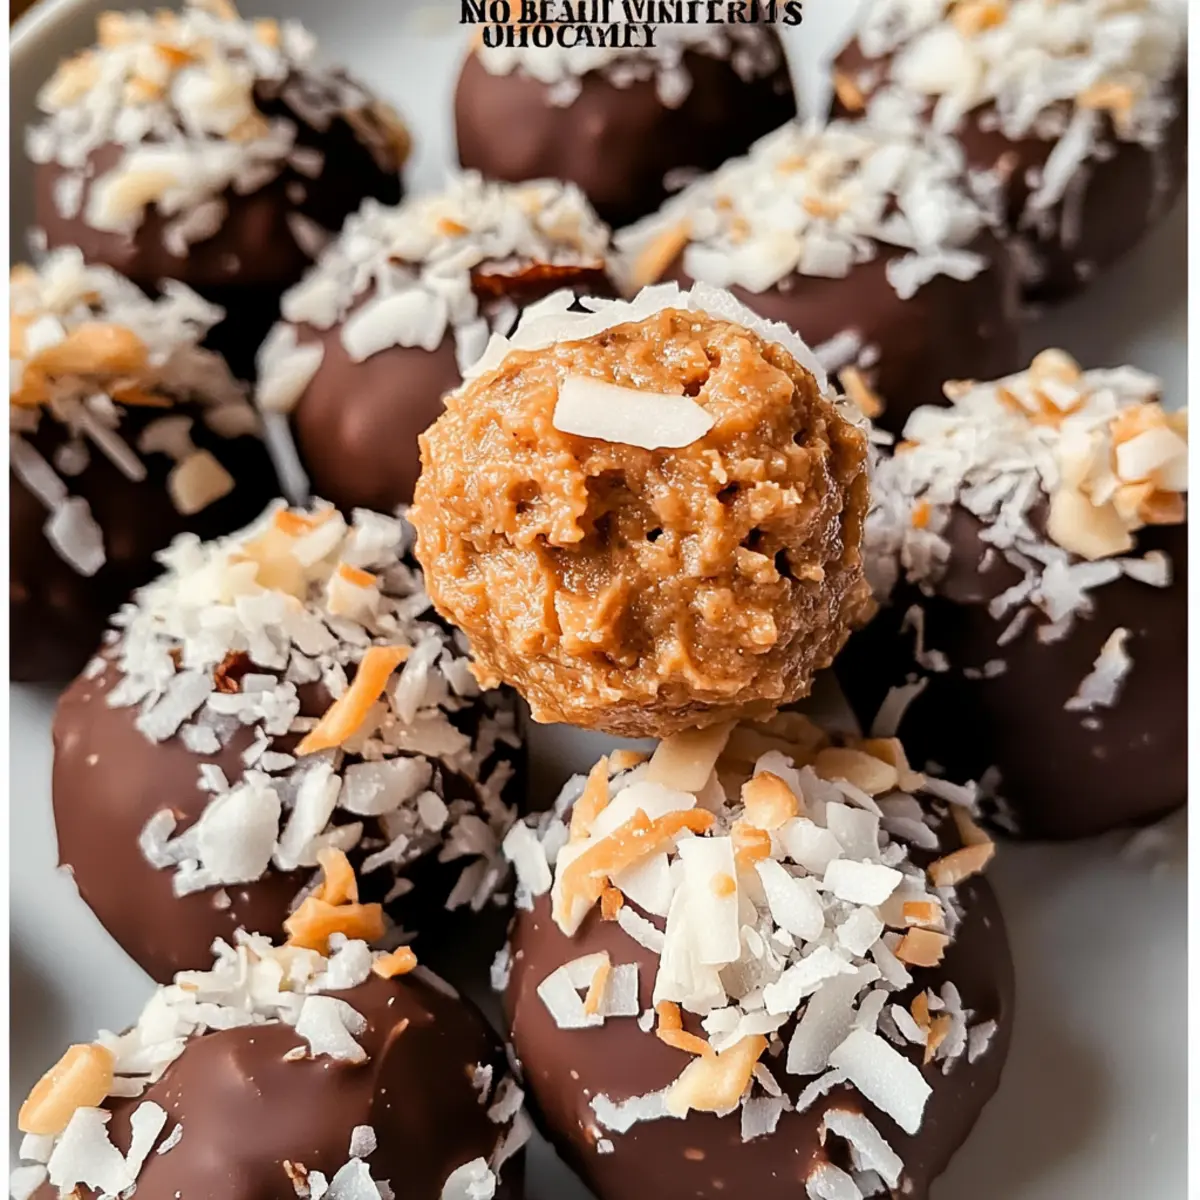
Why Are These Chocolate Balls So Special?
No-Bake Delight: These Peanut Butter Coconut Chocolate Balls are incredibly quick to make, taking just 30 minutes from start to finish!
Customizable: Feel free to mix and match ingredients! Swap peanut butter with almond butter or add dried fruits for a personalized twist.
Texture Perfection: Enjoy the delightful contrast between a crispy chocolate shell and a chewy, nutty center with every bite.
Healthier Indulgence: Packed with protein and healthy fats, these treats are a guilt-free way to satisfy your sweet tooth. Want something equally delicious? Check out my Crockpot Garlic Butter Beef Bites with Potatoes for a savory contrast!
Crowd-Pleaser: Perfect for gatherings, they’re sure to impress guests and keep little ones happy in lunchboxes!
Peanut Butter Coconut Chocolate Balls Ingredients
For the Chocolate Coating
• Semi-Sweet Chocolate – This rich coating adds a sweet finish; for a vegan option, choose dairy-free chocolate chips.
For the Filling
• Peanut Butter – The main binding agent providing creaminess; almond or sunflower seed butter can be used for nut-free versions.
• Puffed Rice Cereal – Adds that satisfying crunch; swap with additional fine coconut for a denser chew.
• Chopped Nuts – Offers added crunch and nutritional benefits; feel free to choose your favorites or omit for a nut-free treat.
• Fine Coconut – Contributes delightful texture and taste; can be replaced with more puffed rice if desired.
Dig into these Peanut Butter Coconut Chocolate Balls that are as versatile as they are delicious!
Step‑by‑Step Instructions for Peanut Butter Coconut Chocolate Balls
Step 1: Prepare the Mixture
In a large mixing bowl, combine creamy peanut butter, puffed rice cereal, chopped nuts, and fine coconut until the mixture is well blended. Use a sturdy spatula to mix thoroughly, ensuring that everything is evenly coated. This step is crucial for achieving the perfect texture in your Peanut Butter Coconut Chocolate Balls. Set the mixture aside for a moment while you prepare for the next step.
Step 2: Chill the Mixture
If the mixture feels too loose to shape, cover the bowl with plastic wrap and place it in the refrigerator for about 10-15 minutes. Chilling helps the mixture firm up, making it easier to roll into balls later. Check after 10 minutes; it should hold its shape when pressed. Once ready, remove it from the fridge, and let’s get to forming those delicious treats!
Step 3: Shape the Balls
Using your hands, scoop out small portions of the chilled mixture and roll them into balls about 1 inch in diameter. Place the formed balls on a parchment-lined baking sheet, ensuring they are spaced apart to prevent sticking. This step is where your Peanut Butter Coconut Chocolate Balls start to take form, so take your time to roll them into nice round shapes.
Step 4: Melt the Chocolate
In a microwave-safe bowl, add semi-sweet chocolate chips. Heat in the microwave in 30-second increments, stirring after each until fully melted and smooth. Be careful not to overheat the chocolate, as it can seize. Once melted, dip each peanut butter ball into the chocolate, using a fork to ensure it’s completely coated, letting any excess chocolate drip off.
Step 5: Set the Coated Balls
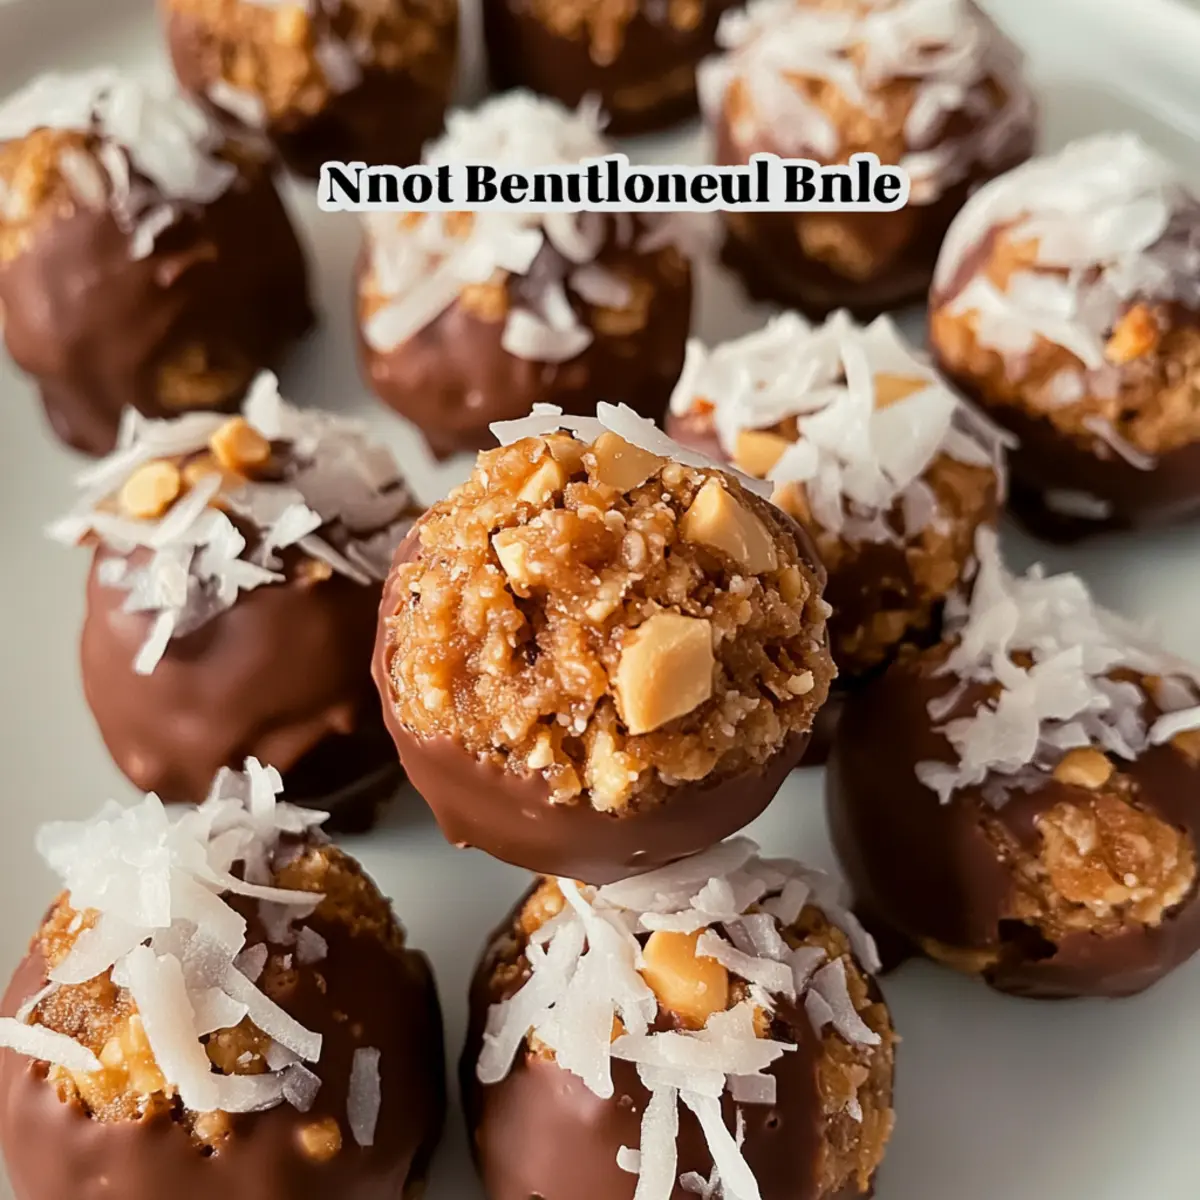
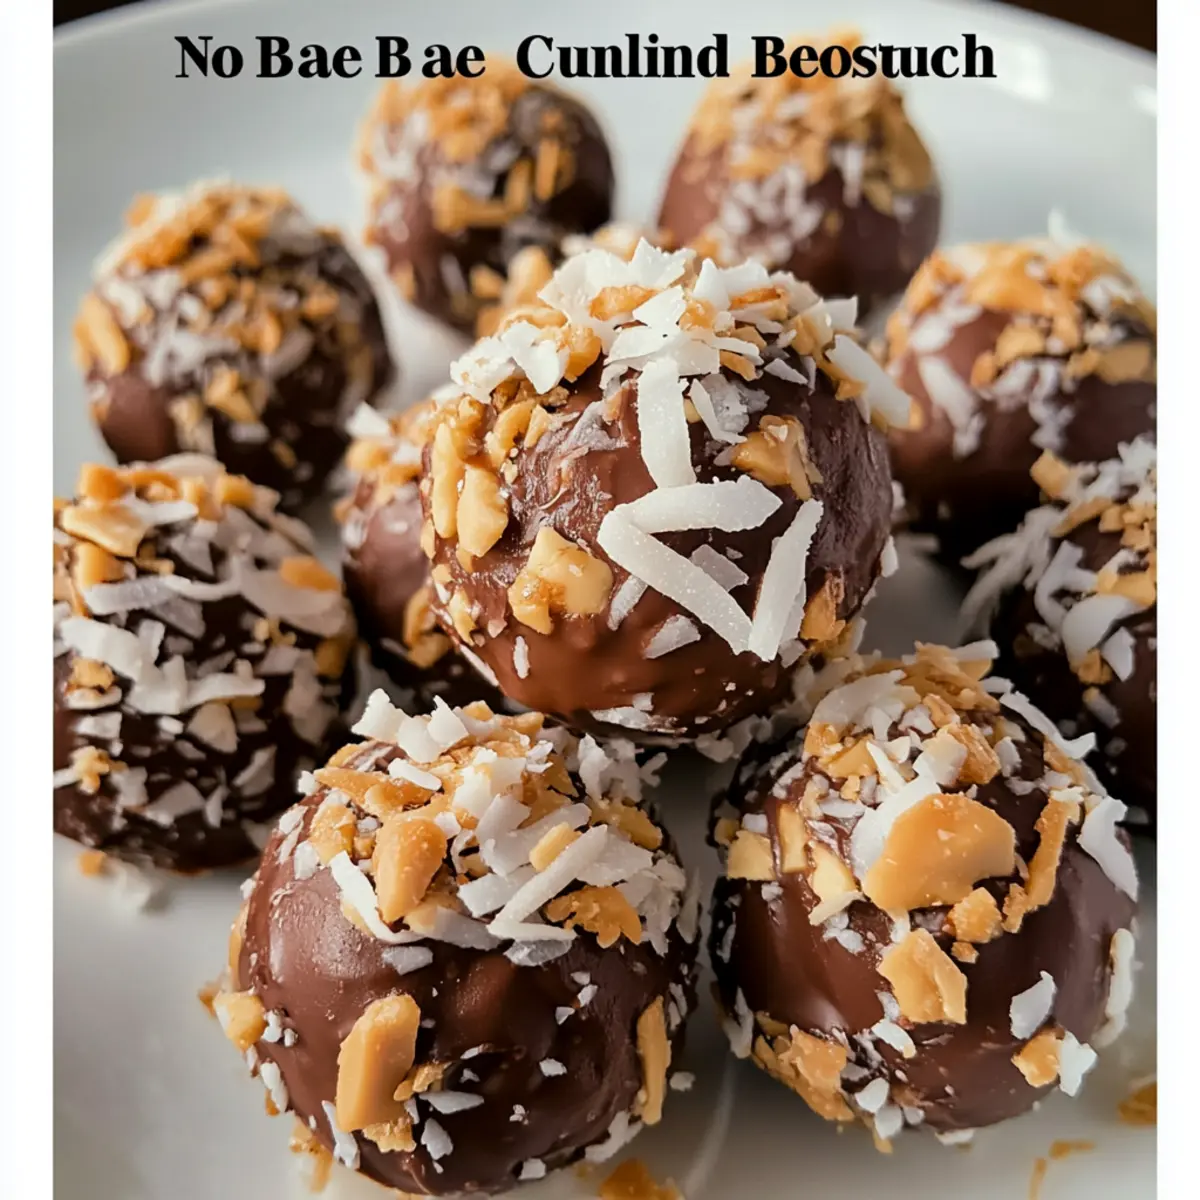
Return the chocolate-coated Peanut Butter Coconut Chocolate Balls to the parchment-lined baking sheet. Once all the balls are coated, place them back in the refrigerator for about 10-15 minutes, or until the chocolate has completely set. This final step solidifies your treats, creating that delightful crisp chocolate shell that pairs perfectly with the chewy center.
What to Serve with Peanut Butter Coconut Chocolate Balls?
These delightful bites pair seamlessly with a variety of sides, drinks, and treats to create the perfect indulgent meal or snack experience.
-
Creamy Yogurt Parfait: Layered yogurt with fresh fruits adds a tangy contrast, balancing the sweetness of the chocolate balls.
-
Fresh Fruit Skewers: Juicy, seasonal fruits like strawberries and pineapple provide a refreshing crunch that beautifully complements the rich flavors.
-
Chilled Almond Milk: Its subtle nuttiness and creaminess create a refreshing, smooth pairing that enhances every bite of your chocolate balls.
-
Crunchy Granola: A sprinkle of granola offers an extra crunch and nutty flavor, making for an exciting texture variation against the soft centers.
-
Homemade Trail Mix: Mix nuts, seeds, and dried fruits for a savory snack option that pairs well with their sweetness—great for on-the-go enjoyment.
-
Decadent Coffee: A hot cup of rich coffee brings a deep, bold flavor that enhances the chocolatey goodness of these no-bake treats.
-
Chocolate-Dipped Fruits: Adding fruits like bananas or apples dipped in chocolate creates a deliciously fruity addition that echoes the flavors of the chocolate balls.
-
Salted Caramel Dip: Drizzling or serving with a side of homemade salted caramel elevates the experience with a sweet-salty twist.
Make Ahead Options
These Peanut Butter Coconut Chocolate Balls are an excellent choice for meal prep, saving you time during busy weeknights! You can prepare the filling mixture—peanut butter, puffed rice cereal, chopped nuts, and fine coconut—up to 24 hours in advance. Simply mix everything, chill it for 10-15 minutes until firm, then store it in an airtight container in the refrigerator. When you’re ready to finish, roll the mixture into balls, dip them in melted chocolate, and let them set for about 10-15 minutes. By prepping ahead, you’ll maintain the delightful textures and flavors, making your treats just as delicious on day two or three!
Peanut Butter Coconut Chocolate Balls Variations
Feel free to let your creativity shine as you make these delicious treats your own!
-
Nut-Free: Substitute peanut butter with sunflower seed butter for a nut-free delight that everyone can enjoy.
Skip the nuts altogether to keep it safe for allergies. -
Coconut Lover’s Dream: Add extra fine coconut to the filling for an intense coconut flavor that will make these bites even more irresistible.
This twist is sure to satisfy all coconut enthusiasts! -
Dairy-Free: Use dairy-free chocolate chips instead of semi-sweet chocolate to whip up a vegan version of these delightful chocolate balls.
Making indulgence accessible for everyone makes dessert even sweeter! -
Crispy Quinoa: Swap puffed rice with puffed quinoa for an intriguing crunch that adds a unique twist to your chocolate balls.
This gluten-free alternative gives a delightful texture change worth trying! -
Fruity Burst: Mix in dried fruits such as cranberries or raisins for added sweetness and nutritional boosts.
The chewy fruits add a lovely surprise in each bite, making every treat feel special. -
Spicy Kick: Add a pinch of cayenne or cinnamon to the chocolate coating for a hint of heat.
This unexpected touch creates a delicious contrast and will intrigue your taste buds! -
Chunky Monkey: Fold in mini chocolate chips and banana pieces for a fun take reminiscent of the classic flavor combo.
It’s a playful and delightful twist that pays homage to a beloved treat.
For more sweet options, check out my Moist Chocolate Chip Banana Bread recipe, perfect for pairing with these heavenly bites!
How to Store and Freeze Peanut Butter Coconut Chocolate Balls
Fridge: Store these delicious Peanut Butter Coconut Chocolate Balls in an airtight container for up to one week. This keeps them fresh and ready for snacking!
Freezer: For longer storage, freeze them for up to two months. Layer the balls between sheets of wax paper to prevent sticking and ensure easy removal later.
Reheating: There’s no need to reheat these treats! Just grab one straight from the fridge or freezer for a cold, delightful snack whenever you crave it.
Thawing: If frozen, let them thaw in the fridge for a few hours or at room temperature for about 30 minutes before enjoying.
Expert Tips for Peanut Butter Coconut Chocolate Balls
-
Prep the Peanut Butter: Ensure your peanut butter is well stirred before measuring to achieve consistent texture throughout your Peanut Butter Coconut Chocolate Balls.
-
Cooling is Key: If the mixture feels too loose, make sure to chill it briefly. This helps it firm up, making the shaping process much easier.
-
Gentle Melting: When melting the chocolate, do it slowly. Overheating can cause the chocolate to seize, leading to a frustrating coating experience.
-
Rolling Technique: Use slightly damp hands for shaping the balls to prevent sticking. This small trick will help you achieve perfect round shapes.
-
Chill to Set: Allow enough time in the fridge for the chocolate to fully set. This will give your treats that irresistible crispy outer layer!
Peanut Butter Coconut Chocolate Balls Recipe FAQs
How do I choose the right peanut butter for this recipe?
Absolutely! It’s best to use creamy peanut butter that is well-stirred before measuring. This ensures a smooth consistency throughout your Peanut Butter Coconut Chocolate Balls. If you have nut allergies or prefer a different flavor, almond or sunflower seed butter are fantastic substitutes.
How should I store the Peanut Butter Coconut Chocolate Balls?
For fresh enjoyment, store your Peanut Butter Coconut Chocolate Balls in an airtight container in the fridge for up to one week. This keeps them at their best while you snack away on these delightful treats!
Can I freeze Peanut Butter Coconut Chocolate Balls?
Yes, very! To freeze your Peanut Butter Coconut Chocolate Balls, layer them between sheets of wax paper in an airtight container. This helps prevent them from sticking together. They can stay frozen for up to 3 months, and simply thaw them in the fridge or at room temperature before enjoying!
What should I do if my mixture is too loose?
If your mixture feels loose and hard to shape, don’t worry! Chill it in the fridge for about 10-15 minutes. This will help it firm up, making it easier to roll into nice round balls and get the desired texture for your Peanut Butter Coconut Chocolate Balls.
Are there any allergy considerations for this recipe?
Yes! When making these delightful treats, keep in mind any nut allergies if using traditional peanut butter. You can easily swap in sunbutter for a nut-free option. Additionally, if you’re using chocolate, check the packaging for any dairy content if you need a dairy-free version. Always ensure ingredients align with your dietary needs!
How long can I keep these chocolate balls in the refrigerator?
You can generally keep your Peanut Butter Coconut Chocolate Balls in the fridge for about 5 to 7 days, making them a perfect option for quick treats. Just make sure to store them in an airtight container to maintain their delicious flavor and texture!
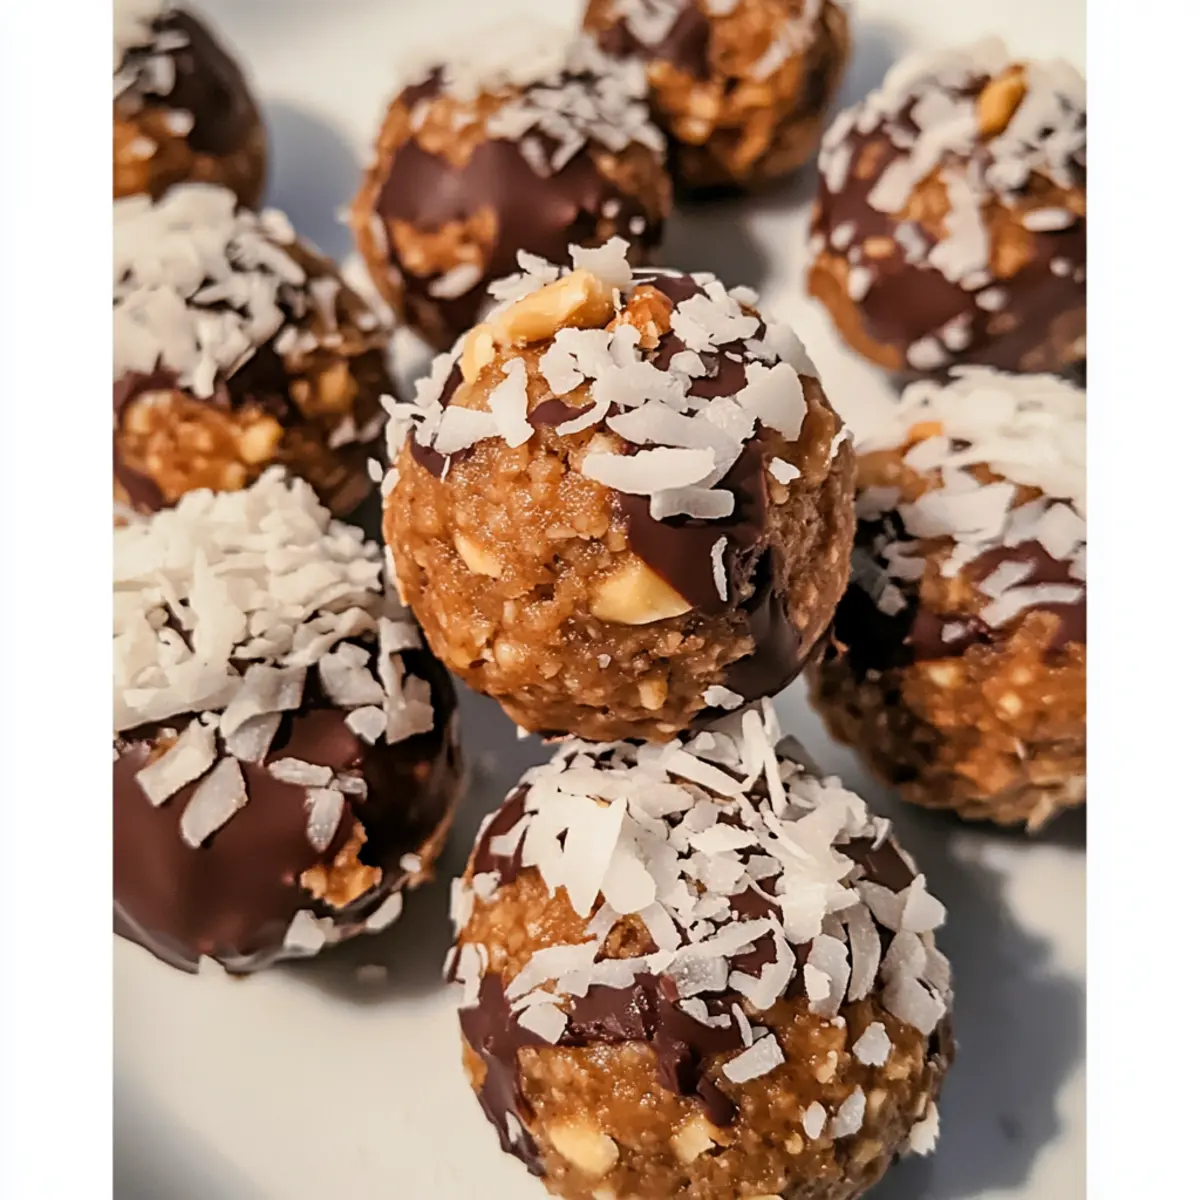
Irresistible Peanut Butter Coconut Chocolate Balls in 30 Minutes
Ingredients
Equipment
Method
- In a large mixing bowl, combine creamy peanut butter, puffed rice cereal, chopped nuts, and fine coconut until well blended.
- If the mixture feels too loose, cover it with plastic wrap and refrigerate for about 10-15 minutes to firm it up.
- Scoop out small portions of the mixture and roll them into 1 inch balls, placing them on a parchment-lined baking sheet.
- Melt semi-sweet chocolate in a microwave-safe bowl in 30-second increments, stirring until smooth.
- Dip each peanut butter ball into the melted chocolate, using a fork to coat them fully, and let excess chocolate drip off.
- Return the coated balls to the baking sheet and refrigerate for about 10-15 minutes until chocolate is set.
Leave a Reply