
As I rummaged through my fridge the other day, I stumbled upon a jar of pickled pepperoncini that brought back memories of vibrant meals with a perfect kick. This quick pickling recipe lets you recreate that zingy delight at home, adding a burst of tangy flavor to everything from sandwiches to salads. In just 20 minutes of hands-on time, you’ll be rewarded with a versatile condiment packed with a unique crunch and heat. Plus, the beauty of these pickled pepperoncini lies in the freedom to customize their brine to suit your taste—experiment with different vinegars for an exciting twist. Ready to elevate your dishes and impress your guests? Let’s dive into this quick pickled pepperoncini adventure!
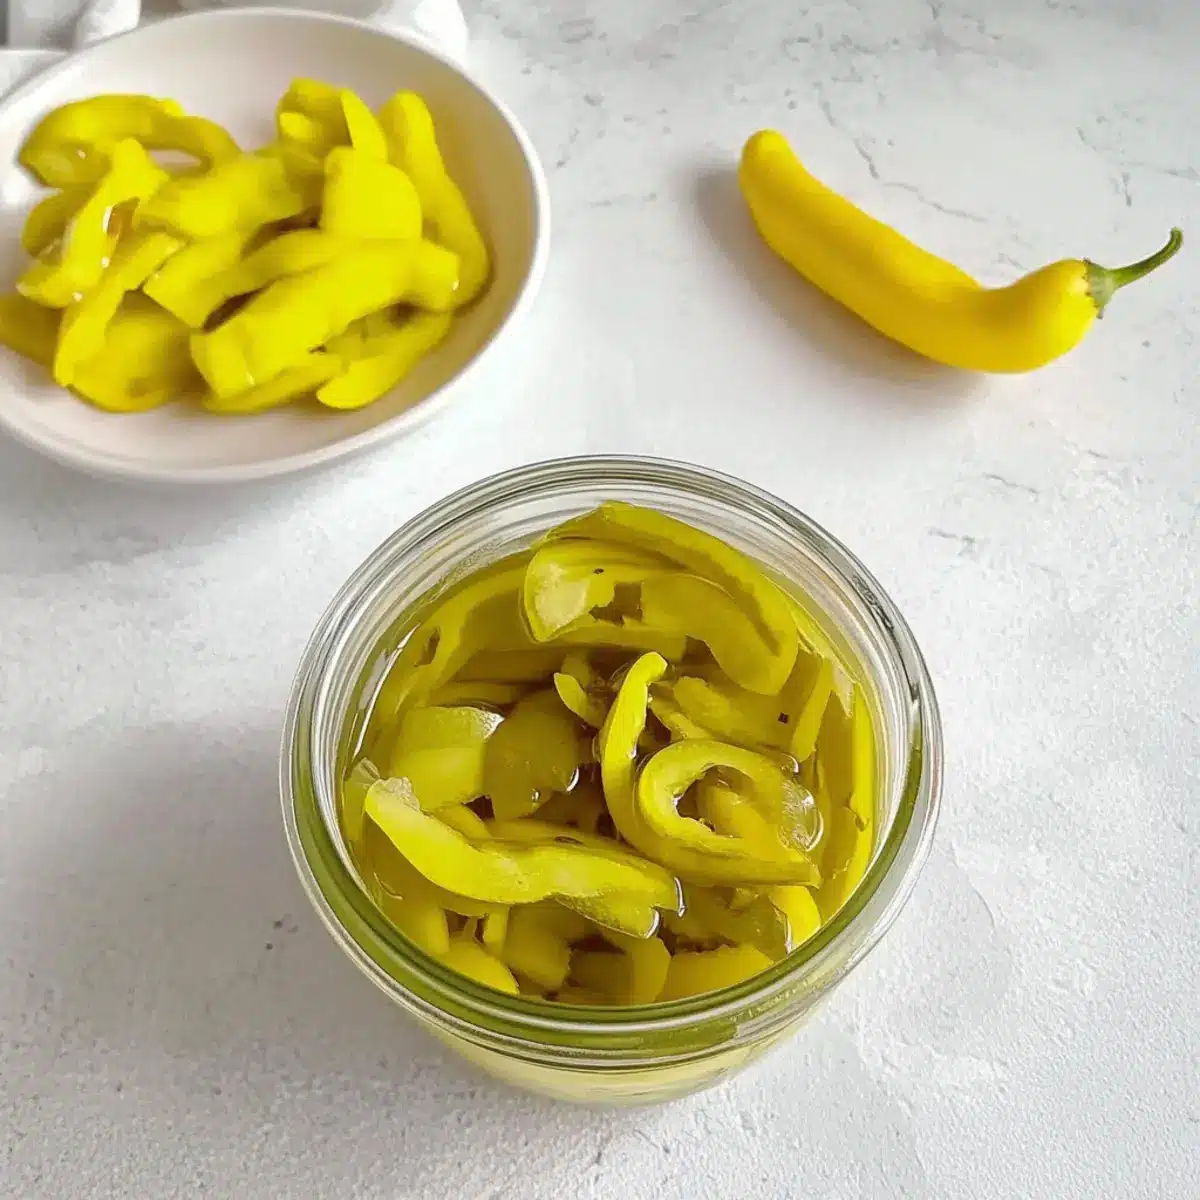
Why are Pickled Pepperoncini so Special?
Versatile Flavor Booster: Pickled pepperoncini brighten up any dish! Whether you’re topping a sandwich or tossing them in a salad, they bring a delightful zing that enhances every bite.
Quick Preparation: With just 20 minutes of active cooking time, you can whip up this tasty condiment in no time, making it perfect for busy nights.
Customizable Brine: You have the power to experiment! Use different vinegars and spices to create a unique flavor profile that suits your palate—try swapping in apple cider vinegar for a fruity twist.
Great for Batch Cooking: Make a large batch, and you’ll have an easy go-to for entertaining or meal prep. They stay fresh in the fridge for up to 2-3 weeks!
Nutrient-Rich: Packed with Vitamin C and potassium, these pickled peppers not only taste great but also boost your meals nutritionally. Give them a try and add that joyful crunch!
Pickled Pepperoncini Ingredients
• Get ready for a zesty treat!
For the Peppers
- Pepperoncini – These peppers provide vibrant heat and flavor; use fresh for optimal crunch.
For the Brine
- Distilled White Vinegar – The star of the brine; swap with apple cider vinegar for extra sweetness.
- Water – Balances the acidity; no substitutes needed for a perfect brine.
- Sea Salt – Enhances flavor while acting as a preservative; kosher salt works as an alternative.
- Turmeric – Adds beautiful color and a subtle earthy note; feel free to omit for a simpler taste.
Note: This pickled pepperoncini recipe offers the perfect base, allowing you to customize it your way!
Step‑by‑Step Instructions for Pickled Pepperoncini
Step 1: Prepare the Peppers
Begin by washing the pepperoncini under cool water to remove any dirt. Next, cut off the tops of the peppers, removing the stems. Stuff the whole peppers into a large mason jar (or divide them between two smaller jars), ensuring they’re packed snugly for a crisp bite. If you prefer slices, simply cut the peppers into rings before placing them in the jar.
Step 2: Make the Brine
In a non-reactive saucepan, combine 1 cup of distilled white vinegar, 1 cup of water, 2 tablespoons of sea salt, and 1 teaspoon of turmeric. Heat the mixture over medium heat, stirring gently until the salt fully dissolves, which typically takes about 2-3 minutes. The vibrant yellow color from the turmeric will deepen, signaling that your brine is ready to elevate the flavor of the pickled pepperoncini.
Step 3: Combine
Once the brine has dissolved and reached a gentle simmer, remove it from heat and allow it to cool slightly for about 5 minutes. Carefully pour the warm brine over the packed pepperoncini in the jar, ensuring that the peppers are fully submerged while leaving about ½ to 1 inch of space at the top. This space is crucial for allowing the flavors to meld beautifully.
Step 4: Remove Air
To enhance the crunchiness of your pickled pepperoncini, gently slide a butter knife or chopstick down the sides of the jar. This technique will help release any trapped air bubbles that could affect the pickling process. Make sure to roam around the jar to maximize air removal, which will result in a firmer texture once they’re ready to enjoy.
Step 5: Cool and Refrigerate
After ensuring all air pockets are eliminated, let the jar cool to room temperature for about 15-20 minutes. Once cooled, securely seal the jar with its lid and transfer it to the refrigerator. For optimal flavor infusion, allow the pickled pepperoncini to marinate for at least 1 hour, but ideally, wait 24 hours to savor their full tangy, spicy goodness.
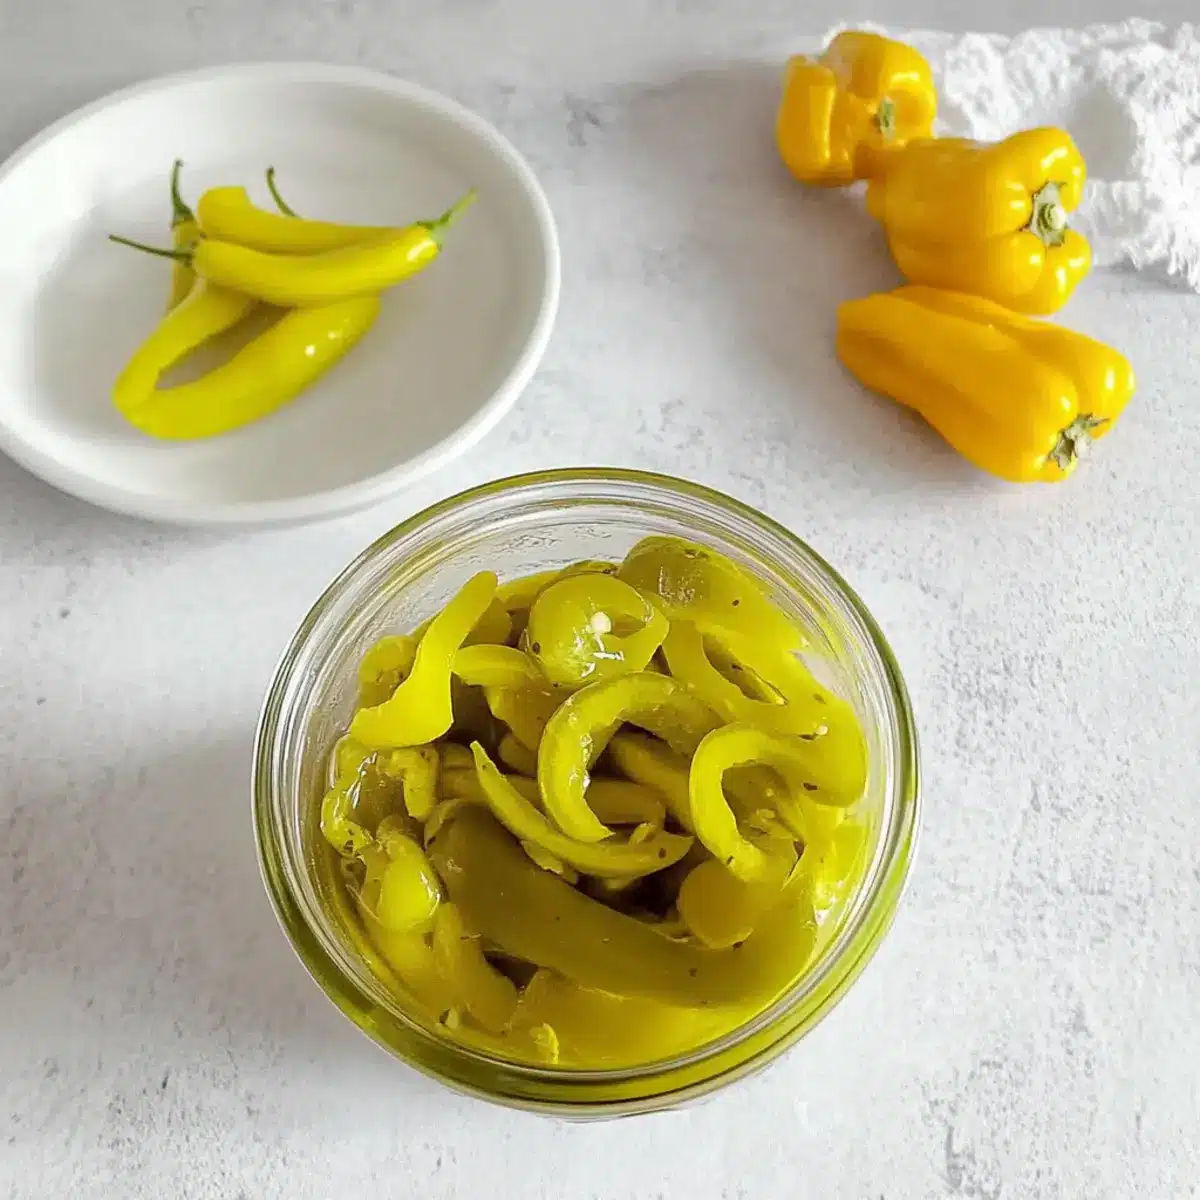
Pickled Pepperoncini: Delicious Variations Await
Feel free to explore these delightful twists and substitutions to make this recipe truly your own!
- Vinegar Varieties: Swap in apple cider or red wine vinegar for a unique flavor twist that complements the pepperoncini perfectly.
- Sugar Balance: Add a tablespoon of sugar to the brine to balance the heat and acidity, creating a more rounded taste.
- Spice It Up: Include a pinch of red pepper flakes or black peppercorns for an extra kick of heat that elevates the flavor profile beautifully.
- Herbal Infusion: Add a few sprigs of fresh herbs, like dill or thyme, to the brine for a fragrant, aromatic touch that enhances the overall flavor.
- Low-Sodium Option: Use a low-sodium salt or omit the salt altogether for a lighter version of pickled pepperoncini without compromising too much on flavor.
- Chili Zing: For those who crave extra spice, consider adding sliced jalapeños to the jar, allowing their heat to meld with the pepperoncini for added intensity.
- Garlic Lovers: Toss in a few whole cloves of garlic into the jar before sealing for a delightful infusion of garlicky goodness, perfect for flavor enthusiasts.
- Dairy-Free Option: If you prefer a creamier accompaniment, enjoy these pepperoncini with a dollop of creamy avocado dressing or homemade vegan ranch for a tasty contrast.
Remember, each variation is an opportunity to create a new and exciting version of your pickled pepperoncini, perfect for sharing at your next gathering or simply enjoying on your own! Don’t hesitate to try things like homemade ranch dressing or avocado dressing to boost your meals. Happy pickling!
Expert Tips for Pickled Pepperoncini
-
Marination Magic: Longer marination yields vibrant and bold flavors. Aim for at least 24 hours in the fridge for a well-rounded taste.
-
Canning Cautions: If you plan to can your pickled pepperoncini, always adhere to USDA guidelines to ensure food safety and longevity.
-
Start Simple: Begin with a basic brine before experimenting with spices, as the natural flavor of pepperoncini shines through without much fuss.
-
Check Crunch: To maintain that satisfying crunch, gently remove air pockets before sealing the jar. This will help prevent mushiness during the pickling process.
-
Vinegar Variety: Feel free to explore different vinegars! Each type can create distinct flavors in your pickled pepperoncini, enhancing their versatility across various dishes.
How to Store and Freeze Pickled Pepperoncini
Fridge: Keep your jar of pickled pepperoncini in the refrigerator, where they’ll stay fresh for up to 2-3 weeks. Ensure the jar is tightly sealed to maintain flavor and crunch.
Freezer: While freezing isn’t ideal for pickled items, if needed, transfer the peppers to an airtight freezer bag. They can be frozen for up to 3 months, but expect a softer texture upon thawing.
Reheating: Since pickled pepperoncini are often enjoyed cold, no reheating is necessary. Simply toss them straight from the fridge into dishes for an instant flavor boost.
Check for Freshness: Before using, ensure there’s no off smell or discoloration. Always enjoy your pickled pepperoncini at their best!
What to Serve with Quick Pickled Pepperoncini
Elevate your meals with delightful complements that enhance the tangy, spicy zing of your pickled pepperoncini.
- Creamy Pasta Salad: This dish adds a cool, creamy contrast to the pepperoncini’s heat, making every bite a flavorful balance.
- Grilled Chicken Tacos: The crunchy, zesty peppers bring a pop of flavor that pairs beautifully with grilled meats and fresh toppings.
- Robust Sandwiches: Layered between slices of hearty bread or sub rolls, these pickled gems elevate your sandwich game in a delicious way.
- Mixed Green Salad: Tossing them into salads adds a pleasing crunch, complemented by fresh veggies for a nutrient-packed meal.
- Savory Charcuterie Boards: Add pickled pepperoncini for a burst of flavor that beautifully contrasts with rich cheeses and meats.
For drink pairings, consider serving with a chilled glass of Sauvignon Blanc. Its crisp acidity matches the tangy notes of the pepperoncini perfectly, making every sip refreshing.
Make Ahead Options
These Pickled Pepperoncini are perfect for meal prep enthusiasts! To make your busy life easier, you can prepare the brine up to 3 days in advance and store it in the refrigerator, allowing the flavors to deepen beautifully. Simply make the brine as instructed, then let it cool before refrigerating. You can also wash and cut the pepperoncini, storing them separately in airtight containers for up to 24 hours before combining them with the brine. When you’re ready to enjoy, just assemble the peppers with the brine, give it a gentle shake, and let it marinate for at least 1 hour (ideally 24 hours for the best flavor). By prepping ahead, you’ll have delicious, tangy pickled pepperoncini ready to elevate your meals with minimal fuss!
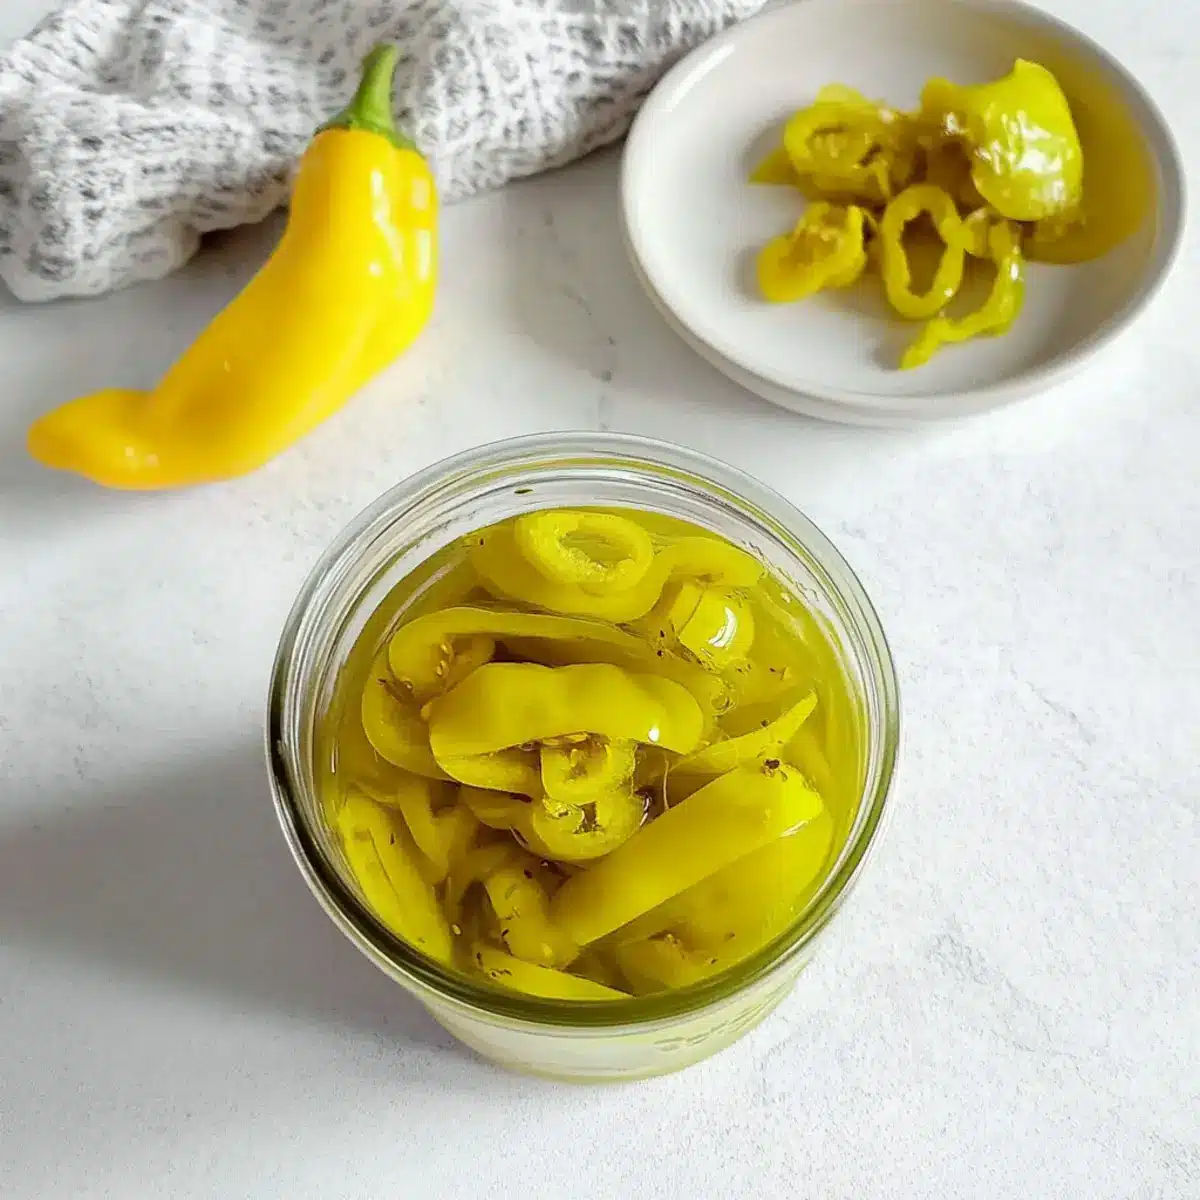
Pickled Pepperoncini Recipe FAQs
How do I choose the right pepperoncini?
Absolutely! When selecting pepperoncini, look for those that are firm and have a vibrant, glossy skin. Avoid peppers with dark spots all over or any signs of wilting. Fresh peppers pack the best flavor and crunch for your pickling adventure!
What is the best way to store pickled pepperoncini?
Very! Store your jar of pickled pepperoncini in the refrigerator, where they’ll remain fresh for up to 2-3 weeks. Make sure the jar is tightly sealed to lock in the flavor and maintain that delightful crunch. Always check for any off smells before using!
Can I freeze pickled pepperoncini?
Of course! If you need to freeze them, transfer the pepperoncini to an airtight freezer bag. They can be frozen for up to 3 months, but keep in mind that the texture may become softer once you defrost them. It’s best to use them in cooked dishes after freezing.
What should I do if my pickled pepperoncini are too salty?
Don’t worry! If the brine ends up too salty for your taste, you can soak the pepperoncini in cold water for about 10-15 minutes, then drain them before using. This will help reduce the saltiness while still allowing you to enjoy that zesty flavor!
Are pickled pepperoncini safe for my pet?
Unfortunately, no. Pickled ingredients can contain high levels of vinegar and spices, which may not be safe for pets. It’s best to keep pickled pepperoncini away from your furry friends and enjoy them as a treat just for yourself!
How can I customize my pickled pepperoncini?
Great question! You can experiment with the brine by using different vinegar types, like apple cider or red wine, to create a unique flavor profile. Additionally, consider adding spices like garlic or herbs for an extra twist. Feel free to tailor the recipe to suit your taste!
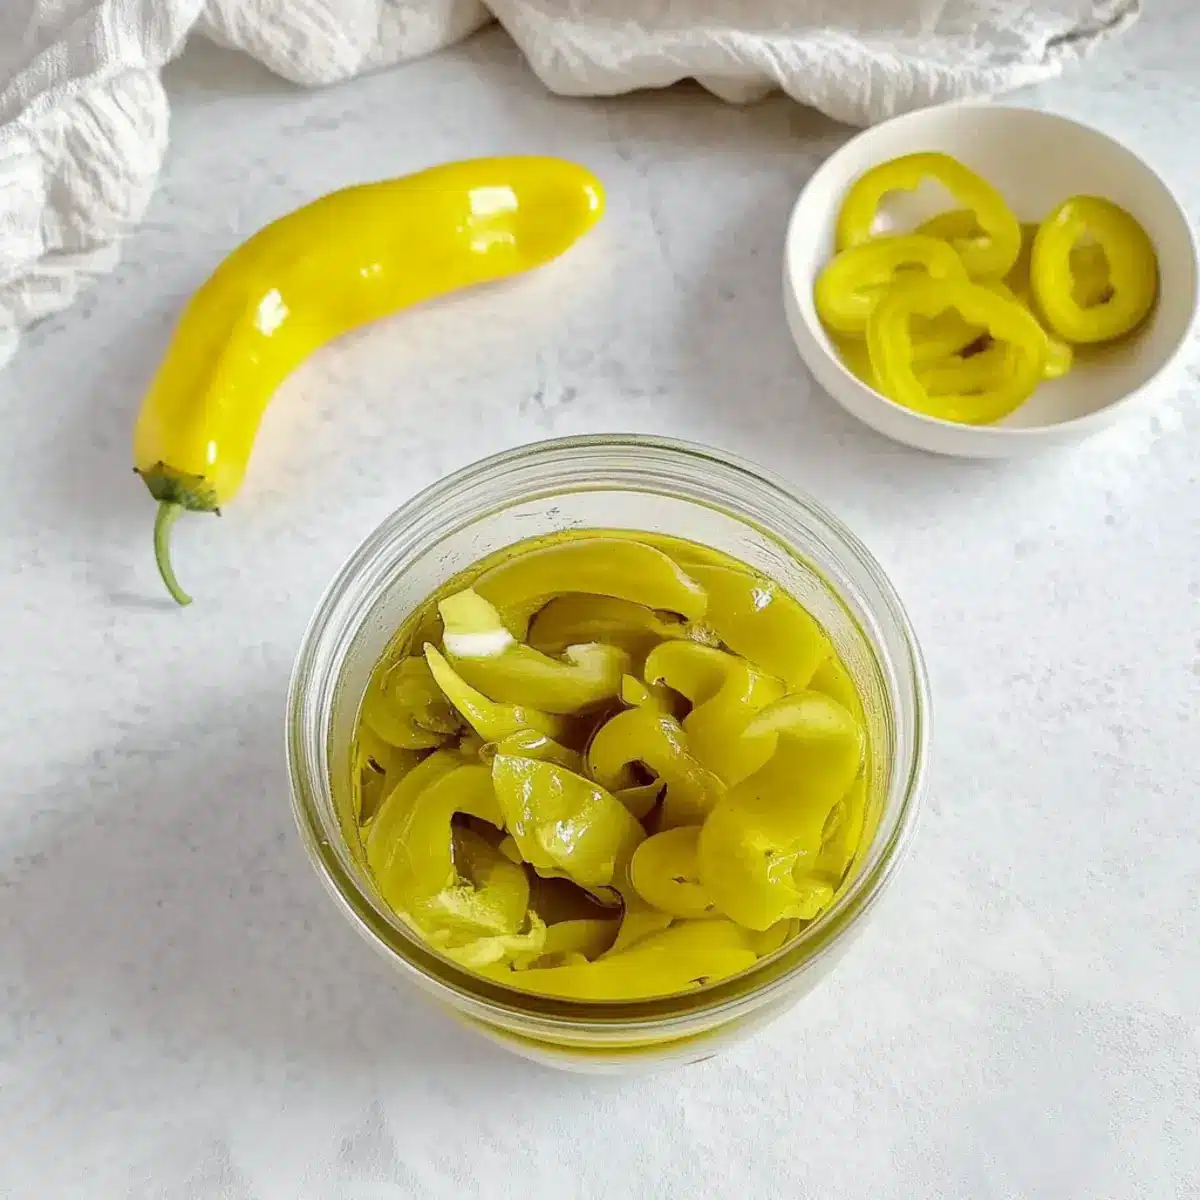
Pickled Pepperoncini: Quick, Zesty Flavor to Elevate Every Meal
Ingredients
Equipment
Method
- Wash the pepperoncini under cool water and cut off their tops, removing the stems. Stuff the whole peppers into a large mason jar.
- In a non-reactive saucepan, combine 1 cup of distilled white vinegar, 1 cup of water, 2 tablespoons of sea salt, and 1 teaspoon of turmeric. Heat until the salt dissolves, about 2-3 minutes.
- Remove from heat and allow the brine to cool slightly for about 5 minutes. Pour the warm brine over the packed pepperoncini, leaving some space at the top.
- Gently slide a butter knife or chopstick down the sides of the jar to release any trapped air bubbles.
- Let the jar cool to room temperature for about 15-20 minutes, seal, and refrigerate. Allow them to marinate for at least 1 hour, ideally 24 hours before enjoying.
Leave a Reply