
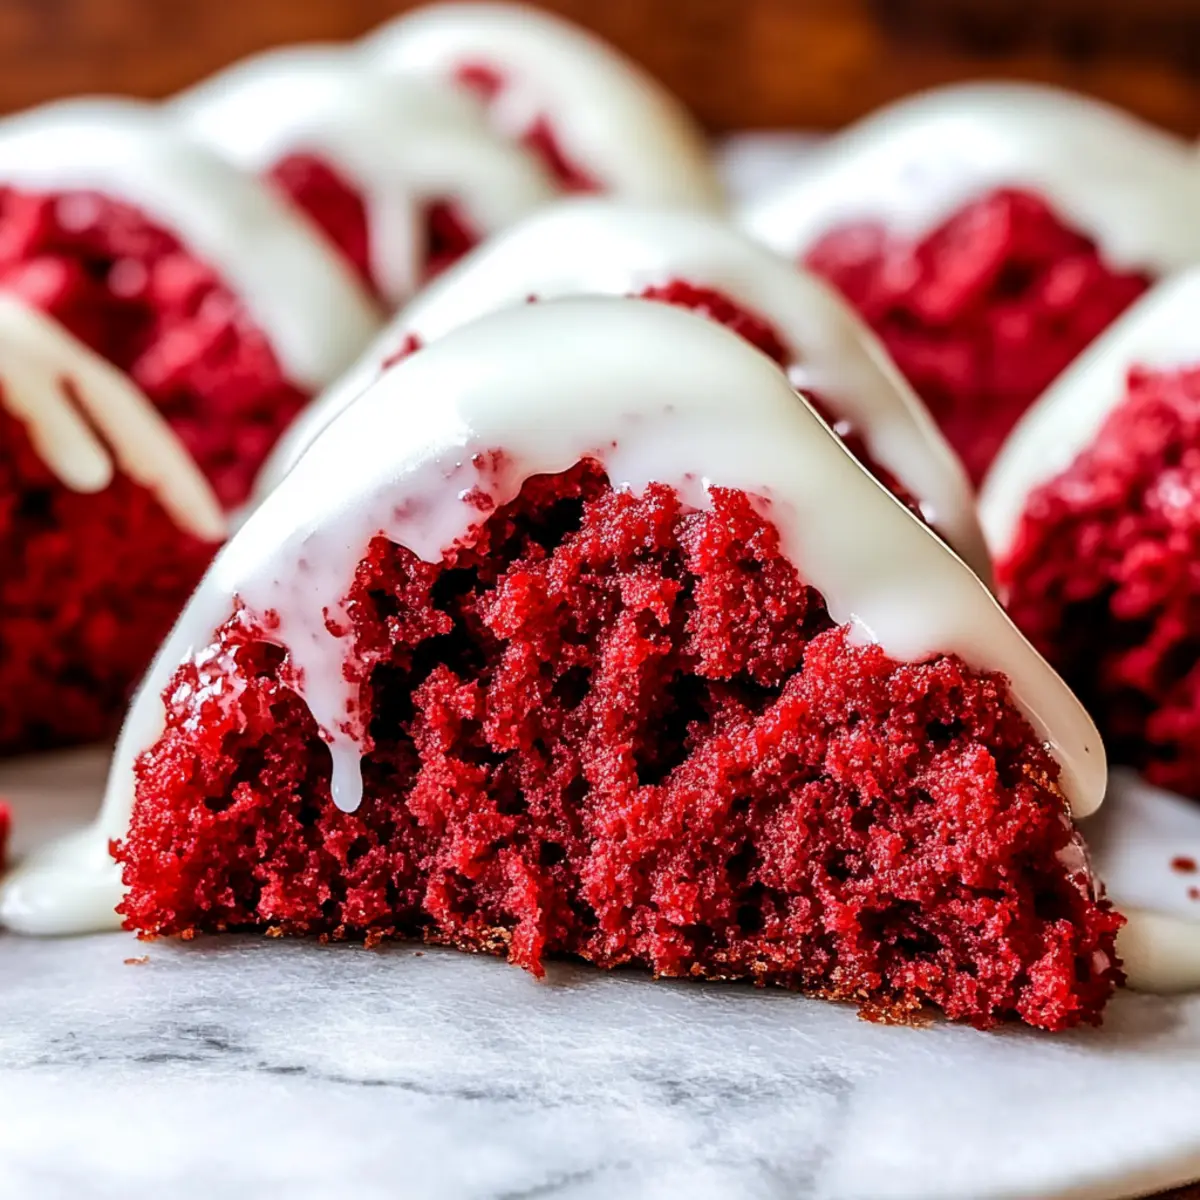
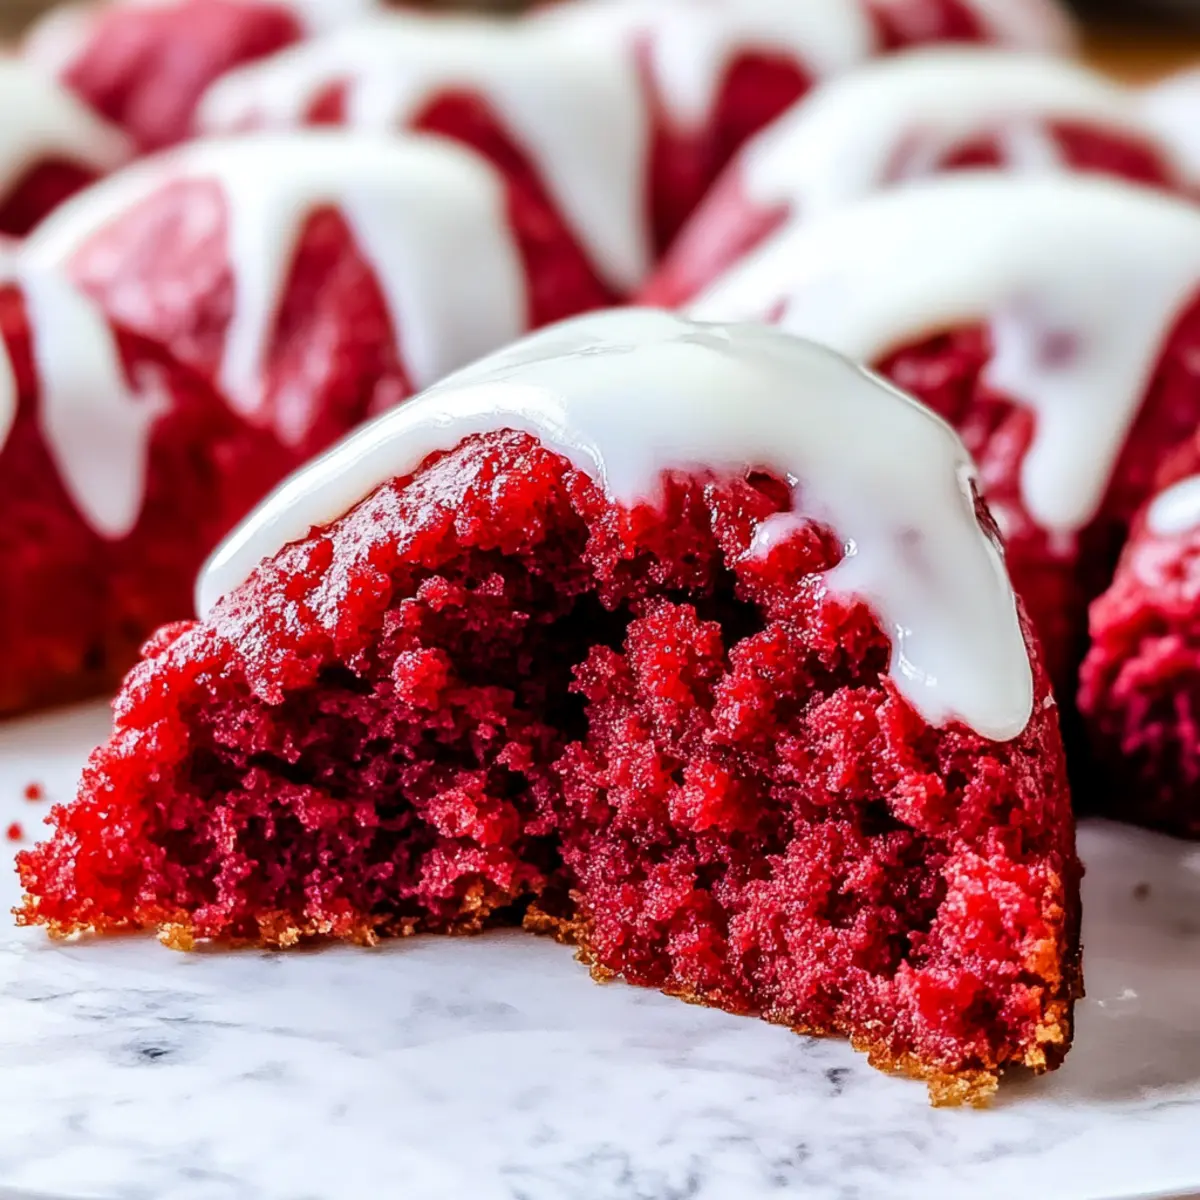
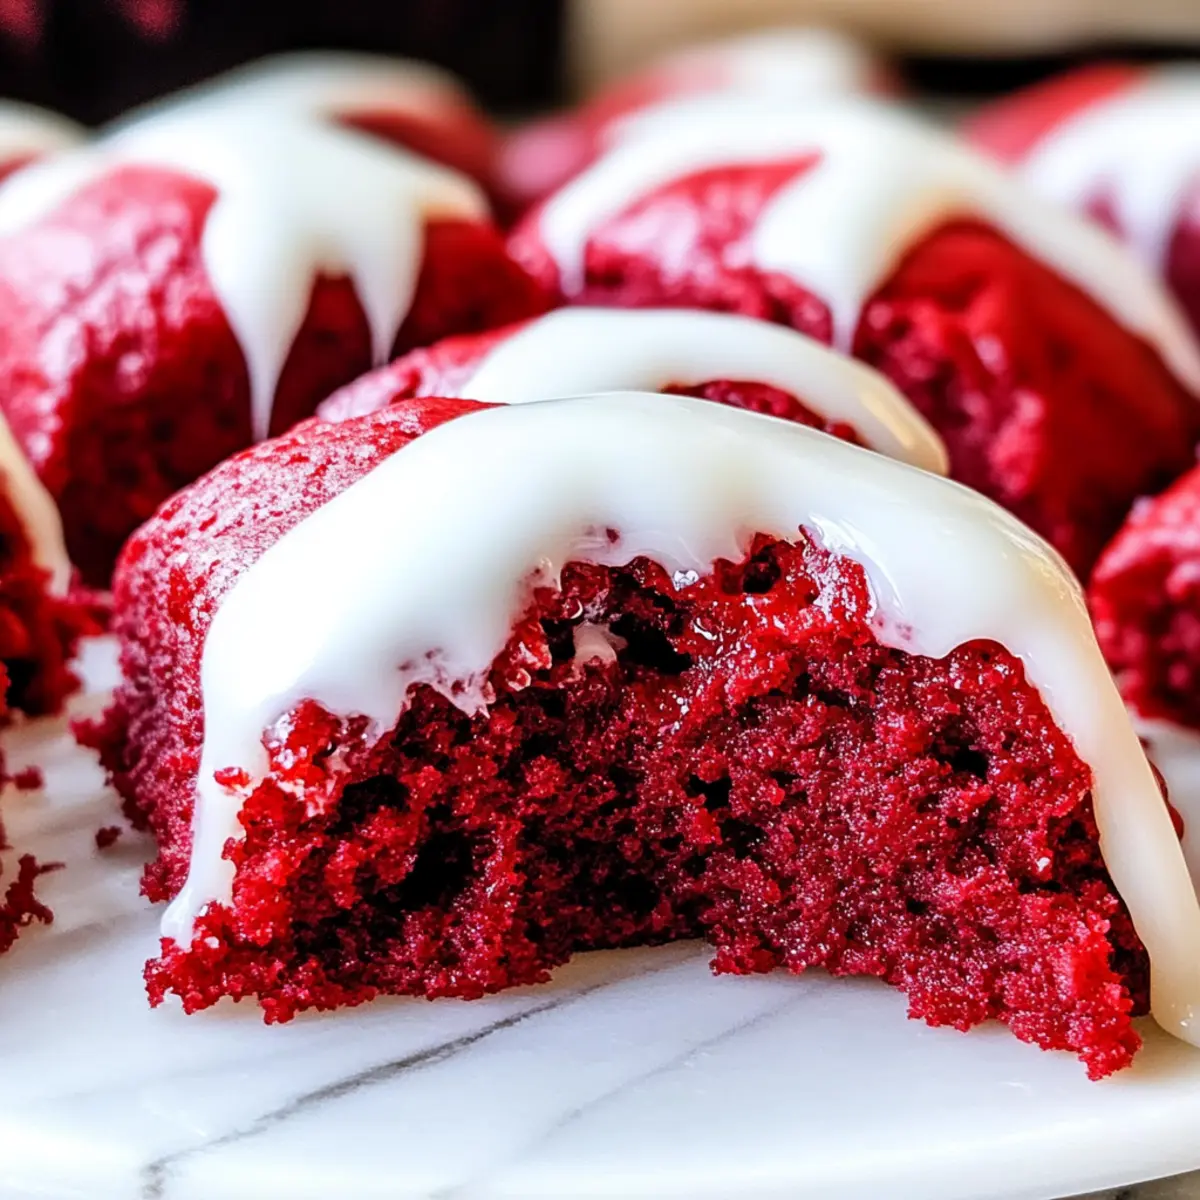
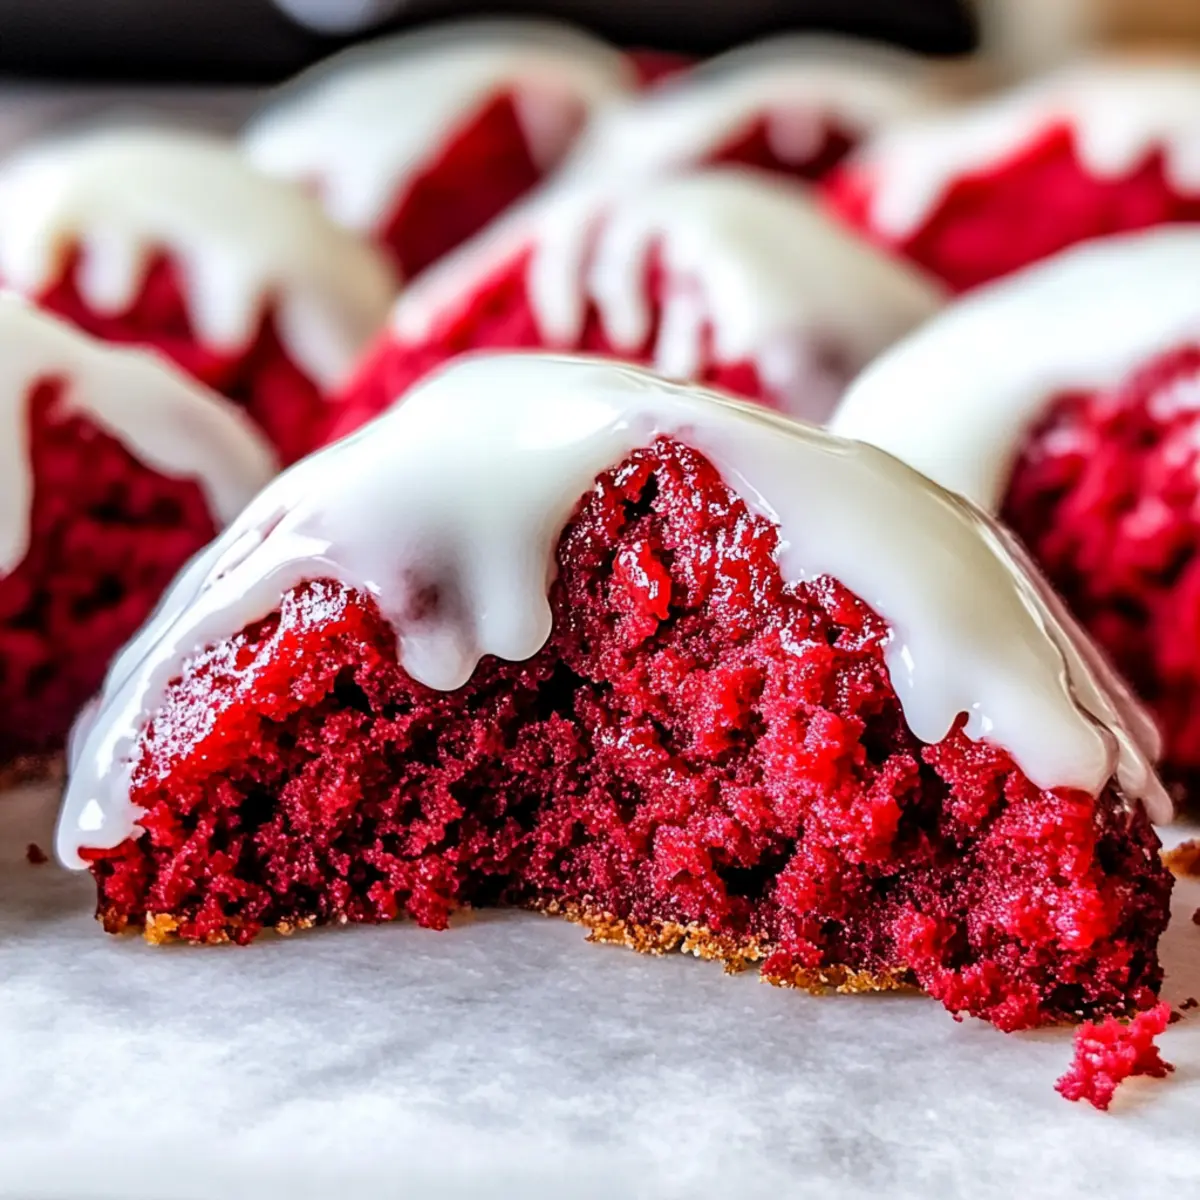
As the aroma of baked goods wafts through my kitchen, I can’t help but smile at the vibrant red hue of my latest creation: Red Velvet Scones. These delightful pastries effortlessly blend the richness of red velvet cake with the light, fluffy texture of a scone, making them the perfect addition to any occasion, from cozy brunches to festive gatherings. What I love most about these scones is how quick and easy they are to prepare. Plus, they’re incredibly customizable! Imagine delighting your family and friends with a sprinkle of chocolate chips or a nutty twist to suit their tastes. Curious how to whip up this irresistible treat? Let’s dive into the recipe!
Why Are These Scones So Irresistible?
Simplicity at its Finest: With only a few ingredients and straightforward steps, these scones are perfect for both novice and seasoned bakers.
Endless Customization: Feel free to get creative! Add chocolate chips, nuts, or even a hint of cinnamon to make them your own.
Quick Preparation: Whip these up in no time—ideal for last-minute gatherings or brunch plans. If you’re a fan of quick and delicious recipes, check out my Shrimp Crab Alfredo for another easy option.
Festive Appeal: Their vibrant red color makes them a showstopper at any event, from holiday celebrations to casual get-togethers.
Crowd-Pleasing Flavor: The rich, buttery taste paired with that hint of cocoa will have everyone reaching for seconds!
Red Velvet Scone Ingredients
For the Scone Base
• Red Velvet Cake Mix – This is the star ingredient, delivering that rich flavor and stunning color; opt for a blend without artificial ingredients.
• All-Purpose Flour – Essential for structure; swap in a gluten-free blend to cater to dietary needs.
• Cold Butter – Cold butter ensures a flaky texture; keep it chilled to avoid dense scones.
• Skim Milk – Moistens the dough, or enhance the flavor by using buttermilk instead.
• Vanilla Extract – Adds depth to sweetness; a wonderful optional touch for a classic flavor profile.
For Delicious Add-ins
• Chocolate Chips – Mix in for added richness and delight; they can elevate your Red Velvet Scones to new heights!
• Nuts – Use walnuts or pecans for a satisfying crunch in every bite.
• Spices (like Cinnamon) – Consider a sprinkle for warmth and a hint of cozy flavor; perfect for festive occasions.
Optional Glaze
• Powdered Sugar – Mix with milk or cream to create a sweet glaze; it adds a lovely finish to your scones!
Step‑by‑Step Instructions for Red Velvet Scones
Step 1: Preheat and Prepare Baking Sheet
Begin by preheating your oven to 400°F (200°C). While the oven heats, line a baking sheet with parchment paper for easy removal of your delightful Red Velvet Scones. This simple prep step ensures that your scones will bake evenly and maintain their beautiful shape.
Step 2: Mix Dry Ingredients
In a large mixing bowl, combine the red velvet cake mix and all-purpose flour. Stir the two ingredients together gently until they are well blended, creating a vibrant base for your scone dough. This mixture will provide the rich flavor and color characteristic of Red Velvet Scones, making your kitchen come alive with excitement.
Step 3: Cut in Cold Butter
Next, take your cold butter and cut it into small cubes, then add it to the dry mixture. Using a pastry cutter or your fingertips, work the butter into the flour mixture until it resembles coarse crumbs, with some larger pieces remaining. This step is crucial for achieving the flaky texture that makes these scones irresistible.
Step 4: Incorporate Wet Ingredients
Create a well in the center of your crumbly mixture and pour in the cold skim milk, along with the vanilla extract if using. Using a spatula, gently mix until just combined; be careful not to over-mix, as this can lead to tough scones. You want to achieve a sticky dough that holds together beautifully.
Step 5: Knead and Shape Dough
Lightly flour your work surface and turn the dough out onto it. With floured hands, gently knead the dough just until it comes together, being cautious not to overwork it. Split the dough into two equal discs on the prepared baking sheet, flattening them slightly; this will help achieve the perfect shape for your Red Velvet Scones.
Step 6: Cut and Prepare for Baking
Using a sharp, greased knife, cut each disc into 8 wedges. Make sure to cut all the way through but keep them together for a lovely presentation. This technique also helps ensure even baking. Optionally sprinkle some chocolate chips or nuts over the top if you’ve chosen to add them for extra flavor.
Step 7: Bake to Perfection
Place the baking sheet in your preheated oven and bake the Red Velvet Scones for about 20-22 minutes. Keep an eye on them; they should turn golden brown and spring back when lightly touched, signaling that they are ready. A toothpick inserted into a scone should come out clean for perfect doneness.
Step 8: Optional Glaze and Serve
If you desire an extra touch of sweetness, mix powdered sugar with a splash of milk to create a glaze. Drizzle this over your warm Red Velvet Scones as they cool on a wire rack. This final flourish will add a lovely sheen and a delightful flavor contrast, making each bite even more special.
How to Store and Freeze Red Velvet Scones
Room Temperature: Allow your Red Velvet Scones to cool completely before storing them. Keep them in an airtight container at room temperature for up to 3 days.
Fridge: For longer freshness, store scones in the fridge for up to 5 days in an airtight container. Consider reheating them in the oven for a few minutes for that fresh-baked taste.
Freezer: Freeze the scones individually wrapped in plastic wrap and then placed in a freezer bag for up to 3 months. Thaw overnight in the fridge before enjoying.
Reheating: For the best texture, reheat the thawed scones in a preheated oven at 350°F for about 5-7 minutes. Enjoy them warm for a delightful treat!
What to Serve with Red Velvet Scones
Pair your scones with delightful options that will create a wonderful meal experience!
-
Fresh Berries: A medley of strawberries, raspberries, and blueberries adds a burst of tartness that balances the sweetness of the scones beautifully.
-
Whipped Cream: Light and airy, a dollop of whipped cream provides a luxurious touch and complements the rich flavor of the scones perfectly.
-
Cream Cheese Spread: A tangy cream cheese spread elevates the scones by adding creamy richness; it’s a match made in flavor heaven.
-
Lemon Zest: Brighten up the flavor profile by sprinkling freshly grated lemon zest over the scones; its citrusy notes offer a refreshing contrast.
-
Coffee or Tea: A warm cup of coffee or your favorite tea makes the perfect pairing, enhancing the scone’s enjoyment during a cozy afternoon or brunch setting.
-
Chocolate Drizzle: For a decadent touch, drizzle melted chocolate over your scones to tie in that red velvet experience, making each bite a sweet celebration.
-
Nut Butter: A spoonful of almond or hazelnut butter spreads creamy nutty goodness on these scones, adding texture and depth to each delicious bite.
-
Ice Cream: For a playful twist, serve the scones warm with a scoop of vanilla ice cream; it’s a delightful indulgence that screams comfort food!
Each pairing is designed to enhance your Red Velvet Scones experience, allowing you to craft a memorable meal that will leave everyone smiling!
Make Ahead Options
These Red Velvet Scones are a fantastic choice for meal prep, saving you precious time on busy mornings! You can prepare the scone dough up to 24 hours in advance. Simply follow the recipe instructions through step 5, then wrap the dough discs tightly in plastic wrap and refrigerate. This keeps them fresh and ensures that they retain their delicious taste. When you’re ready to bake, just cut the discs into wedges, place them on a parchment-lined baking sheet, and pop them into the oven. You’ll enjoy bakery-fresh Red Velvet Scones with minimal effort—perfect for brunch or a surprise treat for guests!
Red Velvet Scones Variations & Substitutions
Feel free to let your creativity shine by customizing these delightful scones in a way that elevates their flavor and suits your preferences.
- Gluten-Free: Use a premium gluten-free flour blend to keep it light and fluffy. Your guests won’t even know the difference!
- Chocolate Heaven: Add in ½ cup of chocolate chips for a rich, decadent bite that takes these scones over the top. They’ll be an instant favorite!
- Nutty Crunch: Stir in chopped walnuts or pecans for a delightful crunch and warm, nutty flavor, making them a lovely addition to any brunch spread.
- Buttermilk Boost: Substitute skim milk with buttermilk for enhanced flavor, adding a subtle tang that perfectly complements the sweetness of the scones.
- Citrus Twist: Grate some lemon zest into the dough for a bright, zesty flavor that enlivens each bite, perfect for spring gatherings!
- Spiced Delight: Mix in a teaspoon of cinnamon or nutmeg for a cozy warmth that’s bound to make your kitchen feel like home.
- Sweet Glaze: Drizzle a simple glaze made from powdered sugar and milk over the scones for an extra touch of sweetness—a lovely finishing touch!
- Cranberry Burst: Add ½ cup of dried cranberries for a burst of tartness that perfectly balances the sweetness of the red velvet, enhancing flavor and aesthetics.
These variations make your Red Velvet Scones versatile for any occasion. If you’re looking for something a bit different, try serving a delightful creamy sauce with your creations, like what you’d find in my scrumptious Smothered Chicken Rice recipe. Each twist adds a personal touch, making them truly your own delightful creation!
Expert Tips for Red Velvet Scones
Chill the Butter: Keep your butter cold before cutting it in to ensure flaky scones. Warm butter can lead to denser results.
Don’t Over-mix: Combine the dough just until it holds; overworking will create tough Red Velvet Scones. Embrace a gentle touch!
Perfect Timing: Start checking your scones at 20 minutes to prevent over-baking. They should be golden and springy to the touch when done.
Use a Sharp Knife: For clean cuts, use a sharp and greased knife when slicing dough. This also helps the scones rise evenly.
Customize Wisely: Feel free to enhance flavors with add-ins like chocolate chips or spices, but avoid adding too many ingredients to keep the scone base balanced.
Red Velvet Scones Recipe FAQs
What kind of red velvet cake mix should I choose?
Absolutely! Look for a red velvet cake mix that is free from artificial ingredients and preservatives. This assures you that you’re using quality components, which will not only enhance the flavor but also the overall taste and texture of your Red Velvet Scones.
How should I store Red Velvet Scones to keep them fresh?
I recommend allowing your scones to cool completely before storing them in an airtight container at room temperature. They’ll stay fresh for up to 3 days. If you’d like them to last longer, you can keep them in the fridge for up to 5 days.
Can I freeze Red Velvet Scones?
Yes, you can! Wrap each scone individually in plastic wrap, then place them in a freezer bag. They will keep in the freezer for up to 3 months. When you’re ready to enjoy, simply thaw them overnight in the fridge, then reheat in a preheated oven at 350°F for about 5-7 minutes for the best texture.
What if my scone dough is too sticky?
If you find your dough is too sticky, don’t worry! Lightly flour your work surface and hands while kneading. You can also add a little more flour if necessary, but keep in mind to do this gradually to maintain the perfect balance for fluffy scones.
Are these scones suitable for gluten-free diets?
Very! You can easily make these Red Velvet Scones gluten-free by substituting the all-purpose flour with a gluten-free flour blend. Just ensure your red velvet cake mix is also gluten-free. This way, everyone can enjoy these delightful treats!
How can I customize my Red Velvet Scones?
The more the merrier! Feel free to add in chocolate chips, nuts, or even a dash of cinnamon for a unique twist. Just ensure that you don’t overload the mixture, as you want to preserve the light and fluffy texture that makes these scones irresistible.
Deliciously Soft Red Velvet Scones for Every Celebration
Ingredients
Equipment
Method
- Preheat your oven to 400°F (200°C) and line a baking sheet with parchment paper.
- Combine the red velvet cake mix and all-purpose flour in a large mixing bowl, stirring gently.
- Cut cold butter into small cubes and add to the dry mixture, working it into crumbs.
- Pour in skim milk and vanilla extract; mix until just combined to form a sticky dough.
- Turn the dough out onto a floured surface and gently knead until combined, then shape into two discs.
- Using a greased knife, cut each disc into 8 wedges but keep them together for presentation.
- Bake in the preheated oven for about 20-22 minutes until golden brown and springy.
- For an optional glaze, mix powdered sugar with a splash of milk, and drizzle over warm scones.
Leave a Reply