
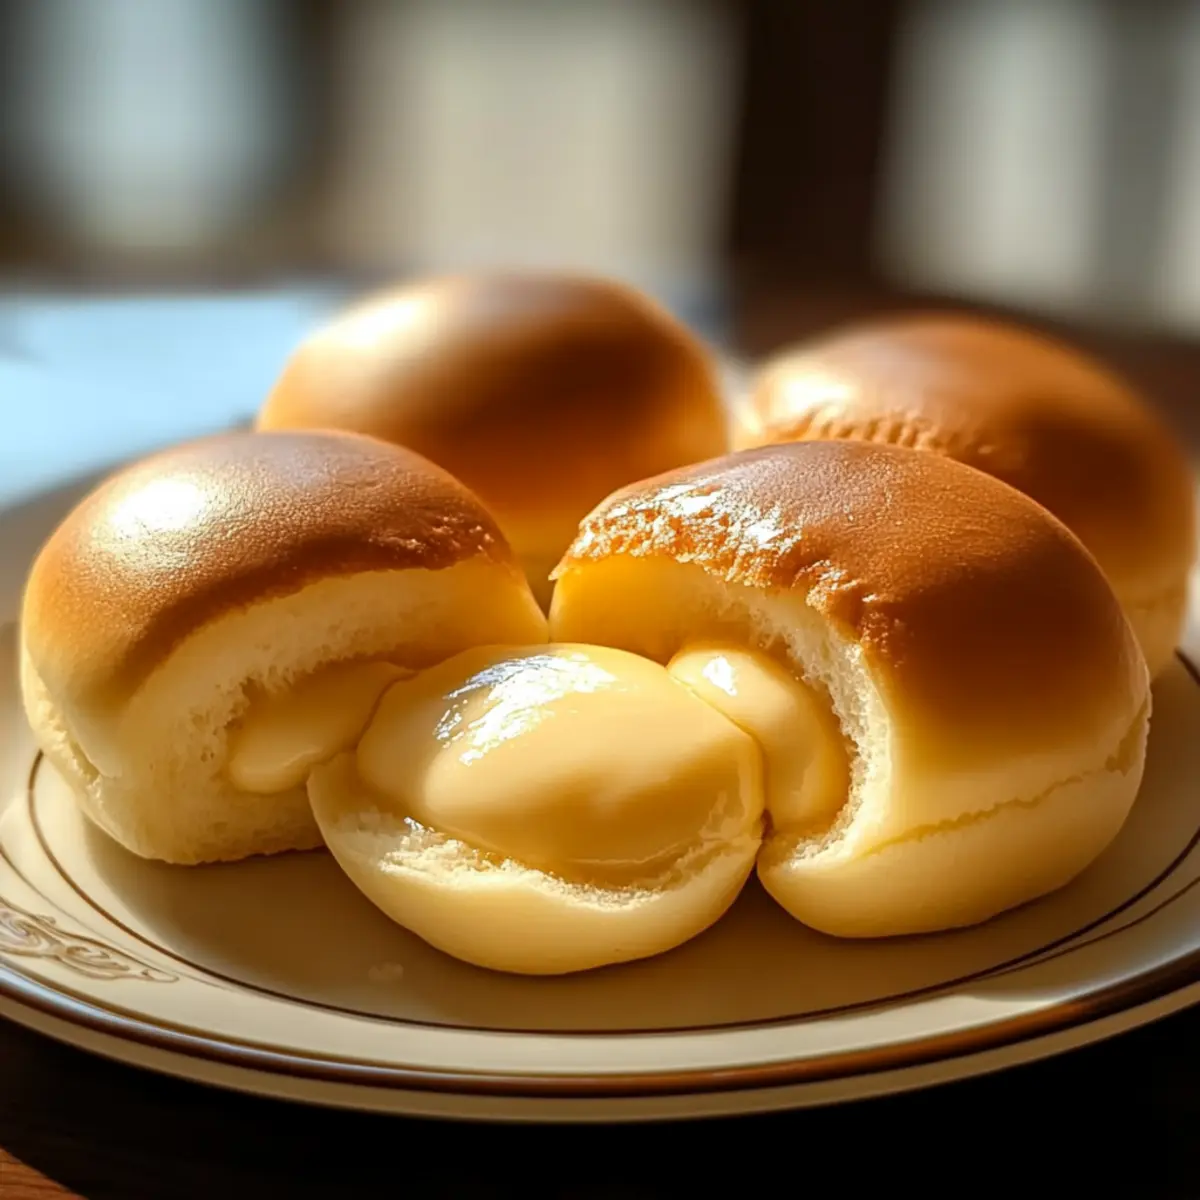
In a cozy kitchen filled with the warmth of cooking, I found myself craving something comforting yet simple. That’s when I decided to whip up these delightful Easy Stovetop Custard Cream Buns. Channeling the nostalgia of sweet baked goods without the hassle of an oven, this forgiving recipe allows even novice cooks to shine. What I love most about these buns is their fluffy, soft exterior that cradles a rich, creamy custard center, perfect for satisfying any sweet tooth. Plus, you can easily customize the filling to suit your mood—think luscious pumpkin pie or even decadent chocolate mousse. These buns come together quickly and are make-ahead friendly, making them a no-fuss treat for any occasion. Ready to dive into this delicious adventure? Let’s make some magic in the kitchen!
Why Are These Buns So Irresistible?
Simplicity is key: You can create these delicious buns without using an oven, making them perfect for quick and easy indulgence. Versatile fillings let you personalize each bite, whether you crave warm apple pie or rich chocolate mousse. Fluffy texture will make you feel like a baking pro, while the make-ahead option means you can prepare the dough in advance. Looking for more creamy inspiration? Check out my mouthwatering recipes for Creamy Beef Pasta or Creamy Street Corn Pasta! These custard cream buns are the ultimate crowd-pleaser sure to impress family and friends at any gathering.
Stovetop Custard Cream Buns Ingredients
• Create your own masterpiece with simple ingredients!
For the Dough
- All-purpose flour – Provides the structure and body for the buns; bread flour can be used for a chewier texture.
- Sugar – Adds sweetness that beautifully balances the custard filling; consider using brown sugar for a deeper flavor.
- Yeast – Acts as a leavening agent to make the buns fluffy; ensure it’s fresh for the best results.
- Milk – Adds moisture and richness to the dough; almond milk is a great dairy-free alternative.
- Butter – Enhances flavor and tenderness; margarine can be a suitable dairy-free substitute.
- Eggs – Provide structure and moisture for the dough; use aquafaba for a vegan version.
- Vanilla extract – Elevates the flavor of the buns; nutmeg can be a delightful spice variation.
For the Filling
- Custard filling – The star component that makes the buns unique; experiment with apple pie filling, pumpkin pie filling, or chocolate mousse for a twist.
These Stovetop Custard Cream Buns are all about bringing warmth and comfort to your kitchen while pleasing everyone’s taste buds!
Step‑by‑Step Instructions for Easy Stovetop Custard Cream Buns
Step 1: Prepare Dough
In a large mixing bowl, combine all-purpose flour, sugar, yeast, milk, softened butter, eggs, and vanilla extract. Mix the ingredients until they form a cohesive dough. Knead the dough for about 5–10 minutes on a floured surface, until it becomes smooth and elastic. The dough should be slightly tacky but not sticky.
Step 2: First Rise
Place the kneaded dough into a greased bowl, ensuring it’s covered with a clean kitchen towel. Set the bowl in a warm, draft-free location to rise for approximately 1 hour or until it has doubled in size. The dough should feel light and airy, and you should visibly notice the expansion.
Step 3: Shape Buns
Once the dough has risen, punch it down gently to release the air. Pinch off small pieces of dough and flatten each into a disc. Spoon a generous dollop of custard filling into the center, then gather the edges to form the bun shape, sealing the filling inside. Arrange the shaped buns in a steam-safe container, ensuring they have space to rise.
Step 4: Second Rise
Cover the shaped custard cream buns with a kitchen towel and let them rise for an additional 30 minutes. This rise allows them to puff up slightly and become airy. You’ll notice them expanding, perfecting their fluffy texture before cooking.
Step 5: Cook Buns
Prepare a steamer setup by bringing water to a gentle simmer in a pot. Once ready, carefully place the steam-safe container with the buns over the simmering water. Cover with a lid and steam the buns over medium heat for about 15–20 minutes, or until they are puffed up and cooked through. The buns should look fluffy and slightly shiny when done.
Step 6: Cool and Serve
After steaming, carefully remove the buns from the steamer and transfer them to a cooling rack. Allow the Easy Stovetop Custard Cream Buns to cool for a few minutes before serving. This cooling period ensures they set properly, creating the perfect balance of a warm exterior and a creamy, delicious custard center.
How to Store and Freeze Stovetop Custard Cream Buns
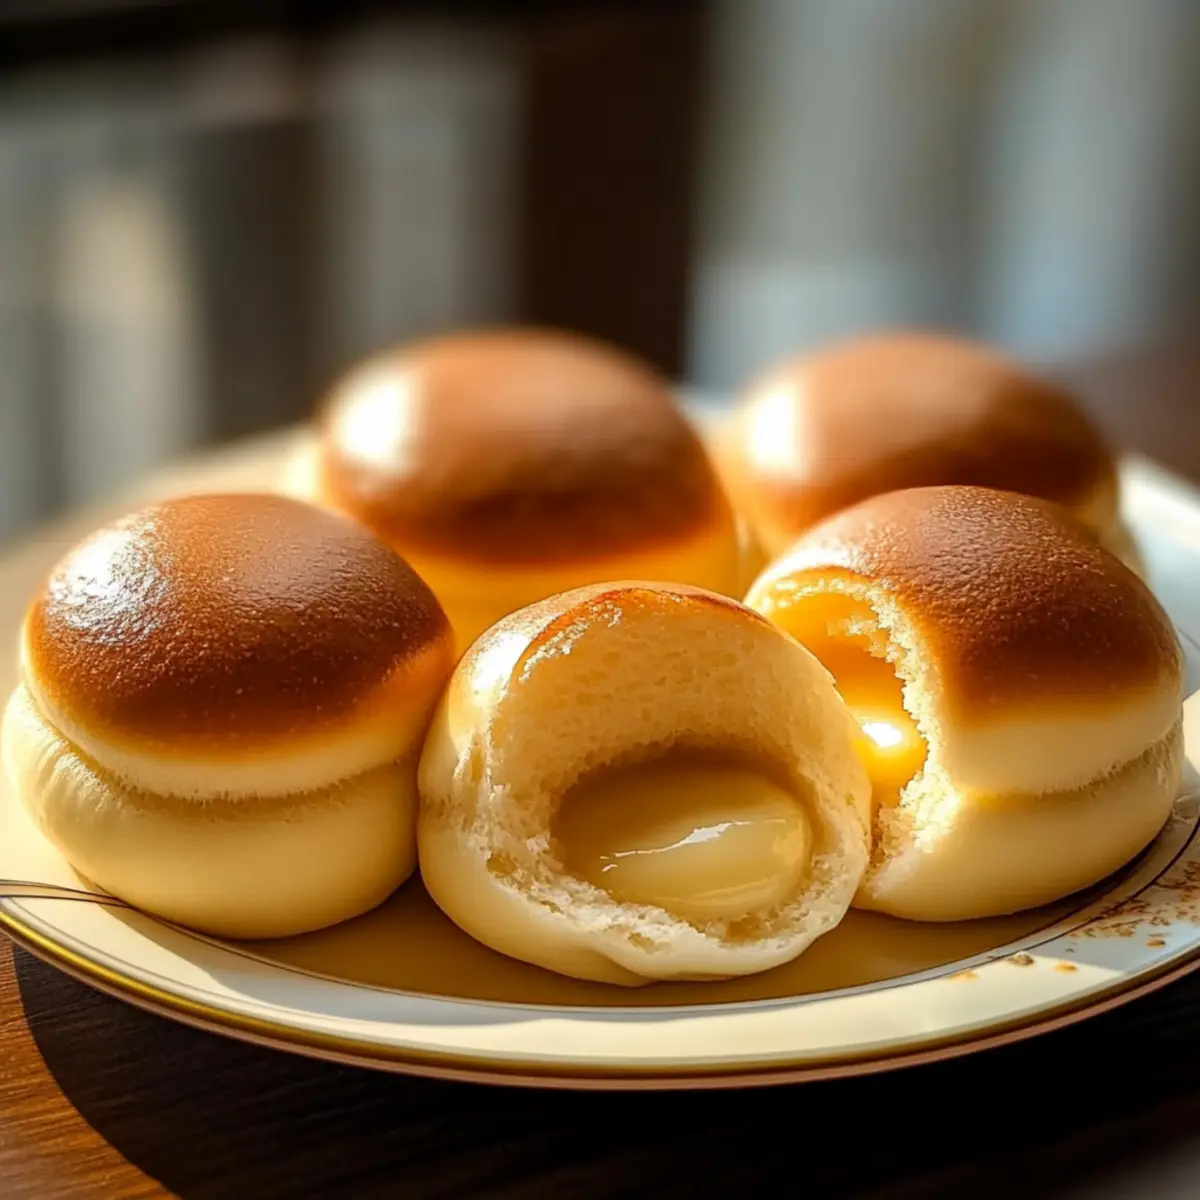
- Room Temperature: Store uneaten buns in an airtight container at room temperature for up to 2 days. This keeps them soft and enjoyable for a snack or breakfast treat.
- Fridge: If you prefer, refrigerate the buns for additional freshness. They can last in the fridge for up to 4 days. Be sure to wrap them tightly to avoid drying out.
- Freezer: Freeze unbaked buns by placing them in a single layer on a baking sheet, then transferring them to an airtight container after they are frozen. They can be kept for up to 2 months.
- Reheating: To reheat, simply steam the previously frozen buns for about 10 minutes until warmed through to enjoy the delightful custard filling again.
Variations & Substitutions for Stovetop Custard Cream Buns
Feel free to get creative with these delightful buns to match your cravings and dietary needs!
- Dairy-Free: Use almond or coconut milk in the dough for a vegan-friendly version that everyone can enjoy. Non-dairy options keep the buns light without sacrificing flavor.
- Sweet Spice: Add a teaspoon of cinnamon or nutmeg to the dough to infuse a warm, inviting aroma and flavor in every bite. These small tweaks can elevate your buns.
- Fruit Filling: Substitute the custard with your favorite fruit filling, like apple pie or fresh berries, for a juicy twist that tantalizes the taste buds. It’s a refreshing change!
- Chocolate Bliss: Melted chocolate or chocolate mousse can replace the custard filling for a richer option. A sprinkle of sea salt on top after steaming adds an exciting contrast!
- Savory Twist: Try a cream cheese and chive filling for a savory variation, turning these sweet buns into a delicious brunch dish that’s both unique and satisfying.
- Gluten-Free: Swap in a gluten-free flour blend for the all-purpose flour to make these delectable buns suitable for those avoiding gluten. A delicious alternative can still be fluffy!
- Creamy Citrus: Infuse the custard with citrus zest, such as lemon or orange, for a bright and refreshing flavor that perfectly complements the creamy filling.
- Heat it Up: Add a pinch of chili powder or cayenne pepper to the custard filling for a spicy kick that will surprise and delight those who love some heat!
Each of these variations helps you keep your kitchen adventures exciting. If you’re seeking more creamy creations, check out our mouthwatering recipes for Creamy Steak Pasta Cozy or Creamy Cucumber Salad with Bacon and Cheese! Get ready to make your next batch of buns a deliciously unique experience!
What to Serve with Easy Stovetop Custard Cream Buns
In a delightful blend of textures and flavors, these sweet buns invite a feast that will make any meal memorable.
- Fresh Berries: Bright, tart berries provide a refreshing contrast that beautifully balances the creamy sweetness of the buns.
- Vanilla Ice Cream: Serve with vanilla ice cream for an indulgent dessert that melts perfectly into the warm custard filling.
- Whipped Cream: Light, airy whipped cream adds a lovely touch of decedance, making every bite even more heavenly.
- Chocolate Drizzle: A rich chocolate sauce drizzled over the top creates a beautiful presentation and complements the custard’s sweetness.
- Coffee or Tea: A warm beverage enhances the experience, offering a comforting sip alongside the fluffy, custard-filled delights.
- Fruit Compote: A dollop of homemade fruit compote, whether berry or stone fruit, adds a tangy twist that elevates the whole dish.
- Caramel Sauce: Drizzling a little caramel sauce over the buns adds a decadent flair and a sweet, salty contrast that is simply irresistible.
- Coconut Whipped Cream: Opt for a dairy-free topping with creamy coconut whipped cream for a tropical twist that complements the sweet custard.
Expert Tips for Stovetop Custard Cream Buns
- Perfect Dough Rise: Allow the dough to double in size during the first rise; this step ensures fluffy, airy buns instead of dense ones.
- Knead Well: Knead the dough until it’s smooth and elastic; this develops gluten, creating the perfect texture for your stovetop custard cream buns.
- Uniform Sizes: When shaping the buns, aim for uniform portion sizes; this ensures even cooking and makes for an appealing presentation.
- Steamer Setup: Ensure your steaming pot has a gentle simmer, not a rolling boil; this prevents the buns from cooking too fast and becoming gummy.
- Storage Tips: If you have leftovers, store uneaten buns in an airtight container for up to 2 days, or freeze unbaked buns for future enjoyment.
Make Ahead Options
These Easy Stovetop Custard Cream Buns are a dream for busy home cooks looking to simplify meal prep! You can prepare the dough up to 24 hours in advance. After kneading, cover the dough tightly and refrigerate it overnight to slow down the rising process while maintaining its quality. When you’re ready to enjoy, simply let the dough come to room temperature for about 30 minutes, then shape the buns and allow them to rise for a second time as directed. Additionally, you can make the custard filling ahead of time and store it in the fridge for up to 3 days—this keeps it fresh and ready for filling. Just remember to re-stir the filling before using it to ensure a creamy texture. Steaming the buns fresh yields a delightful treat that feels homemade, saving you time while delivering delicious results!
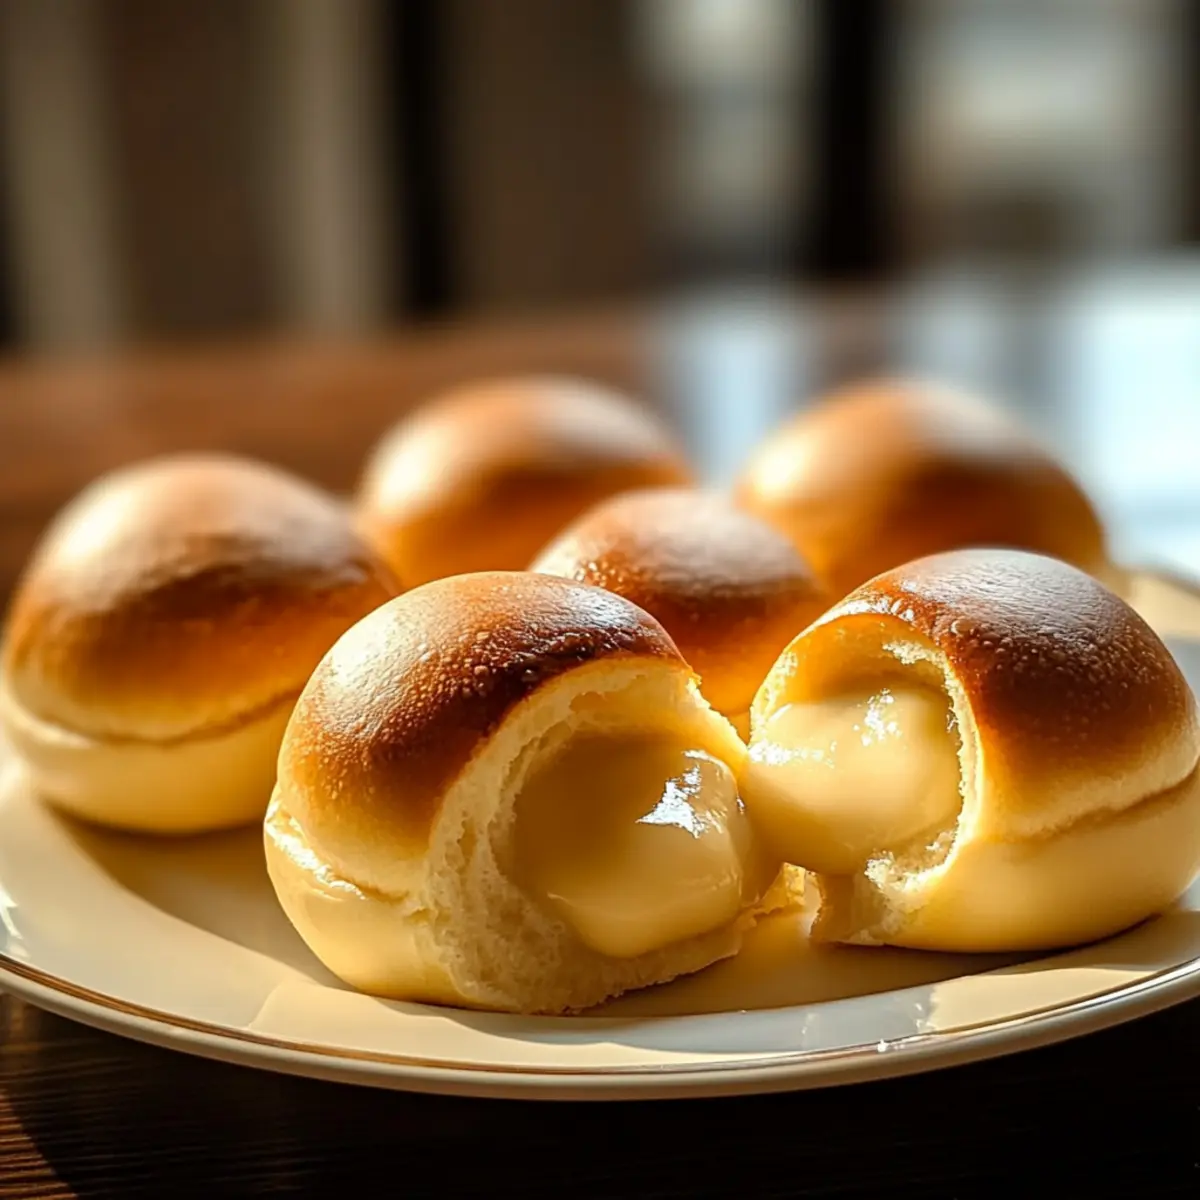
Easy Stovetop Custard Cream Buns Recipe FAQs
How do I know if the yeast is fresh?
Absolutely! Fresh yeast is crucial for fluffy buns. You can test its viability by dissolving it in warm water (not hot) with a bit of sugar. If it becomes frothy within 5-10 minutes, it’s good to go! If nothing happens, it’s best to buy new yeast for your Easy Stovetop Custard Cream Buns.
What’s the best way to store leftover buns?
I recommend storing any uneaten buns in an airtight container at room temperature for up to 2 days. To keep them extra soft, you can also refrigerate them, where they will last up to 4 days. Be sure to wrap them tightly to prevent drying out!
Can I freeze the buns?
Yes, you can freeze unbaked buns! Shape them and place them in a single layer on a baking sheet until they are firm, then transfer to an airtight container or freezer bag. They can last up to 2 months. When you’re ready to enjoy, steam them straight from the freezer for about 10-15 minutes until cooked through.
What should I do if my buns come out dense?
Very! If your buns turn out dense, it’s likely that the dough didn’t rise enough. Make sure to follow the rising times precisely; the first rise should take about 1 hour or until it doubles in size. Also, ensure you’re kneading the dough well to develop gluten, which is essential for that fluffy texture.
Can I make these buns dairy-free?
Absolutely! Substitute regular milk with almond milk or another non-dairy alternative. Instead of butter, you can use margarine to keep them dairy-free. If you’re looking for a vegan option, replace eggs with aquafaba—3 tablespoons for each egg works beautifully in the dough.
Is there a filling variation you recommend?
Oh, the more the merrier! For a delightful twist, you can use apple pie filling or pumpkin pie filling for a seasonal flair. Simply swap the custard filling with your choice, ensuring it’s not too runny. If you’re in the mood for a sweet chocolate treat, a simple chocolate mousse filling works wonderfully, too!
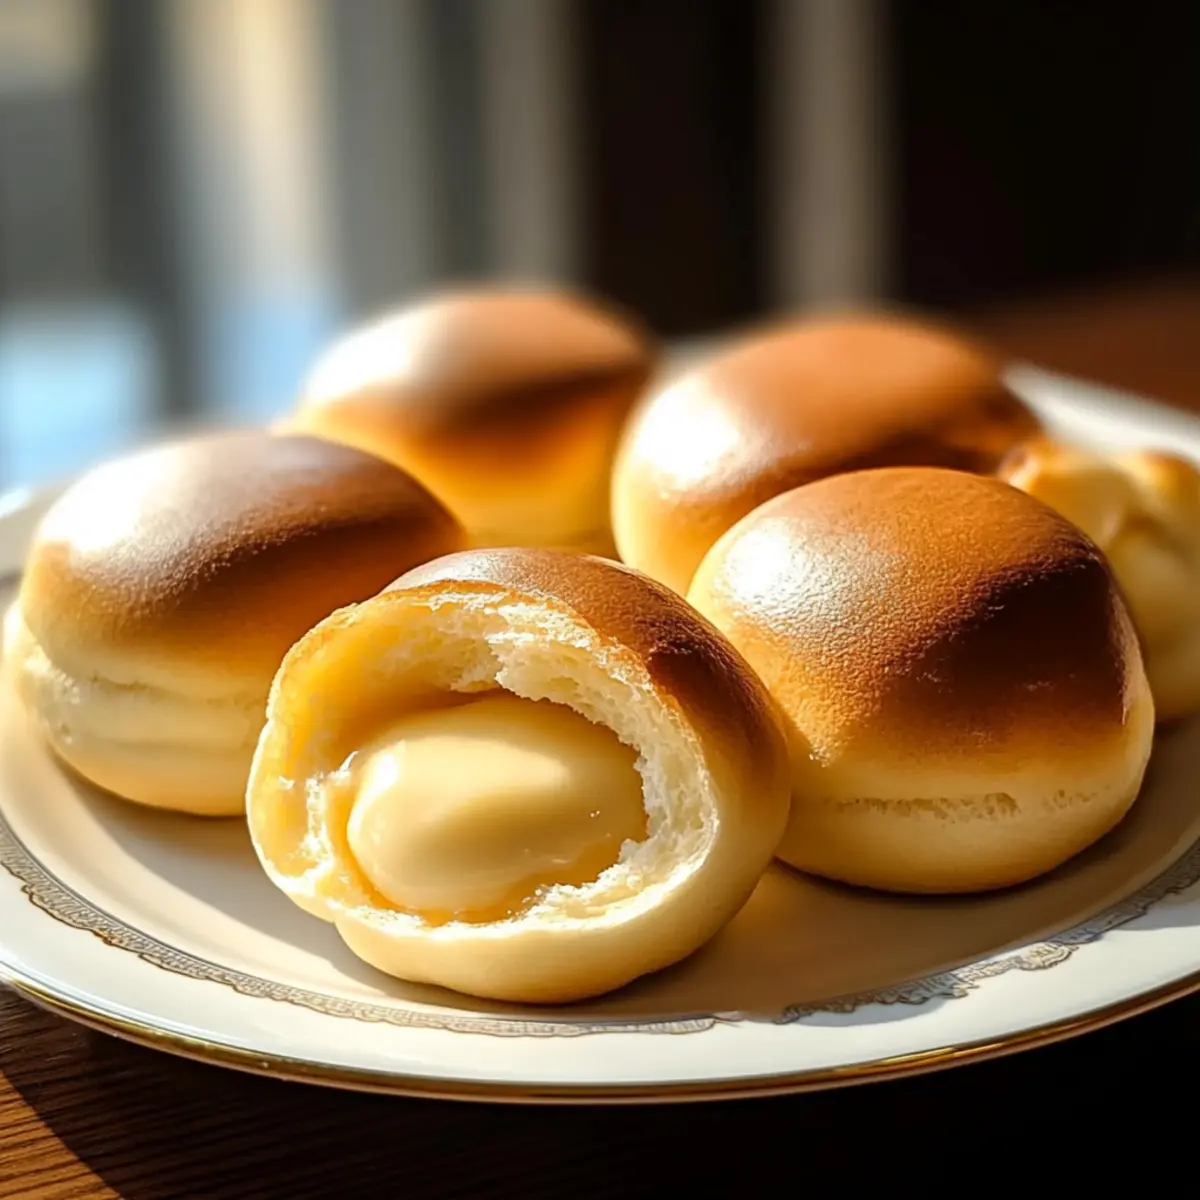
Irresistible Stovetop Custard Cream Buns You Must Try!
Ingredients
Equipment
Method
- In a large mixing bowl, combine all-purpose flour, sugar, yeast, milk, softened butter, eggs, and vanilla extract. Mix until a cohesive dough forms. Knead for 5–10 minutes on a floured surface until smooth and elastic.
- Place the kneaded dough in a greased bowl and cover with a kitchen towel. Let rise in a warm location for about 1 hour until doubled in size.
- Once risen, punch down the dough, pinch off small pieces, flatten each into a disc, fill with custard, and seal to form buns. Arrange in a steam-safe container.
- Cover the buns with a towel and let them rise for an additional 30 minutes.
- Bring water to a gentle simmer in a pot. Place the steam-safe container over the simmering water, cover, and steam for 15–20 minutes or until puffed and cooked through.
- Remove from the steamer and allow to cool for a few minutes before serving.
Leave a Reply