
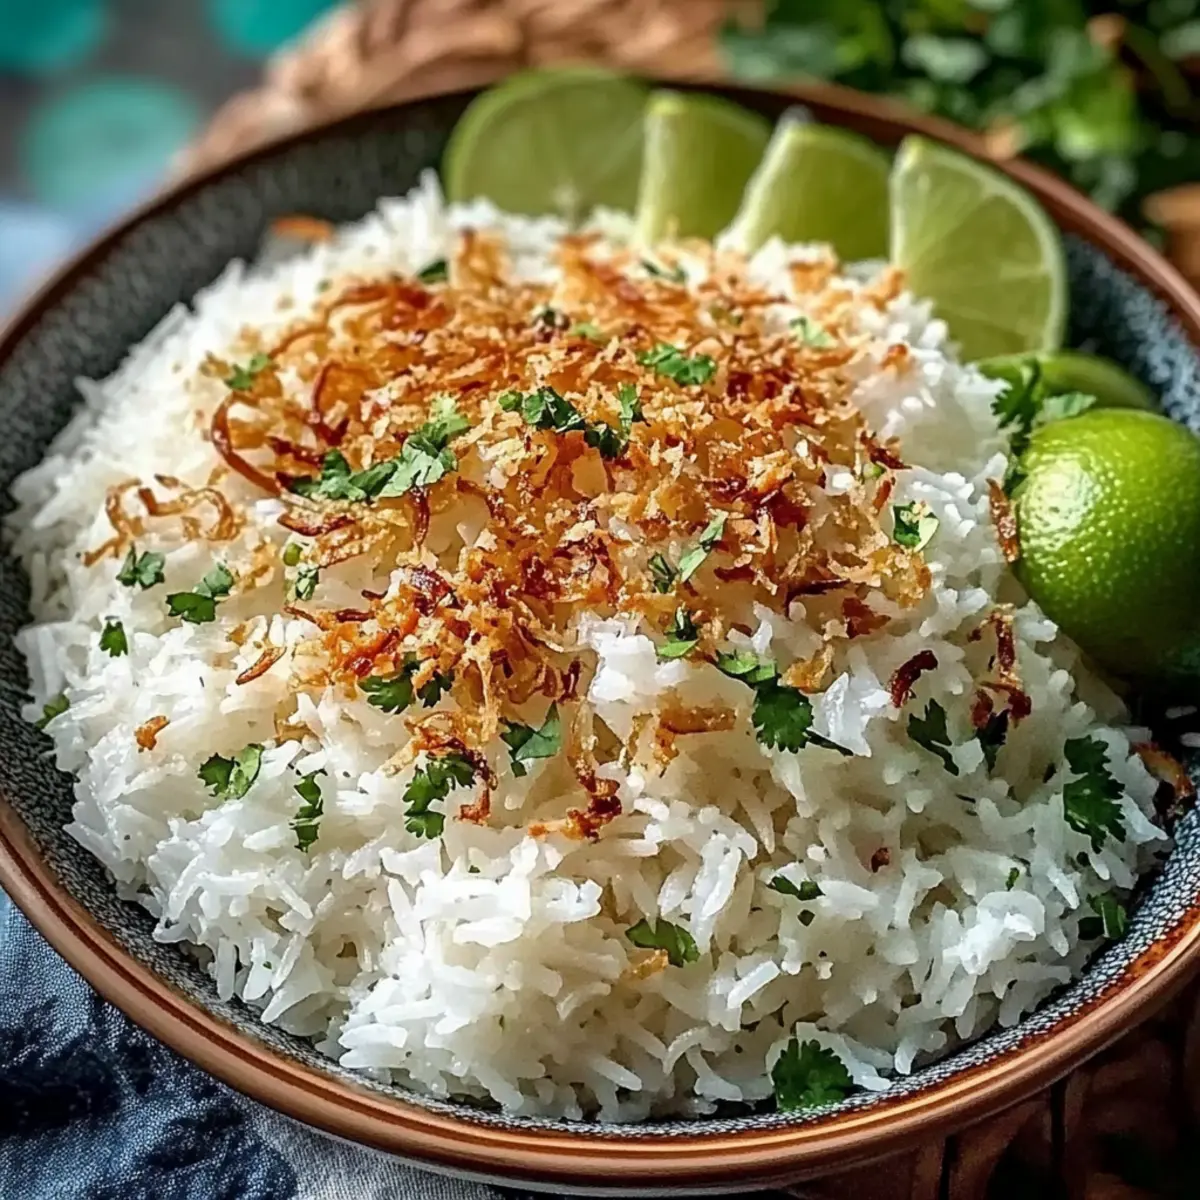
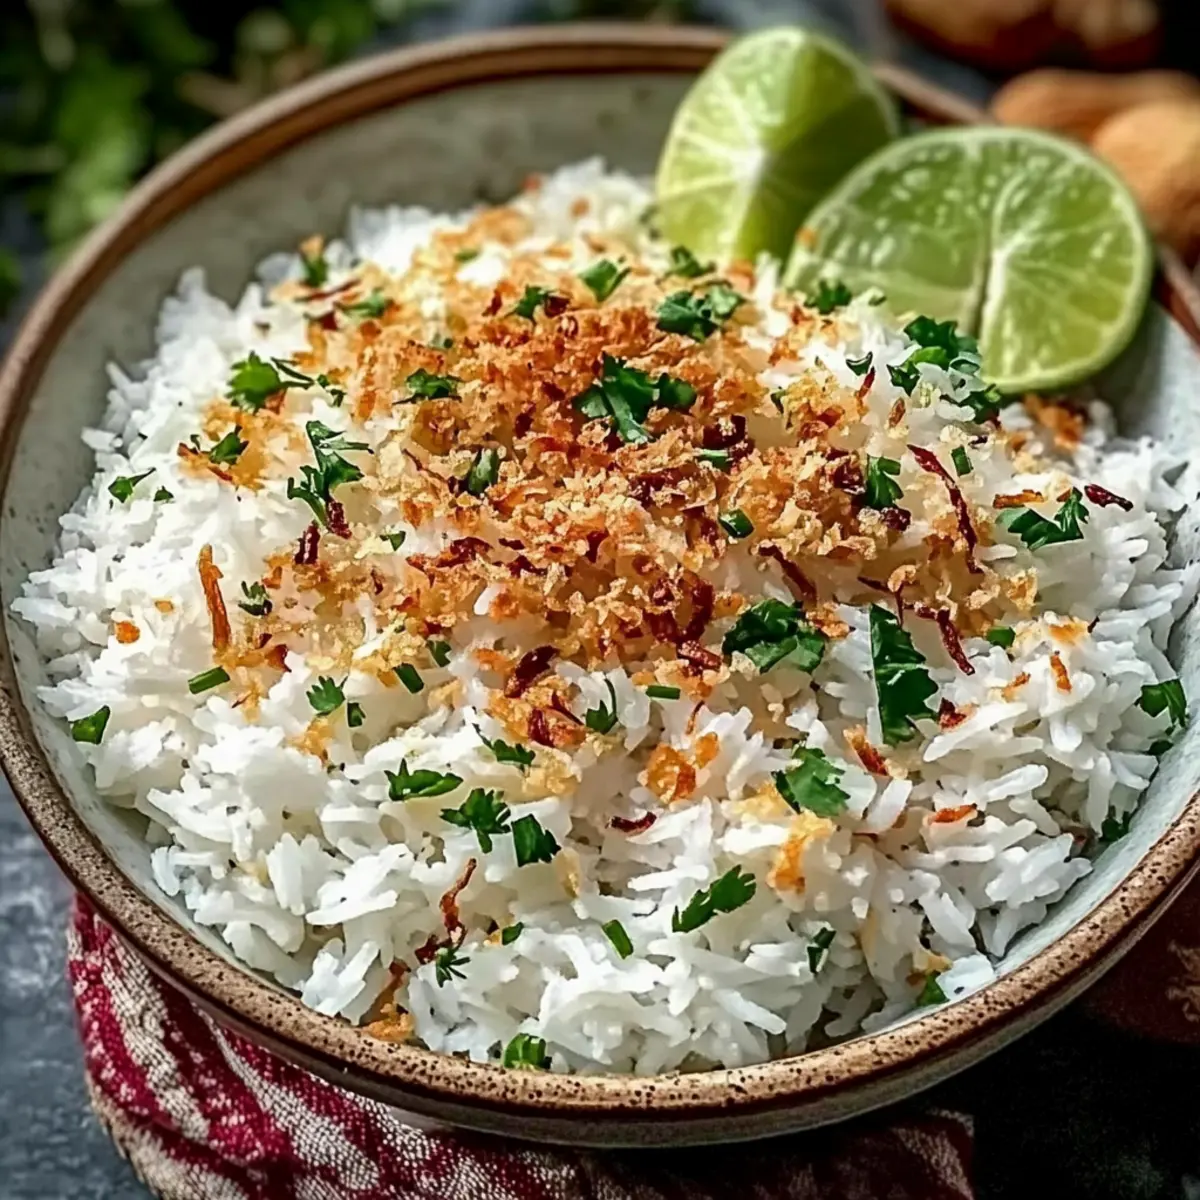
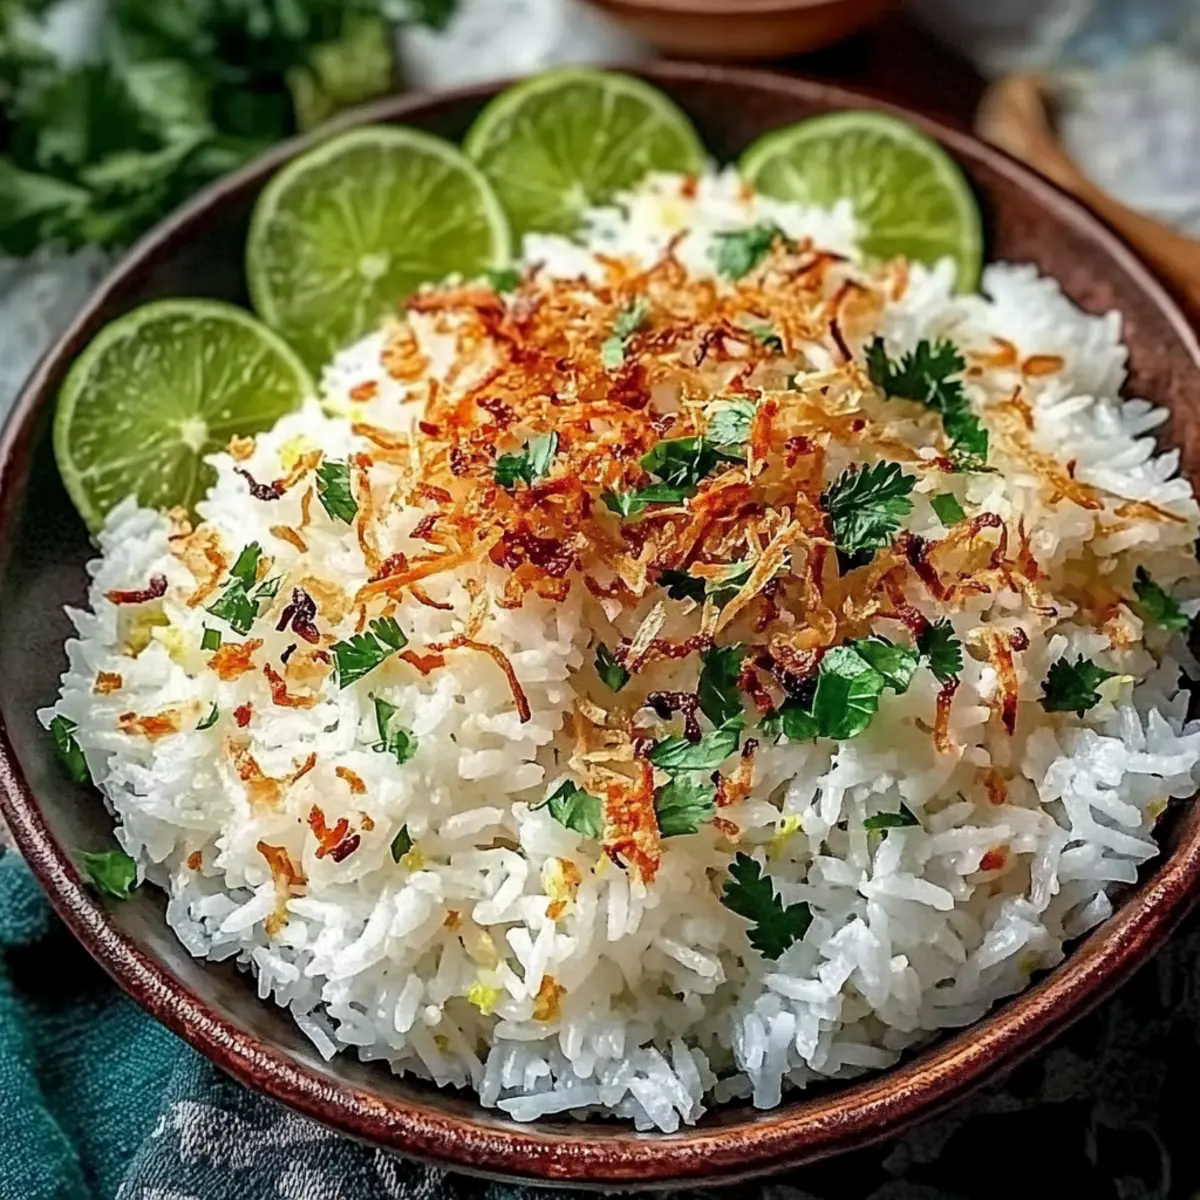
As I stirred the pot, the familiar aroma of jasmine rice and creamy coconut milk instantly transported me to the vibrant streets of Thailand. Thai Coconut Rice is not just a simple side dish; it is a comforting companion that can elevate any meal, especially when paired with spicy Thai curries or grilled shrimp. This gluten-free and dairy-free delight is incredibly easy to prepare, making it a go-to for those evenings when cooking feels daunting. With just a handful of everyday ingredients, you can create fluffy rice enveloped in a subtly sweet, rich sauce that feels like a warm embrace with each bite. Are you ready to transform your dinner table with this delightful dish and discover how it can jazz up your favorite flavors?
Why Is Thai Coconut Rice Amazing?
Elevated Comfort: This rice transforms any dinner into a feast, pairing beautifully with spicy dishes or grilled proteins like shrimp or chicken.
Creamy Indulgence: The luscious coconut milk envelops the jasmine rice, providing a creamy texture that makes each bite incredibly enjoyable.
Quick and Easy: With simple ingredients and straightforward steps, you can whip up this delightful dish in no time, perfect for those busy weeknights.
Versatile Side: This rice complements a variety of cuisines and can even be enjoyed cold in a refreshing rice salad, making it a flexible addition to any meal lineup, much like my Steak Queso Rice.
Crowd-Pleasing Treat: Whether you’re hosting a dinner party or cooking a cozy meal for yourself, this crowd-pleaser is bound to delight everyone at the table!
Thai Coconut Rice Ingredients
For the Rice
• Jasmine Rice – The aromatic backbone of this dish, providing a soft texture that perfectly absorbs flavors; long-grain white rice is a suitable substitute if needed.
• Coconut Milk – Full-fat canned coconut milk adds richness and creaminess; consider using light coconut milk for a lesser flavor but lower calories.
• Water – Balances the coconut milk for even cooking, preventing thickness.
• Sugar – Enhances the natural sweetness of the coconut milk for a balanced flavor.
• Salt – Balances the sweetness and enriches the overall taste of the dish.
For the Garnish
• Crispy Fried Shallots – Adds a savory crunch and depth of flavor, elevating the rice experience.
• Fresh Cilantro – Provides a bright, herbal finish that freshens each bite.
• Lime Slices – Offers a refreshing, zesty touch for garnish that brightens the dish.
Each ingredient plays a crucial role in creating the delightful Thai Coconut Rice, making it an easy, gluten-free, and dairy-free addition to your dinner spread!
Step‑by‑Step Instructions for Thai Coconut Rice
Step 1: Rinse the Rice
Begin by rinsing 1 cup of jasmine rice under cold running water in a fine-mesh strainer. Swirl the rice gently with your fingers until the water runs clear, which takes about 2-3 minutes. This process removes excess starch, ensuring your Thai Coconut Rice is fluffy and not sticky once cooked.
Step 2: Combine Ingredients
In a medium saucepan, pour 1 cup of full-fat coconut milk, followed by 1 cup of water. Add 1 tablespoon of sugar and ½ teaspoon of salt, stirring gently until the sugar dissolves completely. Place the saucepan over medium heat, bringing the mixture to a gentle simmer—this should take about 3-5 minutes.
Step 3: Cook the Rice
Once simmering, carefully add the rinsed jasmine rice to the saucepan. Stir briefly, then reduce the heat to low and cover the pot with a lid. Allow the rice to cook undisturbed for 15-18 minutes, or until all the liquid is absorbed and the rice appears tender and fluffy. The aroma will fill your kitchen, signaling it’s close to being ready!
Step 4: Let it Rest
After the cooking time is complete, remove the saucepan from the heat but keep it covered. Let the rice rest for an additional 10 minutes; this resting period is crucial for achieving the perfect texture in your Thai Coconut Rice, allowing the grains to firm up and remain separate.
Step 5: Fluff and Serve
Once resting is complete, remove the lid and gently fluff the rice using a fork. This will help aerate the grains. Transfer the fluffy Thai Coconut Rice to a serving dish, then generously top with crispy fried shallots and freshly chopped cilantro. Finish with lime slices for an extra zest that beautifully complements this delightful dish.
Thai Coconut Rice Variations & Substitutions
Ready to put a personal spin on your Thai Coconut Rice? Get creative and enhance its flavors with these delightful variations!
-
Basmati Rice: Swap jasmine for basmati rice for a subtle, nutty flavor while still keeping the fluffiness intact.
-
Tropical Twist: Add diced mango or shredded coconut to the cooked rice for a sweet, fruity flavor that pairs perfectly with spicy dishes.
-
Spicy Kick: Infuse heat by mixing in some diced jalapeños or a sprinkle of red pepper flakes before cooking to add warmth to each bite.
-
Herb Infusion: Stir in fresh herbs like Thai basil or mint after cooking for a burst of freshness that brightens the dish.
-
Coconut Flakes: For added texture, fold in toasted coconut flakes just before serving, giving a delightful crunch alongside the creamy rice.
-
Vegetable Medley: Toss in some frozen peas or diced bell peppers during the last few minutes of cooking for a colorful, veggie-packed upgrade.
-
Nutty Flavor: Enhance your dish with a handful of toasted cashews or almonds for an extra crunch and rich flavor that complements the coconut.
-
Curry Flavor: For a hint of curry essence, blend in a teaspoon of curry powder or paste while mixing your ingredients for an entirely new taste profile.
Each of these variations allows you to enjoy Thai Coconut Rice in a new light, just as you’d experience with other comforting dishes like my Smothered Chicken and Rice or even a delicious Taco Rice Bowl. Happy cooking!
Expert Tips for Thai Coconut Rice
-
Rinse Thoroughly: Always rinse your jasmine rice until the water runs clear to remove excess starch, preventing your Thai Coconut Rice from becoming sticky.
-
Resting Time: Don’t skip the 10-minute resting period after cooking; it’s essential for achieving fluffy, separated grains.
-
Perfect Simmer: Once you reduce the heat, keep the lid on and avoid lifting it during cooking to maintain steam, which is vital for proper cooking.
-
Garnishing Matters: Always top with crispy fried shallots and fresh cilantro; they add crucial flavor and texture to elevate your dish.
-
Store Wisely: If you have leftovers, store them in an airtight container in the refrigerator to maintain freshness, enjoying them within four days.
Make Ahead Options
Thai Coconut Rice is a wonderful candidate for meal prep, saving you valuable time on busy weeknights! You can prepare the rice and let it cool completely up to 24 hours in advance; just store it in an airtight container in the refrigerator. For best results, reheat the rice with a splash of coconut milk or water to restore its creaminess. Additionally, you can chop the garnishes—crispy fried shallots, cilantro, and lime slices—up to 3 days ahead. Keep these in separate containers to maintain their freshness and crunch. When it’s time to serve, simply reheat the rice, fluff it up, and top it off with your prepared garnishes for a delightful dish that feels just as fresh and flavorful as when it was first made!
What to Serve with Thai Coconut Rice
Indulge in the effortless bliss of a complete meal that dances on your taste buds, enhancing the delightful experience of this comforting dish.
- Spicy Thai Green Curry: The rich, creamy flavors of the curry contrast beautifully with the sweet coconut rice, making every bite heavenly.
- Grilled Shrimp Skewers: These lightly charred, succulent shrimp offer a delightful texture that pairs wonderfully with the creamy rice, highlighting fresh flavors.
- Crispy Spring Rolls: The crunchy exterior and savory fillings create a satisfying contrast to the soft coconut rice, making your meal exciting and full of variety.
- Tangy Cucumber Salad: This refreshing salad provides a crisp, cool bite that balances the richness of the rice, perfect for cleansing your palate between bites.
- Sweet Mango Chutney: The luscious sweetness of the mango chutney enhances the rice’s flavor, adding an extra layer of tropical bliss that complements the coconut.
- Chilled Coconut Water: A perfect drink choice to wash down your meal, its subtle sweetness mirrors the coconut notes in the rice and keeps things refreshing.
- Mango Sticky Rice Dessert: Elevate your dinner further with this delightful Thai dessert that mirrors the rice’s flavors, turning your meal into a luxurious experience.
- Roasted Cashews: Adds a satisfying crunch and nutty flavor, offering amazing texture that complements the fluffy rice beautifully.
- Limeade: The tartness of limeade is a refreshing match for the coconut rice and brings a lightness to your meal that is utterly refreshing.
How to Store and Freeze Thai Coconut Rice
Fridge: Store leftover Thai Coconut Rice in an airtight container in the refrigerator for up to 4 days to maintain freshness and flavor.
Freezer: You can freeze Thai Coconut Rice for up to 1 month. Portion it into freezer-safe containers, ensuring they are well-sealed to prevent freezer burn.
Reheating: When ready to enjoy, thaw overnight in the refrigerator, then reheat gently in the microwave with a sprinkle of water to restore moisture.
Room Temperature: It’s best to avoid leaving cooked rice out at room temperature for more than 2 hours to prevent any food safety issues.

Thai Coconut Rice Recipe FAQs
What rice is best for Thai Coconut Rice?
I highly recommend using jasmine rice for its aromatic flavor and soft texture. If jasmine rice isn’t available, you can substitute it with long-grain white rice, though the flavor may not be as pronounced.
How can I store leftover Thai Coconut Rice?
Store any leftovers in an airtight container in the refrigerator for up to 4 days. Make sure to let it cool completely before sealing to maintain its freshness. For best results, reheat it with a sprinkle of water to restore moisture, as it tends to dry out.
Can I freeze Thai Coconut Rice?
Absolutely! You can freeze Thai Coconut Rice for up to 1 month. To do this, portion the rice into freezer-safe containers, ensuring they are well-sealed to prevent freezer burn. When ready to eat, thaw it overnight in the refrigerator before gently reheating in the microwave.
What if my rice is sticky after cooking?
If your rice turns out sticky, it might be due to not rinsing the rice enough before cooking, which can leave excess starch. Always rinse jasmine rice under cold water until the water runs clear to achieve a fluffy texture. Also, remember to let it rest after cooking, as this helps grains separate.
Is Thai Coconut Rice suitable for vegetarians and those with dietary restrictions?
Yes! Thai Coconut Rice is naturally vegetarian-friendly, gluten-free, and dairy-free. Just make sure to check the labels on your coconut milk and other ingredients to avoid any hidden allergens. This dish can be enjoyed by most dietary preferences, making it a versatile addition to any meal.
How do I enhance the flavor of Thai Coconut Rice?
To amplify the taste of your Thai Coconut Rice, don’t skip the garnishes! Topping with crispy fried shallots adds a savory crunch, while fresh cilantro offers a herbal brightness. A squeeze of lime over the finished dish can elevate flavors and add a refreshing zest. Enjoy experimenting with garnishes for a delightful flair!
Creamy Thai Coconut Rice That Will Make Dinner Extraordinary
Ingredients
Equipment
Method
- Begin by rinsing 1 cup of jasmine rice under cold running water in a fine-mesh strainer until the water runs clear, about 2-3 minutes.
- In a medium saucepan, combine 1 cup of coconut milk, 1 cup of water, 1 tablespoon of sugar, and ½ teaspoon of salt over medium heat until it simmers, about 3-5 minutes.
- Add the rinsed jasmine rice to the saucepan, stir briefly, then reduce the heat to low, cover, and cook for 15-18 minutes, or until the liquid is absorbed.
- Remove the saucepan from heat and let it rest covered for 10 minutes.
- Fluff the rice with a fork and transfer to a serving dish, topping with crispy fried shallots, cilantro, and lime slices.
Leave a Reply